In an ideal world, photographers would be able to direct every aspect of a session and modify lighting to create perfect images with each click of the shutter button. In reality, we often have very limited control and must be able to overcome challenges like shooting in mixed, uneven, or just plain bad lighting; sometimes, with no option to make modifications.
[REwind: how to balance mixed light]
Join PremiumTHE PROBLEM: MIXED LIGHTING
During a recent wedding, after shooting wedding party portraits, I pulled the bride aside for a quick bridal portrait session. There was no room in the timeline to do it anywhere else so I had to make it happen then and there. Unfortunately, we were in a hotel hallway with nasty blue/green light pouring in from a nearby window and tungsten light coming down from above. I knew from the talk-through prior to the wedding that the bride wanted natural images with a bright, filmic, look and feel, so I had to shoot strategically with the mixed light.
THE SOLUTION: SHOOT FOR POST
Although we wouldn’t normally recommend it, there are times that it pays to rely on post production to make the most of tough situations, so long as you have a final image in mind and know how to craft it. You can see how to combat this in Lightroom in this short video tutorial:
Here’s how to work with mixed lighting, from shoot to post:
STEP 1: POSITION SUBJECTS TO SEPARATE MIXED LIGHTING
The first thing to do in a mixed lighting situation is try to position the subject so that the mixed light is separated and does not fall across the subject’s face. I positioned the bride so that she was back lit on one side by the window and front lit by the overhead tungsten light. You can do this in the reverse order if you prefer.
STEP 2: DIAL IN SETTINGS TO MAXIMIZE DYNAMIC RANGE
Because the bride preferred a natural and bright filmic look, I did not use light modification. In certain situations, when time permits, we might otherwise modify the light with off-camera flash, umbrellas, snoots (depending on the look we are after), and gels if necessary; this particular situation, however, demanded a more natural look. In order to maximize dynamic range, shoot at the lowest possible native ISO and adjust your aperture and shutter speed to compensate exposure and retain shadows and highlights.
[RElated: Overcoming mixed lighting]
STEP 3: APPLY PRESET FOR DESIRED STYLE
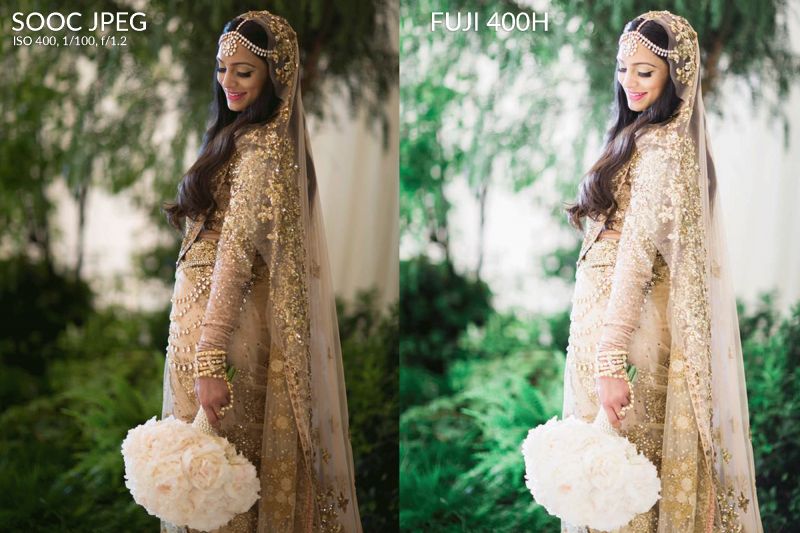
In Lightroom, mixed lighting problems can still be fixed in just a couple clicks with our presets. For this image, we used Fuji 400h. Our film presets are designed to emulate a bright filmic look, which matched this particular client’s preferred style.
STEP 4: ADJUST EXPOSURE, TEMPERATURE, AND TINT
Finally, brighten the exposure of the image and adjust the temperature and tint to a reach a neutral skin tone. This literally took less than 5 clicks in Lightroom with no local adjustments or Photoshop.
It’s not the ideal way to shoot, but when shiz hits the fan, techniques like this one will help save the day. You can see more examples in our latest workshop, ‘From Shoot to Post’, where we explore a variety of challenging scenarios and provide shooting and post production tips to help you consistently create stunning images in over 30 different lighting situations you might encounter on any portrait session.
Join PremiumOur updated Lightroom Preset System is now available for Premium Members, and it will soon be available in the SLR Lounge store. The updated film presets have been revamped for better tone and film representation.


Get Connected!