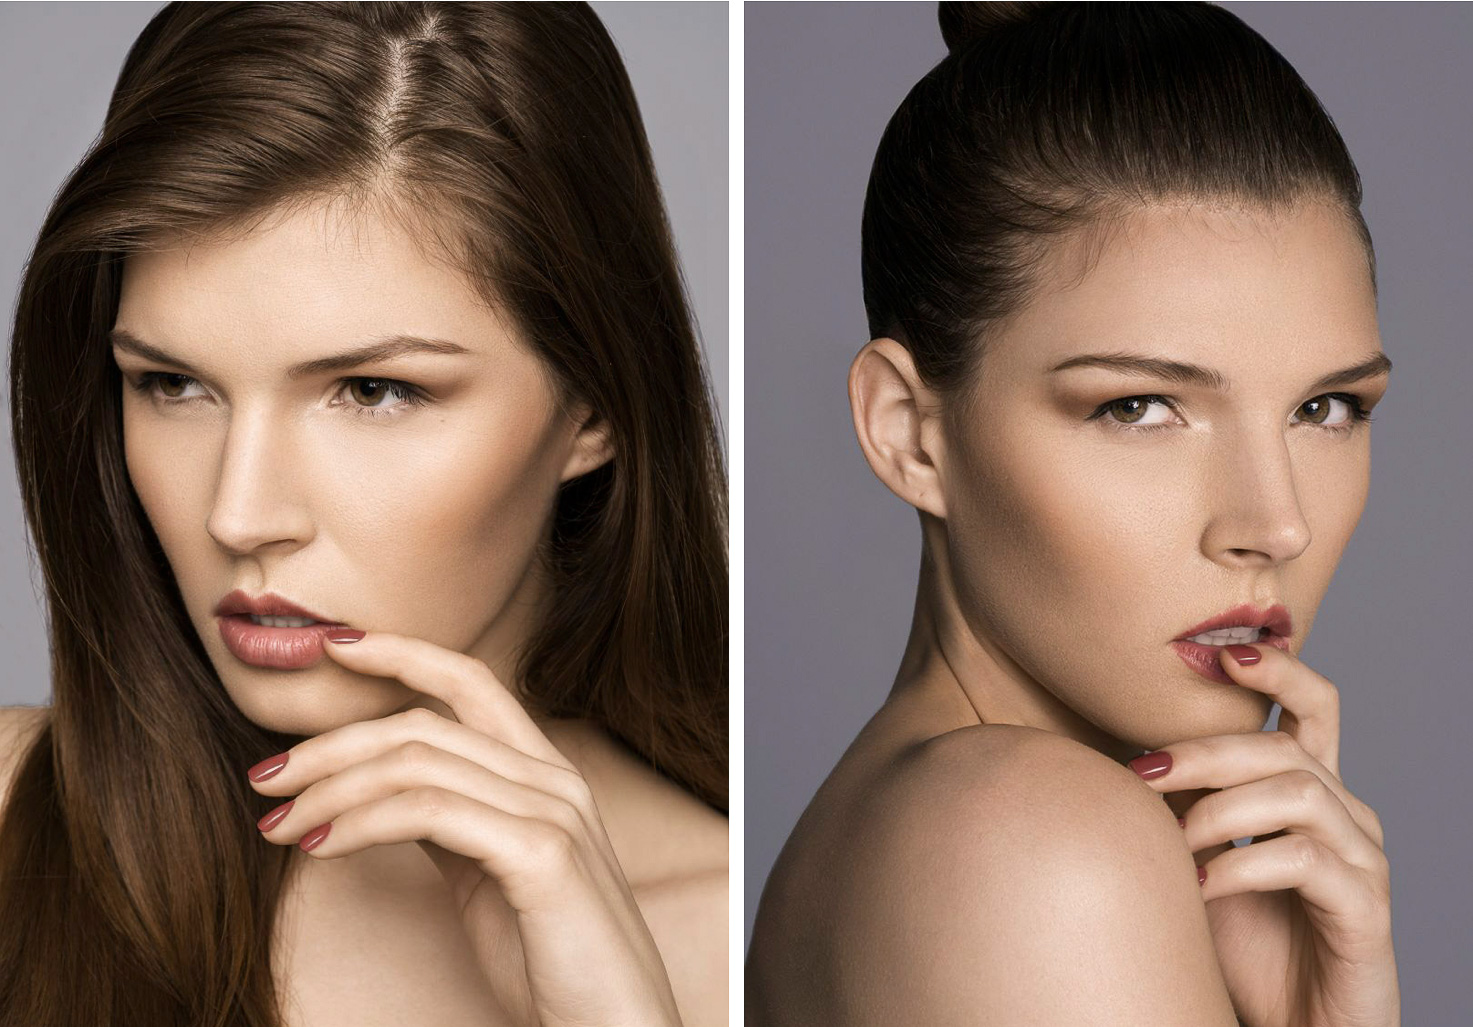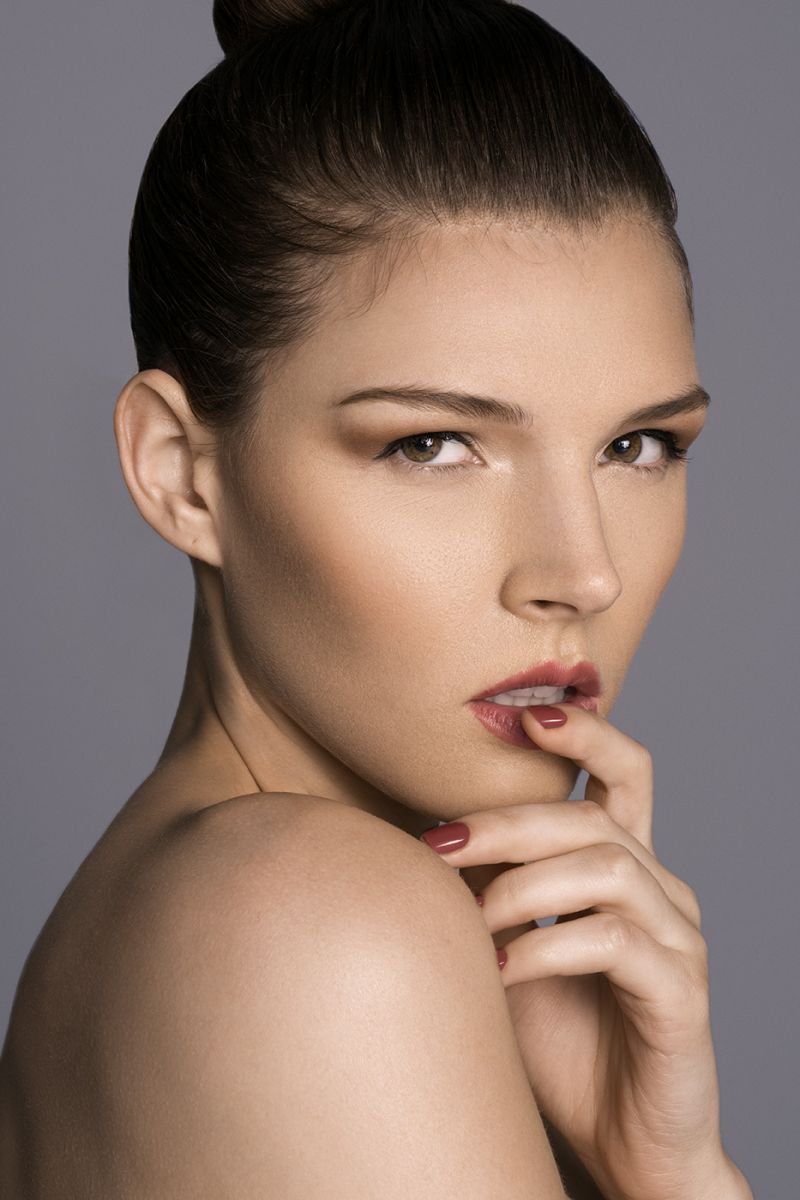
A few months ago I partnered up with Sony to give everyone an exclusive look at my entire creative process for shooting beauty images in-studio. We spoke in-depth about everything, starting from gear selection, setting up your shooting space, posing, tethering, and much more. In order to provide the most value, I also used a variety of different camera bodies and lens combinations to give everyone an idea of the specific types of images you could capture.
Along with the tips in this video let me highlight 3 of the main tips you’ll want to keep in mind when approaching this genre of photography, which you can find below.
Tip #1: Stick To Focal Lengths Of 70mm or Higher
When shooting this style of portraiture it’s crucial to shoot tight to draw the viewers’ interest. Using focal lengths of 70mm or higher (crop or full frame) allows you to do this without causing relative distortion which can cause the subject’s face to appear wider than it really is. Using zoom lenses like 70-200/300’s make this very easy with the trade-off being that they are typically heavier & larger. Prime lenses give you the smaller and lighter lens options with more sharpness at the expense of only covering one focal length (as is the case with the 85mm 1.4 I used in this video). Either way you go, find the lens that suits your style best, so long as it meets this criteria.

Tip #2: Keep Your Lights Close
This type of portrait work really requires you to make your subject’s skin appear softer and more beautiful than others, because you’re shooting in close and you’ll be showing viewers more texture and skin detail which means you have to work hard to flatter your subjects. One great way to do this is to use large light sources and bring them in close to reduce the contrast that may be created by blemishes and other skin issues. Some of my go-to lighting modifiers for this are octas and softboxes with both layers of diffusion added. This gives you a soft skin effect in camera which will appear more natural than methods you may use in post production programs like Photoshop.

Tip #3: Communication Is Key
One of the key things that I’ve learned over the years that took my portrait and beauty work to the next level was the importance of communicating with my subjects. From the moment they arrive at my studio to the moment they leave, there is a constant dialog back and forth with the goal of making them comfortable and confident that we’ll get awesome images.
This means that once you are set and shooting, it becomes vitally important to keep their energy levels and enthusiasm high by giving them encouragement and feedback along the way. You don’t have to go over the top with it, but saying something like “You’re doing great!” or “Very nice” goes a long way in giving them the mojo they need to keep performing for you.
[REWIND: Simple Window Light Portraits | How I Shot It]

Final Thoughts
I’ve found beauty photography to be one of the most challenging genres of photography to master. There are so many things you have to keep in mind in order to create a great image, and early on you’ll run into hurdles. Like anything else though, practice makes perfect, so shoot often, critique your work, repeat, and you’ll find you can make great strides in a short amount of time. What are some of your favorite beauty photography tips? I’d love to hear them! Leave them in the comment section below.
Also, if you plan on attending PPE be sure to sign up for my “On-Location Portraits” photo walk. If you sign up via this link you’ll get a 20% discount on your PPE registration!


Get Connected!