Anyone who’s seen Wallace & Gromit or The Nightmare Before Christmas knows stop motion animation is a really unique method of storytelling. But stop motion isn’t just for Tim Burton films. As a photographer, I love incorporating them into my client galleries too, as they create an interesting, unique, and fun way to showcase my work. In this article, we’ll cover the basics of stop motion animations for photographers so you can add this technique to your creative toolkit.
Why Incorporate Stop Motion Animations
Here’s why I love stop motion animations:
- It breaks up the gallery with something unexpected. When they’re scrolling through #458 of 800 images in their gallery, seeing an animation can bring their wedding day to life in a different way.
- They’re great to share on social media. I don’t do very much video work, so this is a good way for me to keep my feed fresh.
- It’s fun. I just enjoy making them, and they’re a goofy way to keep experimenting, and when it works, I think they’re pretty cool.

Now, I’m definitely not the first person to think of doing this. There are some great tutorials that I’ll link below, and I don’t want to take away from the hard work they put in by just rehashing what they already cover in great detail. Instead, I’m just going to share a quick TLDR to give you the general idea of how it works, and then focus on tricks that make this easier to pull off during a wedding day and integrate into a client workflow.
- Take a series of photos on continuous mode (My Z6 shoots 5.5 fps on Continuous High, and I find that to be more than enough most of the time).
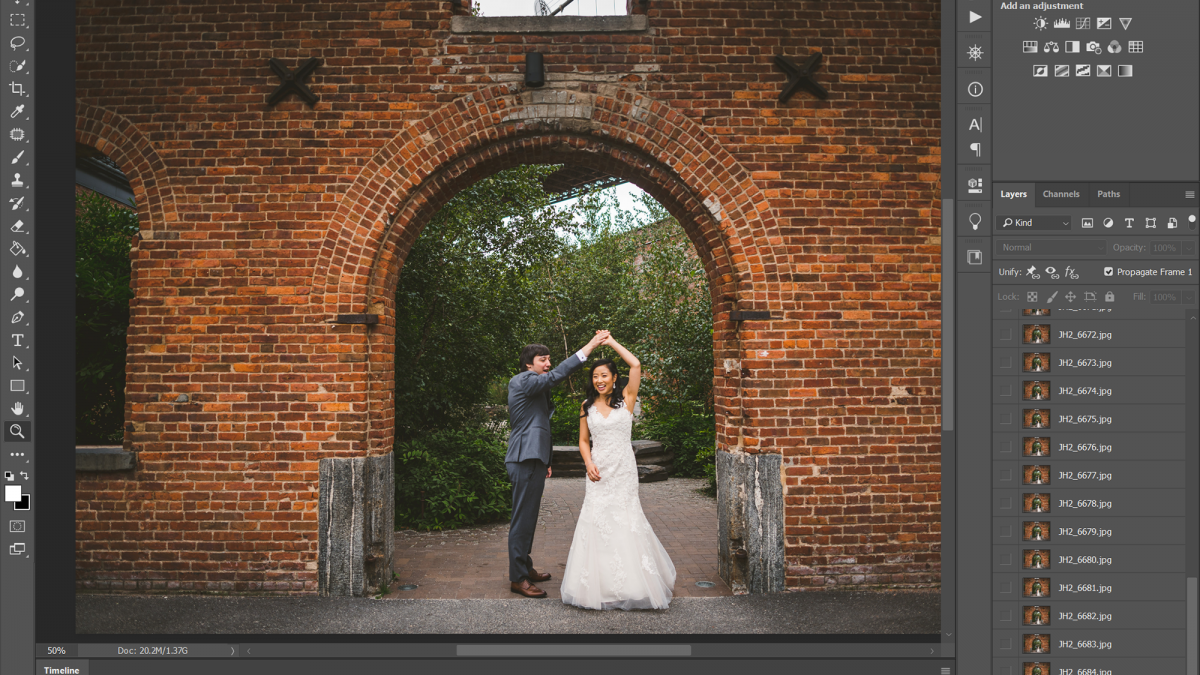
- Load those files into Photoshop using “File –> Scripts –> Load Files Into Stack…”, and “Attempt to Automatically Align Source Images” (I usually do anywhere from 5-20 images, depending on the length of the animation I’m trying to make. More on this later. )
- If the Timeline Window isn’t present already, then Window–> Timeline, and in the center hit “Create Frame Animation”.
- Select all the layers (which should be each individual image from your series), and on the Timeline Window options, hit “Make Frames from Layers” and then crop the image to your liking.
- “Reverse Frames”, then modify the speed of the animation by changing the delay of each frame (I usually find 0.08 – 0.12 to be a good range of speeds), previewing it with the play button on the bottom.
- “File –> Export –> Save for Web” Save it as a GIF, and you’re done!

Tips While Shooting
Pick Your Framing Wisely!
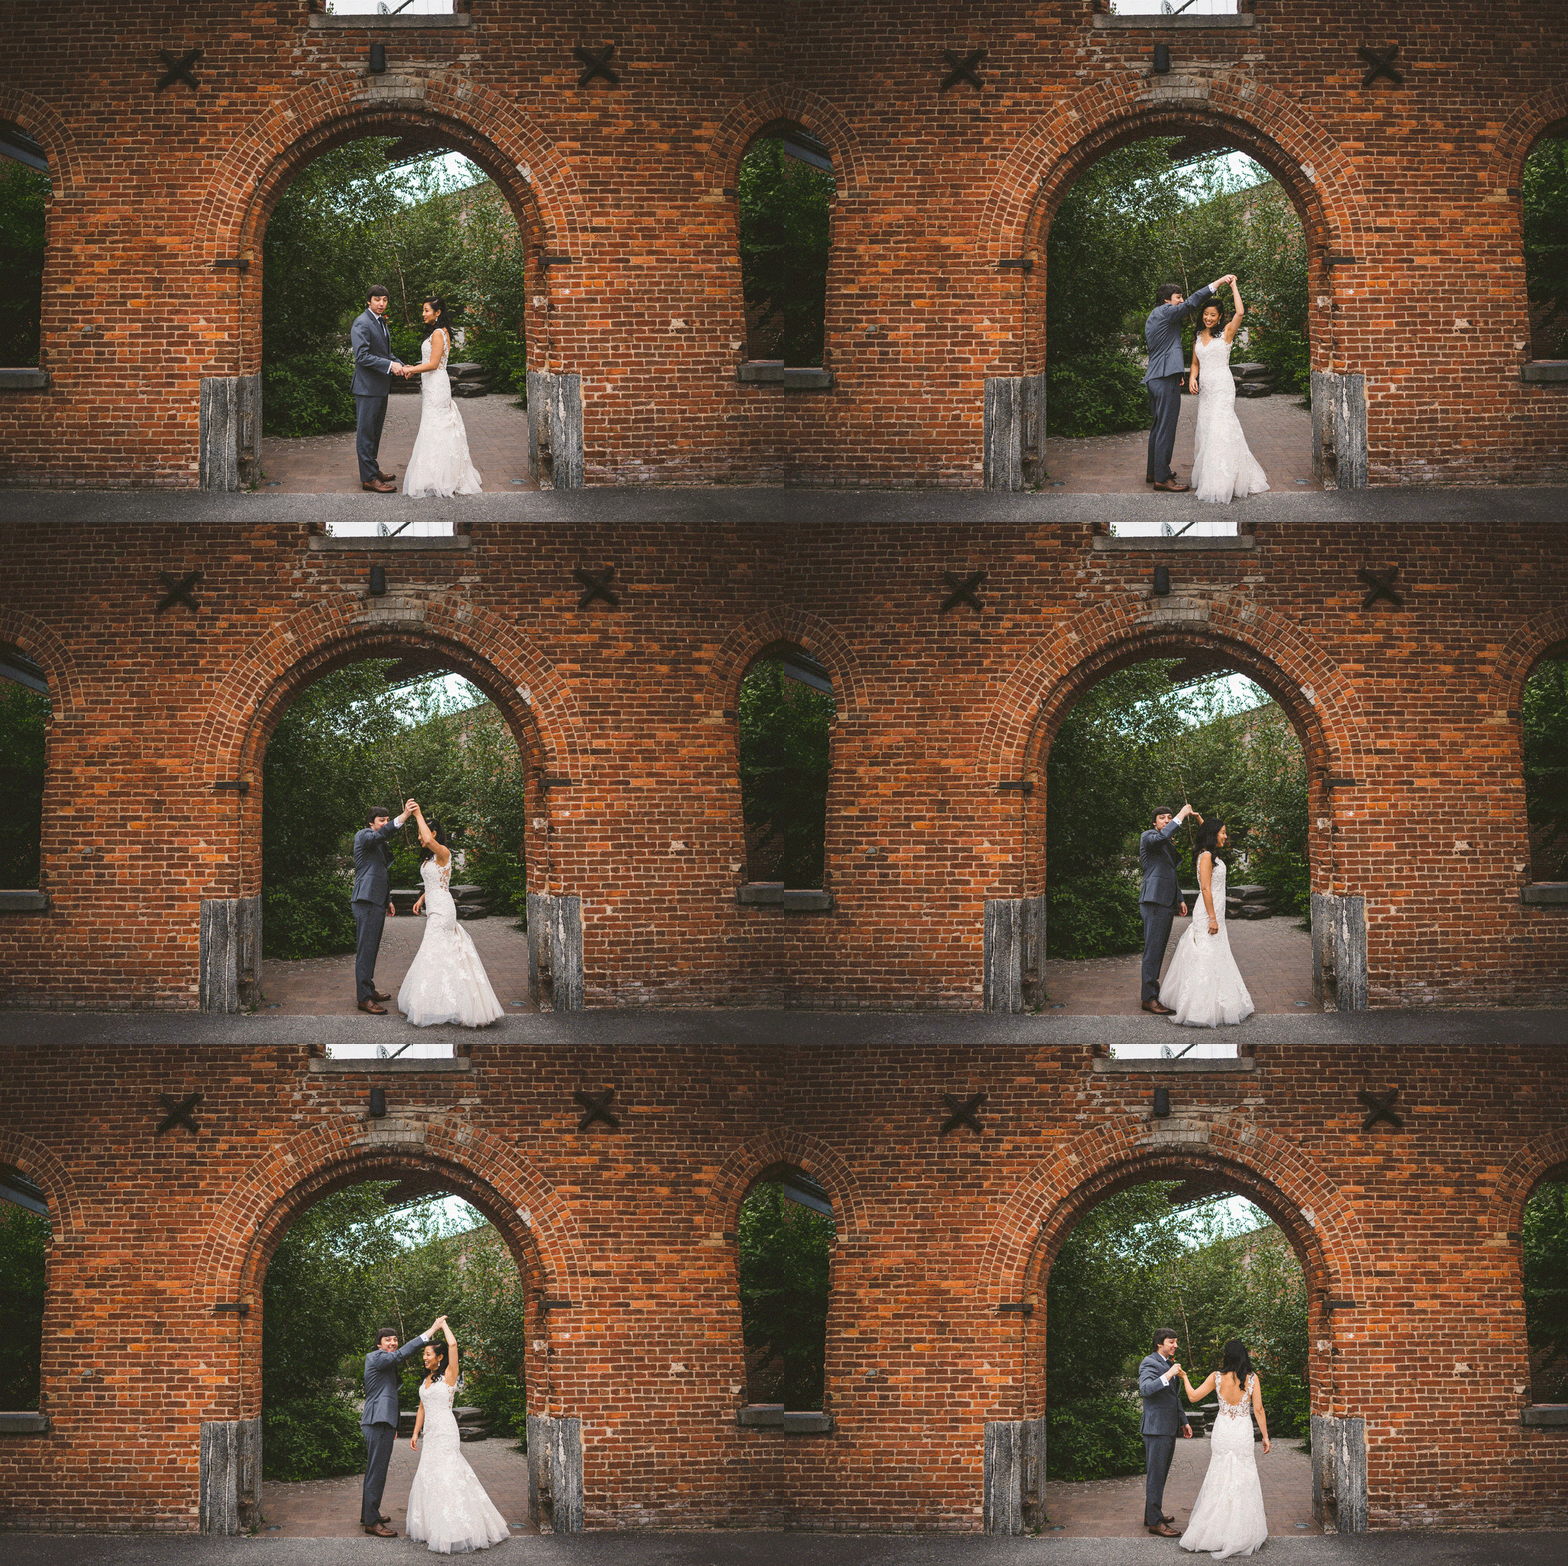
You have a lot of options for the framing. Think about what you’re trying to highlight and what story you’re trying to tell, and use the composition to serve that story. Just like composition matters in your normal photos, it matters here too (if not more so because your framing stays roughly the same throughout the animation).
Make The Movement Obvious
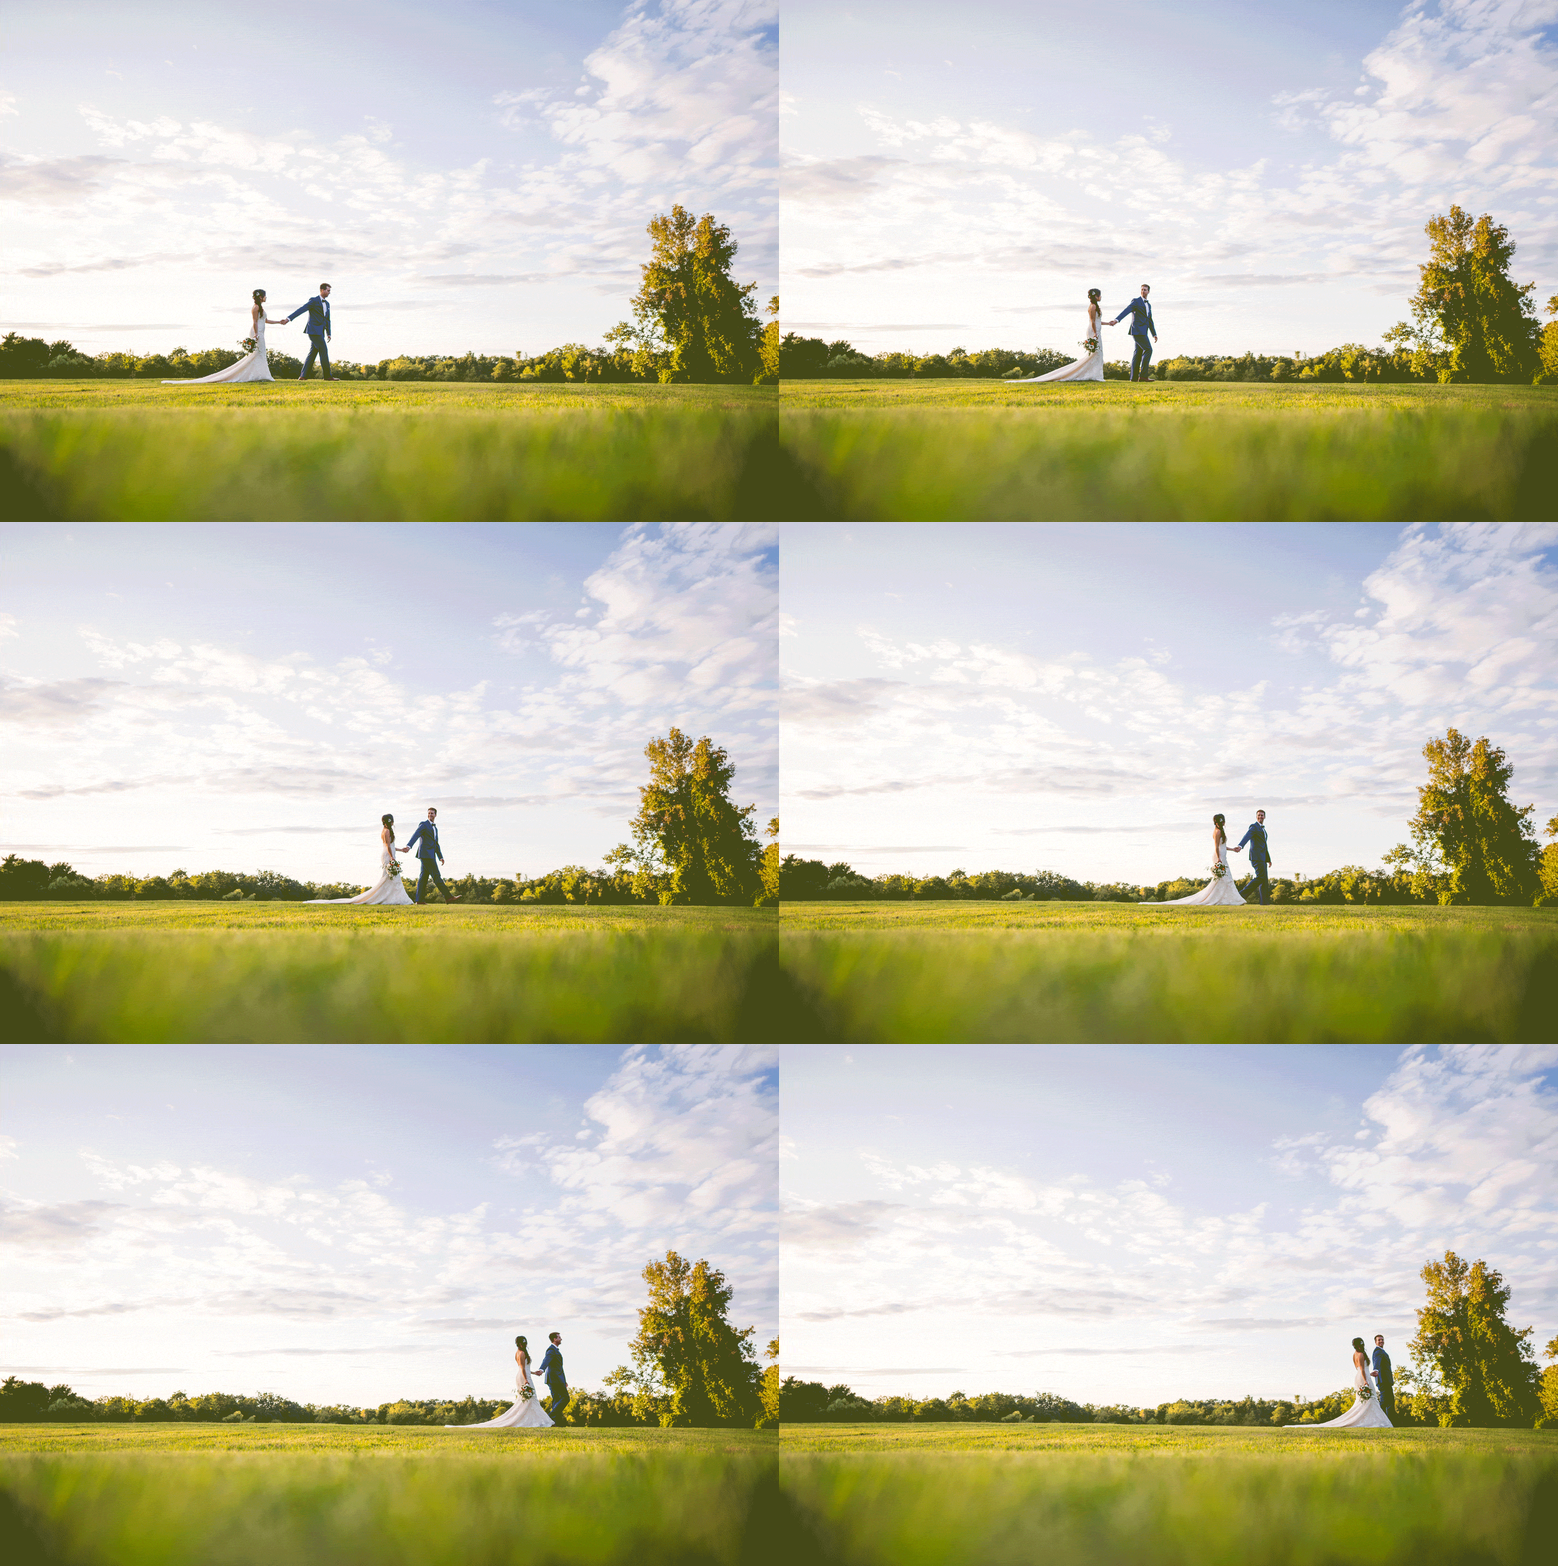
This is mostly a stylistic choice, but because I want a viewer to know this is an animation right off the bat, I make sure to give directions that create obvious movements to the camera. For example, I might have them walk through the frame or dance/twirl with each other. This second one’s a great one because it loops nicely too.
Alternatively, it can be fun to put them in a roughly stationary position, and have the environment move around them. Either way, use motion to help tell the story.
Stay Still
Photoshop usually does a great job aligning your images right from the onset. If you want a more organic, handheld feel to the animation, don’t check that option when you load the files into a stack.
Additionally, because it’s hard to be perfectly still, you’ll lose some pixels around the edges when you align your images, so shoot slightly wide and be ready to crop in. You can minimize this by bringing a tripod or monopod, but I rarely have those on a wedding day personally.
Editing Tips
Batch Edit for Consistency
I usually pick one image in the series, edit it to my liking, and then sync the changes across. I try to keep the colors and exposure as consistent as possible. Again, similar to above, the goal here is to stay consistent so variations in the color don’t pull you out of the animation.
Beware of Large Files Sizes
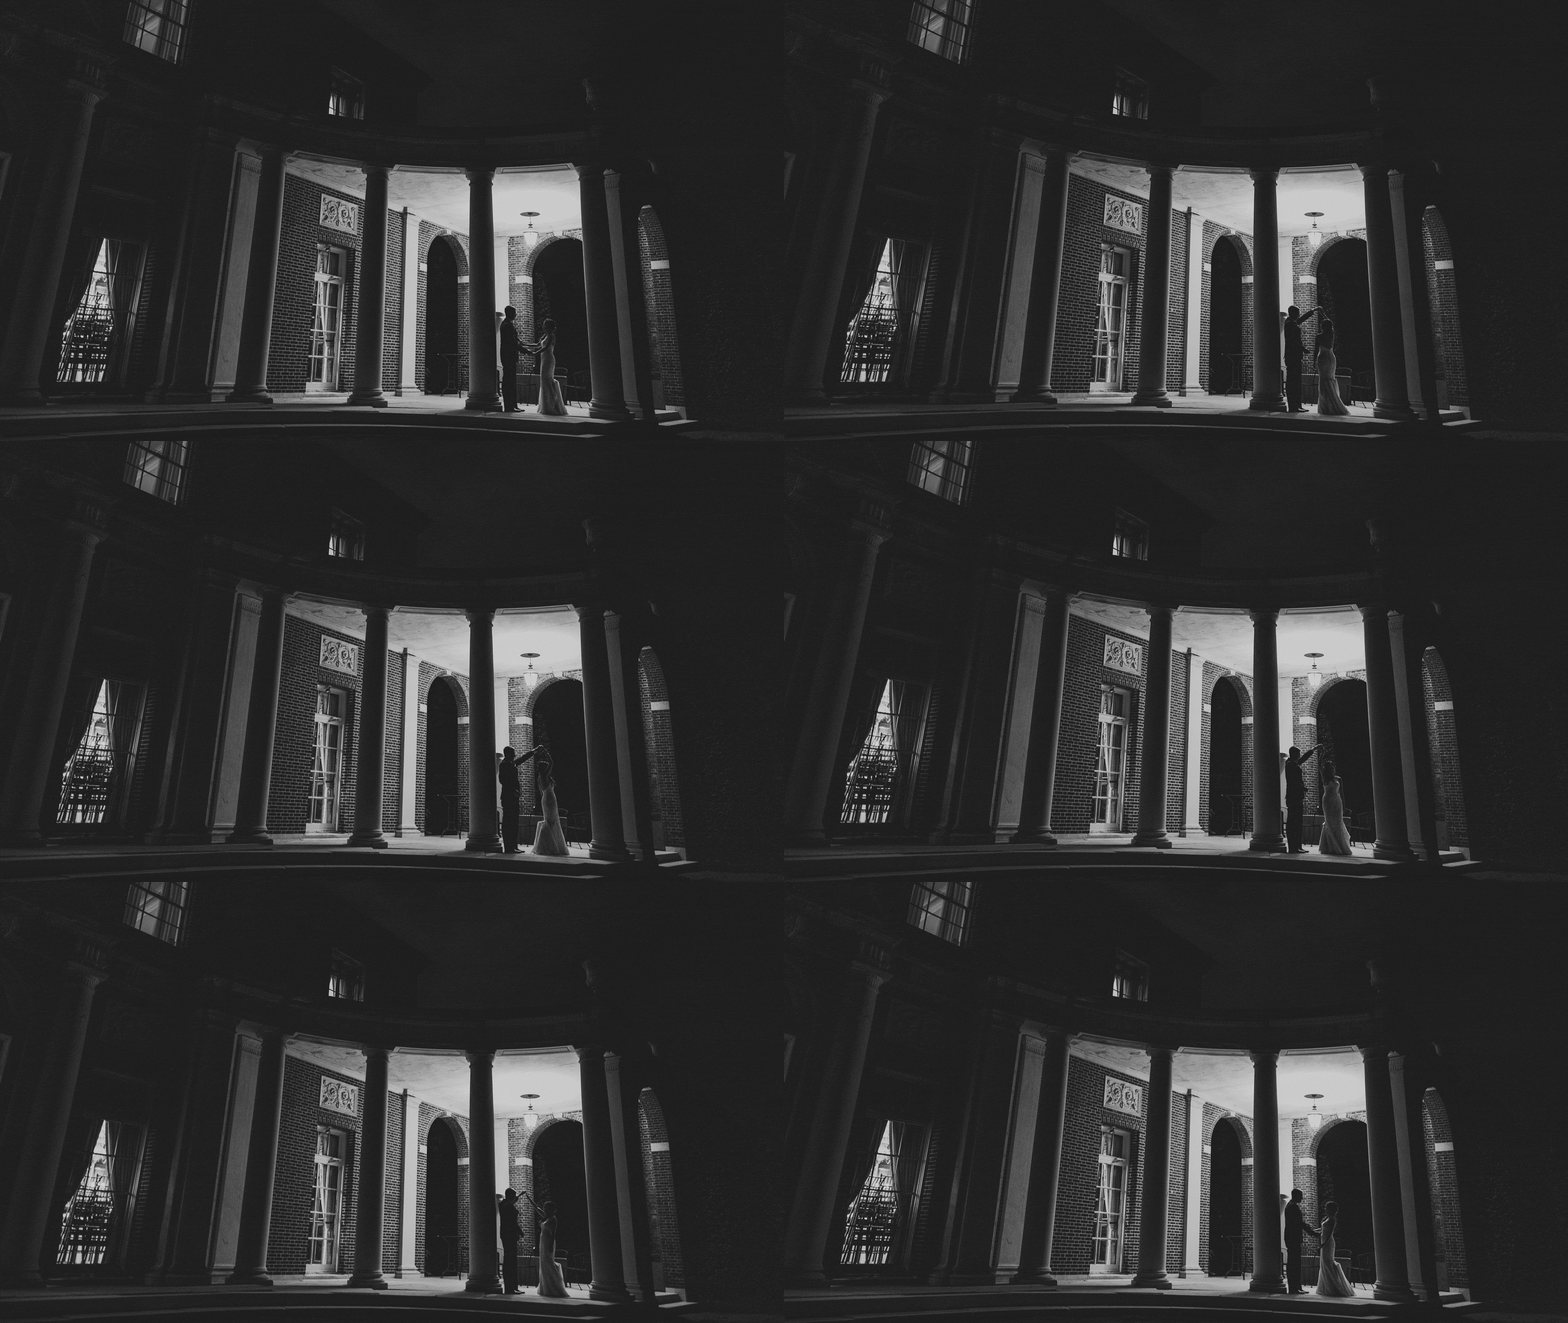
If your file sizes are too large, you may have too many images, or you might have images that have too much information in them. The GIF format stores a set of still images inside, so if your source files are large your GIF will be even larger. Additionally, you can try using lower resolution images that will match your final resolution. I haven’t done scientific tests, but anecdotally I’ve found black and white animations also result in smaller file sizes, due to the smaller number of colors required to represent the image information. A GIF compressor is a handy tool to have if you want to reduce the file size of your GIF without losing its quality.
Embrace the Compression
GIFs are meant for web and social sharing. Keep the resolution low (i usually do no larger than 1400-1600 pixels on a side), but GIFs are often much smaller, like 300-400 pixels on a side) What this also means is that I’m not expecting anyone to pixel peep the animation. They’re a novelty, cool to see, but after so many layers of compression, you’re going to take a hit on image quality. I try to balance image quality with file size, and will often take a hit on image depth if it means my file size is smaller (and therefore easier to share) when exporting the final animation.
Instagram Doesn’t Like Gifs
So when you want to share it on Instagram, you actually have to use “File –> Export –> Render Video” in Photoshop. It’ll render a video that is the animation done once, and when you upload that to Instagram it automatically loops. Read more about posting GIFs to Instagram for more information.

Final Notes
Just Because You Can, Doesn’t Mean You Should
It’s tempting to go overboard and just shoot the whole wedding on continuous high, and try animations for everything. Just be aware, they can be time consuming to make, and they don’t always work. So I try and shoot 3-4 a wedding, and I’m happy if I’m able to share 1-2 good ones with them at the end. I always preface by saying to my clients that it only works about 30% of the time. This sets it up just in case it doesn’t work in post and I don’t like how the final animation looks, I’m not trying to send something just to send it. But at the end of the day, if their wedding gallery is a 5 course meal, these animations are the cherry on top of the dessert at the end of the night.
Experiment
This is something I’m still playing with as well, and every time I do it I learn something new. If you discover easier ways to do this, or have other tricks you’ve found helpful, I would definitely love to learn about it – please do email me and share.
Here are two tutorials that I used to learn this technique, and if you have questions on some of the specific steps you can ask me or go check out these two articles and see if that helps: Steel and Flint & Hubspot


Get Connected!