-
Term: Continuous Light
Description: In photography, a type of lighting that remains on and provides a constant source of illumination throughout the entire duration of a photo shoot or scene. It contrasts with flash or strobe lighting, which provides a burst of light only when a photo is taken. Continuous light helps photographers and videographers to visualize the final image or scene in real-time, making it easier to adjust lighting, shadows, and reflections as needed.
Continuous Light
Continuous Lighting Tips
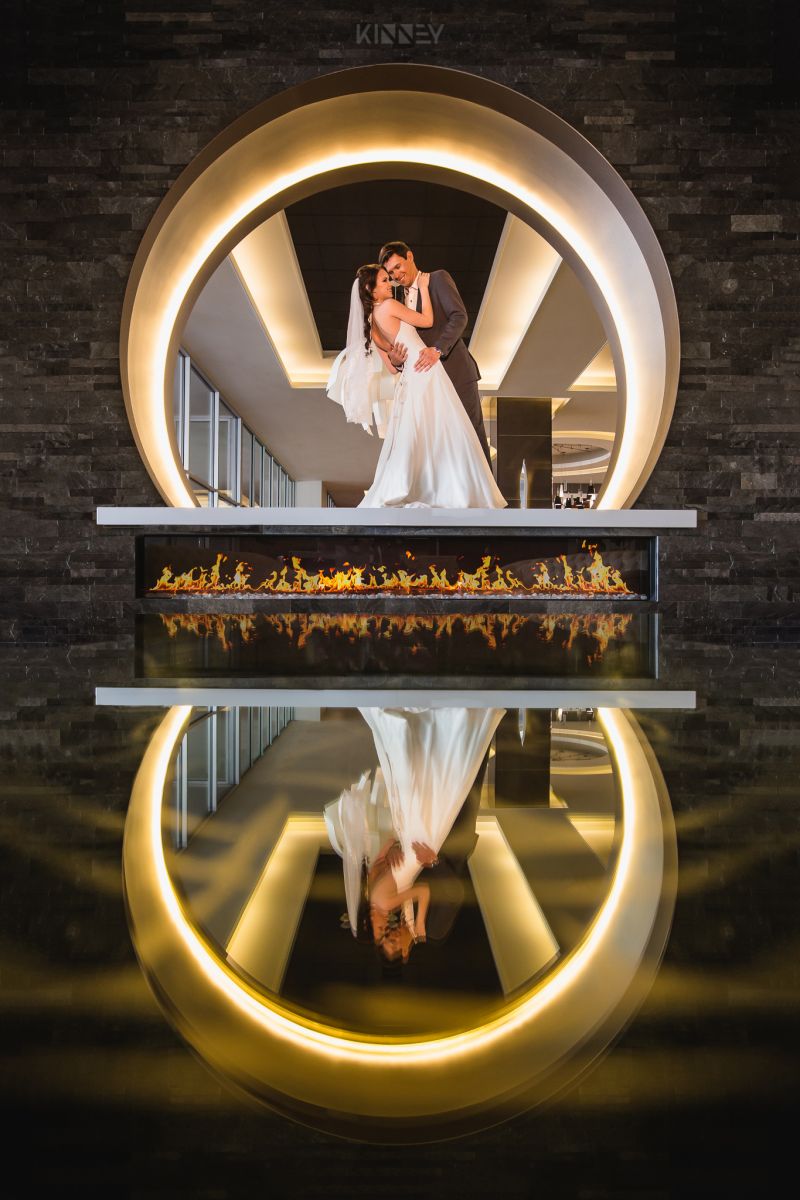
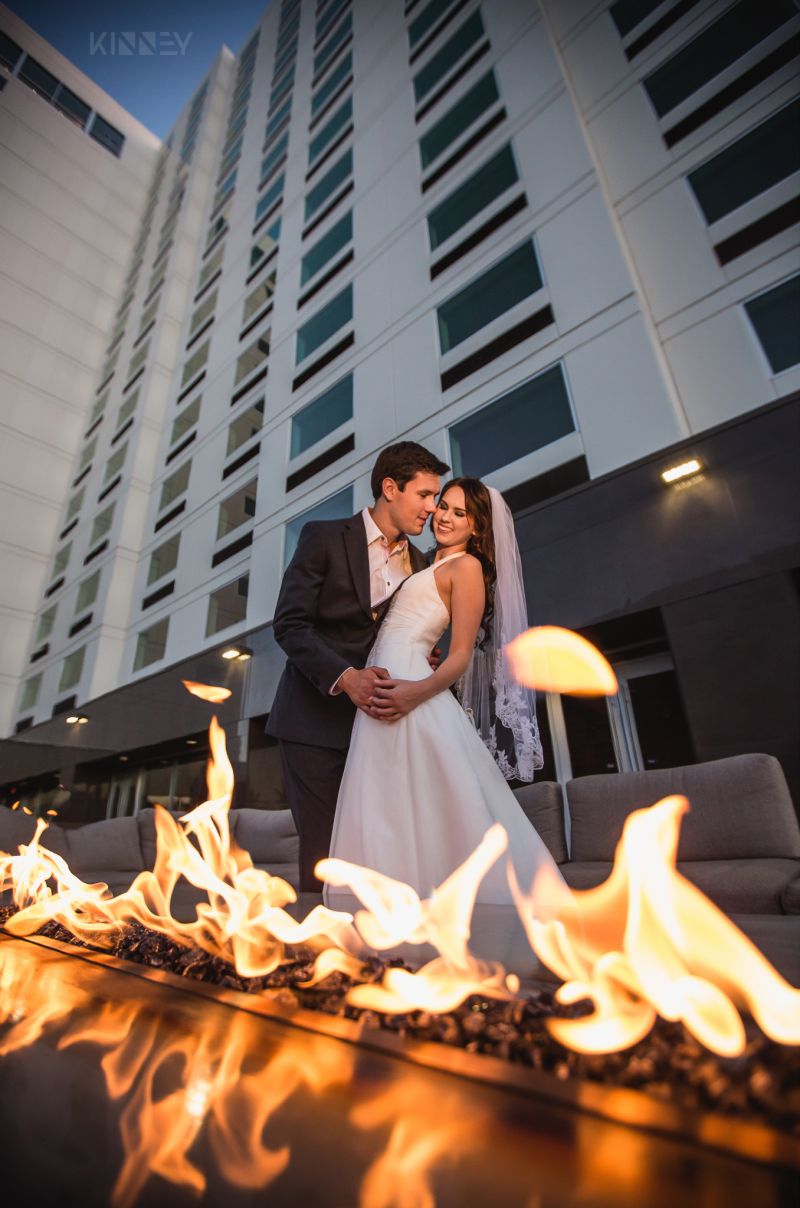
As a connoisseur of all things photography, it’s interesting for me to watch photographers develop their style into something unique over time. I met Michael Kinney at a wedding photography workshop about five years ago, and I’ve watched his work transform and his influence over the photography community strengthen over the years. While he gives his wedding clients the standard photojournalistic style images of their special day, his specialty is creating something unique from a perspective nobody else can see. He does this in his engagement photography and day-of shots with the couple and wedding party.
I sat down with Micheal at a local Starbucks to talk about some of the gear and techniques he uses to create his signature dramatic style. His work is heavily influenced by that of David Beckstead, which is influenced by old fashion photography masters like Man Ray and Richard Avedon; hard shadows, interesting angles, reflections, geometric patterns, etc.

Michael said one of the turning points for him in creating his style was when he started using some continuous lighting in his work, instead of just strobes or natural light. “Constant light can be a better tool in certain situations,” he said, as he started extrapolating various flashlights and LED lights from his massive Tamrac backpack.

Micheal uses constant lighting most often in indoor, low-light situations where a little pop of light can transform his composition or boost the light slightly when needed. He prefers constant lighting in these situations because it’s much faster to create when you can see the light in-camera. Dialing in settings for flash can take a lot of time and experimentation, and when you have a bride and groom who would rather be partying with their guests or rushing off on their honeymoon, time is of the essence. Using constant light and the live-view on his Canon 5D Mark III, experimentation can take mere seconds instead of 20 minutes or more to set up and nail a shot.
Pros & Cons of Constant or Continuous Lighting

I asked Michael to share with me some specific tools he uses and pros and cons of each. When looking for continuous lights, here are a few things Michael recommends you ask yourself.
- Is the light dimmable?
- Is the light zoomable?
- Is there a color temperature variable (daylight vs. tungsten, etc.)?
- Is the light mountable on a tripod?
You should also know what you’re getting when you’re using constant lighting. They have different qualities and will give you different outcomes than flash lighting. Small continuous lights like this will neither overpower the sun or illuminate a large scene like you’ll be able to do with flash lighting, so keep that in mind. These smaller lights are just another tool you can have in your kit and they happen to be ultra portable and fun to use.
Here’s a run down of the continuous lights Michael has in his kit.
LOWEL GL-1 POWER LED

This high powered spot light is good for back lighting, spot lighting, and lighting more than one person. It’s very powerful, and the large rechargeable battery lasts a long time. The light is dimmable, zoomable and the light can be mounted on a tripod.
WESTCOTT ICE LIGHT

The Ice Light is such a versatile piece to have in your kit. Michael uses this for light painting, detail shots (rings, flowers, cake, etc.) and portraits. The light is only large enough to light one person at a time, but the soft light wraps nicely around the face. You need to be very close to your subject with this light, and it works best at longer focal lengths (not super wide angle). Michael uses an articulating hotshot mount for the Ice Light when he doesn’t have an assistant on hand. This allows him to place the ice light at any angle on his light stand.
LED FLASHLIGHT

Micheal has various flashlights in his kit, from cheap little lights he picked up at a gas station to expensive flashlights developed specifically for photographers, like the Dedo Light LedZilla or RetLight. These little lights do have their limitations, but you can use them for adding a hint of light to your scene, creating spot light on faces and for helping you to focus in the dark. They are super handy because they are so small and lightweight (Michael keeps one in his pocket during the wedding day), compact and portable.
LED VIDEO LIGHT PANELS

LED video panels are great for backlighting because they are wider and cast light over more area. Beware they can have a slight green color cast. The cheaper the light, the worse the color for skin tones, in general.
More Tips from Michael
Live View Mode

Michael shoots with a Canon 5D Mark III and often uses the incredible Live View feature of that camera. Shooting in Live View allows him to see exactly what he’ll be getting as far as flair, bokeh and lighting are concerned when using continuous light. I’ve always avoided using Live View because it can drain the battery but if it will help in creating a stunning composition without having to take a ton of shots, I’m all over it. I’m totally going to give it a try on my next shoot.
Color Balance Contrast

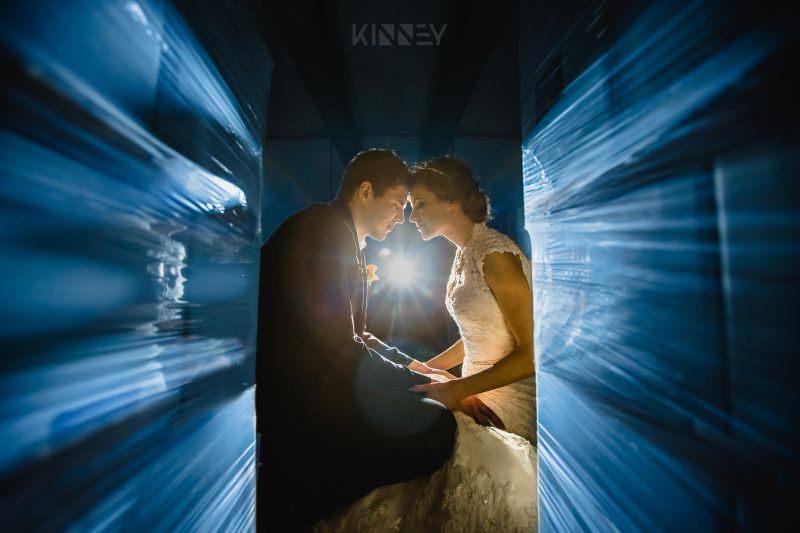
Michael often uses a color balance contrast in his images. What does this mean? He’ll use a daylight balanced light for the backlight, which casts a blue hue, and then a tungsten balanced light on the faces of his subjects, which has a warmer, yellow color. This creates a nice, dramatic color contrast in the image and helps separate the subject from the background.
My favorite thing about watching Michael work is that he never stops at the safe or obvious shot. He’s always looking for an interesting angle, something cool to use as a reflection or innovative way to add drama to a scene with lighting. He creates truly unique works of art for his clients. Check out Micheal’s work at tagphotographynw.com.
Credit: Photographs by Michael Kinney are copyrighted and have been used with permission for SLR Lounge. Do not copy, modify or re-post this article or images without express permission from SLR Lounge and the artist.
Related Articles to Continuous Light Definition
The Benefits of Flash vs Constant Light | Why It’s Worth Investing in Lighting Gear
When photographers consider their options for lighting a scene, they typically choose between using natural light or flash. While natural…
Godox AD100 Pro Review | A Light in a League of its Own
At the start of this year, Godox announced an interesting new addition to its lineup of flashes: the Godox AD100…
Godox V1 Review | A Speedlight Disguised as a Studio Strobe
Is this the best solution for your permanent on-camera flash? Find out if the Godox V1 in this long term review.
Lume Cube Light Review
The Lume Cube is a small 1.5″ by 1.5″ LED that boasts an impressive 1500 Lumen output and Bluetooth technology, but its real trick is that it acts as both a continuous video light or a flash/strobe. Is this the perfect accessory light for any gig?
5 Reasons To Bring An IceLight On Every Shoot | Story & Heart
The IceLight has become one of the photography world’s standout lights, and has been taking hold of the video world too. Here are 5 reasons why you’ll want one for your video stuff, as well as your photography.
$50 DIY Continuous Lighting Set-Up For Great Portraits | Aaron Nace
For little money, you can have a 3 light set-up for taking great portrait. Aaron Nace shows you how to make it, and make the most out of it.
Using Continuous Lights For A Simple Glamour Portrait
Using continuous lights for portraiture is a great way to learn lighting. Plus it’s a throw back to the old Hollywood glamour days!


Get Connected!