Action photography captures the excitement of a moment in time. Whether it’s a child playing in the park or an athlete competing in a major event, action photos are all about capturing the energy and movement of the subject. In order to take great action photos, you need to have a good understanding of shutter speed and how it can be used to freeze or blur motion. You also need to be able to anticipate the action, so that you can be ready to capture the subject at just the right moment. In this article, we’ll explain how to level up your action photography.
Action Photography Video Demo
In this article/video, we’ll start by showing you what to avoid for capturing an action photography shot, and then we’ll go through the artistic process of finding better picture angles to get to our final image. We cover these concepts and more for all cameras, including smartphones, in our Creative Photography 101 Course.
6 Steps to Better Action Photography
Avoid the “Walk Up” Shot

Before we get into the steps for capturing an exciting action photography shot, let’s talk about walk up shots and how to avoid them. To illustrate, we began this session by capturing a walk up shot of our model Derek doing a backflip on the beach. The shot is framed well enough, but the background is distracting and the picture angle is average at best. Unfortunately, this is the picture angle that most people would use when walking up with their smartphones or cameras to capture the action.
Use a Wide Angle Lens for Action Photography
First, lens choice. As a general rule, you want a lens that is as sharp and fast as possible. Depending on what you are shooting, you are likely going to want something that can get close to the action. If you are shooting a sport like baseball, hockey, soccer, football, or anything else with a large playing surface, your best bet is to purchase or rent a fast zoom lens such as a 70-200mm f2.8 or something similar. If you have good lighting, there are quite a few options for longer telephoto lenses that won’t break the bank but that will still provide great images.
For non sports action photography, start building your action photography shot by using a wide angle lens, such as a 15-35mm lens at 15mm, which will allow you to move in closer and actually get into the action.
Basically remember:
- Large playing surface = Use a zoom lens to get close to the action.
- Smaller playing surface = Move around!
Action Photography Composition

Rather than relying on a perfect background, we can look for creative picture angles that use available objects in our favor. For this shot, I chose to lie on the ground and shoot toward the sky, incorporating the palm trees that the model used to launch into a backflip. The trees (along with the sand that I’ll introduce later) serve as a thematic element for the beach, but they also help frame the subject, leaving plenty of negative space in the blue sky to highlight the backflip and make the model’s outfit pop against the background.
Pro Tip: Snap a reference shot. Ask your subject (or an assistant) to step in while framing your shot so that you don’t have to repeat the action because you didn’t frame it properly.
Whenever your subjects are moving in a direction, a basic rule of photography is to leave room in the direction the subject is moving. This rule is important because the viewer’s eyes are naturally drawn from the subject to whatever the subject is looking at or facing. If the subject is facing the edge of the frame, it leaves the viewer wondering where the subject is looking. Furthermore, if the subject is moving toward the end of the frame, it leaves the viewer wondering where the subject is going, leading the attention off of the image. Lastly, if the subject is moving toward the edge of the frame, the subject can seem confined and enclosed. As always, showing is more effective than explaining, so as you view these images, imagine how they would look if the subjects were cropped at the other end of the frame.
 Shot at the 2009 University of Utah vs. San Diego State Football Game in San Diego, CA on a Canon 40D with a 70-200mm f/2.8L Zoom Lens at 1/250 f/2.8 ISO 400
 Shot at the Summit House in Fullerton, CA on a Canon 40D with a 70-200mm f/2.8L Zoom Lens at 1/400 f/2.8 ISO 200
Dial In Your Exposure Settings
Before you cue the action, make sure to dial in your exposure settings. If you aim to freeze the action, prioritize your shutter speed and then adjust your ISO and aperture until you get a balanced exposure. Ideally, you want to maximize your dynamic range to maintain as much of the highlights and shadows as possible. You can enable the highlight alert and use the histogram to help ensure that you’re not blowing out any highlights on your subject’s skin. I like to use live view for this step.
Pro Tip: Set your camera to burst mode (or some similar high-speed setting) so that you can shoot through the action as it unfolds and choose the best frame for your final image.
Lock Your Focus
You don’t want your camera to hunt for focus during your action photography, so lock in your focus ahead of time. For this shot, I set the focus on the model’s head while he stood by for the reference shot and then enabled the focus lock feature on my camera. You can also switch the lens to manual focus.
Cue the Action and Add Variations
All that’s left at this point is to cue the action and capture the shot. After looking at my initial capture, I liked the results, but I wanted to see how it’d look if I added another visual element. I decided to throw sand over the subject during the flip, which you can see in the final images below.
Pro Tip: I would recommend exercising caution when photographing at the beach, especially when playing with sand. Cameras and sand don’t mix well!
Final Images
Before

After

Settings for the Final Image: 15-35mm at 15mm, 1/2000, f/4, ISO 100 | Edited with Visual Flow Presets > Mood Pack > Hard Light
What Kind of Motion Should You Show?
There are two approaches to photographing motion. You can freeze the motion in progress or you can capture it in a manner that shows the motion. If you choose that option, there are two ways to do it. You can either allow motion blur into the photograph, or you can pan along with your subject and blur the background to indicate motion.
Motion Blur for Action Photography
To introduce motion blur to a photo, simply lower the shutter speed enough that the sensor picks up a bit of your subject’s movement. You can simply take the photo as you follow your subject with your camera and with a slower shutter speed they will leave “trails” as they progress through their motion. Or, if you know where your subject is going to end up (like a runner at the finish line or a baseball player at home plate, etc.) you can pre-focus on where they will end up and snap the picture as they move into the frame. This will also capture the motion while helping provide a sense of action to the shot. Another fun way to be creative with this is to use a slower shutter speed that shows motion blur while turning your flash on in rear curtain sync mode. This will fire your flash at the end of the exposure capturing both the motion trails and a relatively sharp capture of your subject.
Freezing Motion in Action Photography
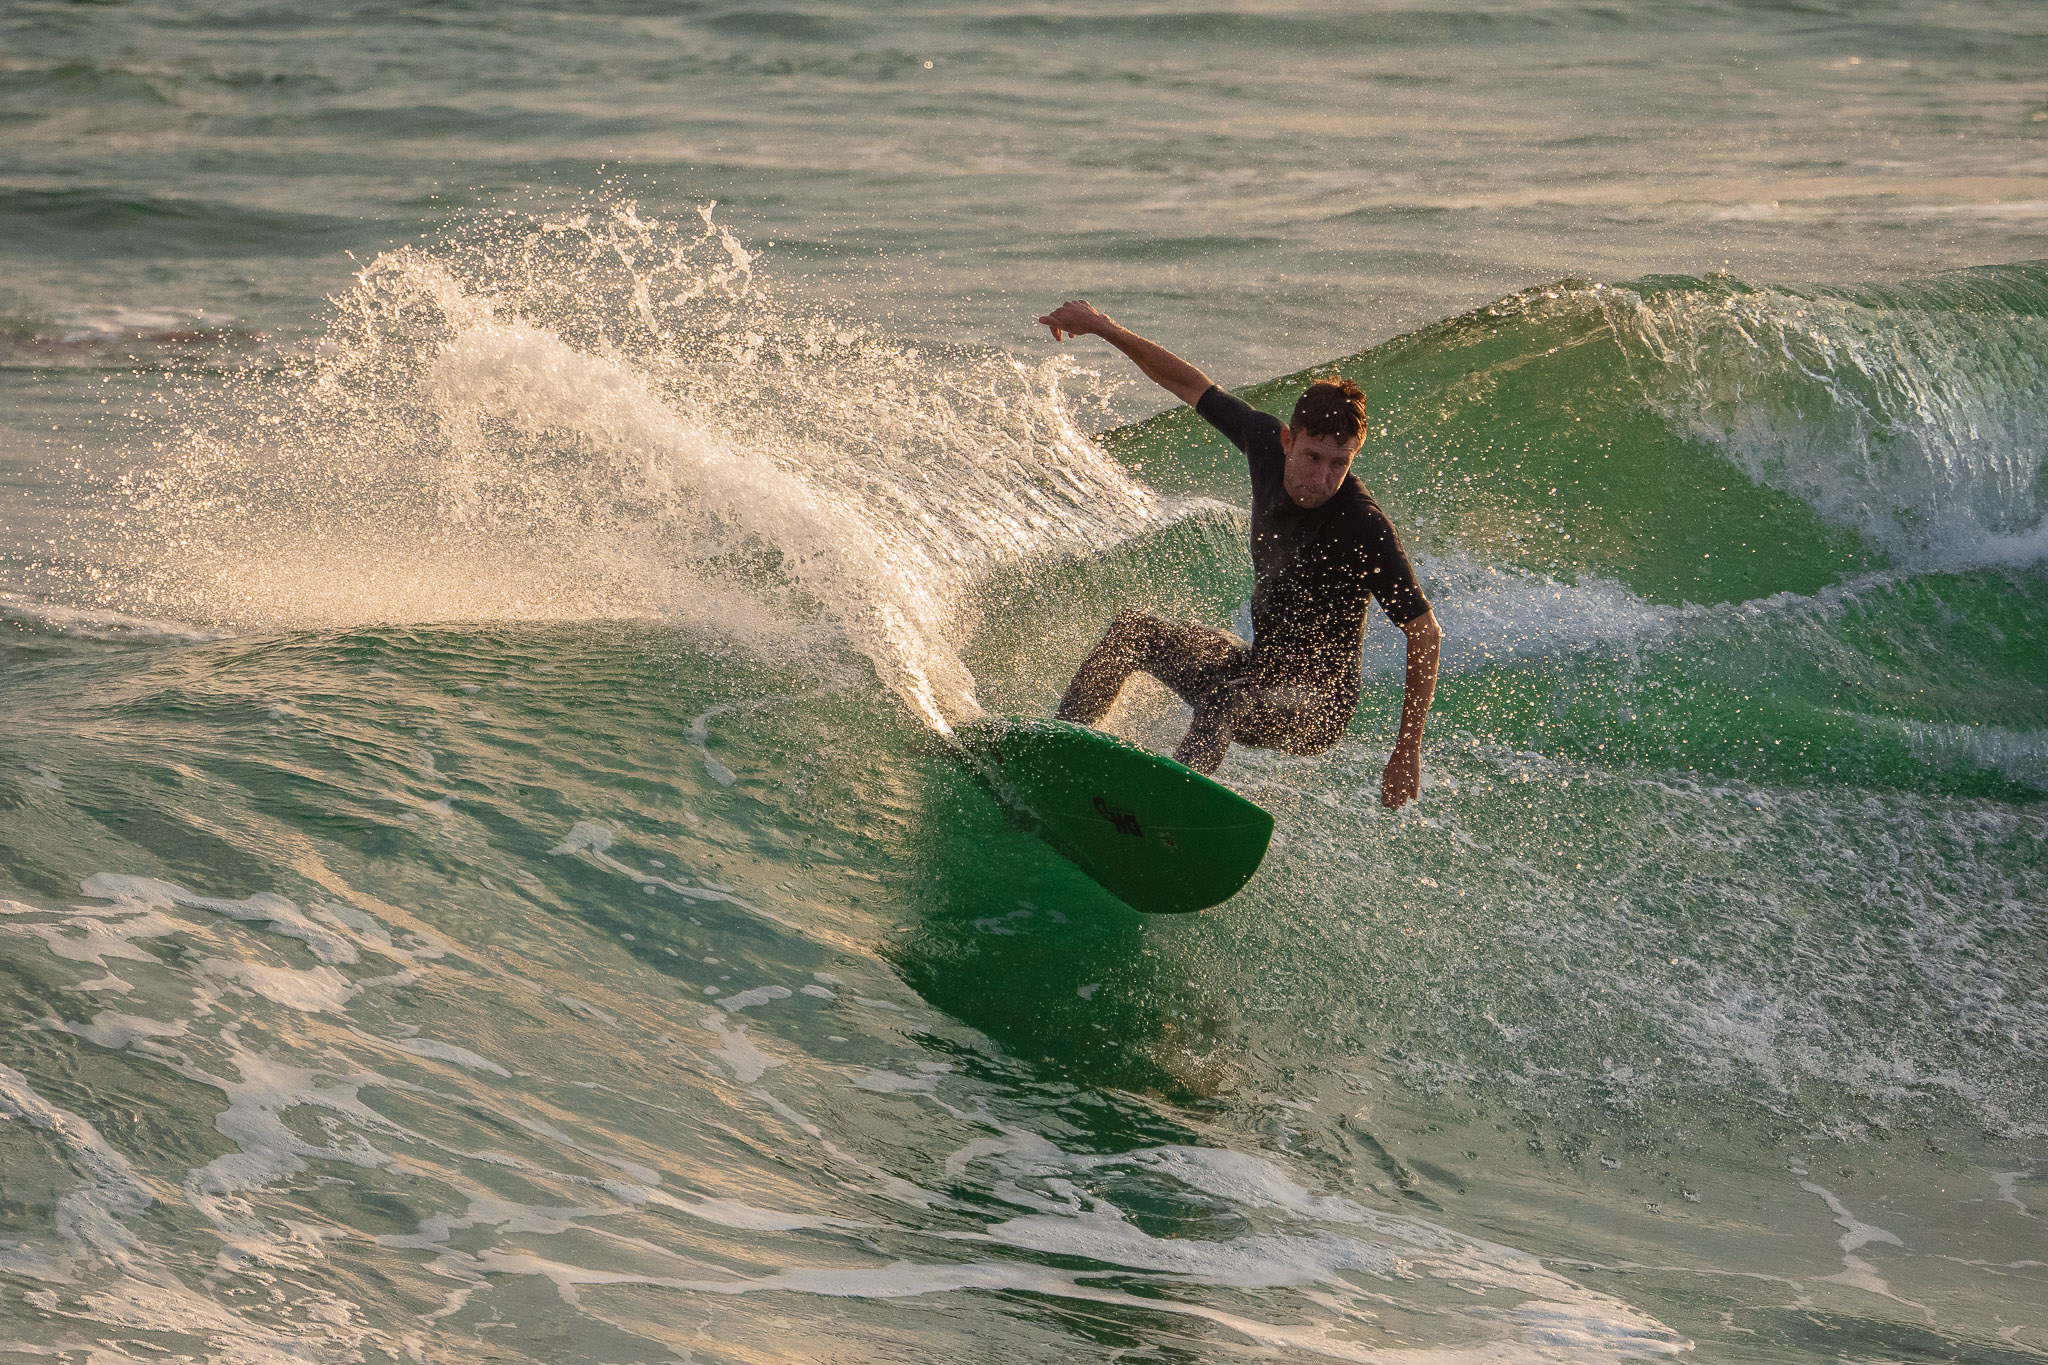
This might actually be one of the simplest pieces of the puzzle! Freezing motion is all about getting your shutter speed high enough that the camera doesn’t show the movement. Depending on what you are shooting, you might have to get shutter speeds up into the thousandths of a second! Of course, when doing this, you have to be in an area that has excellent, bright lighting. Obviously, the shutter isn’t open very long in these cases so, the more available light in this case, the better.
Conclusion
As photographers, we really have no excuse for capturing uninteresting photos. Most everyone has access to quality cameras these days, even using their smartphones. Where people tend to come up short is technique. As you can see here, putting in a little creative effort can go a long way to build a worthwhile action photography shot.
If you’d like to dive deeper into your photography education and exercise your creativity side, our latest course, Creative Photography 101, provides frameworks for training your creativity so that you can stop settling for boring photos.