
As technology continues to progress, working on the go as a photographer has never been easier. Gear continues to become smaller and lighter. The tools become more versatile. Everything you’ll need can be packed into a single convenient travel backpack. Nowadays, there’s hardly an excuse to not take great photos anywhere you go. In this video/article, I’ll be walking through the best camera accessories for photographers.
Practical Camera Accessories
A Portable (And Sturdy) Tripod

A sturdy tripod is a standard for any photography on the go. It’s also important that it’s not too heavy or bulky. My top choice for this tripod is the Peak Design Travel Tripod. It comes in either aluminum or for those looking to keep things lightweight, carbon fiber. The size and ergonomics of this tripod make it perfect for photography on the go. Collapsed, it keeps a low profile and fits anywhere. In addition, unlike many lightweight tripods, the Peak Design Travel Tripod is extremely sturdy. It can comfortably hold a large DSLR camera and you won’t have to worry about it shaking during a shot or tipping over. See our list of the best tripods for more info.
Lens Cleaning Kit

This one is pretty straightforward. If you’re constantly shooting on the go, your lens will get dirty. So, it’s important to have a cleaning kit with you to make sure your images come out crisp and dust-free. You can grab a kit from any camera or big box store. For quality lens cleaners, I recommend Zeiss. (Please don’t use your shirt.)
RGB LED Light

For this, I have my trusty Faclon Eyes Pocket Lite. It comes with an accessory kit with a grid and diffuser. I also have with me a Lume Cube with a diffuser. These are great to have with you for these reasons:

- They’re RGB LED’s. This means that they can switch to any color rather than being fixed at a set temperature. The wide range of colors means that you can get creative with it like this special effect. I set the color to red, then, used a long exposure to create this effect around the model.

- If you’re a travel photographer, it’s probably common for you to travel in the dark. Having an LED light is perfect to light your path to your vantage point for that perfect shot. Safety should always be a priority.

- It’s perfect for light painting. Landscape photographers shooting at night will find these nifty LED’s perfect for sculpting during long exposures.
Portable Battery

This one is a no-brainer. I use an Intertek 20000 mA battery pack that has multiple ports (here is another great option). This is crucial for keeping all of your devices charged. However, it’s also handy to keep your cameras charged up on the go. Most cameras today are able to be charged via their USB-C ports and that makes it compatible with most portable battery packs. So, if you’re in a pinch and are out of your normal batteries, it can serve as another backup to keep you going.
Creative Camera Accessories
Next, let’s get into some of our favorite photography accessories for creative effects.
Spray Bottle
A spray bottle is a simple camera accessory that you would never think to use for photography, but spray some water on your lens and you can “she’s-all-that” a boring image into “homecoming queen.”
Directions
- Spray water on desired part of the lens
- Control the size of the foreground bokeh by adjusting your aperture (wider aperture = bigger bokeh)
- Make sure there’s no dirt on your lens, because you can scratch your lens while wiping the water off

Prism
A prism can be used to add unique reflections, change your composition, or even add a flare. The best part is that it’s portable, and you can bring it to any shoot!
Directions for using this as a camera accessory
- Bring prism up to your lens, twist and turn until you find your desired composition
- Keep note of which photos you like and how you held the prism, so you can easily re-create the look later

LED String Lights
LED string lights are one of the most affordable ways to capture foreground bokeh. Amazon has plenty of options under $10!
Directions
- Turn on LED light and hold in front of your lens
- You can change the intensity and size of the bokeh by moving the light string
- The closer the light string is to the lens, the bigger the bokeh
- The further the light string from the lens, the smaller the bokeh

Sparklers
Sparklers are like mini bokeh sunsets when they’re held close to your lens. Every beautiful flaming piece of gun powder that shoots toward your face and lens results in an extraordinary image (just use caution!).
Directions
- Light the sparkler and hold in front of your lens
- Be sure not to hold it too close, so you don’t damage your lens, camera, or face
- Hold the string slightly above the lens, so the sparks fall into your image
- If you want smaller sparks, move the sparkler away from the lens
- If you want larger sparks, move the sparkler towards the lens, as long as it’s a safe distance

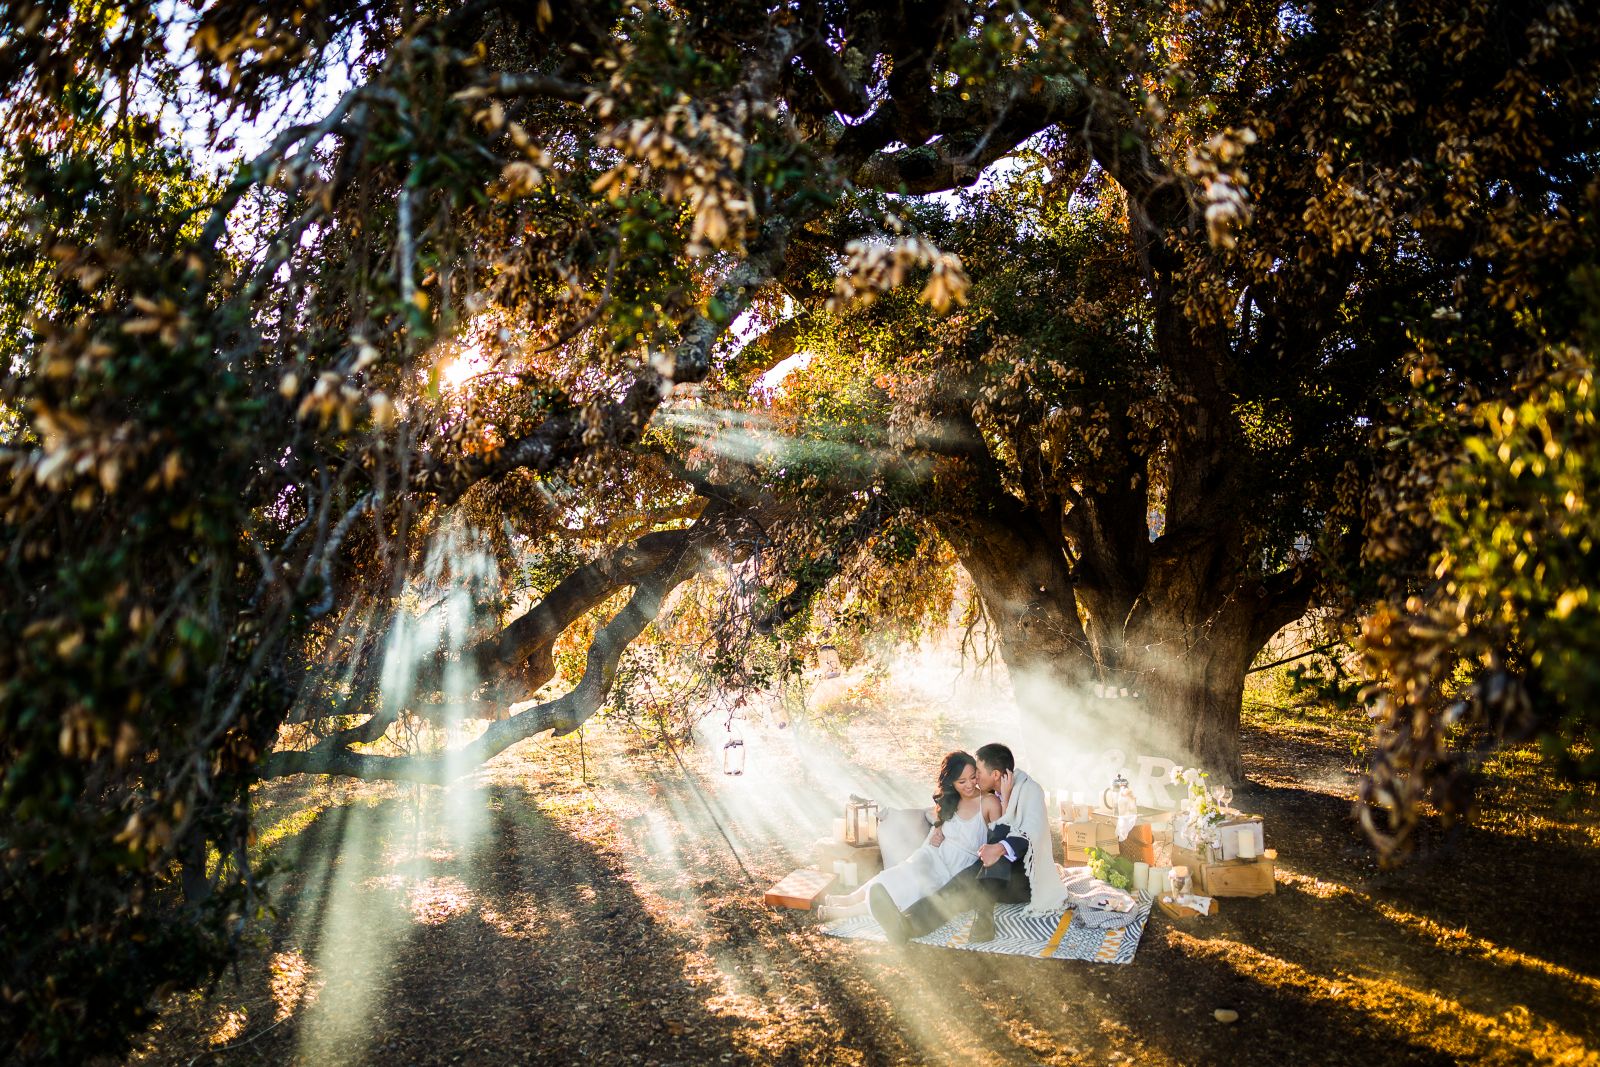
Fog Machine
Fog machines are as much fun as they are photogenic. A little bit of fog in some places can add a lot of depth and texture to a scene. They can be expensive to buy, but are extremely affordable to rent, so don’t be afraid to try one out!
Directions
- Fill the scene with the desired amount of fog
- Using a reflector (or any thin, broad object), waft the fog around to control the spread
Dollar Store Steals | Photography Must-Haves For $5 Or Less
White Foam Core – It would be a crime not to lead off with white foam core board. If you’re unfamiliar with this, foamcore is a piece of stiff foam sandwiched between paper. You’d be hard pressed to find a more versatile and consistently useful item anywhere – simplicity is king. This was the only lighting tool I had when I first started with photography, and it’s still my favorite light modifier.
Kitchen Turntables – The next item is a bit less flexible, but a great tool to play with. Kitchen turntables are perfect for photographers looking to experiment with 360 degree videos without spending a fortune on motion control machines. Whether you want to impress a bride with a video of the wedding rings, or simply take your product photography up another level, this is a great way to get your feet wet.
Tape – The seemingly magic material is worth its weight in gold on film sets and photo shoots. It can be used to keep cables down, tighten loose clothing, labeling, fix shoes, make hangers, cover branding, etc. I keep about 100 feet on my tripod at all times.

Flashlight – Useful for finding gear in a dark venue or bleak sound stage
Sharpies/Pens – Inevitably, you will need to write something down or label something
Breath Mints – In case you have bad coffee breath when meeting a client first thing in the morning or if Mila Kunis shows up.
Ball Bungies – Keeping cables wrapped up or hiding light stands behind curtains

Friction Arms – Attach a monitor or field recorder to anything (if you are out of gaff tape)
Spring Clamps – Holding up reflectors or keeping backdrops tight
Tide To-Go – I should buy stock. I have used mine at almost every wedding last year, from messy grooms to clumsy bridesmaids. It will save you from fixing the stain later in post production.
C-47s (Clothespins)/Binder Clips – Every wonder how clothes in magazines look so crisp and form fitting? Also useful to hold gels on light fixtures
Multitool – What other device can ply, cut, measure, or file and fit into your pocket? This along with my camera is part of my everyday carry.
Conclusion
I hope you enjoyed this article/video. For photographers on the go, every piece of gear in your kit needs to be essential. Durability, as well as reliability, are some of the most important things a photographer has to consider when shopping for the best camera accessories. Thanks to today’s technology, the accessories on the market only continue to get better. I can’t wait to see how the tools we use today are reimagined and improved in the future.
Before you go, be sure to drop by SLR Lounge Premium for comprehensive courses on all things photography. In addition, don’t forget to subscribe to our Youtube channel for tutorials, reviews, and more!


Get Connected!