Before the wedding reception begins, there’s a great moment for photographers to showcase their creativity and lighting skills: the ballroom reveal. This is when the decorations are set but the guests haven’t yet arrived, creating a perfect opportunity to capture beautiful portraits of the bride and groom. Although this time is full of creative potential, it presents its own set of challenges, including low light and major time constraints. This guide will help you make the most of this brief yet valuable time, offering practical tips for capturing stunning photos quickly and efficiently.
Camera Gear and Settings for Ballroom Portraits
To achieve the best results during the ballroom reveal, you’ll want to equip yourself with the right gear. A camera that performs well in low-light conditions is crucial. Pair it with a lens that has a wide aperture (f/2.8 or lower) to capture more light and bokeh. Additionally, bring along two off-camera flash units, an umbrella or softbox for diffusing light, and consider a flash grid to control spill and direct light more precisely.
As for camera settings, these will vary depending on the lighting conditions and the effect you’re aiming for, but here are some general starting points to try:
- Aperture: f/2.0 to f/2.8
- Shutter Speed: 1/100th to 1/200th of a second
- ISO: 1600 to 3200
- White Balance: 3500 to 4000 Kelvin (Adjust based on the color temperature of the room)
- Flash Power: Between 1/32 and 1/128, (Adjust as needed for your subject distance)
Must Have Shots for Ballroom Portraits
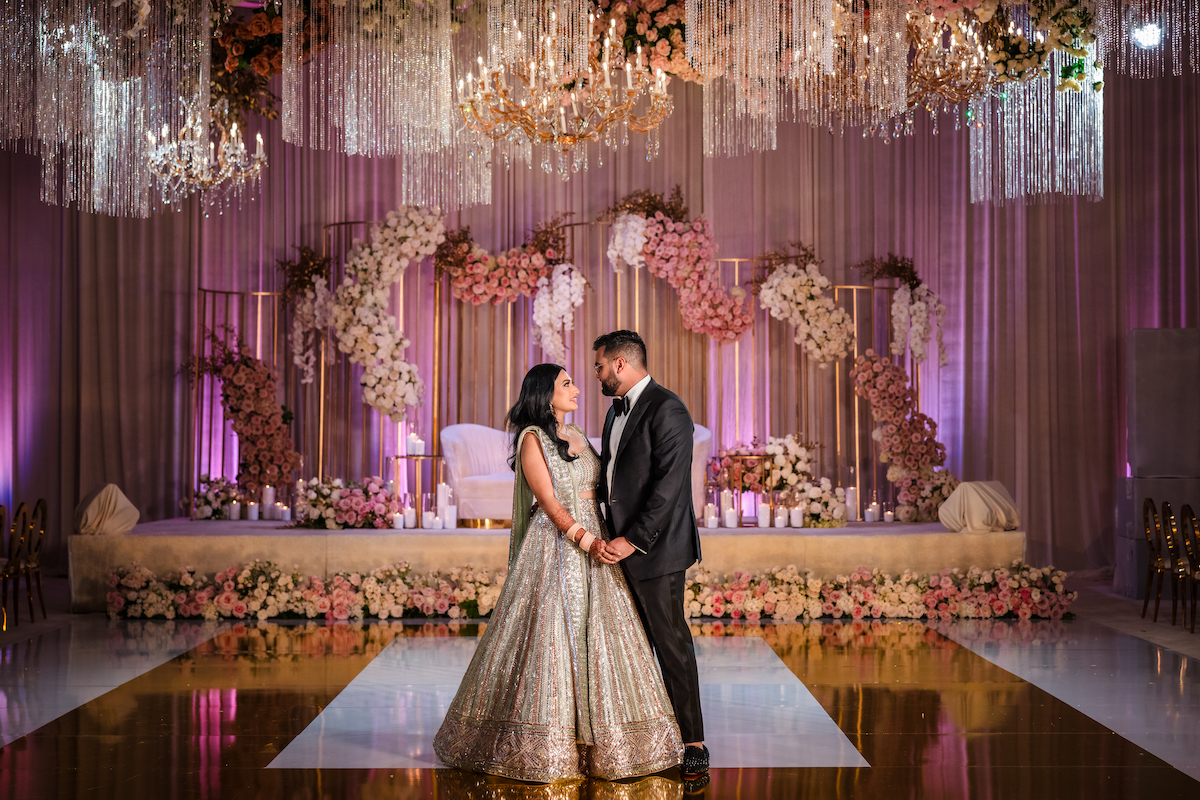
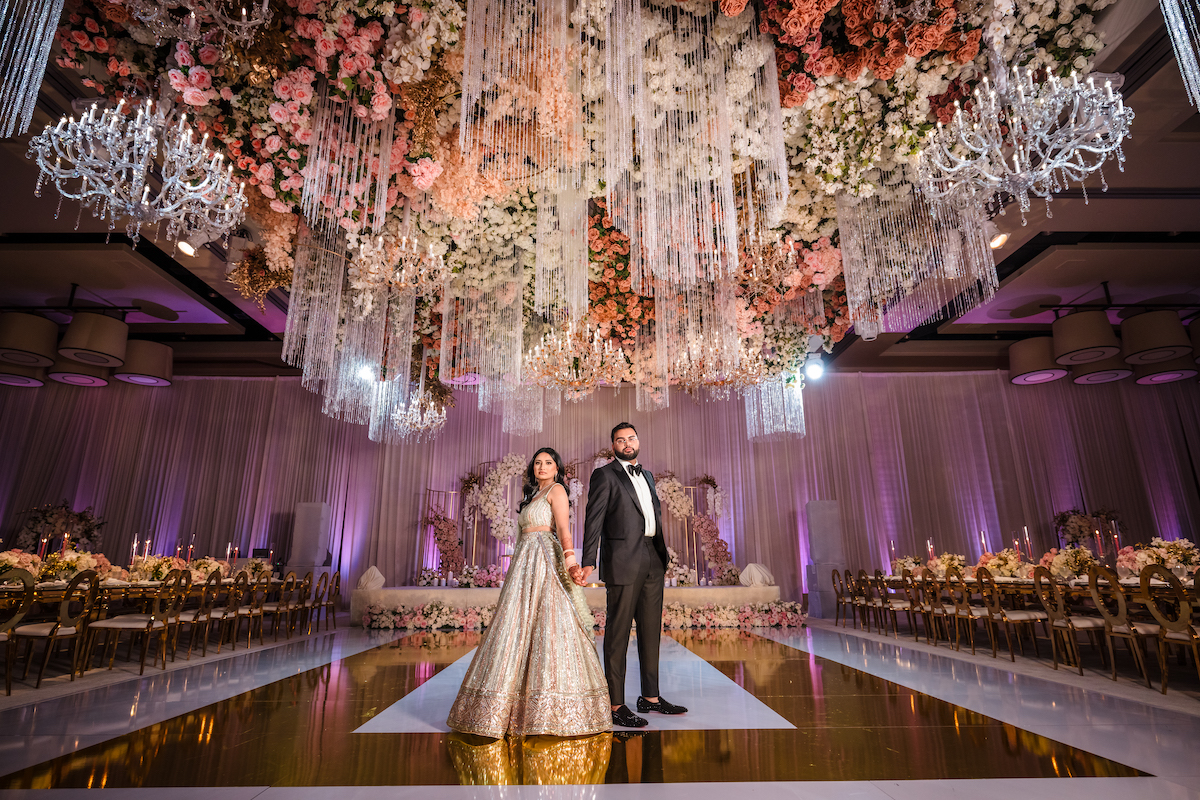
Classic Pose in Center of Stage – Begin with the bride and groom centered on the stage, positioned about 5 feet from the backdrop to add depth to the shot and minimize light spill. Pay close attention to the details: ensure the subjects are precisely centered, and their expressions and attire are flawless.

Add Variations – Once you’ve set up your shot, make small adjustments to the pose for variety. Encourage the couple to look at each other, alter hand placements, share a kiss, and vary their expressions. Also, experiment with different zoom levels; aim to capture 3-5 distinct images from each setup.
Wide Angle Above or Below – Utilize the venue’s architecture or ceiling decor by taking shots from lower or higher angles. A bottom-up perspective can dramatize the architectural details, while a top-down view can offer a unique vantage point of the couple.

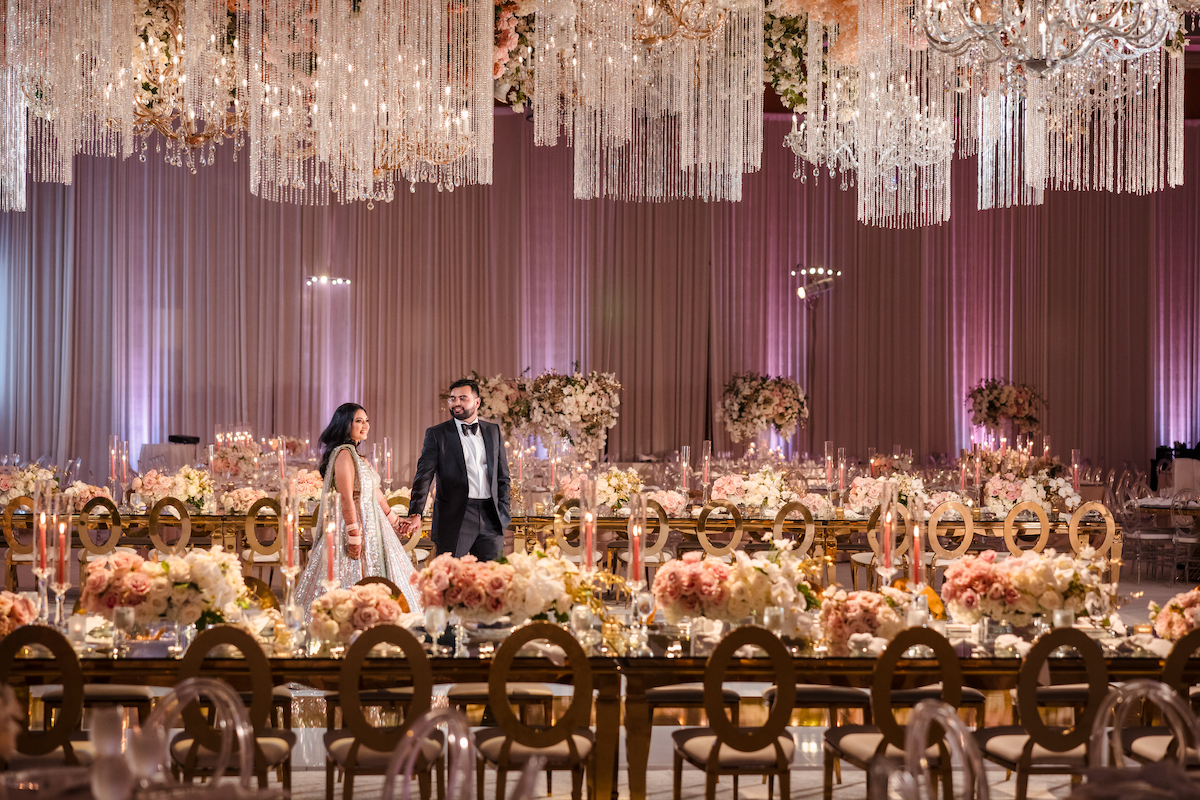
Shoot Through on Zoom Lens – Position yourself to the side and use elements of the décor as a foreground, creating a layered effect in your photos. Opt for a zoom lens ranging from 50mm to 200mm to best frame your subjects.
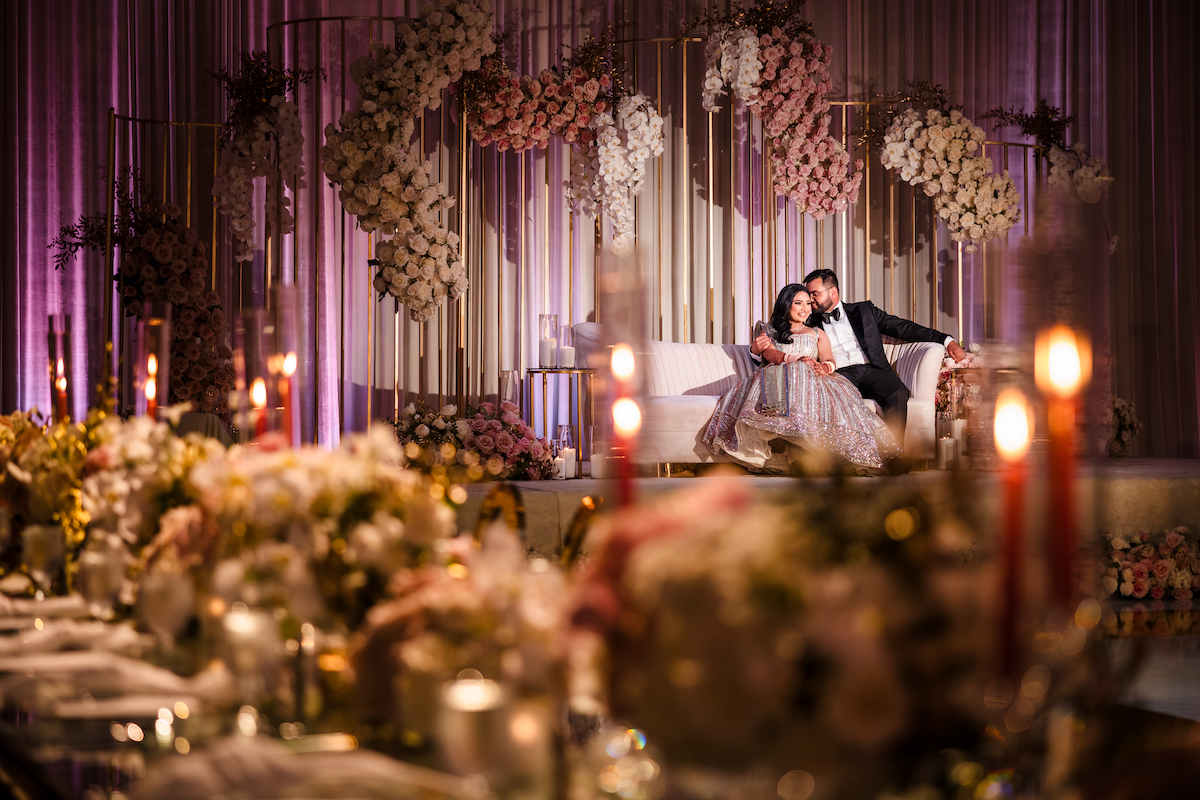
Seated Shots from Center – If there’s a stage with seating, have the couple sit close together or with the bride leaning on the groom. Choose lighting that complements the mood, like a soft umbrella light or a flash grid to control spill.
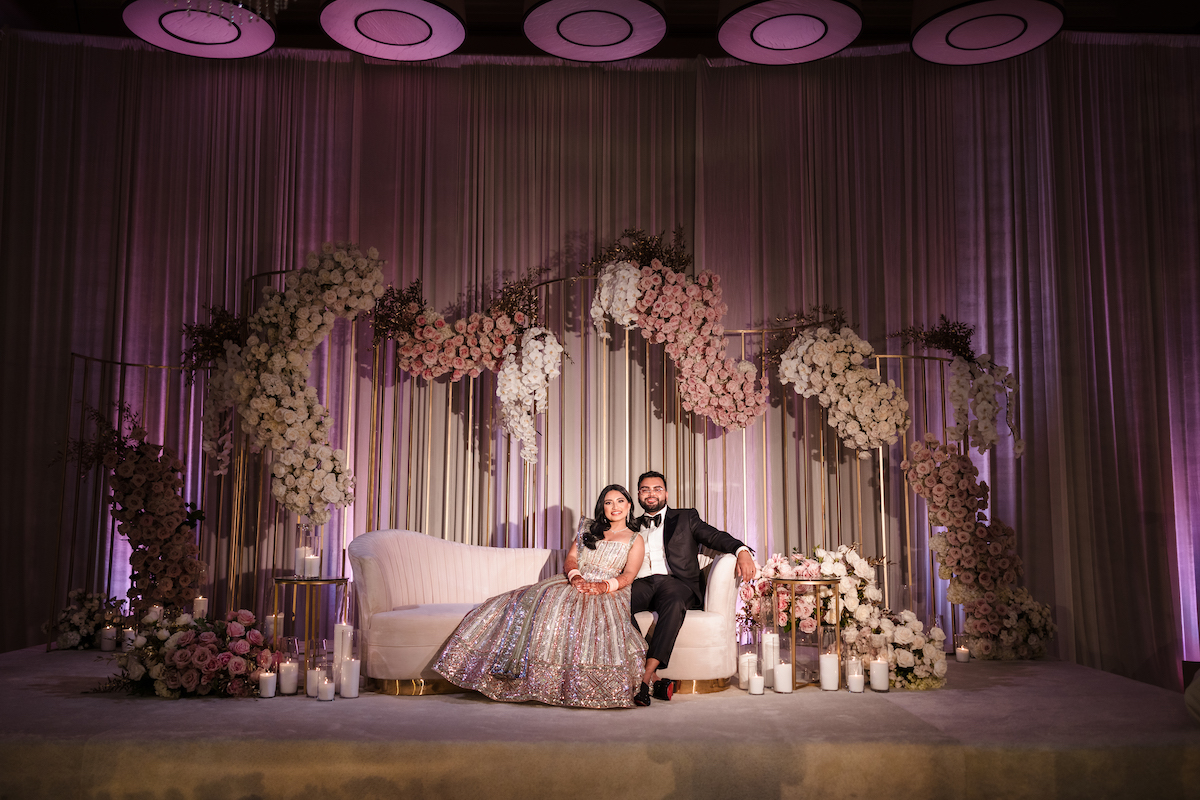
Sitting from Side Angle – As mentioned earlier, once you have them in position, get a few different angles and poses from the opportunity. Get onto a zoom lens and shoot through the decor for some interesting creative compositions.
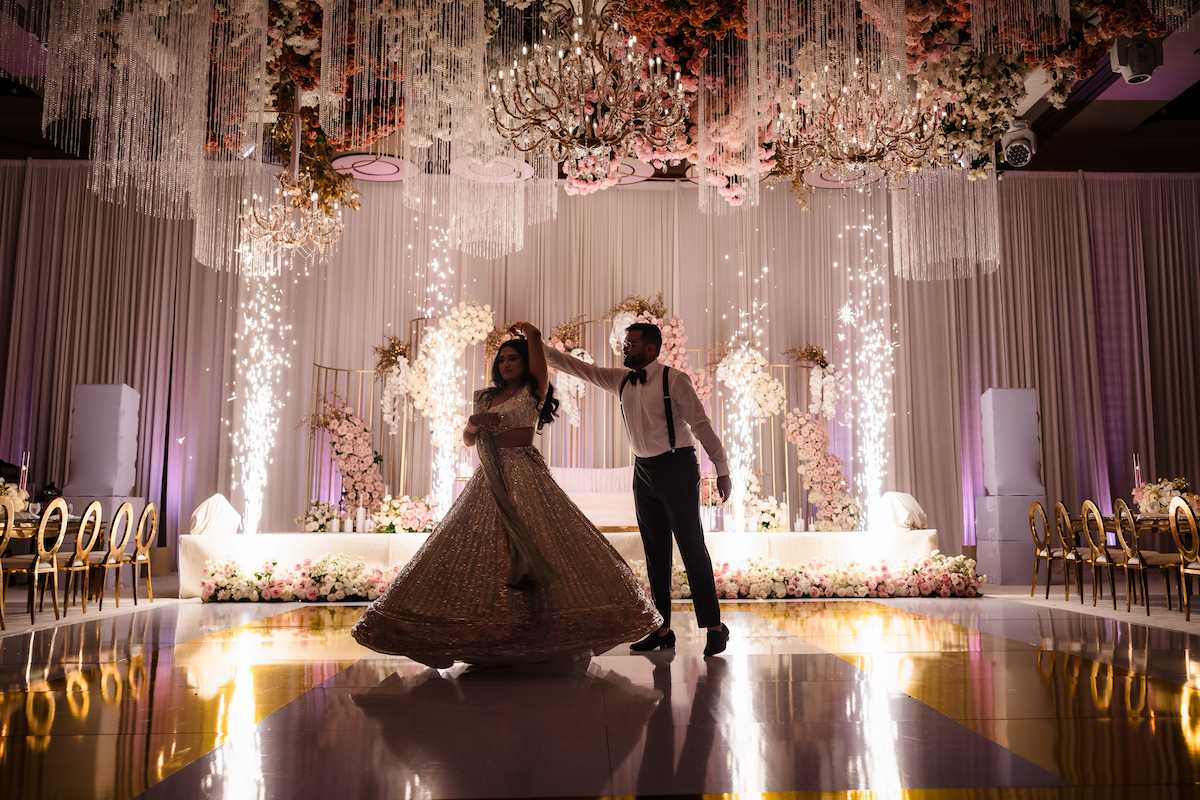
Add Movement – To add a dynamic quality to your photos, make sure to capture moments of movement. A series of overly static shots can seem too staged. Encourage the couple to rehearse their first dance or to walk towards or away from the camera. These actions can bring a natural, lively feel to your images, infusing them with energy and spontaneity.
Experiment with Editorial Flair – Incorporate poses and expressions that have an editorial flair. This could be the couple back to back or with both toes pointed towards the camera. Opt for more serious, contemplative expressions to capture a range of emotions. You can also experiment with layering your subjects, such as one standing while the other sits, to add depth to your compositions. Whenever possible, take the time to play around and experiment with these elements to create visually compelling and unique images.
Common Mistakes in Ballroom Portraits
Here are a few of the most common mistakes to avoid.
Rushing Through Shots – Spend adequate time to perfect each lighting and pose combination. Capture multiple angles and variations before moving on to ensure a diverse portfolio of images.
Handling Pressure – Wedding setups are fast-paced, and you may face pressure from other vendors. The band might want to set up, the serving staff may want to pour the water, or the planner might want to open doors for the guests. Maintain composure, manage your time efficiently, and employ your best crowd control techniques to ensure you get the shots you need.
Attention to Detail – It’s crucial to monitor every aspect of your frame. For centered shots, double-check that the subjects are truly centered. It’s easy to overlook such details in the rush of the moment.
Variety is Key – Don’t limit yourself to just standard shots. Time permitting, explore creative angles and compositions to enrich your collection of images.
Conclusion
In conclusion, capturing the essence of the ballroom reveal through your lens requires a mix of technical skill and creative vision. By starting with a classic center stage pose and progressively exploring variations and unique angles, you can create a stunning portfolio that truly captures the magic of the moment. Remember to be patient, pay attention to detail, and embrace the opportunity to capture these once-in-a-lifetime memories. With the right approach, you can ensure that your photographs stand out not only for their beauty but also for their ability to convey the emotion and grandeur of the wedding day.