
When shooting on-location, it helps to have a plan (or vision for the shoot) in mind, as well as dependable, portable gear. The latter holds especially true when using flash and working without an assistant. We recently hit the streets in downtown Santa Monica to capture some urban-style flash photography portraits while using minimal gear. From our session, we put together a list of three simple and creative one-light street portrait lighting setups that you can use on your next shoot.
Let’s get started.
Video: Three Simple and Creative One-Light Street Portrait Lighting Setups
Gear List
Here’s the gear we used for this tutorial. The reason we prefer using this gear has everything to do with its size and portability, as well as how easy it is to use. Also, it all easily fits into a single, basic camera bag. Of course, use whatever gear you have available.
- Canon EOS R5 Mirrorless Camera
- Canon RF 28-70mm f/2 L USM Lens
- Profoto A2
- Profoto OCF Beauty Dish
- Profoto Clic OCF Adapter II
- Profoto Connect Pro
- Profoto OCF Speedring
- Manfrotto Nano Stand
Let’s get right to it.
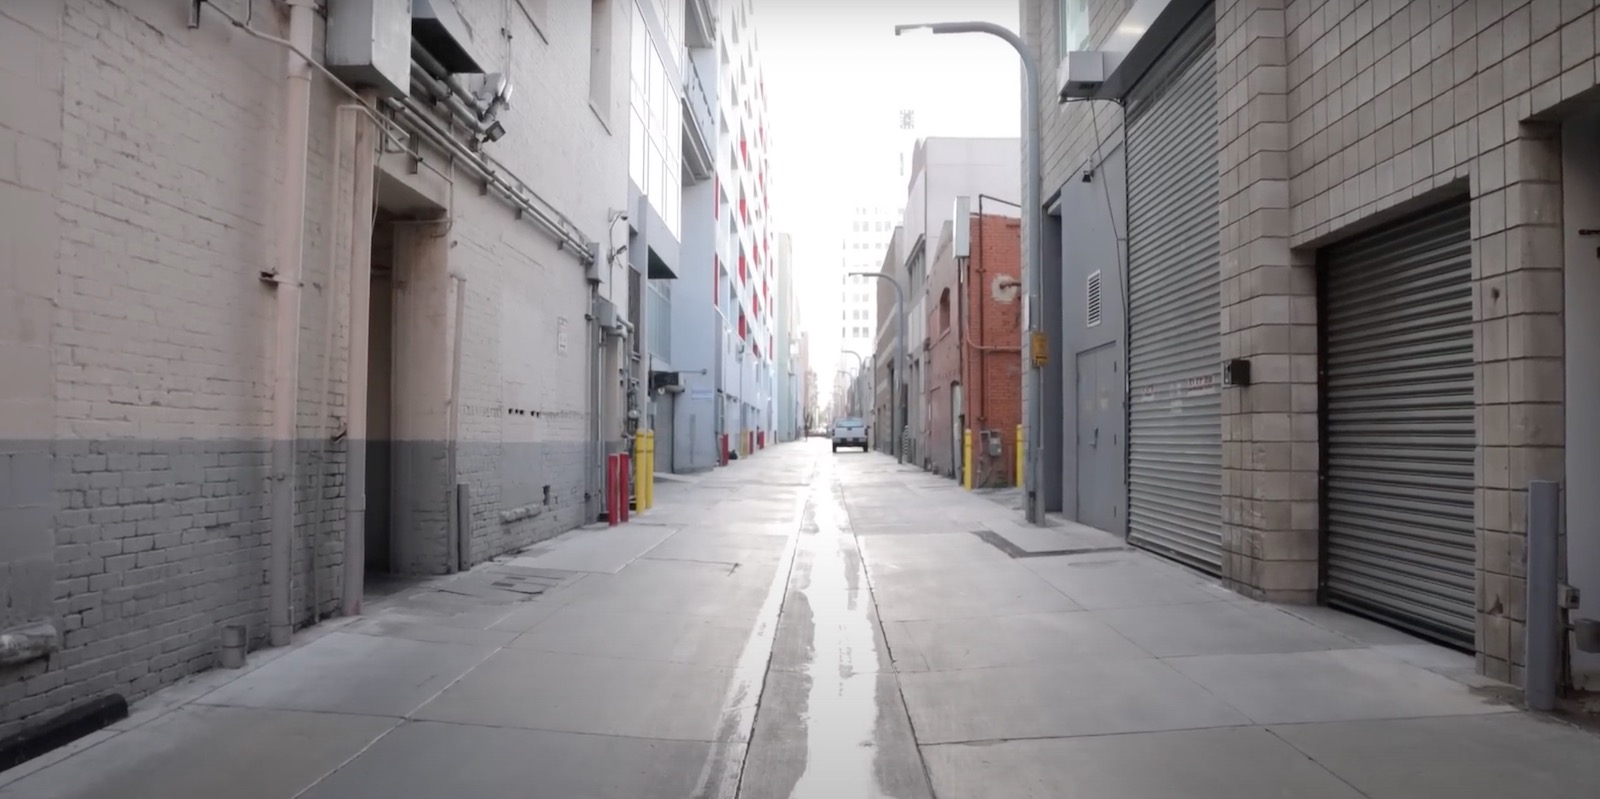
Street Portrait Lighting Setup #1
We decided to kick things off in an alley. While they might not be glamorous, alleys provide a great deal of depth and unique, natural light shaping. Also, if you’re lucky, you might find water running down the alley that you can use for reflections (which we take advantage of in this one-light portrait setup).
Composition
Using the C.A.M.P. Framework, we started with composition and placed our model in the center of the alleyway. Framing the image this way gave us a nice highlight in the background where the sky drops directly into our subject. Next, we positioned the camera low to the ground, just over a nice patch of water, so that we could see our subject in the reflection.
Lens choice plays a role in establishing your composition as well. We used a 28-70mm f/2 lens, but we’d recommend going with a telephoto lens if you have one. An 85mm or 70-200mm zoom will give you more compression and a nice, smooth bokeh to help separate your subject from the background.
Ambient Light

We set our ambient light on the lower side (1/1000, f/2, ISO 50) to preserve more details in the image and help our subject pop against it just a bit more when we add our off-camera flash.
Modify/Add Light
To light the scene, we used a Profoto A2 in a Profoto OCF Beauty Dish, which really acted more like a softbox. We opted for the white variation, but really, when you’re shooting outside during midday, the silver variation might typically be the better choice because it will get more light onto your subject. The upside of using the white variation, however, is the softer light it delivers. We placed the light onto a Nano stand and used our backpack like a sandbag to help weigh down the lighting setup. If you do this, please know that you’re doing so at your own risk.
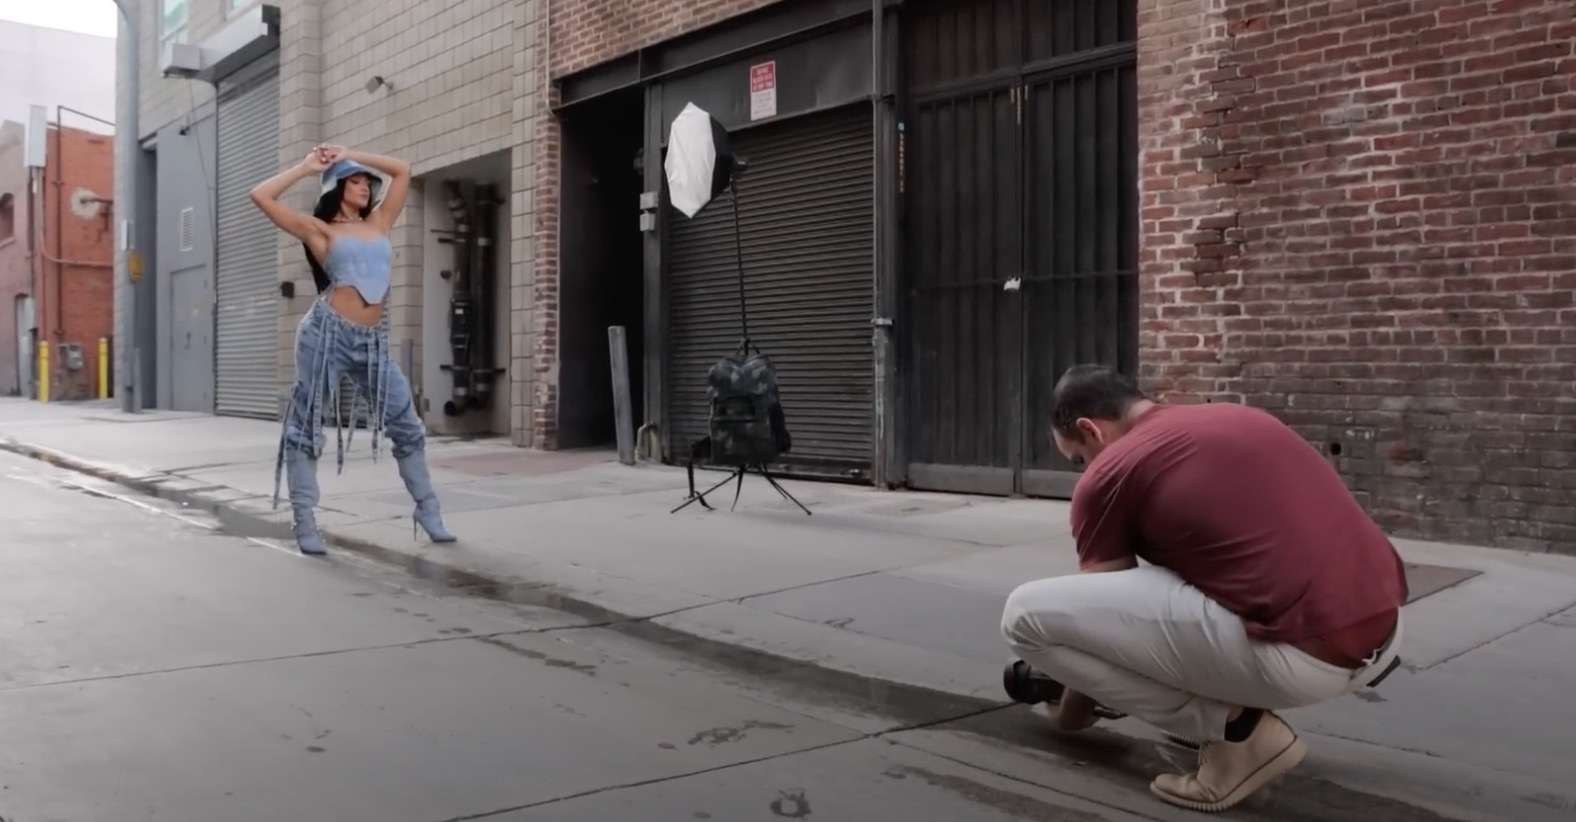
As for the light placement, we positioned the light off to the side of our subject, almost so that it stood perpendicular to her in relation to our position.
Pose and Photograph
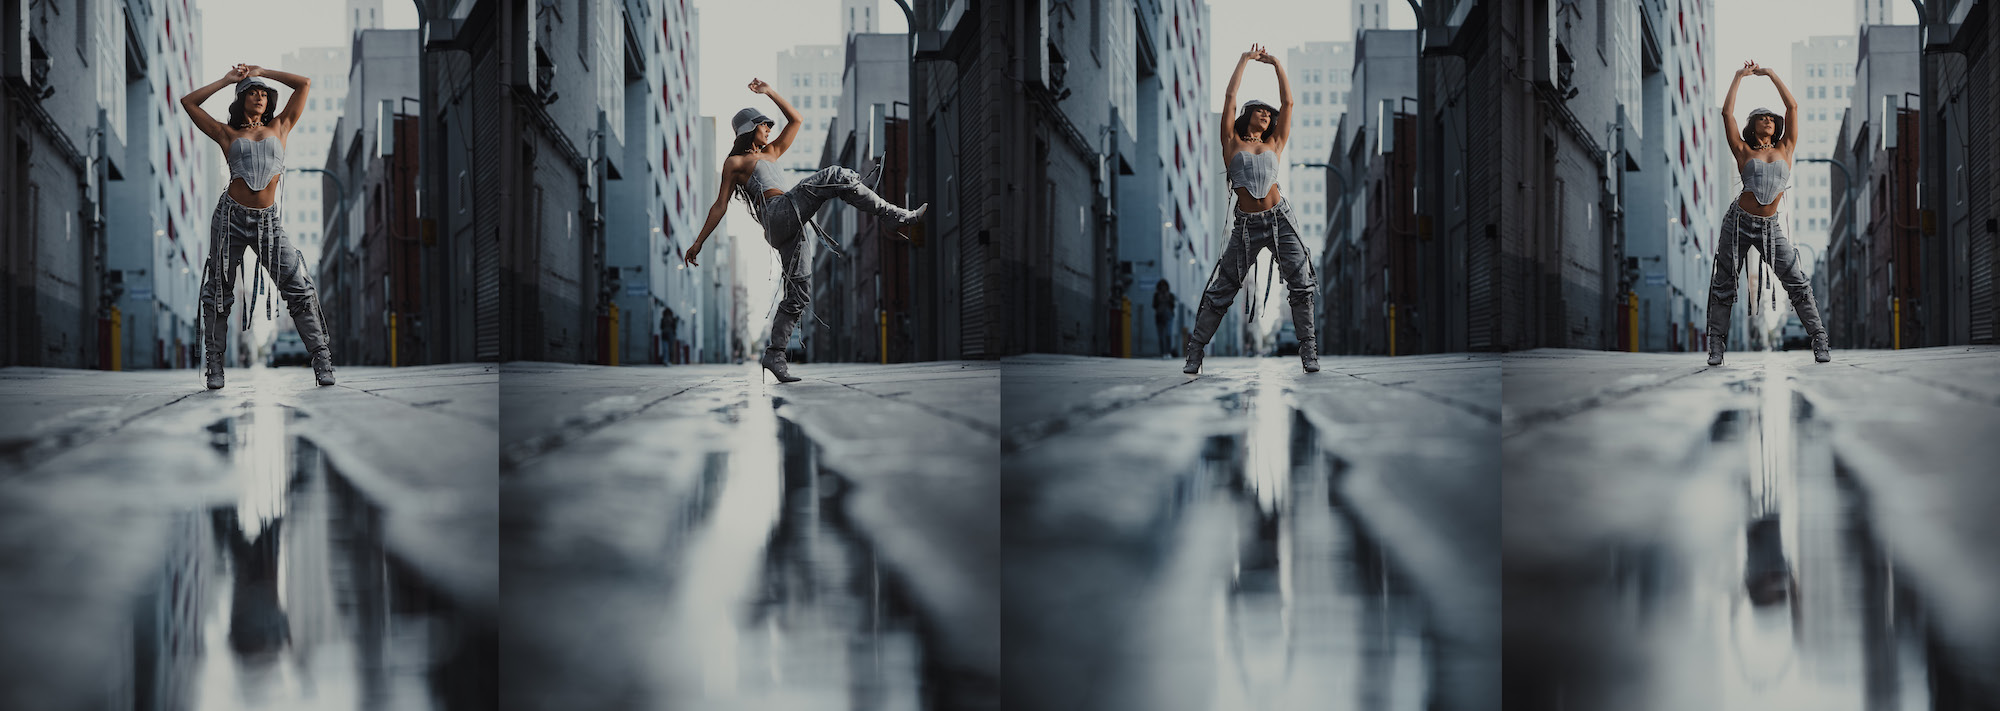
Take advantage of your setup and direct your subject into multiple poses to get more variety for the session. We recommend doing this for all of these techniques.
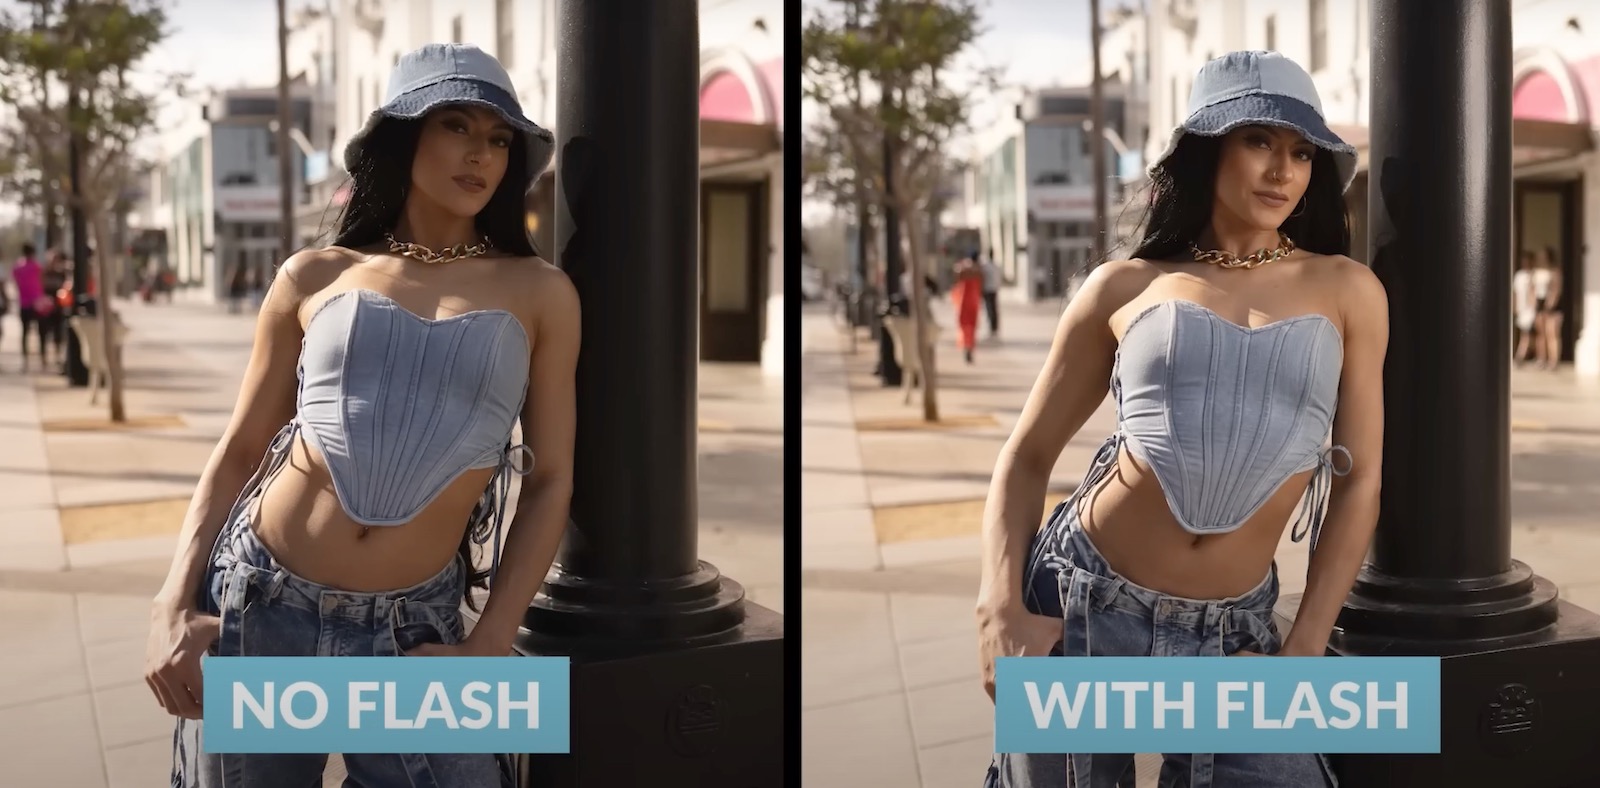
Before and After
Here’s a side-by-side of the images before and after we added flash.
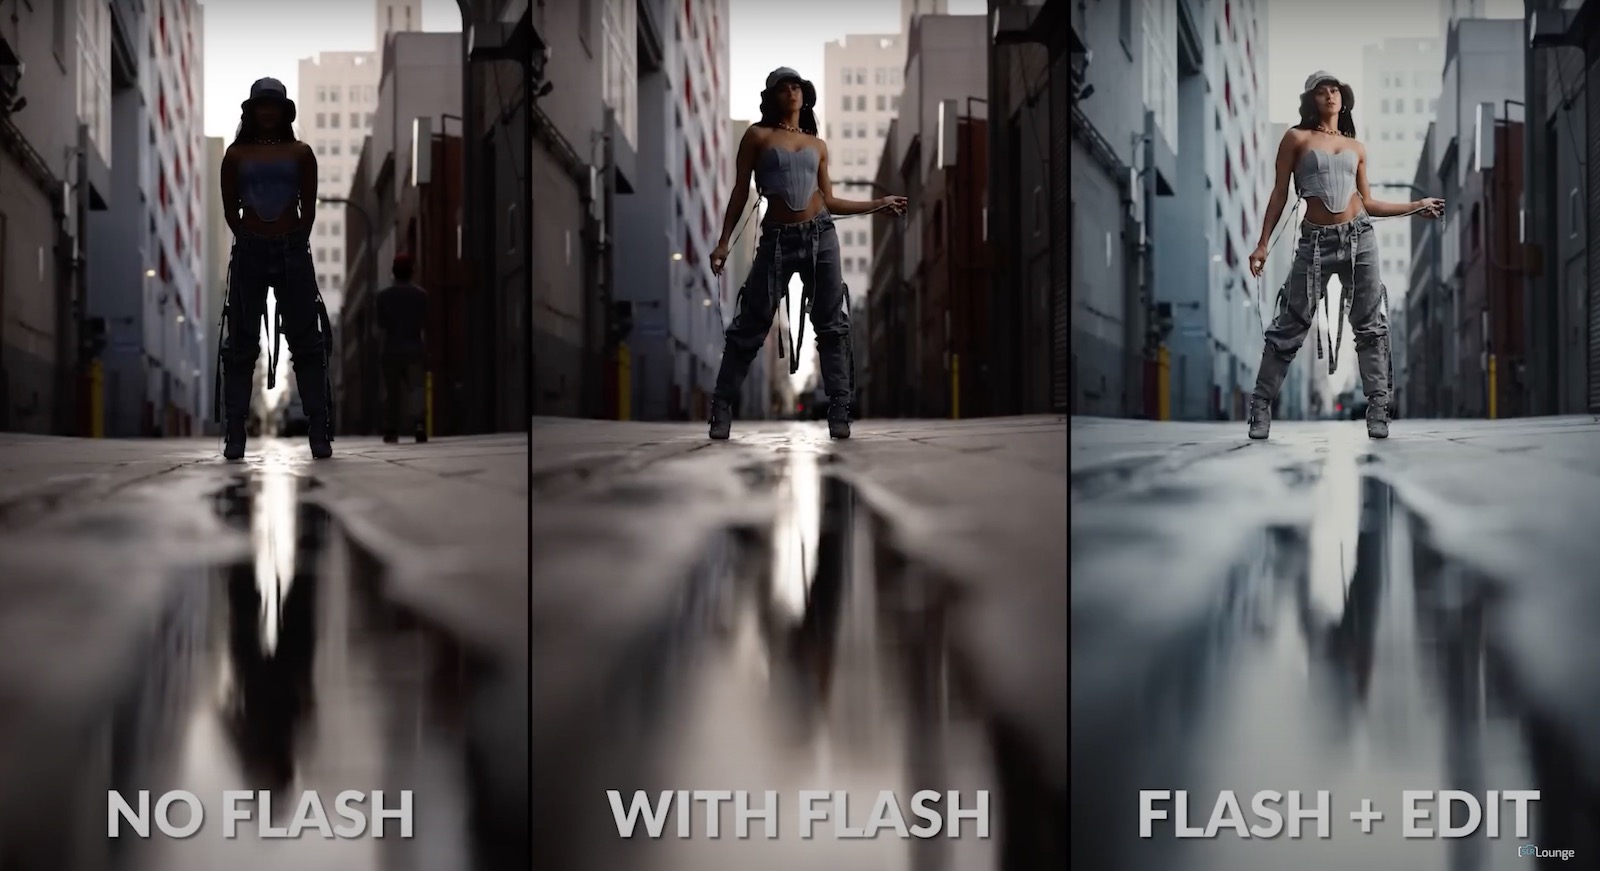
As you can see in the images above, adding a kick of flash gave us a nice amount of light direction and generally made a world of difference vs if we had captured this portrait using only natural light.
Street Portrait Lighting Setup #2
This second technique is one of our favorites to use when lighting and shooting solo.
Composition
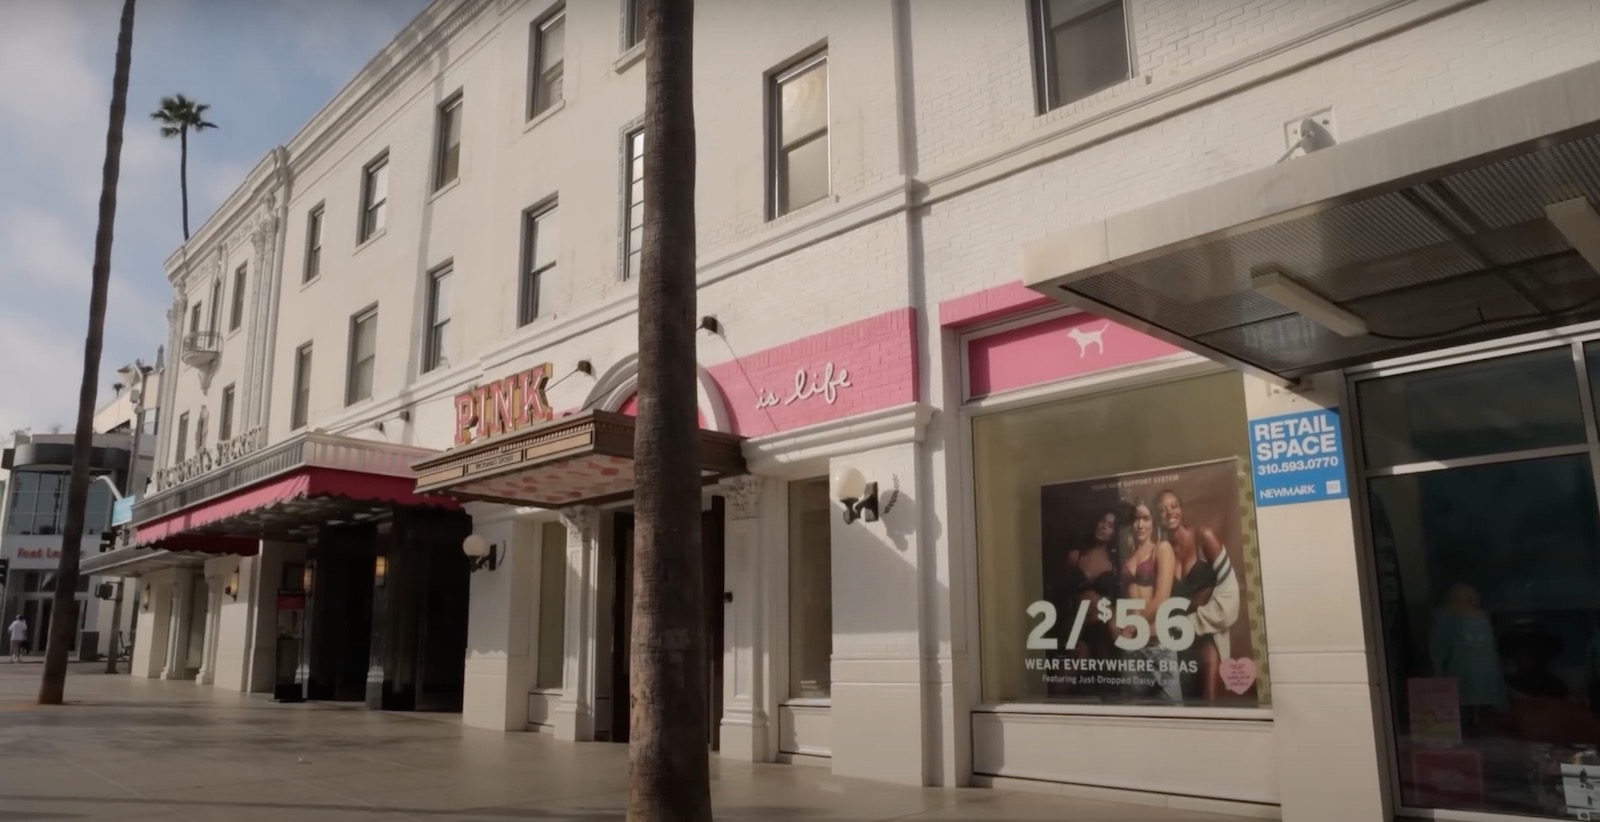
Starting again with composition, we liked the way the building drops into the scene and creates an interesting perspective, which we captured at a wider angle (28mm). As for our subject, we placed her on (or close to) the left third of the frame, which you’ll see below.
Ambient Light
We set the exposure toward the brighter side in order to get more of a commercial vibe with almost a natural look, but with a bit of polish and extra light.
Modify/Add Light
When we took this shot using only natural light, we lacked sufficient light direction on our subject’s face and body. That’s why we added flash. In particular, we used a Profoto A2 in a beauty dish and placed it onto a nano stand. Instead of opening up the legs of the stand like we did for the first technique, however, we used the stand as a boom to hand hold our light source.
How can we hold the light like this and capture the shot when shooting solo, though? Easy. We set the automatic timer on the camera to capture the shot. Be sure to give yourself enough time to position the light after triggering the countdown when using this technique. You don’t want the camera to fire instantly. Two seconds worked in this scenario.
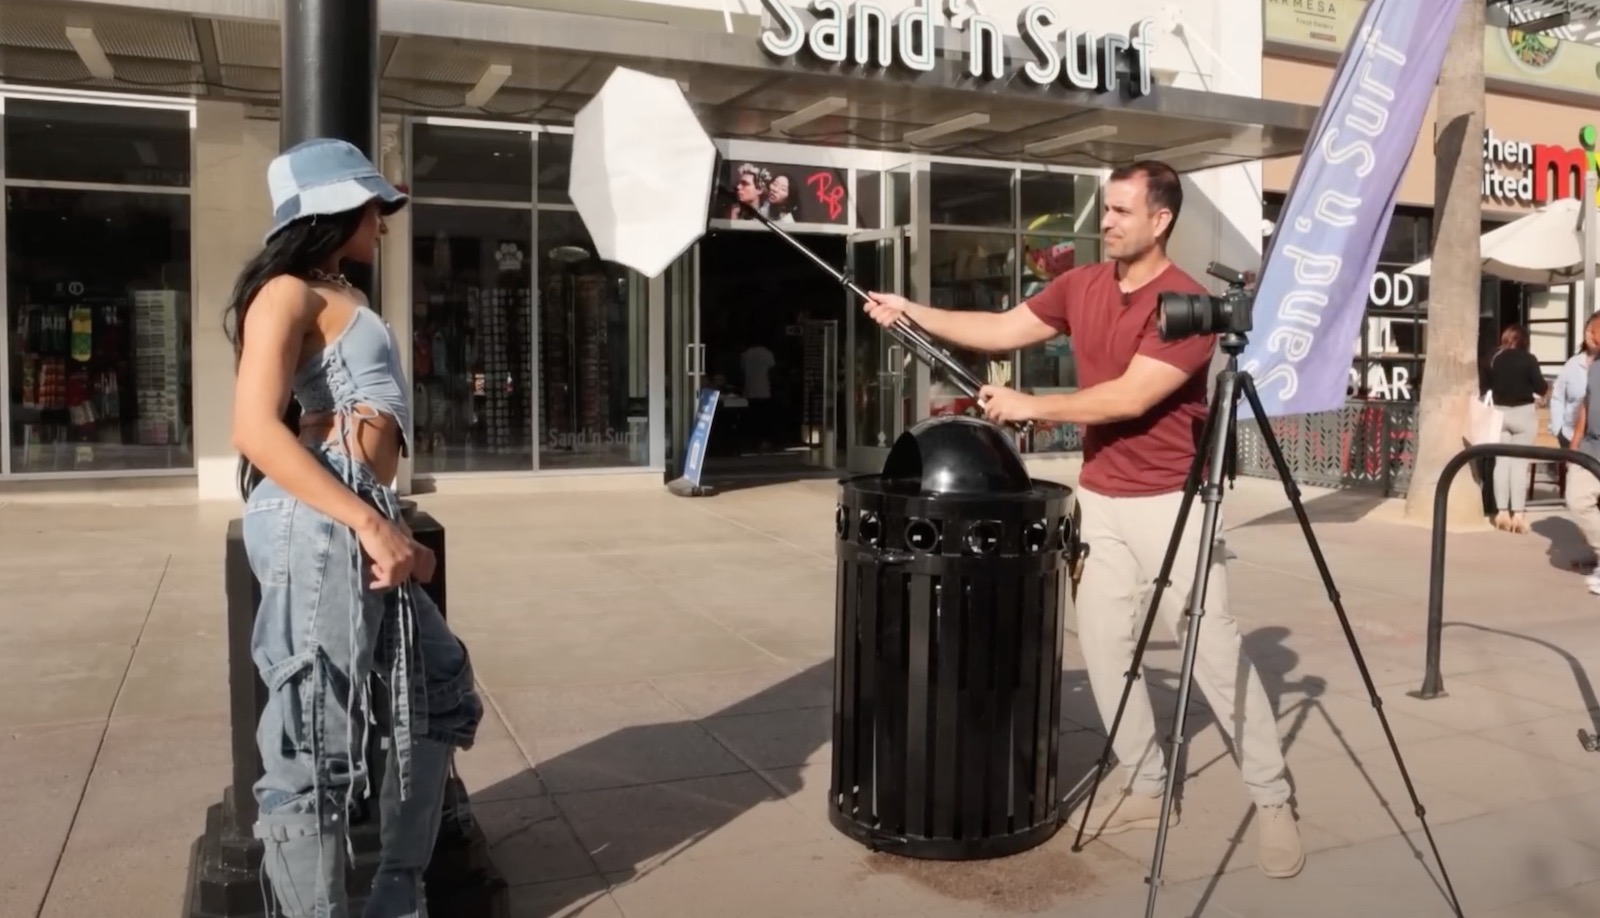
As far as light placement, we placed the light close to our subject’s face for a softer, flatter (yet still more directional than a natural light or on-camera flash) look. It’s always a good idea to capture a plate shot without the flash in the frame so that you can quickly edit it out in Photoshop.
Natural vs Dramatic Portrait Lighting: Always Light with Intention
As a reminder, it’s important to remember to light your subject and scene with intention. If you want a more natural looking image using flash, set your ambient exposure brighter and use less flash power. If you want to create a more dramatic look, lower your ambient exposure and increase your flash power.
Pose and Photograph
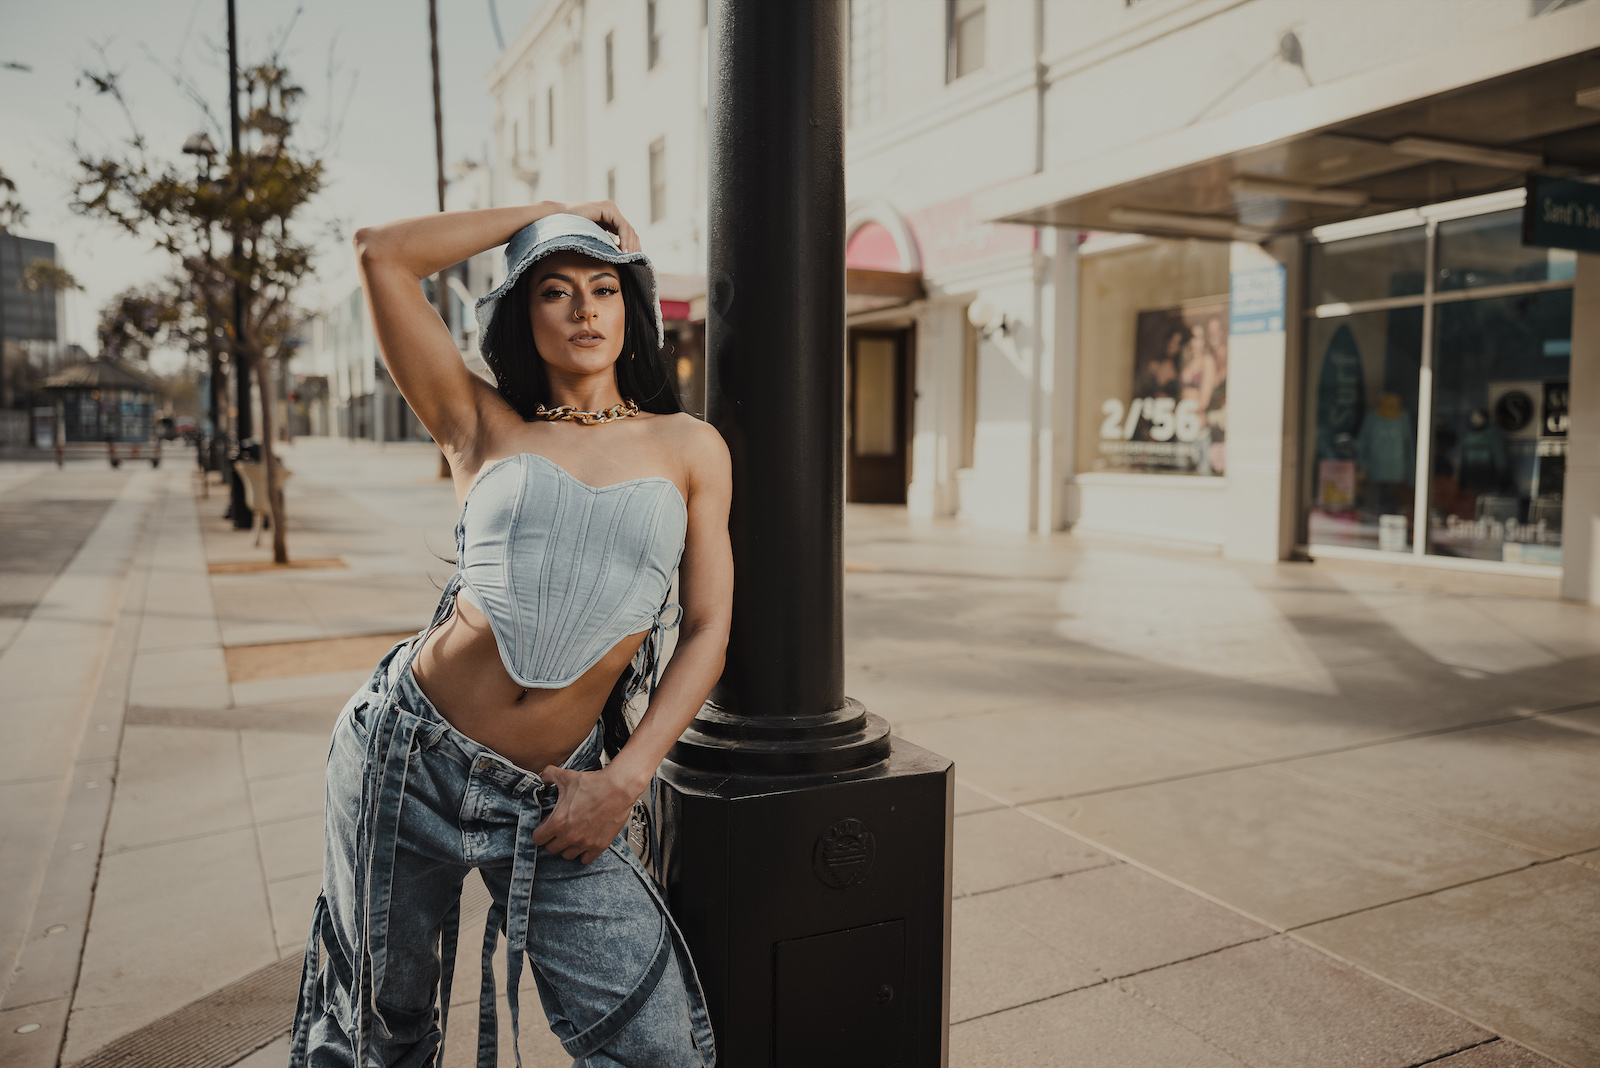
Street Portrait Lighting Setup #3
For the third setup, we found a brightly colored mural in an alleyway. The thought process for choosing this spot involved the idea that using a beauty dish to light the subject against a colorful backdrop would create a great, natural vignette around our subject.
Composition
We kept the composition simple and placed our subject in the center of the frame up against the colorful mural.
Ambient Light

Our baseline exposure knocked out most of the ambient light and left just enough shadow around the edges to still see what we’re photographing.
Modify/Add Light
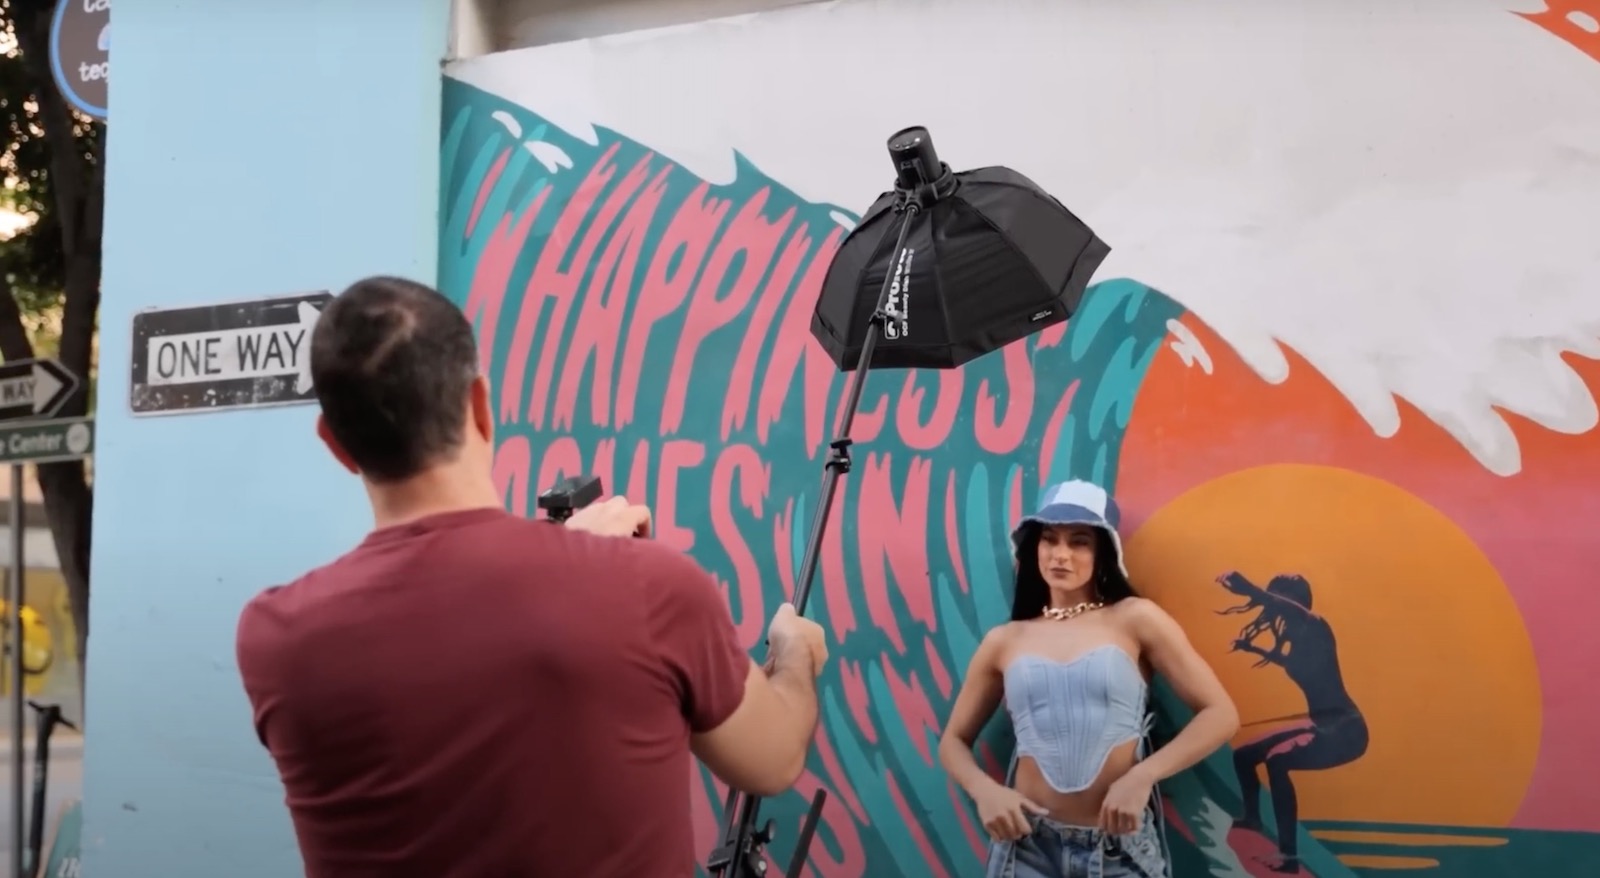
Similar to the previous technique, we used a Profoto A2 in a beauty dish, which we boomed out on a nano stand. We positioned the light almost directly over the subject.
Pose and Photograph
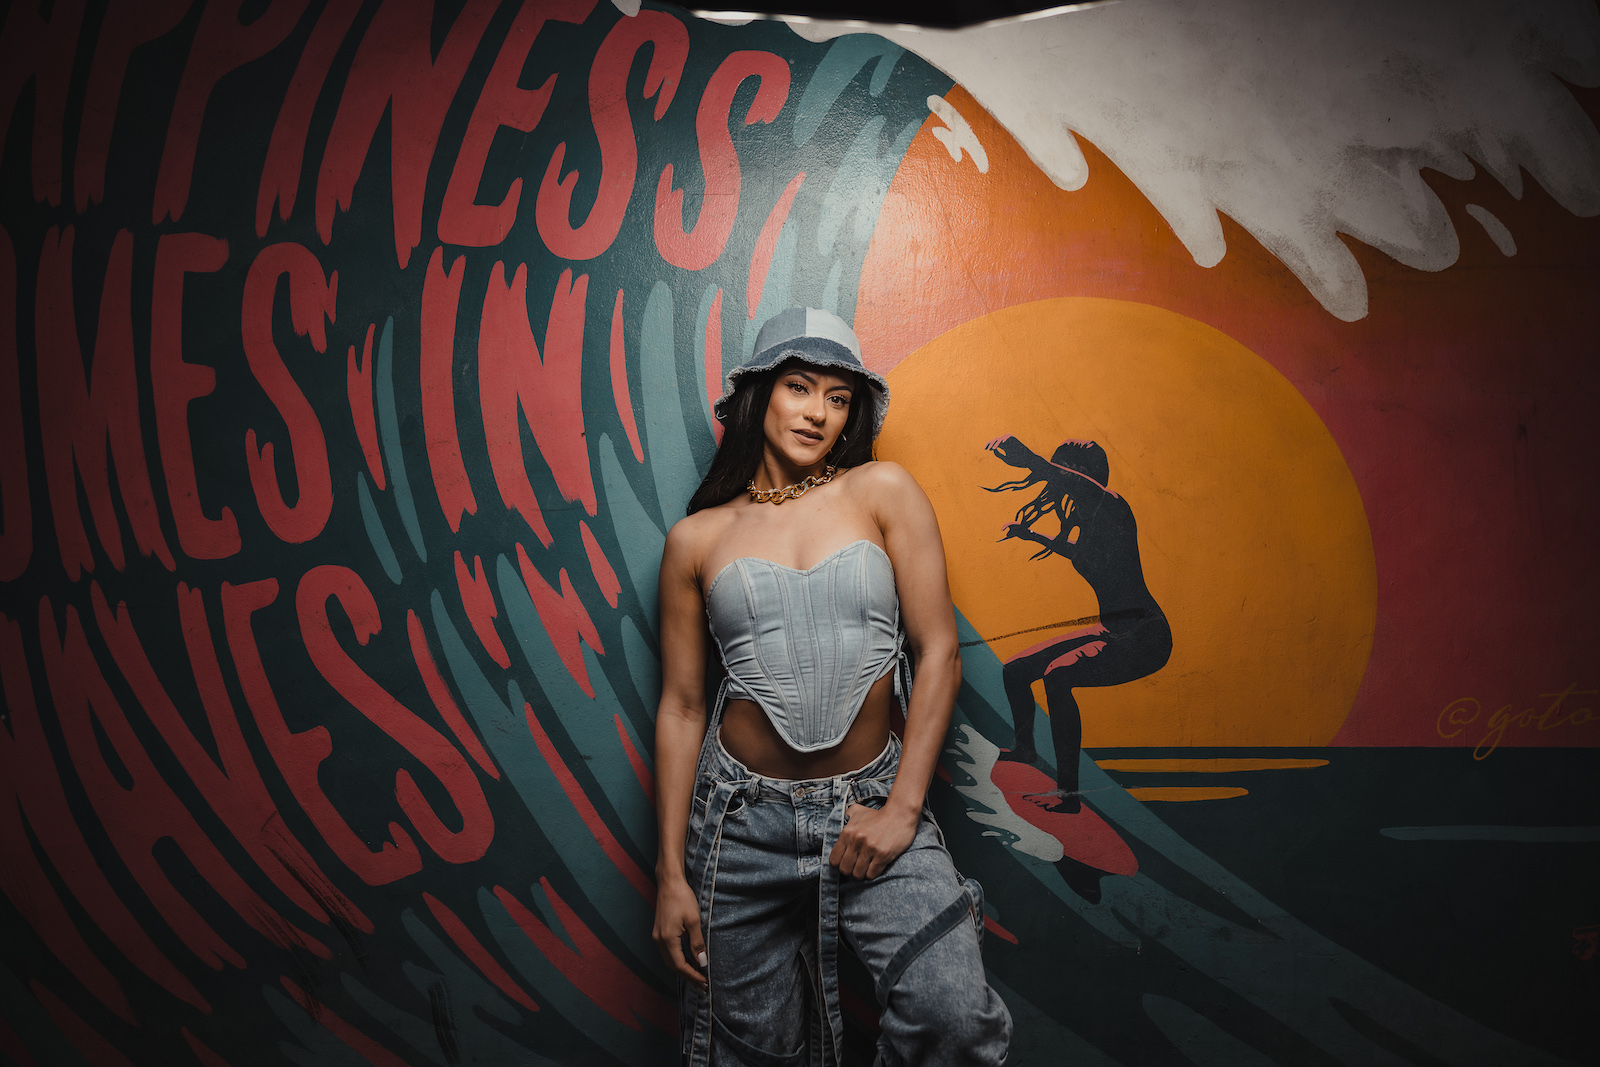
Instruct your subject to switch up the pose with each pop of the flash and capture a variety of shots.
Conclusion
We hope you found these street portrait lighting setups helpful. With highly portable and easy-to-use gear like the Profoto A2 and related accessories, it’s easier than ever to flex your creativity and capture amazing portraits on the go, even when you’re shooting solo.


