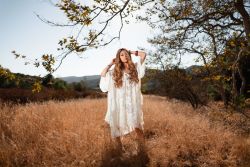
Summer arrived late here in Southern California, but now it’s finally warm and sunny! Hopefully the beautiful weather will stick around well into fall this year. Of course, what most people call “beautiful weather”, portrait photographers often know as “harsh” light, uncomfortable temperatures, and large crowds at all your favorite photo shoot locations!
If you are a portrait photographer who lives near any coastline, then you’ve probably done photo shoots on the beach. As we hinted above, it can be challenging! Crowds and heat are only the beginning; you must also try to never get sand in your gear, never get splashed by a wave, and always make sure your subjects look their best!
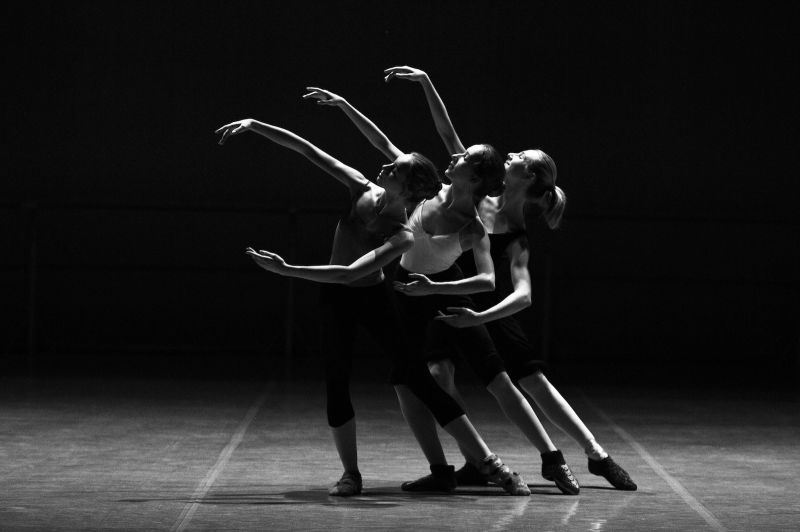
Indeed, from start to finish, there is a lot to consider for any type of summer portrait session, whether it is family, maternity, couple, or a whole wedding party. Before the photo shoot, you should discuss any challenges or restrictions with your clients, and make sure they aren’t expecting something impossible or simply different than what you have in mind. During the photo shoot, practice good time management, and yet take the time to notice the little details, and show clients photos on the back of the camera to see how they like them! Lastly, as soon as your photo shoot is over, it’s time to edit the photos and get them delivered asap!
Today we’re going to share our best advice for summer beach photo shoots. Plus we’ll answer some of our most common questions on how to handle the photos.
All photos in this article were edited with Zoner Photo Studio X, a complete photo editing software that offers an excellent raw workflow solution to all types of photographers, including professional portrait photographers.
1. When Is the Best Time to Do a Beach Portrait Session?
I wish I could encourage photographers and clients to just wake up really early and do their beach photo shoots during the first few hours of daylight! That’s just not very practical, of course. We all know that most will prefer (or demand) a sunset photo shoot time. (Still, a morning session is something we always suggest, just in case!)
Either way, simply put, the summer sun is much harsher in the middle of the day, for most latitudes, than fall/winter/spring sunlight. It’s more likely to be brighter, without any cloud cover to soften the light, and it’s also directly overhead for more hours each day.
Of course, you can get the same “golden hour” light by doing beach portrait sessions starting no sooner than 1-2 hours before sunset, too. So, why are we recommending a morning session? Fewer crowds, of course! If you want to have a popular beach almost all to yourself, the early morning is your best chance. Oh, and it can often be much cooler, too! (around here, that could mean the difference between temps in the 70s in the morning, or temps still lingering in the 80’s or 90s before sunset!)
How to Make a Beach Look “Empty”

If you have no choice but to do a portrait session on a crowded beach, there’s one tip we can give. This can apply to almost all types of subjects from engagements to maternity and family portrait sessions, and at any time of day:
Use a telephoto lens and carefully compose your framing to make the beach look “empty”! In other words, if you’re at 105mm or 135mm, that gives a much more narrow piece of background to worry about people being in. You might get people walking through your frame a lot, but at least the actual frame is much smaller than wider focal lengths.

BONUS TIP:
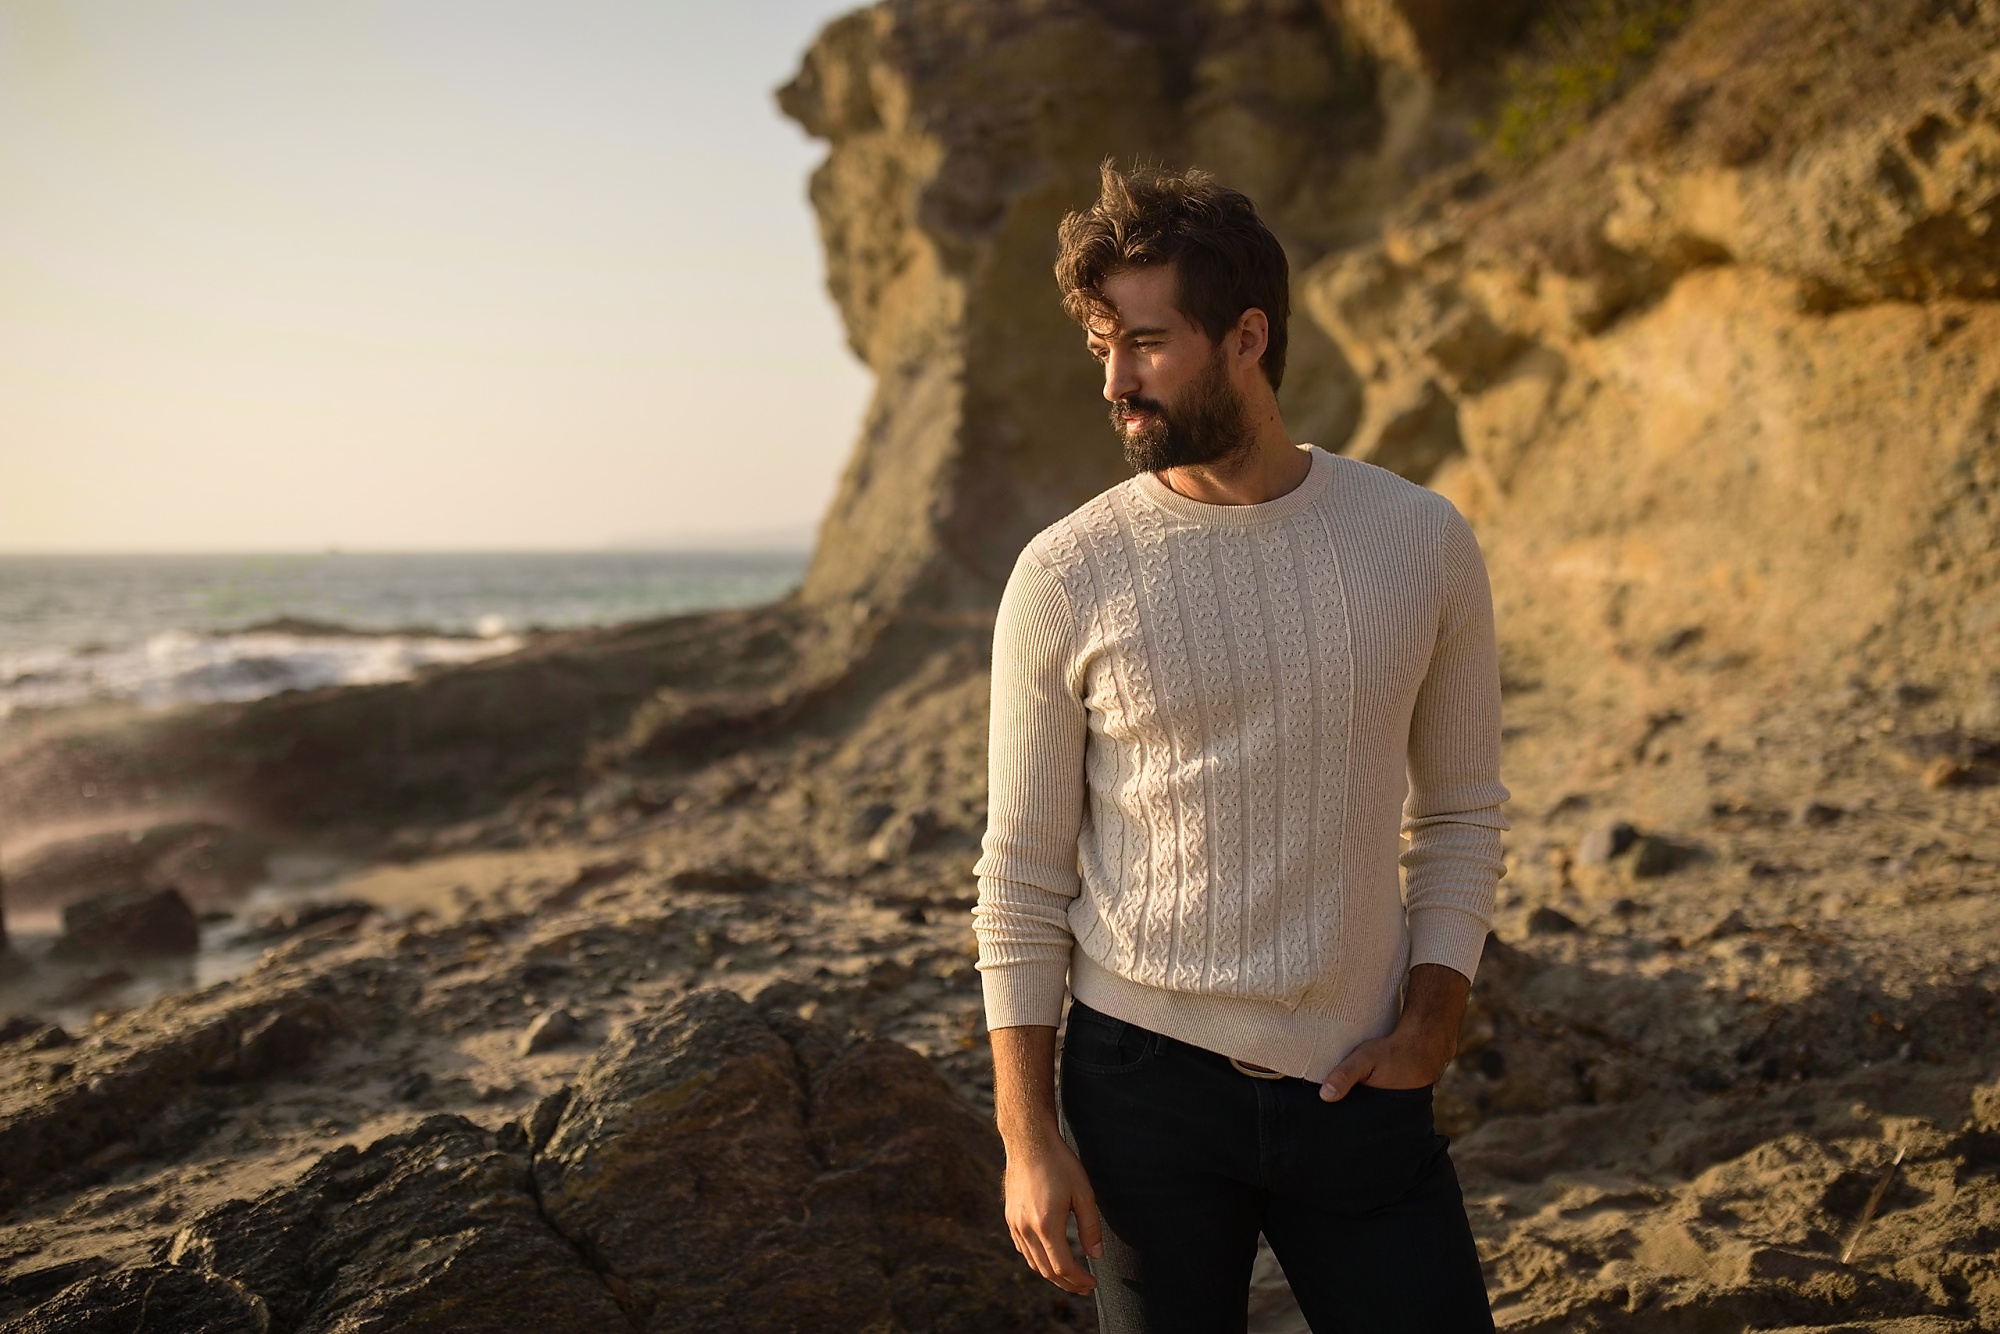
Locally around Southern California, we always try to do beach portraits on beaches that have some bluffs or rocks, as opposed to the broad, flat beaches that are nothing but wide-open sand. This allows us at least one “safety zone” of shade, either early in the morning or late in the afternoon, where we can reliably get beautiful soft light. (Plus, nobody in the background!)
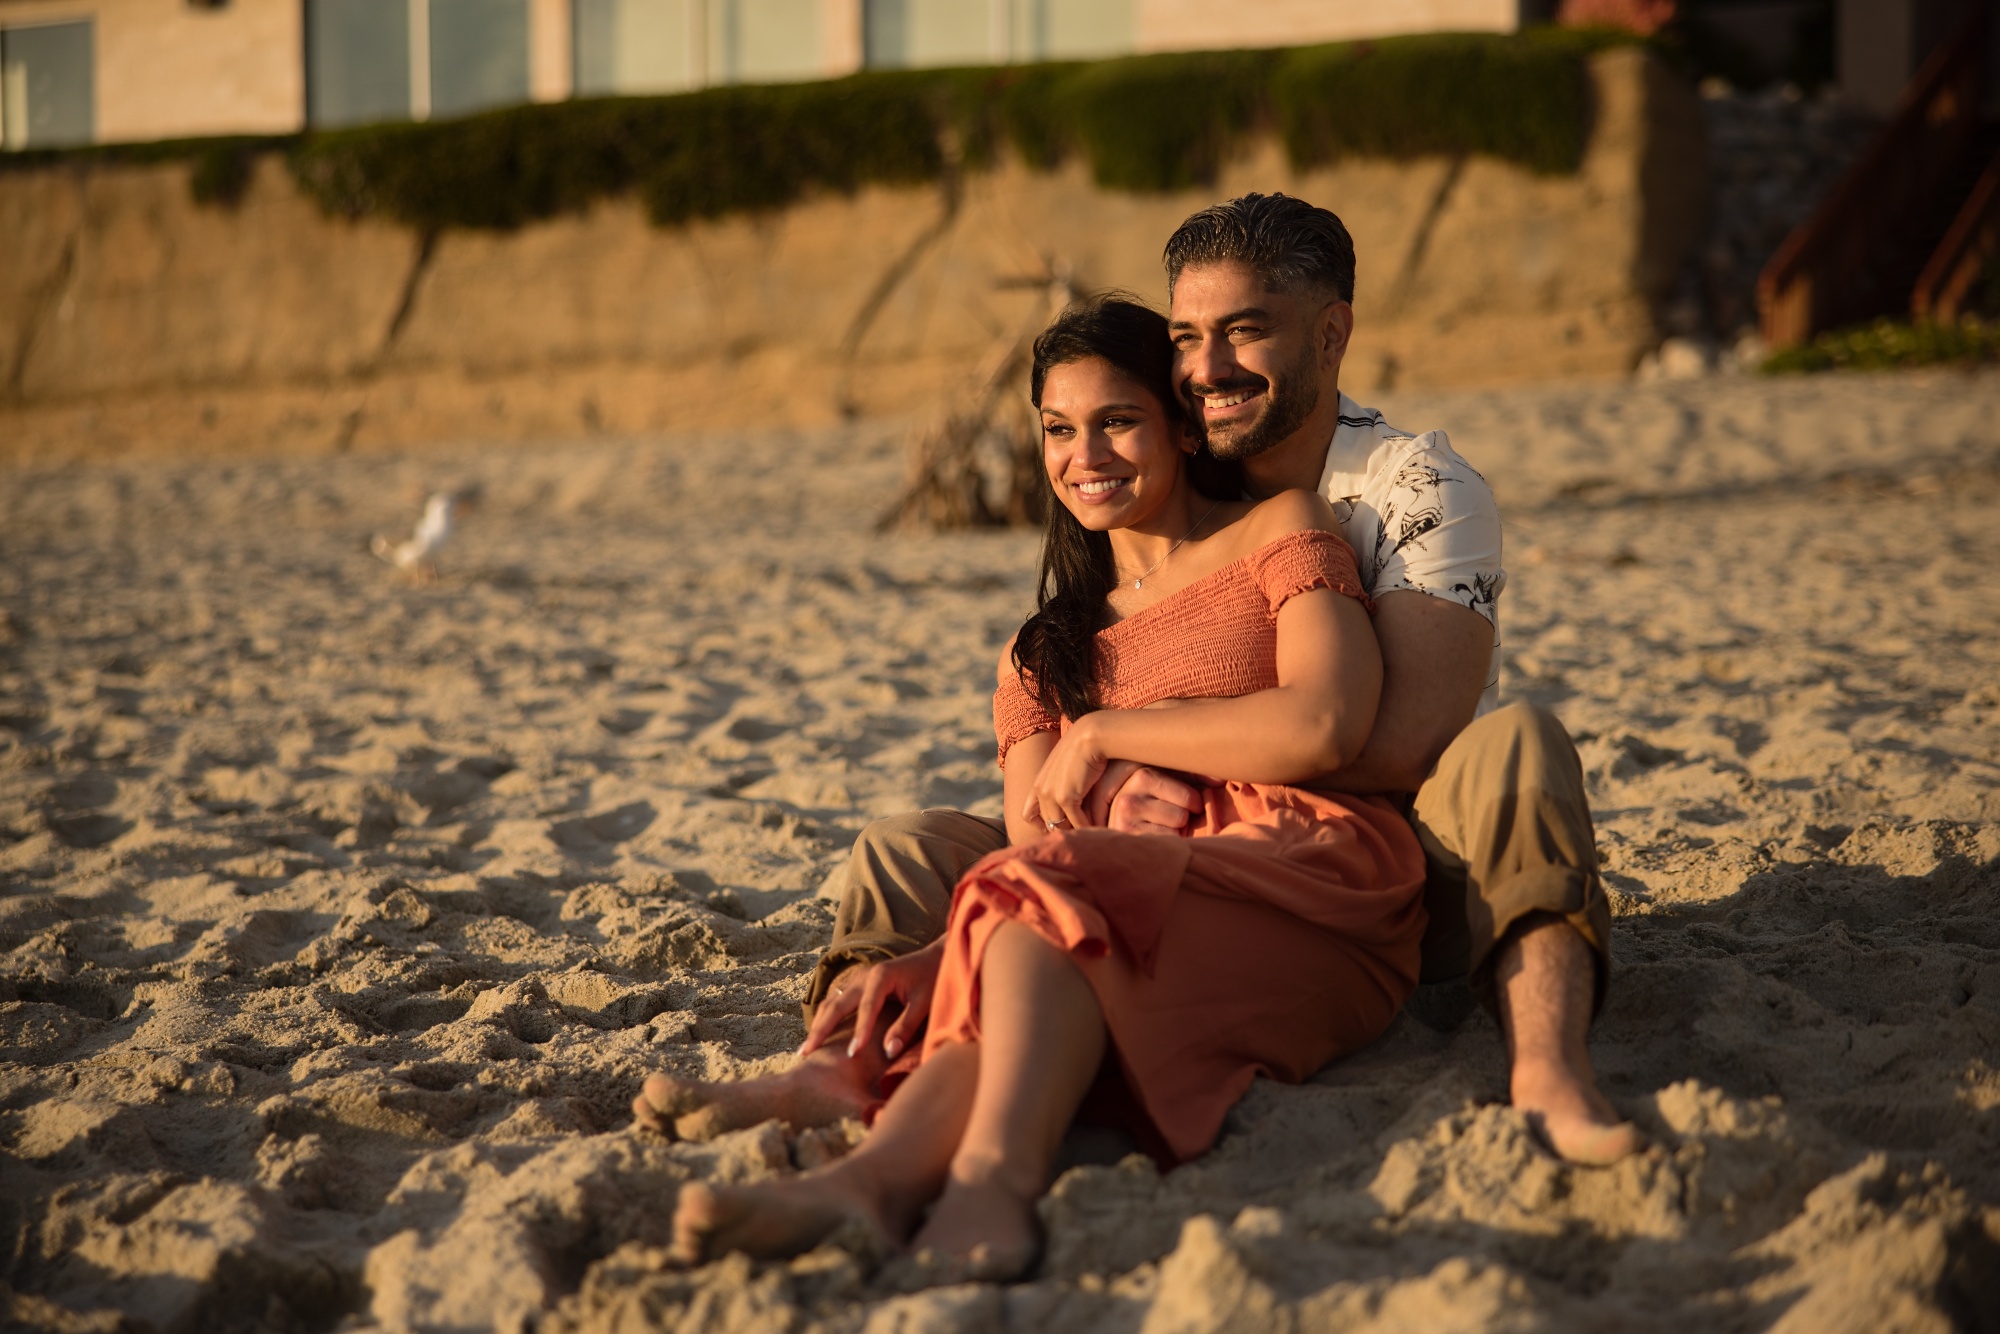
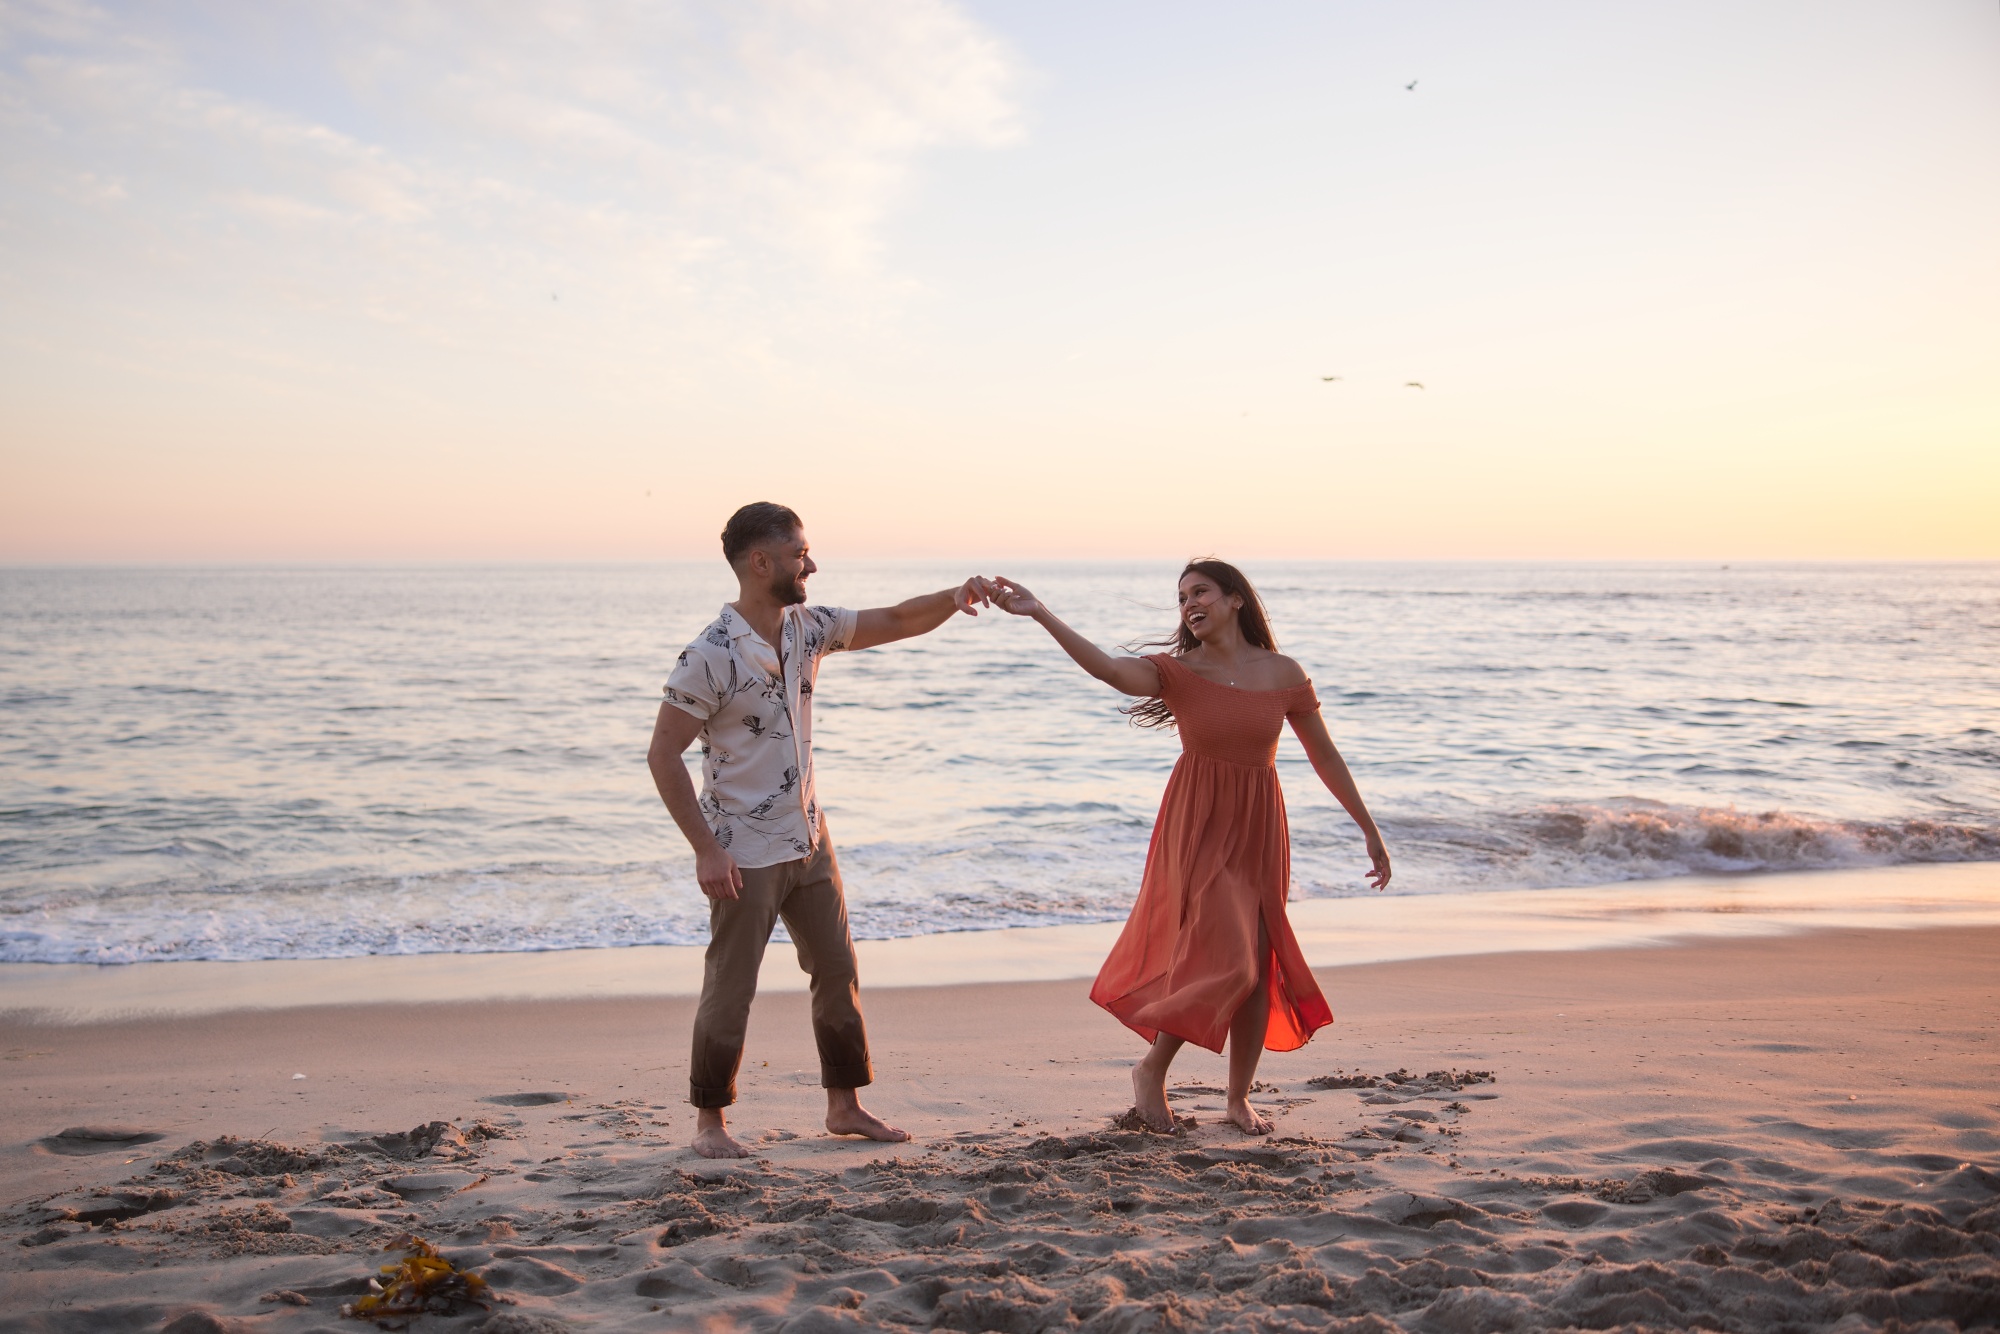
2. Keep Your Subject’s Backs to the Sun (Especially When the Light Is Low)
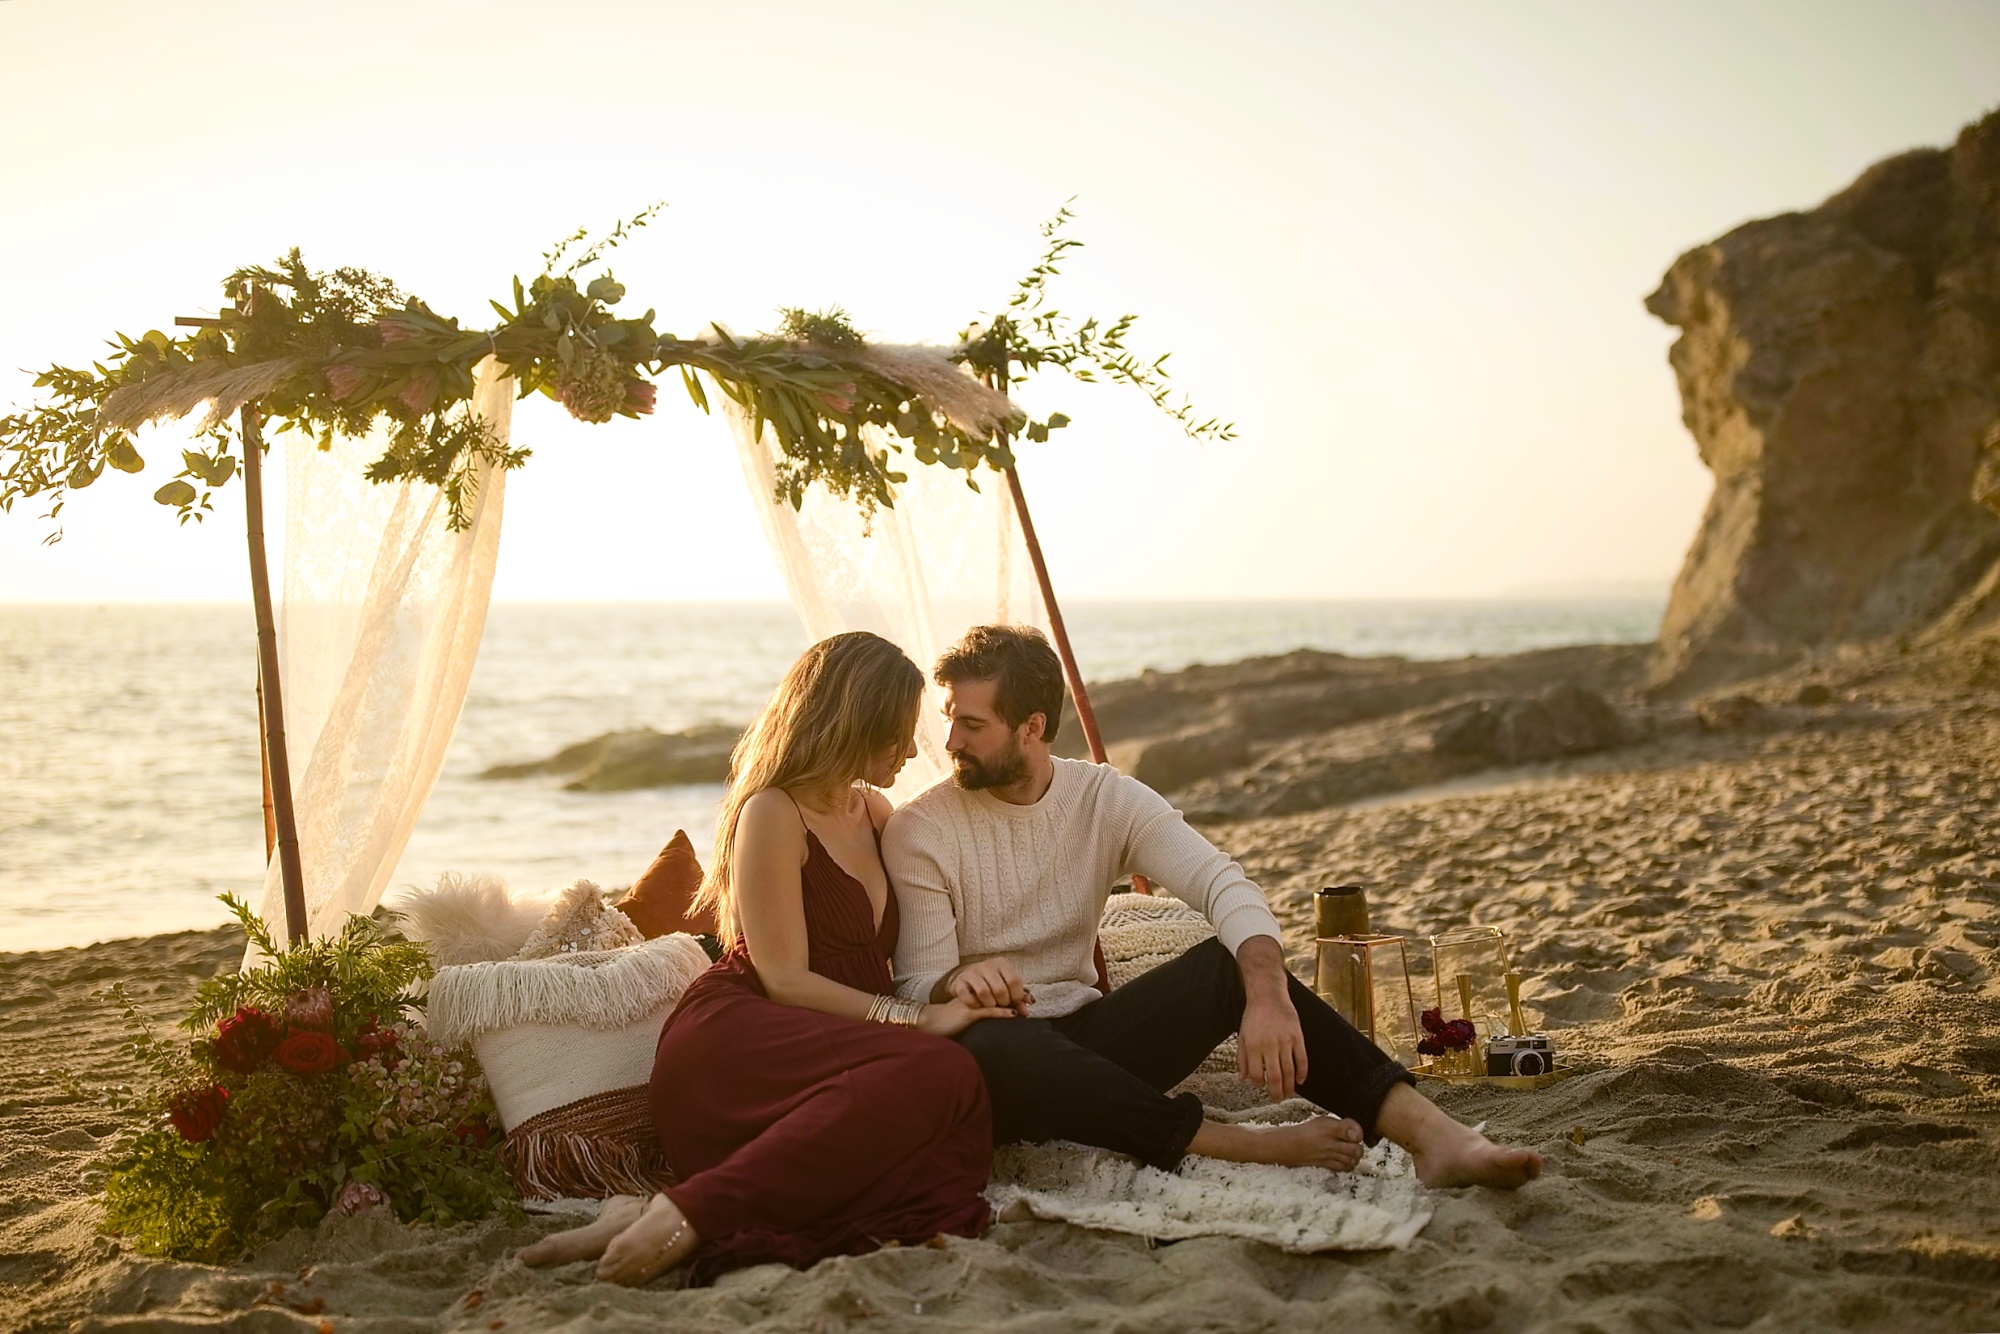
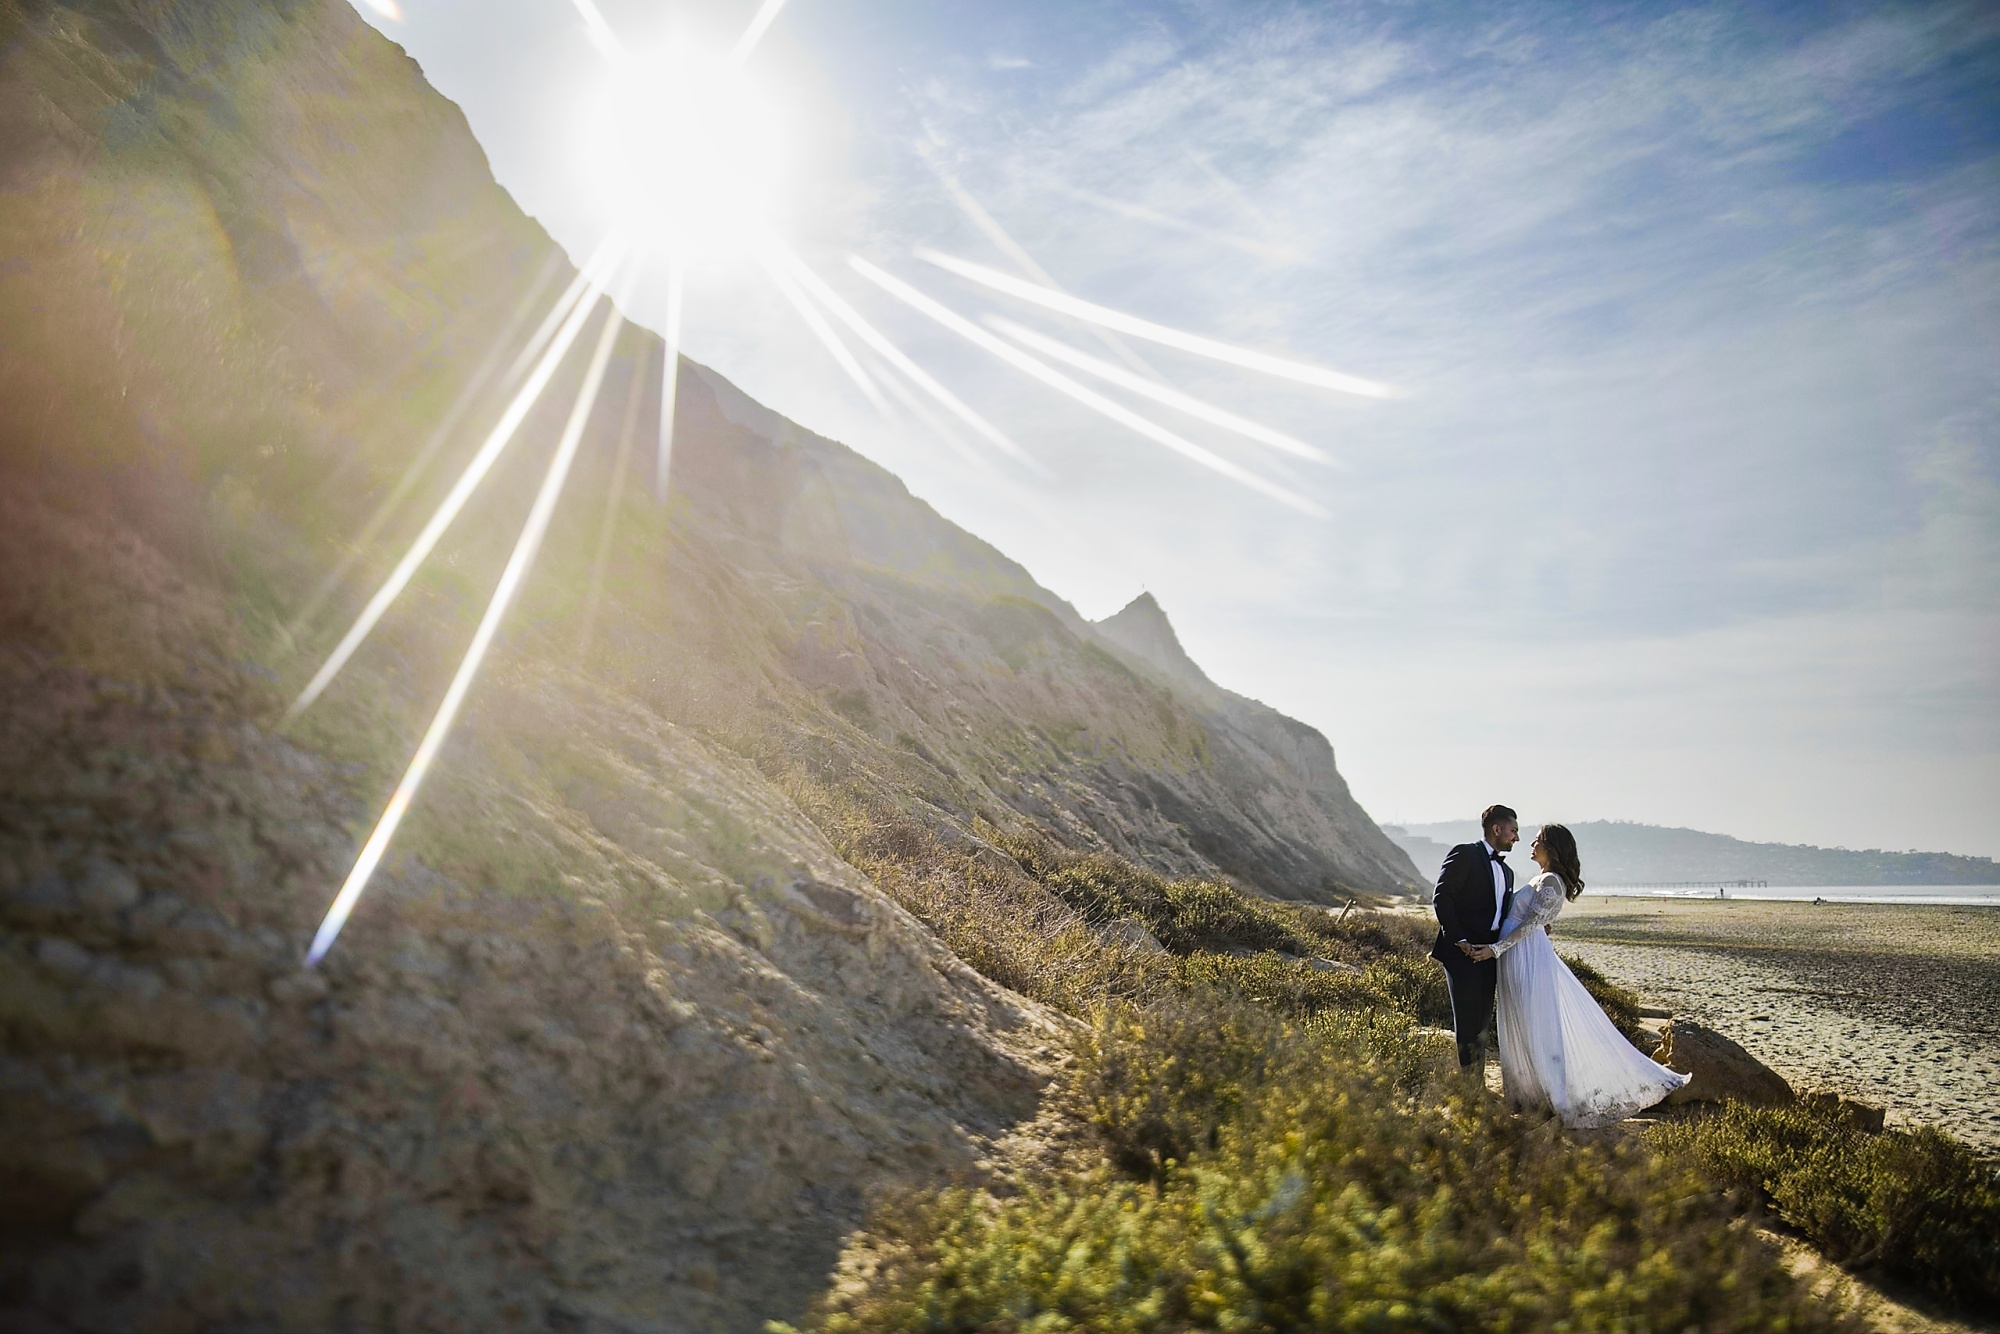
To get that optimal “golden hour” effect, the “golden rule” is very simple: backlight! For portraits on the beach, this is our “golden” rule. (Pun intended?)
Of course, this is also one of our favorite rules to break, which you’ll see in some of the other images in this article. However, here is our general rule: For portraits where the main goal of the image is to capture a smiling face looking right at the camera, try to avoid any distracting, harsh light on their face. Even if you have to over-expose a background a little bit, that’s okay!
Images in which the sun is striking a face’s cheeks, forehead, and/or nose, just remember that you’re immediately making the image just as equally about the location and the scene itself, and not just the smiling face. In other words, be very careful how you let sunlight fall on faces because it inherently reduces attention away from the face and balances it with the rest of the image. This can be a great thing if you’re on a beautiful beach capturing a warm summer afternoon, but just be very careful and pay attention to the little “details of light”.
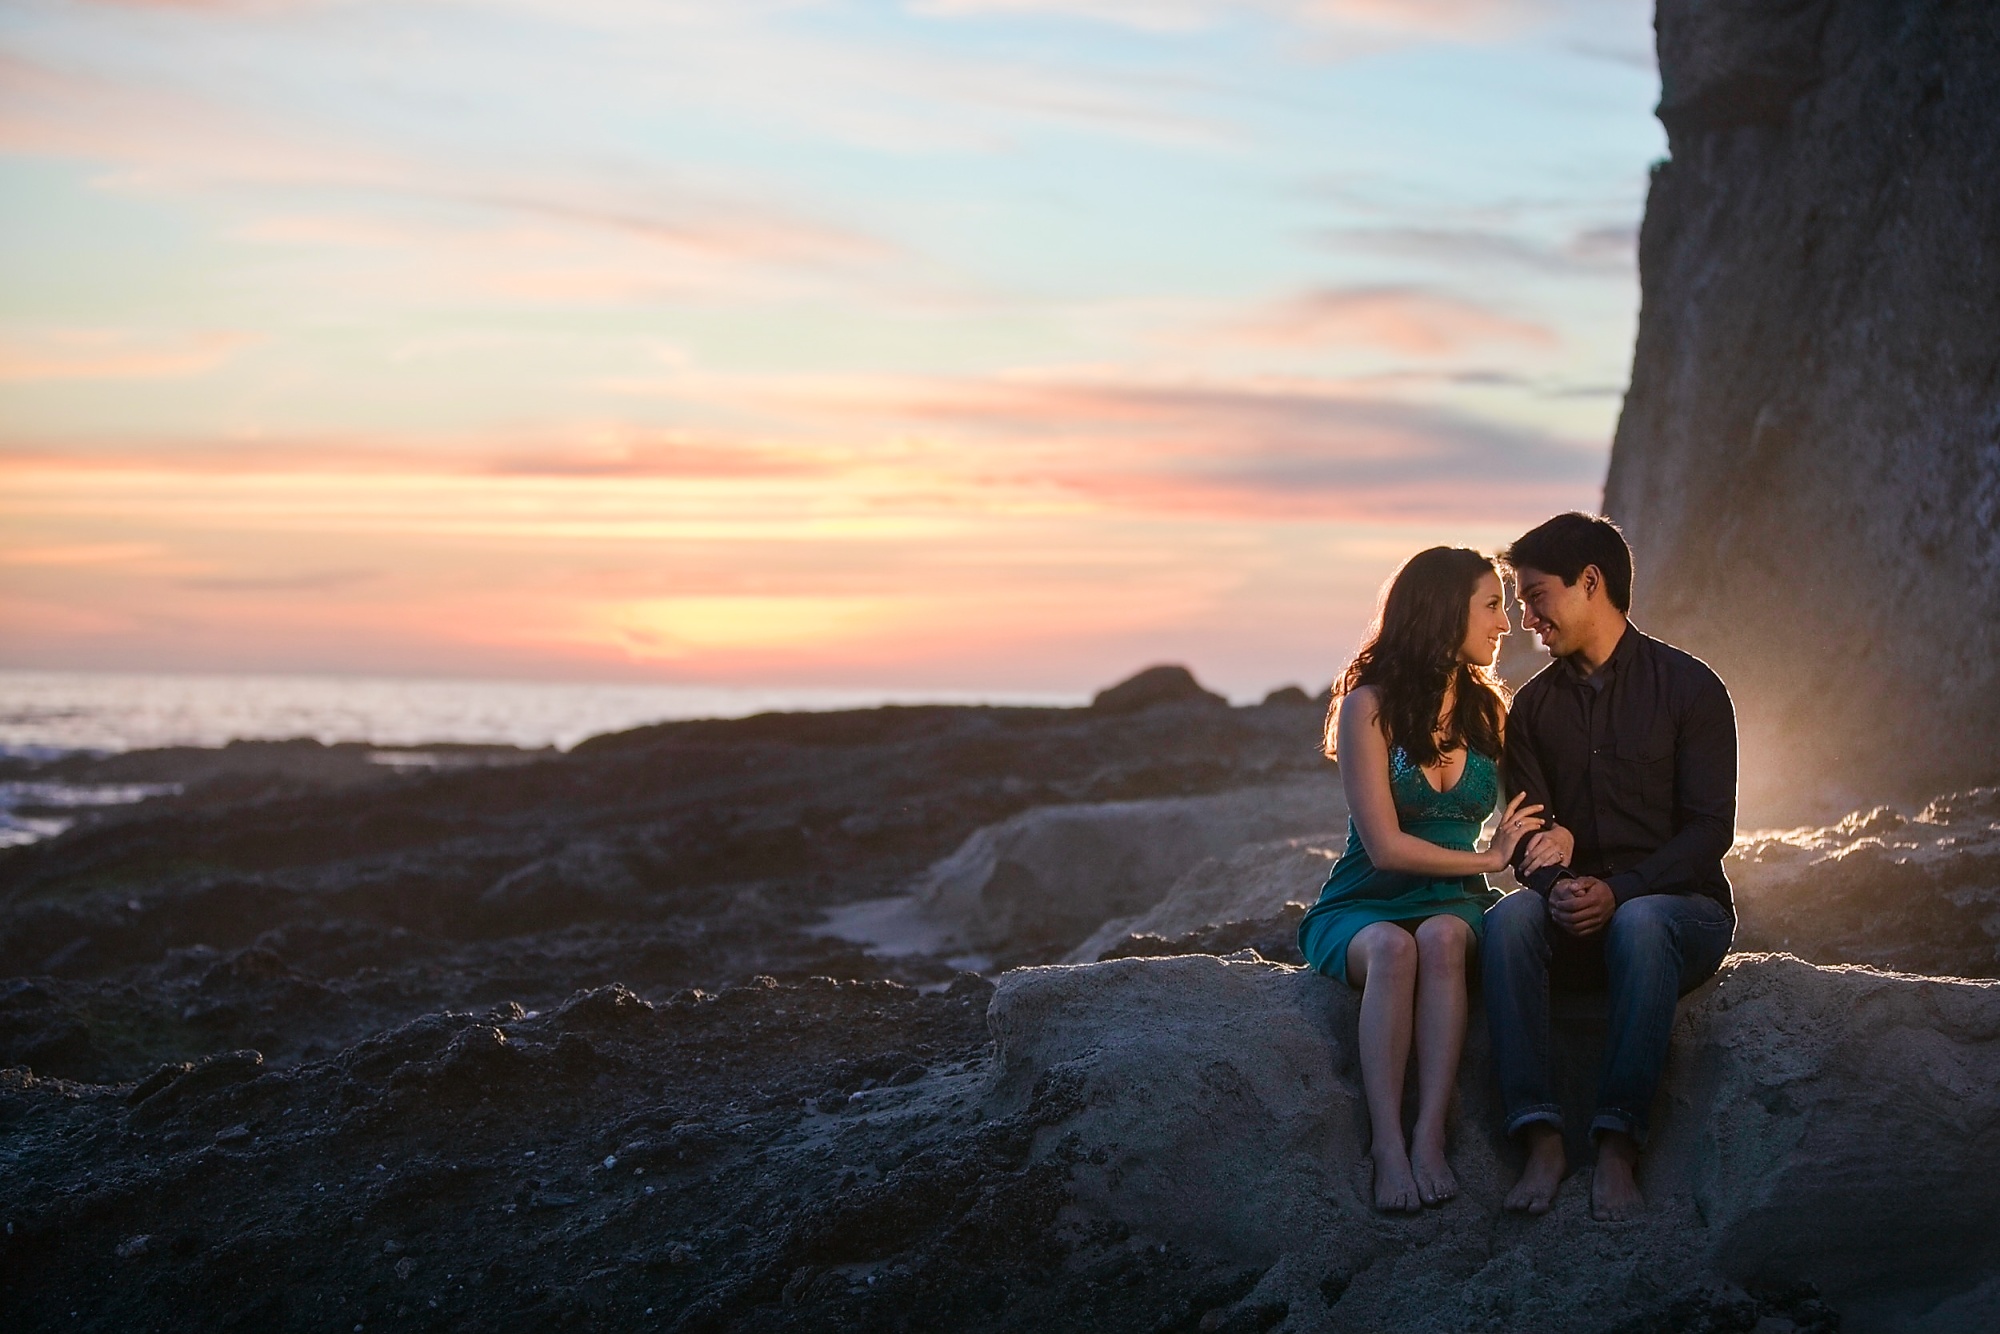
Our best tip for when you do let sunlight hit a face is this: Before asking the subject to merely smile at the camera, try creating a more dramatic image with them either looking off-camera, or in the case of couples’ portraits or groups, try having them look at each other!
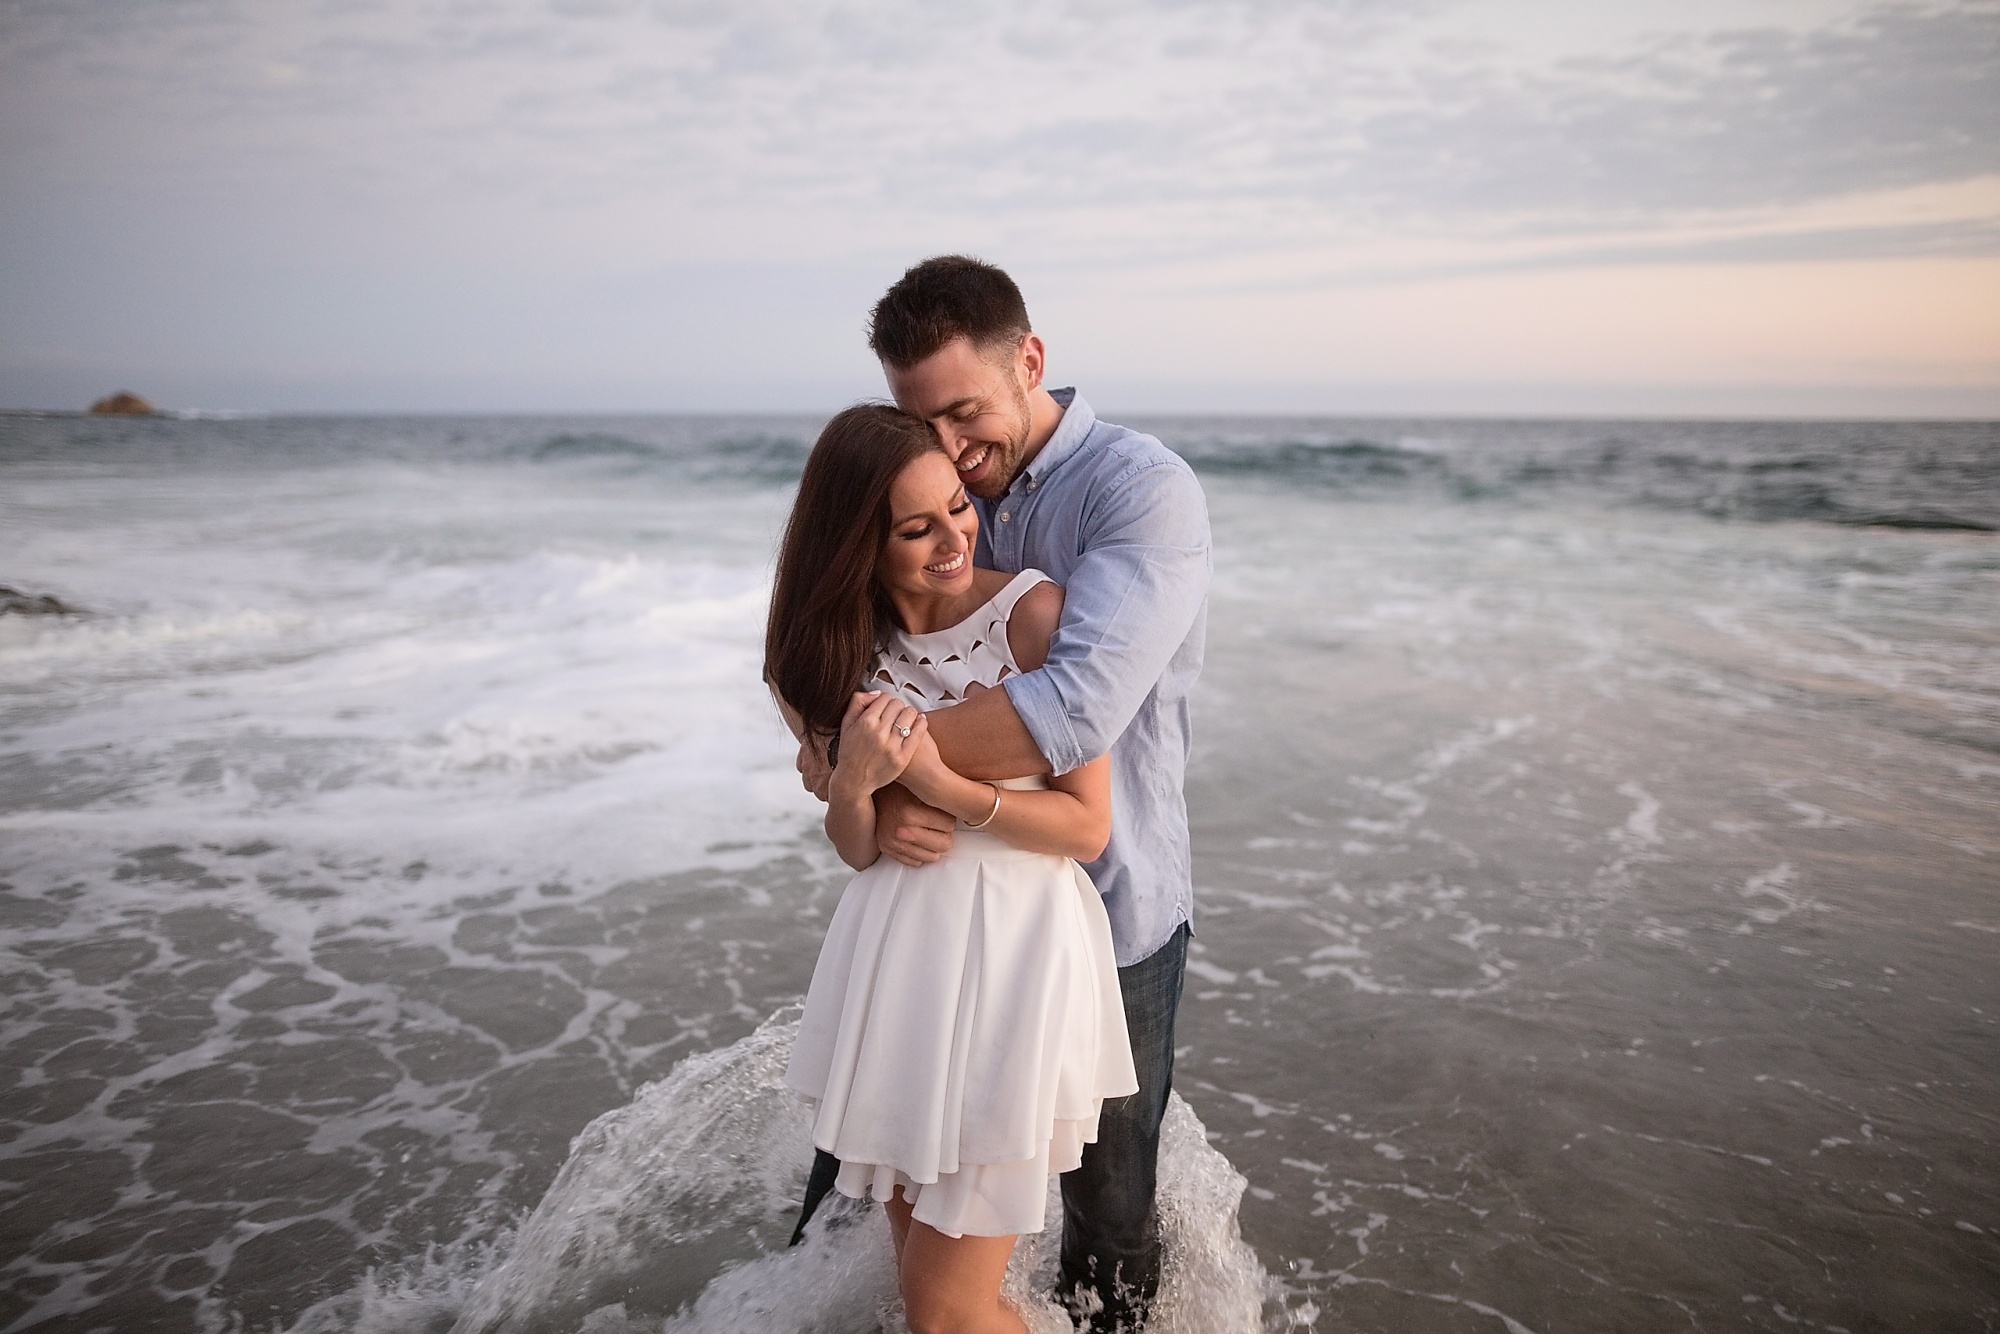
3. Understand Exposure, Metering, and Lighting (Flash/Reflectors)
Our tip about keeping your subject’s backs to the sun does require some technical mastery, however. You’ll need to understand exposure, which includes how to meter your photos correctly. You will also need to know when to use your own lighting, if necessary.
For starters, simply working with manual exposure, and checking your histogram & blinking highlights/shadows, should give you a basic level of control so that you’re not totally blowing out” the sky behind your subjects, or causing deep shadows to go totally black.
Thankfully, cameras these days have excellent dynamic range, (we’ll talk about what that is next) so as long as your histogram is towards the middle of the graph, most cameras will give you an image file that can be edited to perfection.
Having said that, you may often find that with your subjects facing away from the sun, their eyes may lack that sparkle, or even be downright shadowy. For this reason, you’ll see many beach portrait photographers using a reflector or even a strobe lighting setup, even when it’s more than bright enough for a good ambient exposure.
In some cases, when the light is just extremely dramatic, you really only have two options: add light to the scene in the form of a flash or other light source, …or capture an intentional silhouette. Your artistic style will usually point you in one direction or the other, and the resulting images can be beautiful either way!
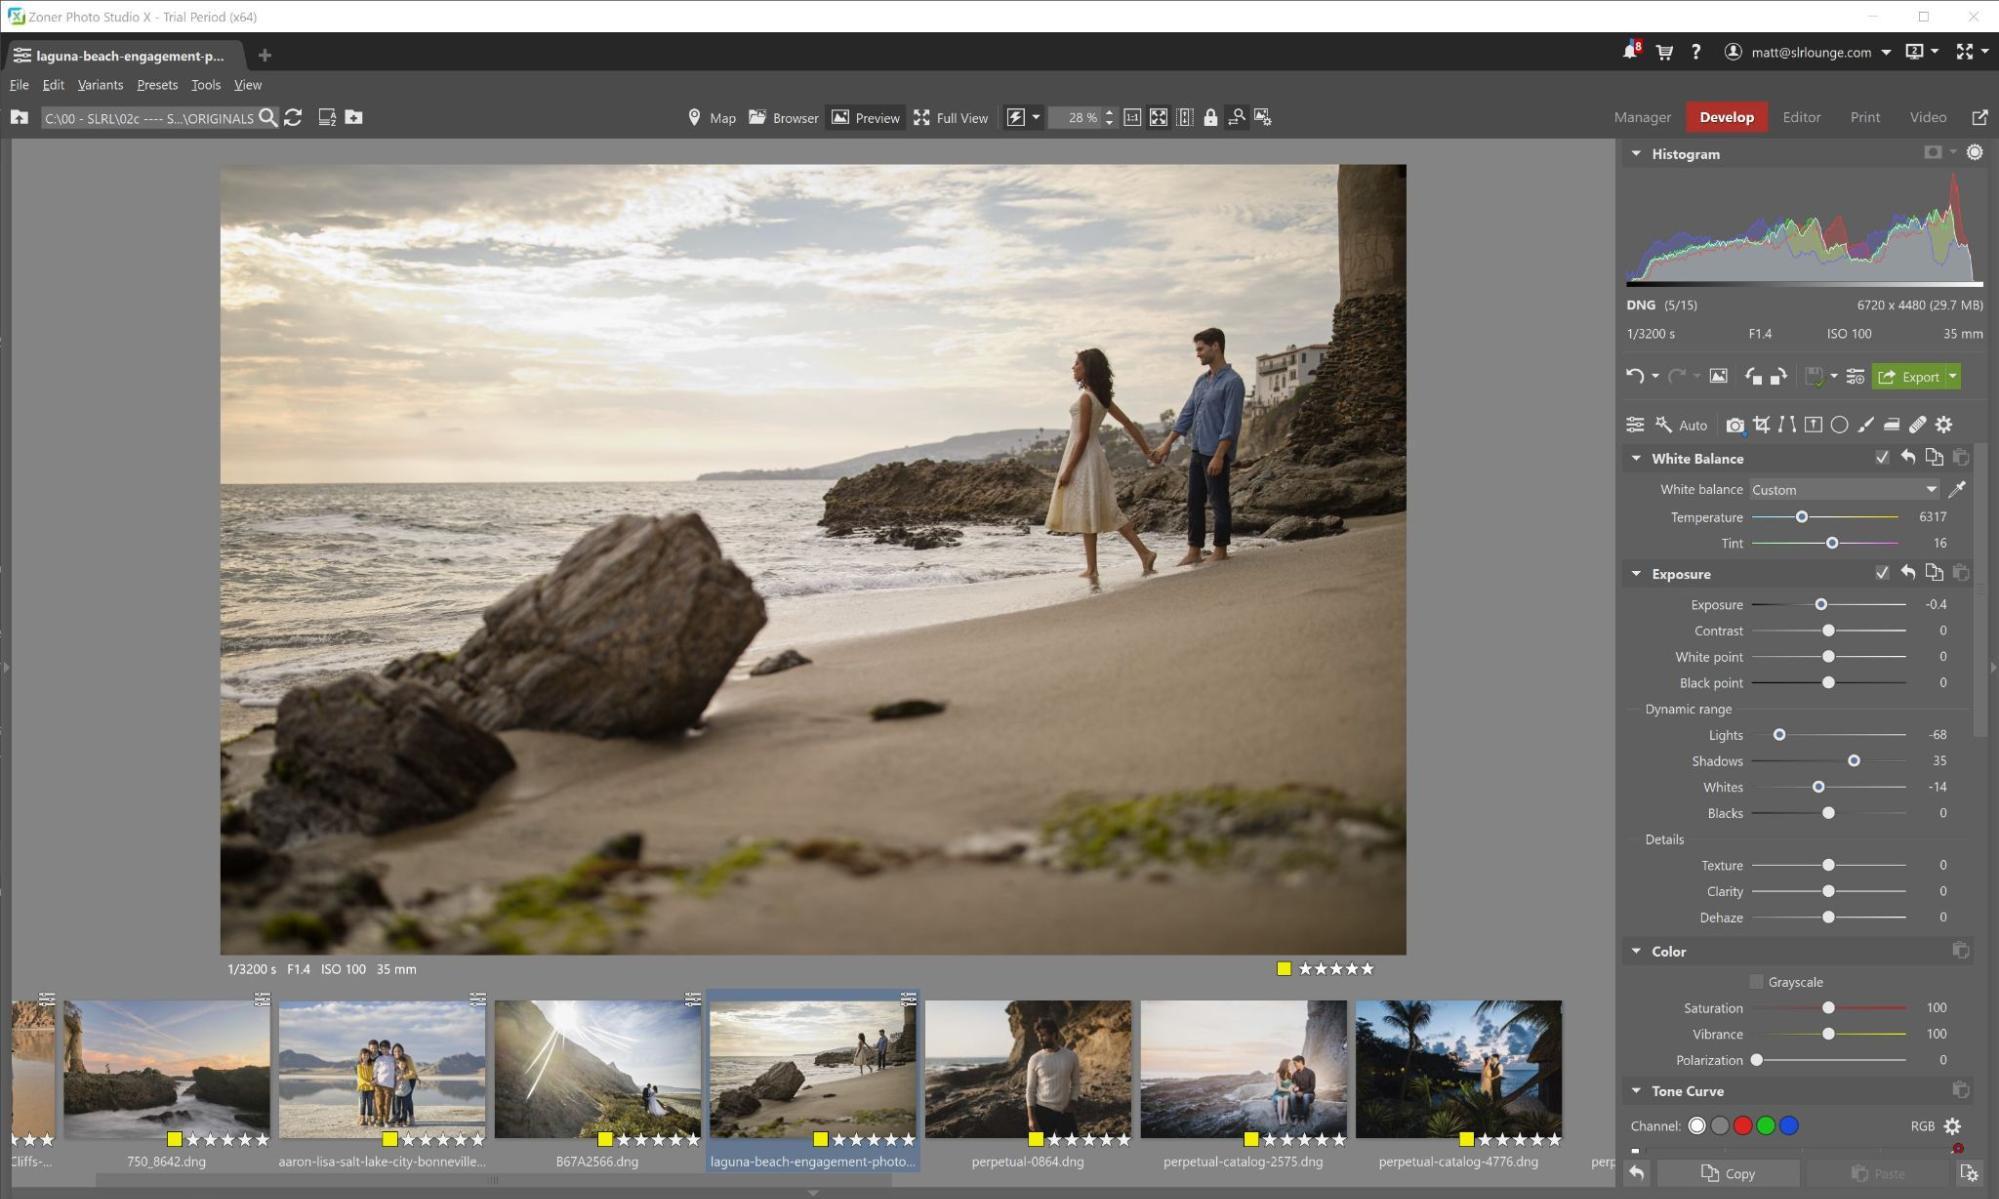
4. Understand Dynamic Range, And How to Edit For Natural Highlights & Shadows

Inevitably, you’ll find yourself having to work in some conditions that are definitely less optimal. Maybe that perfect angle with the epic backdrop you want forces you to work in harsh side lighting? Just remember that even “harsh” light can be edited to look quite beautiful, if you know what you’re doing! The best tip we can give in this regard is a very simple one: How do you edit harsh light to look good? By understanding what dynamic range looks like, naturally, and not “overdoing it” in post-production.
Indeed, cameras these days can capture incredible dynamic range, and if you want you can likely drag your “Shadows” slider all the way to the max! However, the resulting image will usually look very unnatural. When editing highly dynamic scenes, there are two rules of thumb we can offer.
- Dial the slider “too far”, and then dial it back. In other words, when editing, the best way to be sure that an edit is “perfect”, is to define what is definitely NOT perfect, and then find the middle ground in between.
- Don’t make your shadows brighter than your highlights! This one sounds obvious, but in critiquing other photographers’ work over the past 15+ years, one of the most common mistakes is burning & dodging an HDR scene so much that your sky ends up darker than, say, the ocean beneath it! If this isn’t how the scene actually looked in real life, then it will look very odd in the final image. So, after you apply any sort of heavy edits to an image, always do a “reality check” double-check with the overall range of tones. (See the extreme example below!)

In Zoner Photo Studio X, for example, this is a very simple process. The familiar sliders for managing your dynamic range are easy to understand, and edits appear almost instantly.
One final piece of general advice when it comes to editing all images, not just portraits and/or “bad light”: less is more. In most cases, we find ourselves only touching the most common 4-6 sliders, as long as our exposure and white balance were alright. In fact, usually, only one of the two main “recovery/dynamic range” sliders will ever need to be “cranked to the max”. Sometimes it’s the “Lights” slider, other times it’s the “Shadows” slider, but it is extremely rare that both need significant adjustment.

How to Edit Skin Tones Naturally in Harsh Sun
No matter how hard you try to follow good advice and use all the “best practices” for a summer photo shoot, whether on the beach or anywhere outdoors, editing skin photographed in harsh light is still an essential skill for all pros to have.
Start with the above two suggestions: know what “too far” looks like, and don’t over-edit your images’ dynamic range so much that they look unnatural. Beyond this, we can offer some more subtle, technical tips for editing skin tones, especially when you’re dealing with “rough” light.
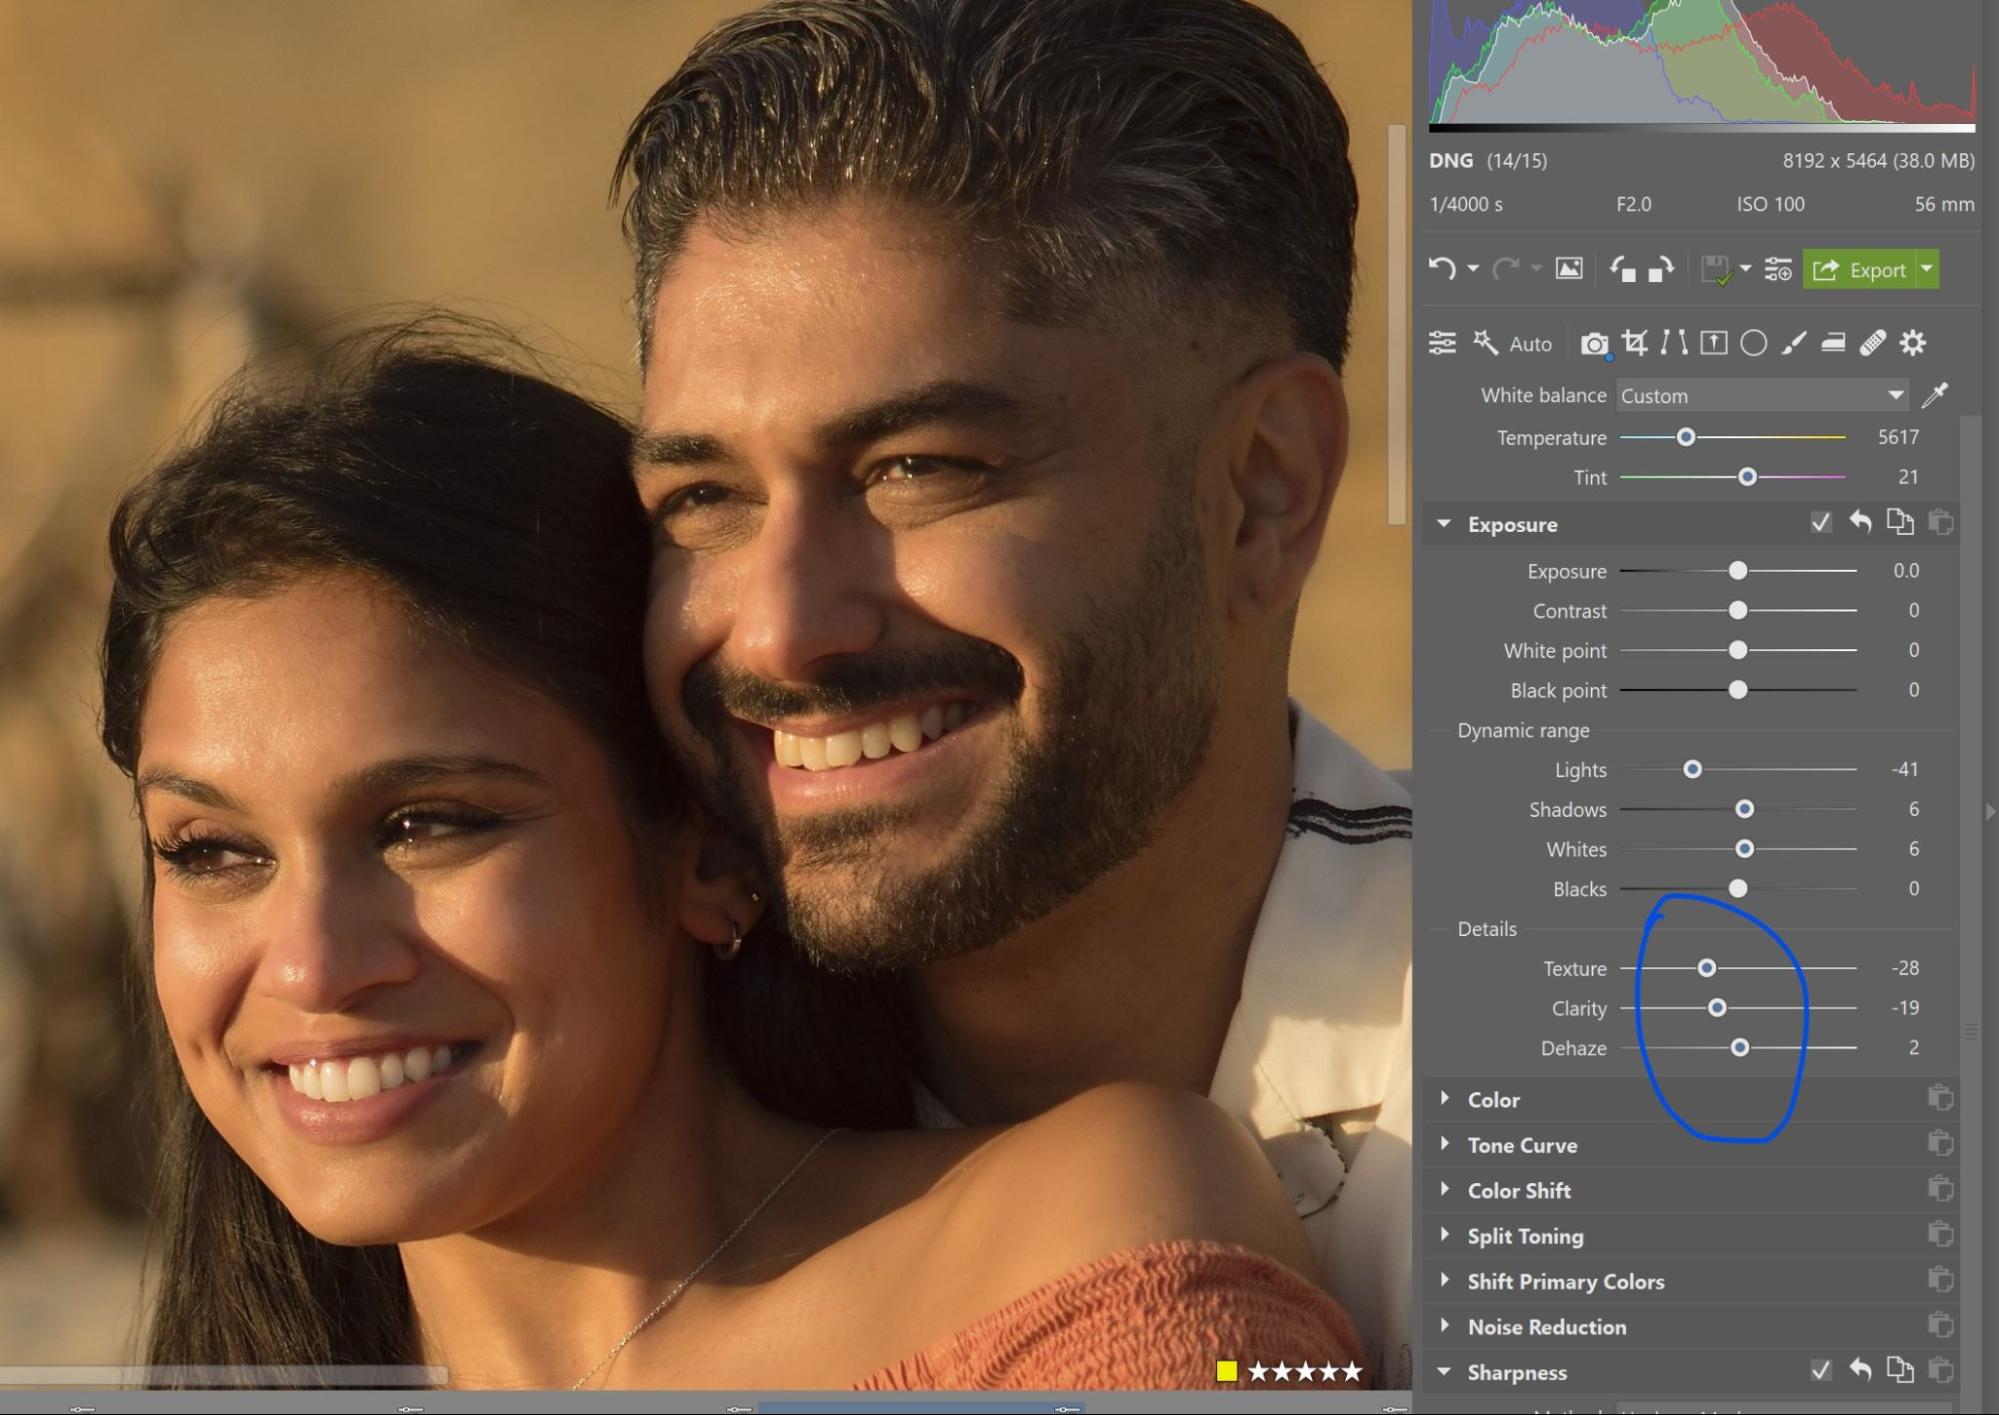
- Negative Texture & Clarity adjustments can help “airbrush” hard, sharp edges. The truth is, portrait lenses these days are MUCH sharper than they were 10+ years ago! This can be a good thing when you are making a very large print, however, up close it can emphasize every subtle detail in a person’s skin. In soft light, this is a great thing, but when the light is “hard”, we have actually changed our editing style in recent years to include just a touch of negative texture and/or clarity, depending on the lighting and the type of subject. Just don’t go too far; you don’t want to actually see a blooming “glow” effect, of course.

- Whenever possible, avoid leaving your raw workflow environment, even for retouching! You’d be surprised just how capable your retouching tools are in your raw, non-destructive work environment! In Zoner Photo Studio X, for example, has three excellent options that can work well depending on if you’re retouching blemishes on skin, or removing a distraction from a background.There is the advanced “Healing Brush” which can work wonders, although we still love the traditional “Cloning” stamp/brush. Plus, there is a “Structure Cloning” brush that combines both methods, using structure/texture from your source but matching the colors & lightness of the destination.
Last but not least, one unique feature that we appreciate about ZPS X in particular is the “Seek source region automatically” option, which does exactly what it says! This set of tools can greatly speed up your workflow process, and keep you within the non-destructive editing environment.
5. Should You Do Multiple “Mini Portrait Sessions” in One Day?
This article would not be complete without discussing the logistics of summer photo shoots, on the beach or anywhere else for that matter! Simply put, what you can accomplish in one day is going to depend on the style of a photo shoot that works for your business.
Some engagement sessions for wedding couples will be grand, elaborate shoots with wardrobe changes, props, etc. If this is your business model, then even if the photo shoot is only 2-3 hours, you definitely will only fit one job in each day.
Family and other types of portrait photographers, however, might find that a “mini session” business model can work for them, and they can offer quick, 45-60 minute photo shoots for maybe a half-dozen clients in one day.
Either way, our best advice is to always remember that nothing ever goes perfectly smoothly all day long, so you should always give yourself a little extra time whenever possible. Also, even if you see other local portrait photographers doing mini sessions, but your own personal creative style is just more slow-paced and/or elaborate and planned out, then just stick with your instinct and do what works for you!
Safety First!
Of course, above all else, the number one logistical tip we can give is to be safe on the beach. No “epic” photo is worth risking injury or worse! We always have our assistants keeping a constant eye on each incoming wave, and we avoid rocky areas if the waves are too big, or if the tide is coming in rapidly. (You can easily find apps that help you forecast both wave height and tide height!)
6. Deliver Your Photos Rapidly
Whether you’re doing a lot of summertime photo shoots on the beach, or holiday family portraits in the park, one of the biggest challenges comes after you’re done. Now you have to edit and deliver all those photos!
We always encourage photographers to aim to deliver photos as rapidly as possible. Within a few days, even! Of course every business model is different, but here’s our best advice that can help avoid a serious backlog of jobs to edit: worry less about perfection in every little detail of every image, and focus more on simply sharing the photos with clients as soon as possible! Basically, quick color correction is more than enough for “proofing” the images in most cases. If a client decides they want to make a big print of a particular image later, then you can go back in and do extensive retouching!
Of course, raw editing software that can batch-edit all your photos at once is a must. You must be able to jump from photo to photo, apply the previous edits, make minor changes to the development, …and then export the entire job all at once. Most raw editing workflow apps will offer this, including Zoner Photo Studio X.
One reason why we recommend Zoner Photo Studio, however, is that the next step after that is even easier, too: You can quickly and easily share an online gallery of photos with clients using the Zonerama web gallery host, which is a free service.
Summer Beach Portrait Photography Tips | Conclusion

In conclusion, summer can be a very busy time for portrait photographers, whether full-time professionals, aspiring pro, or just a hobbyist. Honestly, even landscape & wildlife photographers may find that summer affords them a significant increase in the number of opportunities for beautiful imagery!
So, the best thing you can do is to be safe, be prepared for various challenges, and stay on top of your editing so that it doesn’t “pile up” later! Plan ahead and manage your clients’ expectations beforehand, be realistic about time management and the potential obstacles such as crowds or harsh light, …and then when all is said and done, upload and share the photos as quickly as possible!
Zoner Photo Studio X is a comprehensive photo editing app, with a raw workflow catalog system that offers a “best of both worlds” method of directly browsing your computer folders, and/or “importing” photos into the catalog. Keep your eyes peeled as ZPS X will be releasing their Fall update on the 19th of September with a plethora of goodies & upgrades as usual. Also, as mentioned, Zonerama allows anyone (with or without a ZPS X subscription) to upload and share photos in high-resolution, without JPG compression, and many more features you won’t find anywhere else.