When working as a professional, or even a serious hobbyist, it’s important to have your portrait editing process in the bag. Lightroom and Photoshop provide incredibly intuitive tools that can help you achieve consistent and quick results. Today, I want to show you my approach to speed editing headshot portraits using 6 easy steps through Lightroom and Photoshop.
Video: Quick & Easy Headshot Portrait Editing in Lightroom and Photoshop
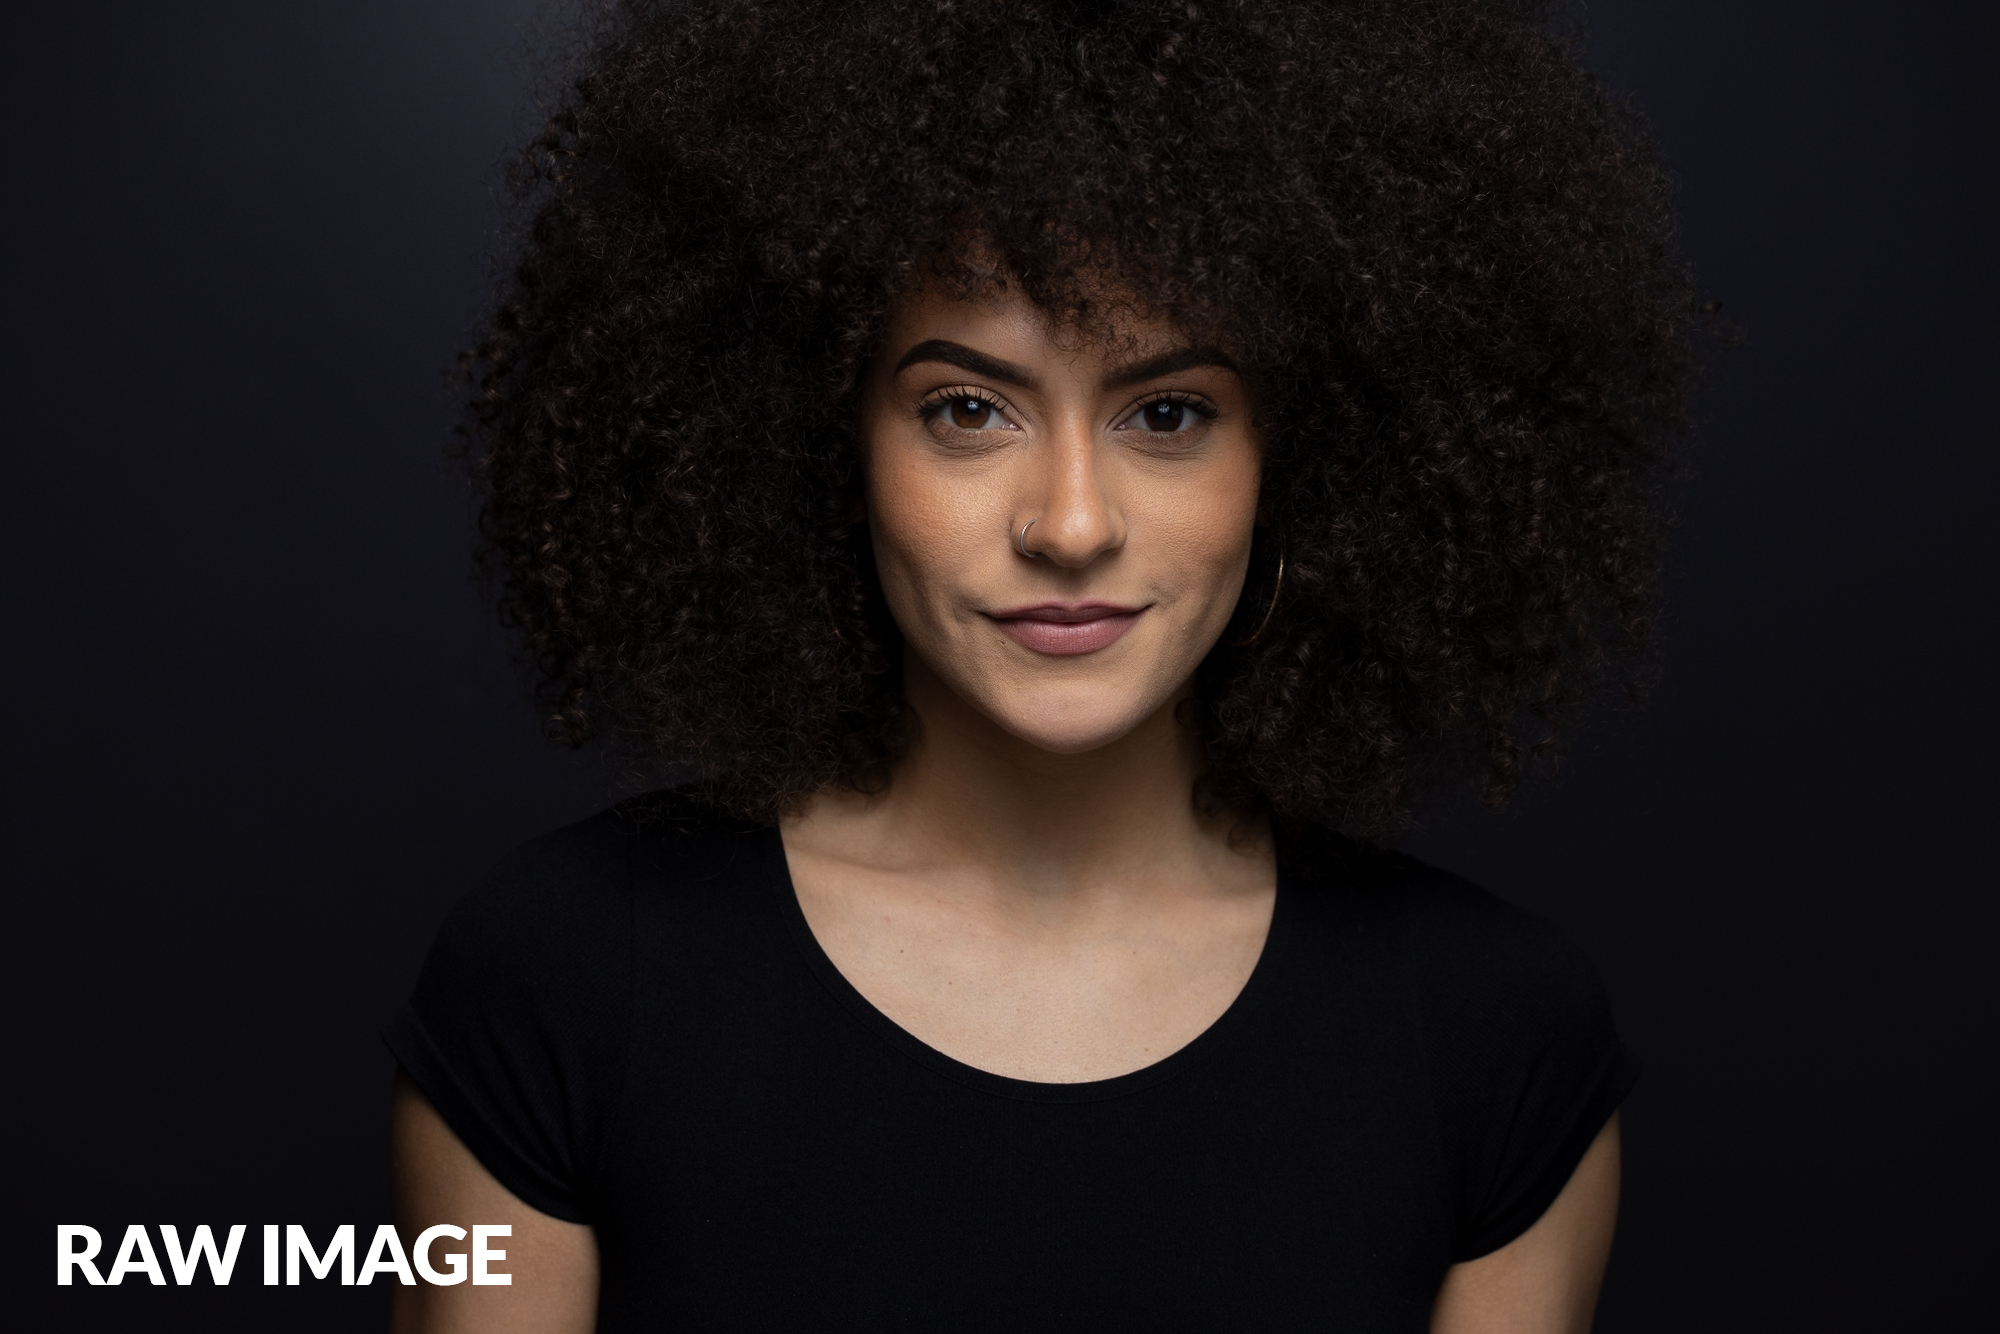
Before we begin, head over to our guide on The Easiest One Light Headshot Setup to see how we captured the headshot.
You can download the exercise file here and follow along as I edit! Let’s jump in.
Step #1: Start With a Look

This step is easy. Simply apply the preset of your choice for your base look. I selected Visual Flow > Modern Pack > Soft Light.
Step #2: “Dark Mode” Portrait Editing

“Dark Mode” is a portrait editing technique I use to control the tones when the brightest area of a portrait falls on the subject. By first pulling the exposure down, I then use the sliders to bring the background and highlights back up. This method allows me to control the contrast as well as get an overall softer looking image.
Related Reading: Dark Mode Editing in Lightroom
Step #3: Reduce the Detail

Digital cameras can often create a gritty and rough texture on skin tones. To achieve that softer look, we need to reduce the detail in the image. We can do this simply by using the “Reduce Detail” from Visual Flow’s Retouching Toolkit, which reduces texture, clarity, and applies de-haze.
Step #4: Apply Local Adjustments
This step is where we’ll be applying localized retouching to the image using local adjustment brushes.


Step #5: Photoshop Neural Retouching

Adobe Photoshop’s latest update provides new AI based portrait editing tools. This is where the magic happens and we won’t need to spend hours cloning anything out by hand. Simply send the image over to Photoshop and select Filters > Neural Filters. All we have to do is turn on “Skin Smoothing” and we’re good to go.

Output the effect to a new layer and control the intensity using the layer’s Opacity. Save and head back to Lightroom.
Step #6: Fine Tuning the Image

Make your final adjustments here. I added a radial burn to bring the attention back to my subject’s face.
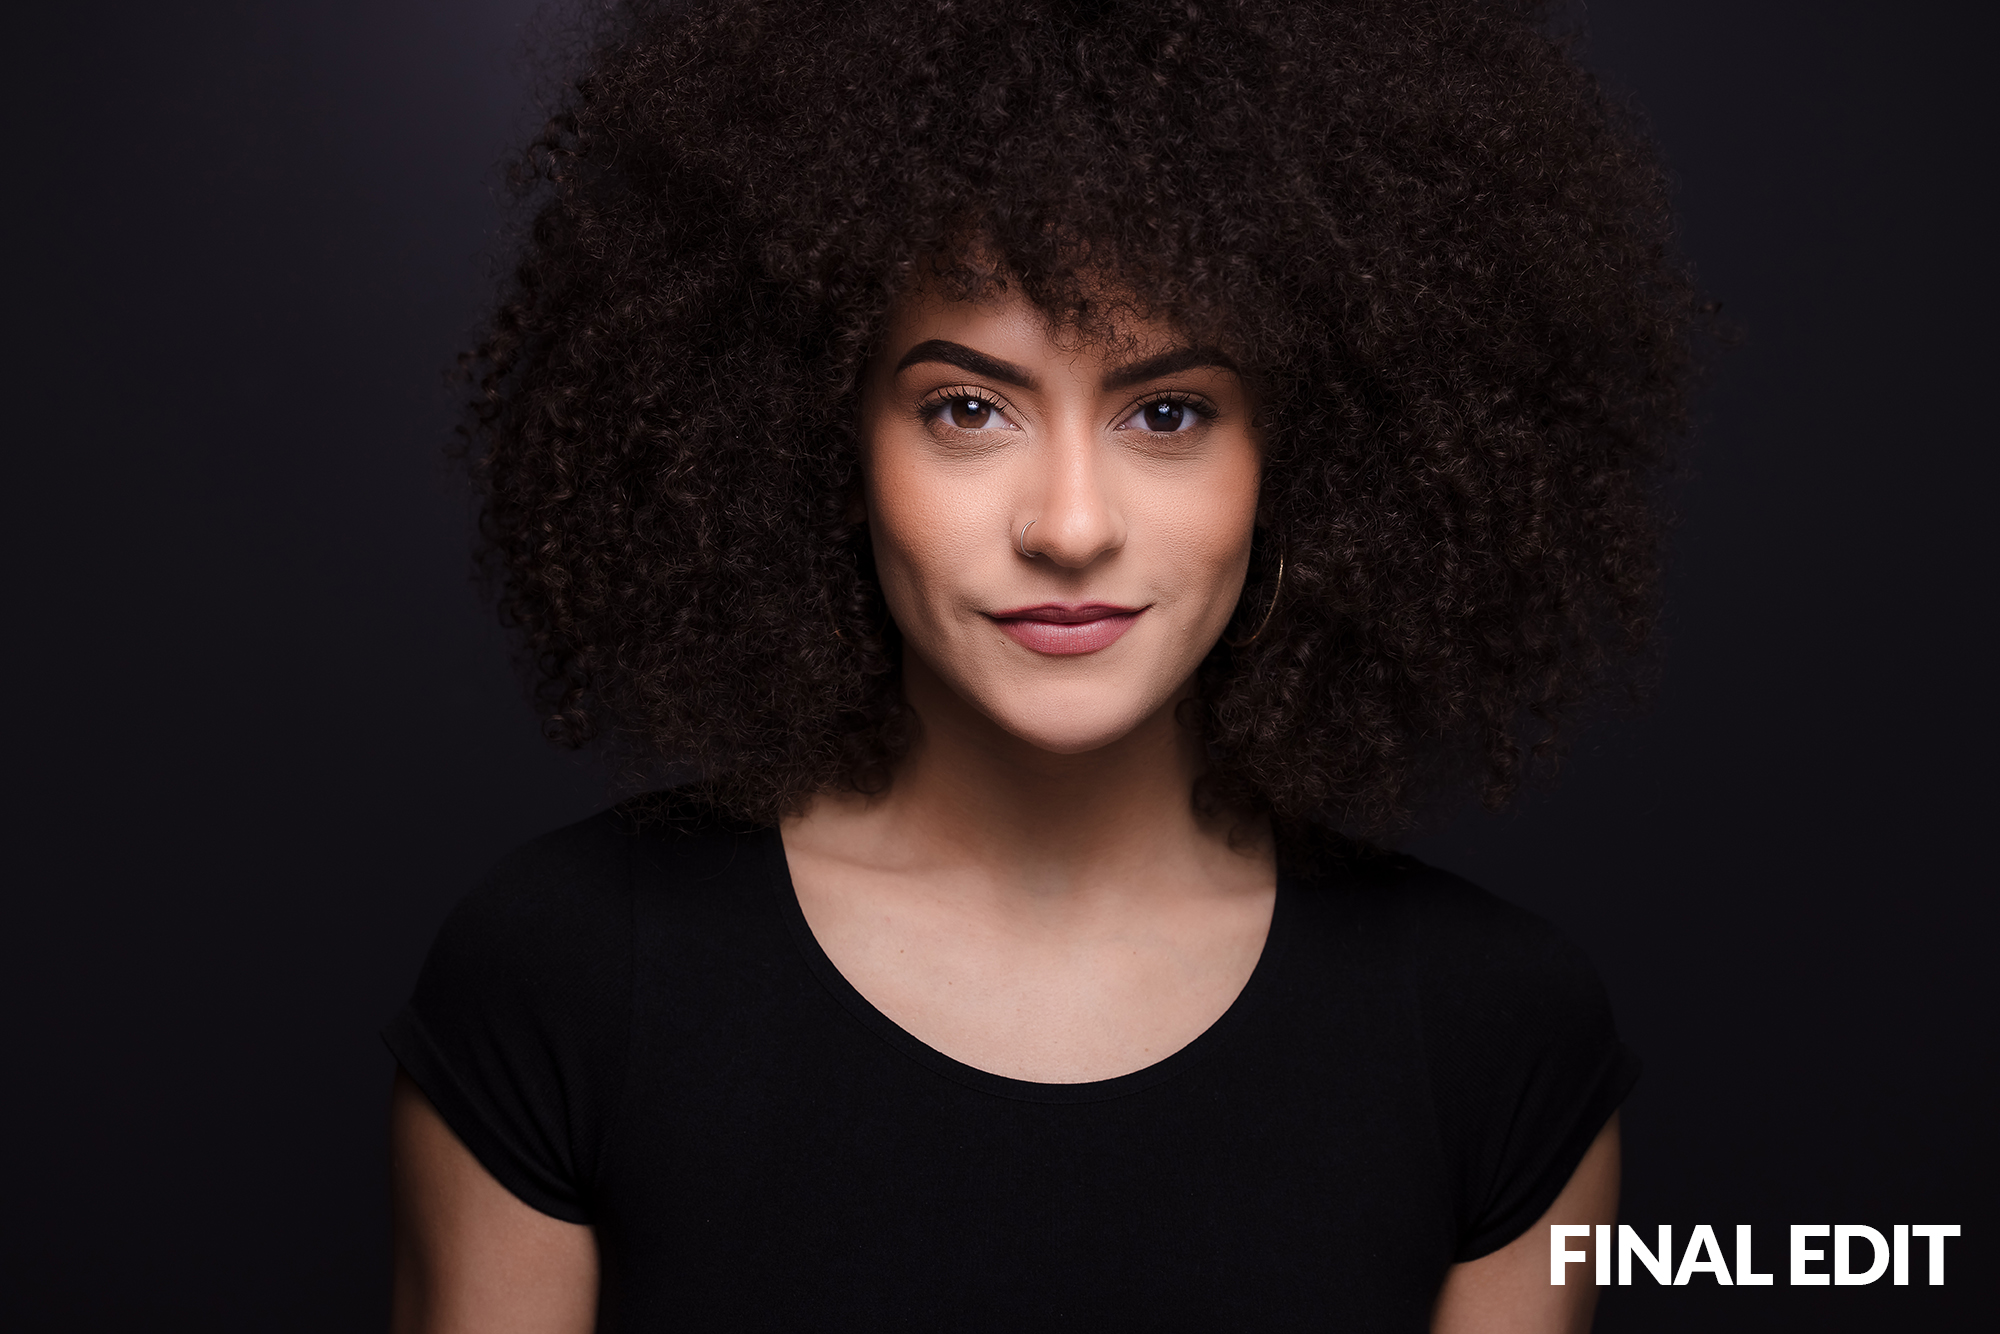
Final Image
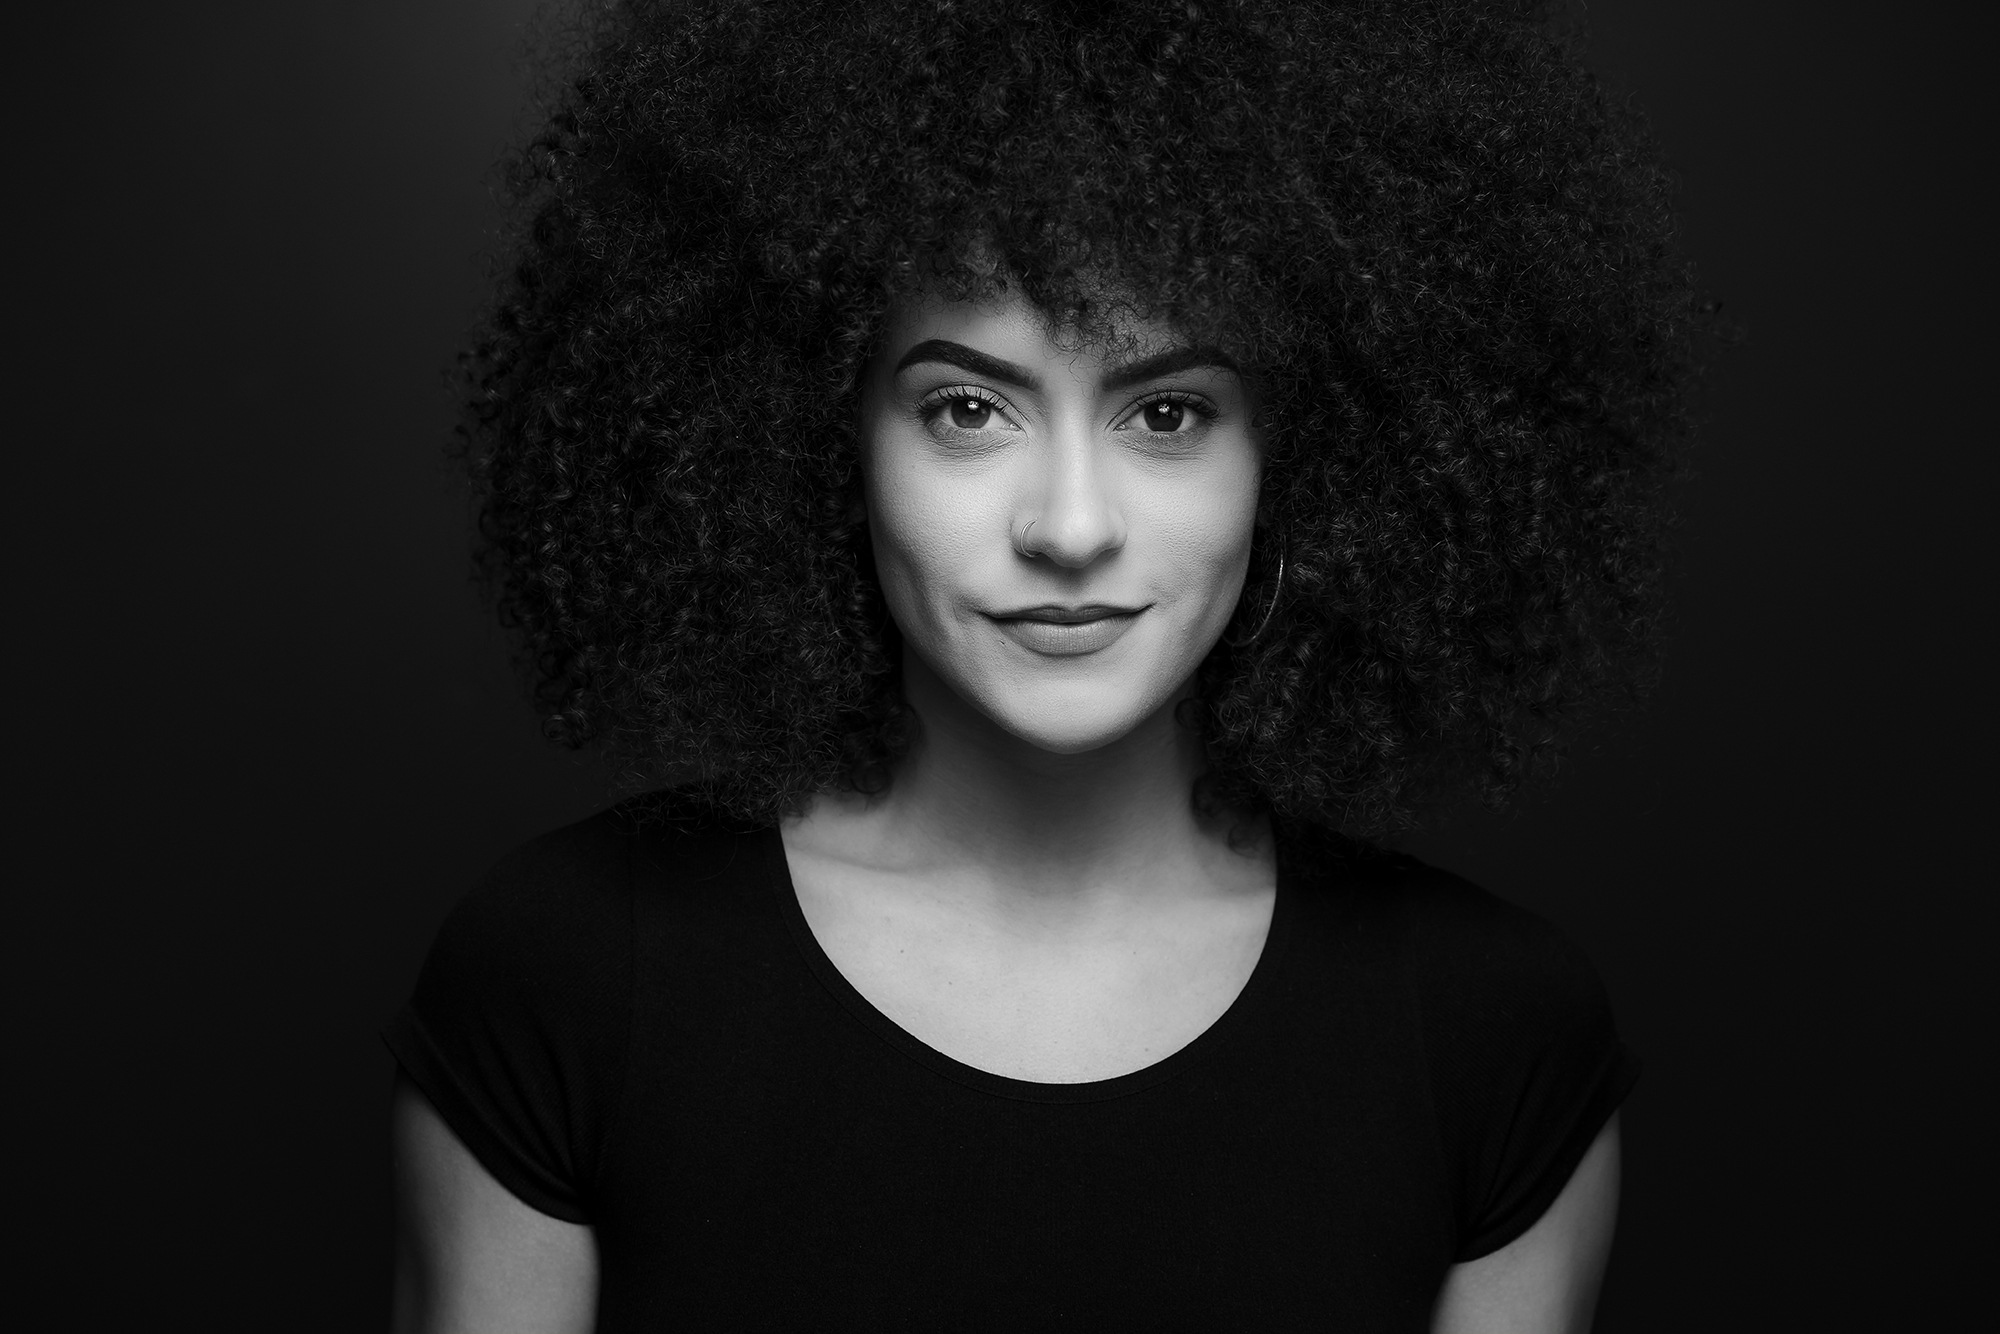
You can also convert and create a black and white version as well.

Conclusion
I hope you enjoyed this article/video. With Lightroom and Photoshop’s incredible set of tools, we can make the portrait editing process quick and easy and still end up with professional results. For a complete Lightroom guide, check out Mastering Lightroom, available at SLR Lounge Premium. In addition, you can visit Visual Flow for lighting based presets as well as the Retouching Toolkit which provides all the tools we used today.
Don’t miss our next episode of Mastering Your Craft on Adorama’s YouTube channel next week! If you want to catch up on all the episodes, make sure you check out our playlist!