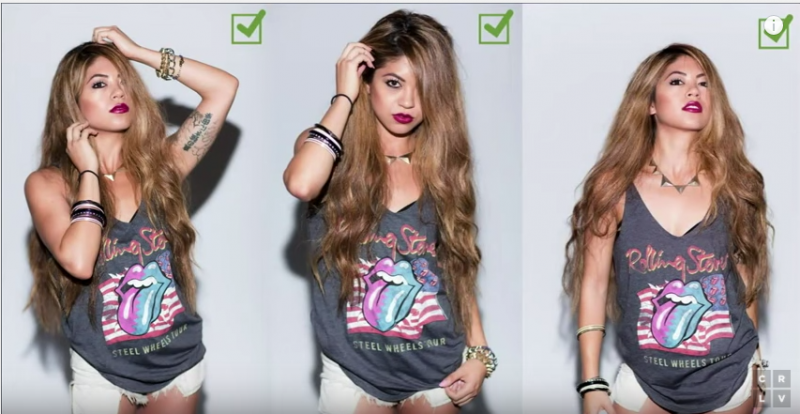
One of the biggest no-nos in lighting for photography is shooting with direct flash, right? At least that’s what I was told. Leave no doubt, direct, on-camera is the easiest way to get some unflattering shots, but if you do it right, you can create really great edgy looks to your images. In fashion and commercial photography,l you’ll see direct flash used in ads from companies like American Apparel or FHM. Terry Richardson built his entire career on this method of flash in the fashion world. So, direct flash isn’t all bad, and you can certainly make a name for yourself using it to create a stylistic or editorial look.
In addition, in Wedding Photography and Event Photography, direct flash can come in handy when you’re in a pinch. For example, if you’re outdoors for a wedding reception and don’t have anything to bounce off of, direct, on-camera can save the day. In this article, we’ll teach you when and how to use this method the right way for various types of photography!
Direct Flash in Fashion and Commercial Photography

In the following video clip from last week’s Photo Week on CreativeLive, Pye shows us how to shoot with direct, on-camera. This was part of his master class on Working With Flash which you can get here. In the class, he talks about mixing flash with ambient light, direct flash vs. bounce flash, Multipoint lighting with flash, off camera flash and more.
direct, on-camera will create a side shadow around your subject, and so Pye suggests using an inexpensive bracket, called the Vello bracket, which attaches to your camera and will help you eliminate that harsh line. Watch the 6-minute video below and learn how to get that edgy, American Apparel look.
Tips for Using Direct Flash in Fashion and Commercial Photography
Sometimes you’ll be stuck in a situation where you have no other choice to fill light other than to use direct, on-camera. When this happens, keep these four tips in mind for when you must use direct, on-camera.

Tip 1: Avoid It If Possible

In most situations, you honestly don’t need direct, on-camera. If you’re creative, enough you can bounce off objects or diffuse the light to avoid using this method . So carefully consider your options before settling on direct flash. For general, flattering portraits, consider these other lighting methods:
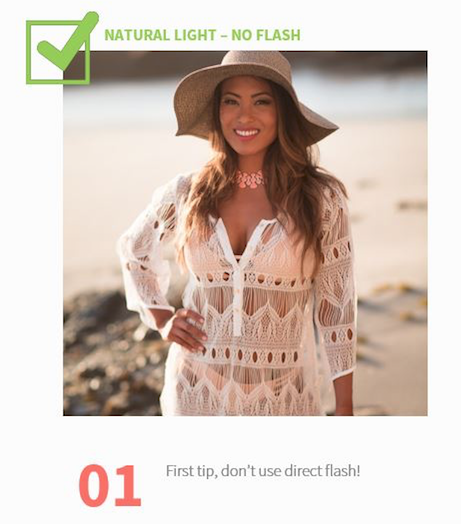
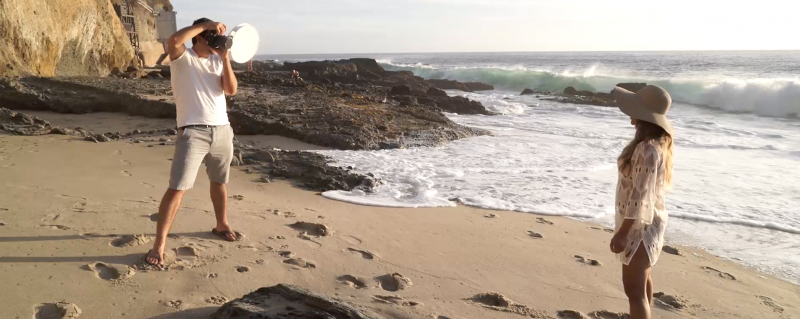
- Natural Light
- Reflector bounce
- Off Camera Flash at an Angle (diffused)
- Ring Flash
Tip 2: If you must, start by exposing the image for the ambient light

What we don’t want to do in a direct, on-camera situation is end up with a heavy flash look. When the ambient exposure starts to drop, then the flash is being applied too liberally. To avoid this, we start by exposing for the ambient background, and then we add in the flash to subtly light up our subject.
TIP 3: Use the lowest flash power possible when using direct flash as fill

The key word here is subtlety. To avoid the point-and-shoot look, we gracefully add in the flash at the lowest power possible. This will give your image a natural light look rather than a heavy flash look.
Tip 4: Soften The Flash With Modification For Better Results

Use what you have. If you have a napkin, then put that sucker over your flash or bounce off of it to soften the light quality. In this shot, I used the Fstoppers Flash Disc to modify my light to brighten up my subject.
Direct Flash in Wedding Photography
When there are no other options, you may have to shoot with direct, on-camera, but there’s a way to do it right.
Here’s a scenario for using direct, on-camera flash:
- Initial setup w/o OCF | 1 minute
- Initial setup w/ OCF 3-6 minutes
- No ceiling/black ceilings
- Outdoors open sky
- No time/OCF gear to setup (SOL)

Setting your power and keeping a steady distance is crucial for using direct flash in the best way possible (see diagram above). If you’re not careful, it’s easy to blow out the subjects with too much light or lose them in the shadows when they’ve drifted too far from the light source.
Here some key tips for using this method during wedding receptions:

direct, on-camera is a last resort lighting method, but one that will work when it’s needed. It’s easy to set up and works in any scene or location.
Direct Flash for the Wedding Dance Floor


We recommend using manual mode and maintaining the same distance from the subjects as you (or they) move around


Get Connected!