It’s noon, the sun is directly overhead, and you want an f/1.4 portrait with a soft, blurred background and a sky that still holds its color. Your shutter tops out at 1/8000, your flash sync speed caps at 1/200, and the math doesn’t work. This is the exact wall that pushes most shooters into high-speed sync. There’s a better way. Learning to use an ND filter for portraits lets you drop the ambient exposure, keep your aperture wide open, and fire your strobes at full native sync power. In this guide we cover three techniques we use on real wedding and portrait jobs: shutter-drag motion in daylight, maximizing dynamic range at base ISO, and overpowering the sun with flash without touching HSS.
Everything below comes from actual shoots. The settings, the gear, and the mistakes are ours, shot in harsh midday light and on beaches where the sun wins by default unless you take control of it.
Part of the Lighting Guide
Why use an ND filter for portraits at all?
An ND (neutral density) filter is a darkened piece of glass that sits over your lens and cuts the light reaching the sensor without shifting color. Landscape shooters reach for them to blur waterfalls. For portraits, the job is different: an ND filter buys back the exposure the sun steals, so you can shoot at a wide aperture and stay inside your flash’s native sync speed of 1/200 to 1/250.
Here’s the part that matters for most shooters. Without an ND, a sunny f/1.4 exposure demands a shutter around 1/8000, far above sync speed, which means your flash can’t freeze at full power. Drop in a 4- or 5-stop ND and that same scene falls to 1/200. Now the strobe does its full job, the background keeps its tone, and the bokeh stays creamy. HSS can get you there too, but it burns power and consistency, which we’ll get into below.
Technique 1: Shutter drag and motion in daylight
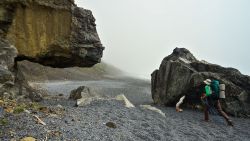
- Camera Settings: Canon 5D Mark III + Canon 17-40mm, 1 second, f/9, ISO 50
- Lighting: Tiffen 1.5 Water White
- SLRL Lightroom Preset: 11g HDR Natural Color
Dragging your shutter in broad daylight normally forces you into an extreme f-stop and a slow shutter, and even then the frame blows out. A 5-stop ND changes the math. It let us slow the shutter to a full second to pull movement out of the water while sitting at a low ISO of 50 for maximum dynamic range. One click of our Visual Flow Lightroom presets brought up the shadows and locked in the color.
Technique 2: Maximizing dynamic range at base ISO
Shooting at your lowest native ISO holds onto every highlight and shadow, but it comes with a catch: you’re now leaning on ambient light as your key, and your subject sits in near darkness. So you compensate with aperture and flash. This is where the ND earns its place in a portrait kit.

- Camera Settings: Canon 5D Mark III + Sigma Art 24mm, 2″, f/16, ISO 50
- Lighting: Tiffen 1.5 Water White, sprayed lens with filtered water and took a shot with 1 Canon 600EXRT pointed directly at camera.
- SLRL Lightroom Preset: 11g HDR Natural Color
We bumped the aperture to f/16 and fired a strobe straight into the lens to create those beads of light. Why go so tight on aperture? The wider we opened, the larger and messier those bokeh balls would have grown. To capture the motion in the water and hold the color in the sky, a 4-stop Tiffen ND gave us the picture-perfect formula.
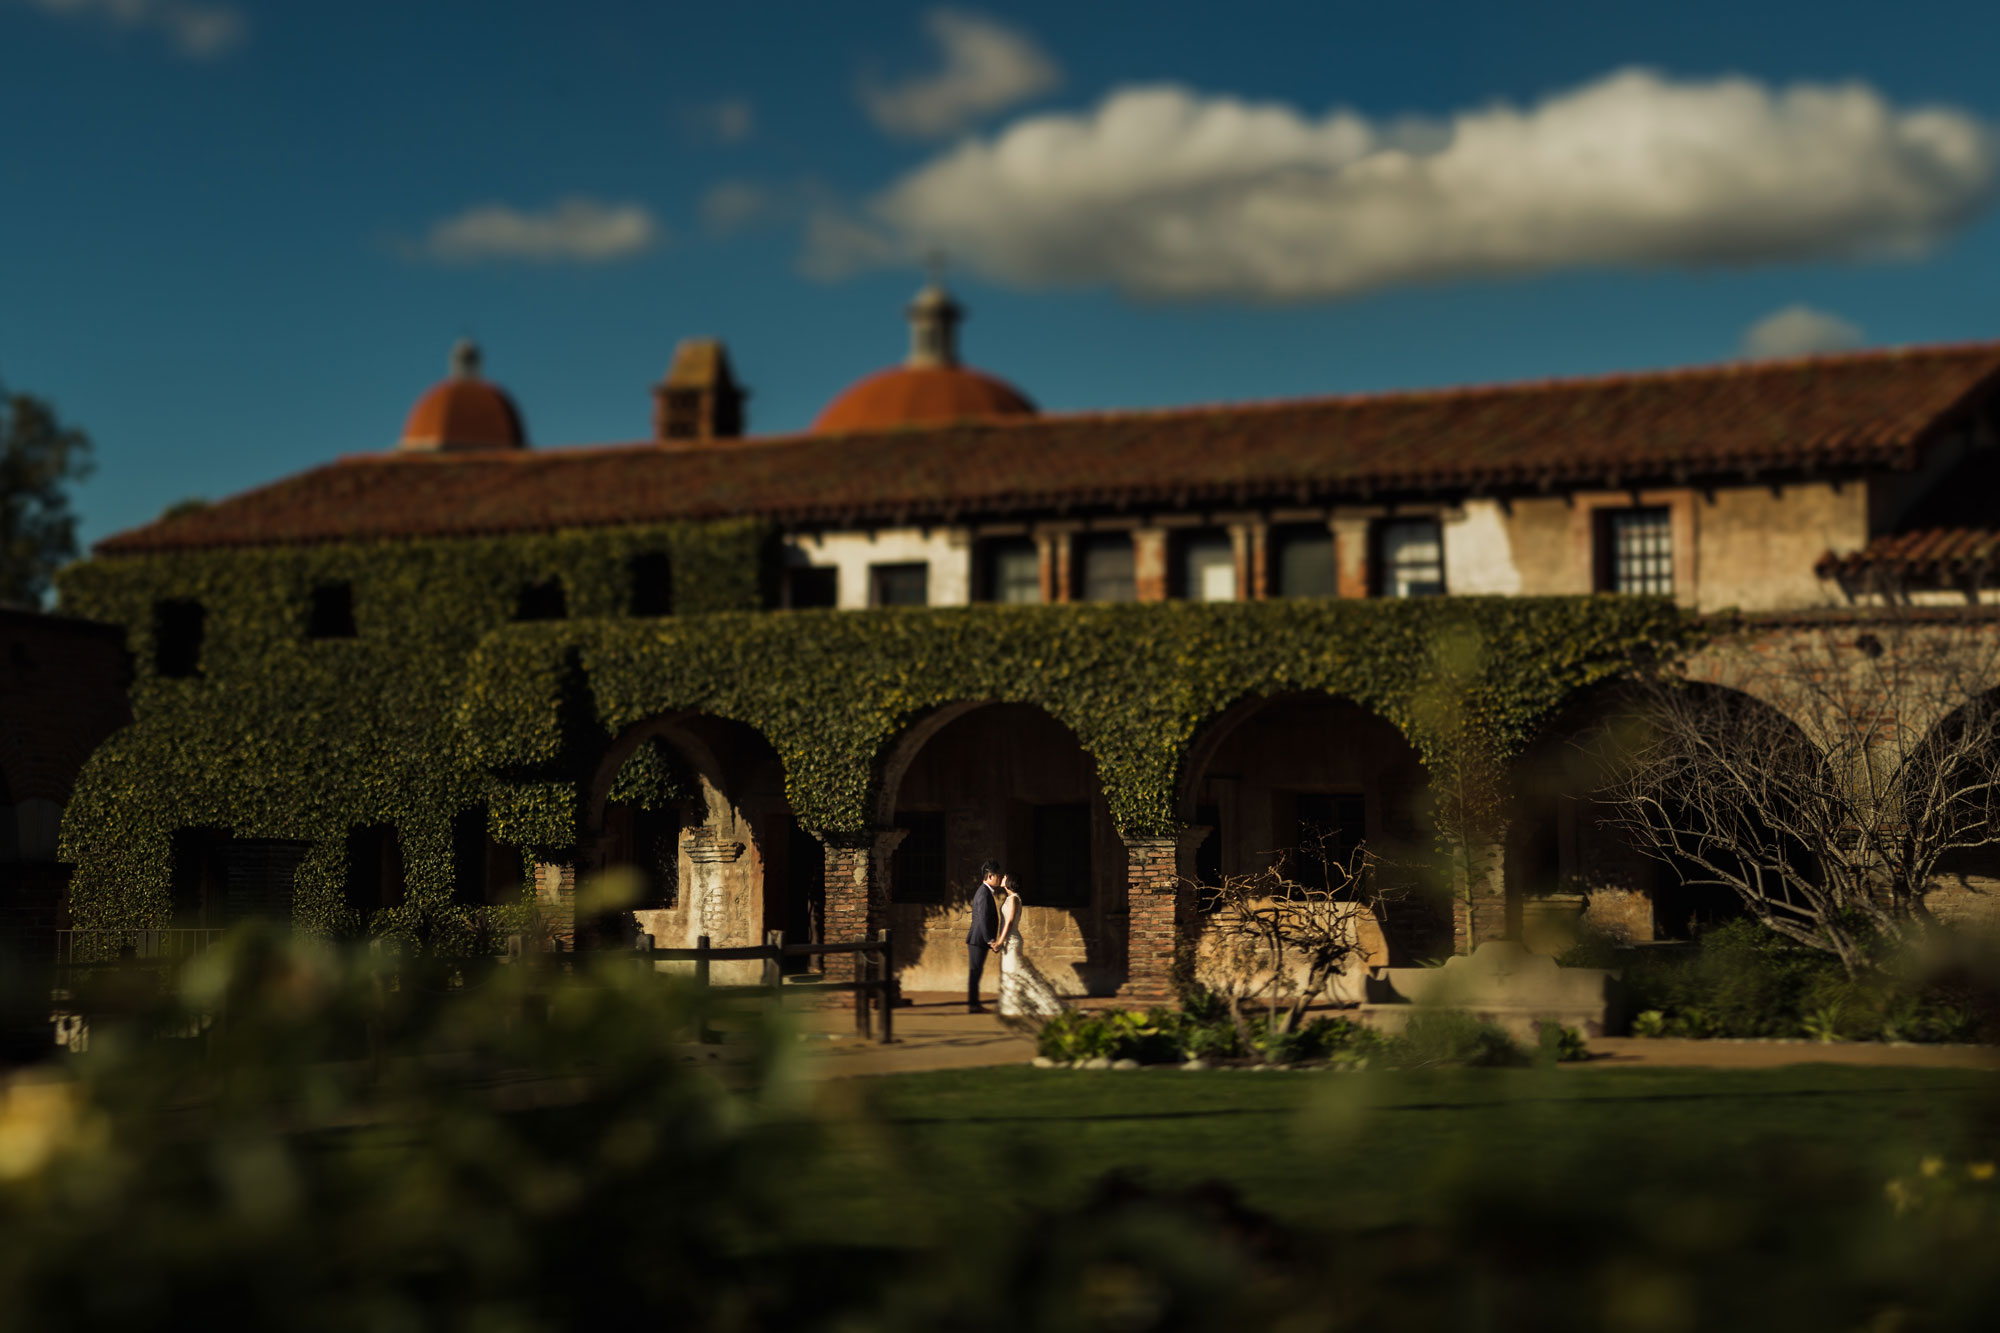
- Camera Settings: Canon 5D Mark III + Canon 90mm TS-E @ 1/200th, f/4 and ISO 100
- Lighting: 3 Canon 600EX‑RT’s, Tiffen 1.2 Digital HT ND
- SLRL Lightroom Preset: 11d. Black Crush
We shot this one intentionally underexposed to build a more dramatic flash-to-ambient balance. Under noon sun we needed a Tiffen ND to hold our aperture at f/4 while flash chiseled the subjects out of the scene. That saved us from stopping down to f/16 and pushing ISO to compensate. The flashes were composited out in post. Here’s a one-minute breakdown of how we maximize dynamic range:
Technique 3: Overpower the sun with flash, no HSS required
High-speed sync is one function switch away, but we’ll be direct about the trade-offs. Light output shifts shot to shot in HSS mode, so matching power across a burst gets tough. Recycle times drag, especially when you’re trying to overpower the sun in open daylight, and that lag slows the whole session down. When we want to hold a shallow depth of field, using an ND filter for portraits alongside strobes keeps us pinned at 1/200 sync speed with full, repeatable flash power. This is the core of the ND filter vs HSS debate, and for consistency, we lean ND.

Camera Settings: Canon 5D Mark III + Sigma Art 35mm @ 1/200th, f/1.4 and ISO 50
Lighting: 3 Canon 600EX‑RT’s, Tiffen 1.2 Digital HT ND
SLRL Lightroom Preset: 11b. Standard Color
Notice we’re at f/1.4 here. To compensate for that much light at native sync speed, we’d normally have to crank the shutter well past what the flash can follow. Instead of switching to HSS, we stacked three flashes to overpower the sun and hold the wide aperture in the frame below.

- Camera Settings: Canon 5D Mark III + Canon 90mm TS-E @ 1/200th, f/2.8 and ISO 50
- Lighting: Solid ND 1.2 Filter +4 Stop held over lens for sync capability, Profoto B2 w/ reflector off to camera right
- SLRL Lightroom Preset: 11d. Black Crush
We placed the couple directly over the brightest patch of highlights in the water so the reflected light would naturally pull the eye up into their faces. We kept the ambient exposure a touch brighter here for a slightly more natural feel. That’s a small compositional choice, but it’s the kind of thing that separates a technically correct flash portrait from one that actually looks like the location.
If you want the full off-camera flash workflow behind these shots, our Flash Photography Training System walks through the exact gear setups, sync tricks, and modifier choices we use on real wedding jobs, including when to reach for an ND over HSS.
The best ND filters for portrait work
We dig into why quality matters for ND filters in our Lighting 201 workshop inside SLR Lounge Premium. You’re putting an object in front of your glass, so it can’t quietly degrade the image it passes through.
Cheaper ND filters tend to carry a color tint that fights your white balance and muddies skin tones. That’s a real problem for portraits, where accurate color is the whole game. In our experience the following three hold color and sharpness under flash:
- Tiffen 1.5 Water White IR ND (for IR reduction)
- Tiffen 1.2 Digital HT ND (for color transmission)
- Tiffen Pro 100 Series Starter Kit **
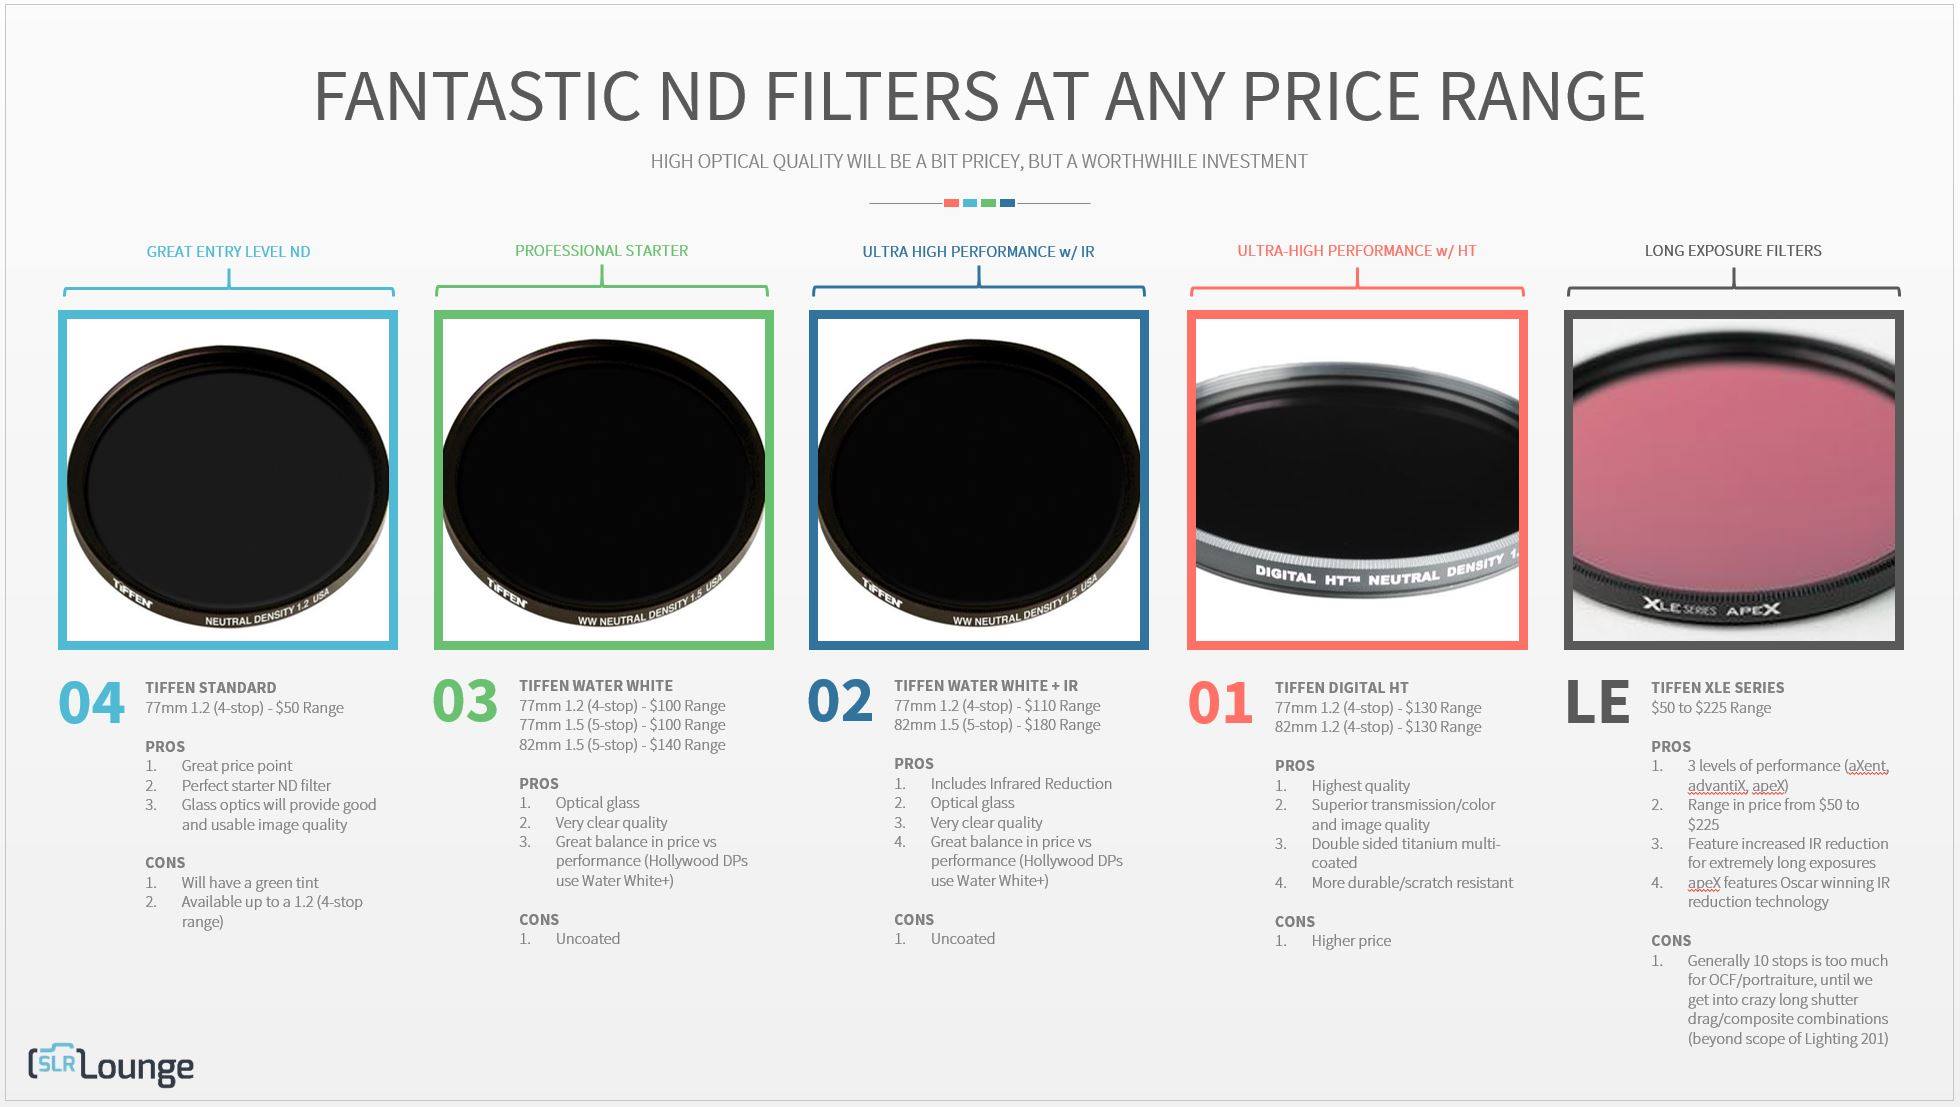
Honestly, the reason we keep coming back to Tiffen’s Oscar-winning ND filters as strobe users comes down to one word: reliability. At each price point they perform as well as, or better than, filters that cost more, and they don’t throw a color cast into a frame you’ve carefully lit.
ND filter for portraits: common questions
Which ND filter strength is best for portraits?
For flash portraits in bright sun, a 4- to 6-stop ND (1.2 to 1.8 density) is the workhorse range. A 4-stop filter is enough to bring an f/1.4 exposure back down to a 1/200 sync speed in most daylight, while a 6-stop gives you headroom for the harshest midday conditions or slower shutter drags.
Can you use an ND filter with flash?
Yes, and it’s one of the strongest reasons to own one. An ND filter lowers the ambient exposure so your flash becomes the dominant light while you stay at native sync speed. That gives you full, consistent strobe power instead of the reduced, variable output you get in high-speed sync.
ND filter or HSS: which should you use?
Use an ND filter when you want maximum, repeatable flash power and shot-to-shot consistency, which is why we default to it for wedding and portrait work. Use HSS when you need to change your shutter on the fly without swapping glass and you can accept lower effective flash output. Many photographers carry both.
Do ND filters affect image color?
Quality ND filters are designed to be color-neutral, but budget filters often introduce a green or magenta cast that’s tough to fully correct on skin tones. This is the single biggest reason to buy a well-made filter for portraits rather than the cheapest option.
Put your ND filter to work
Bright sun isn’t the obstacle it looks like. An ND filter for portraits gives you back control: wide apertures at sync speed, full flash power, and skies that keep their color. Start with a 4-stop filter, nail your ambient exposure first, then bring in the light. For the complete off-camera flash system behind these images, Lighting 101 and Lighting 201 in SLR Lounge Premium show you exactly how we make our gear work for us.