While there are plenty of reasons to add maternity photography to your list of business services, you still need to know where to start. As a photographer coming from another genre, such as wedding or portrait photography, you may find the nuances of maternity photography surprising. Your goal or capturing expressions of love and beauty with creativity and attention to detail remains the same, but the genre demands a somewhat different approach. For example, your scene considerations change, as the woman is not able to precariously brave open cliffs or crashing waves. Your angle considerations now change, too, as the mother-to-be’s weight has been redistributed to different parts of the body. Lastly, depending on your style or your subjects’ preferences, posing considerations may drastically change. We’ve learned quite a bit over the years as Orange County Maternity Photographers, so here are a few Maternity Photography Tips to help you get through your first maternity photoshoot.
Note: This article was originally written in 2018 with annual updates. The last updated was made in October of 2021. Also, you may be interested in our new article on 15 Couple Maternity Photoshoot Ideas for more tips.
Tip 1. Prioritize Mother’s Safety During the Maternity Photoshoot
Of all of the maternity photography tips in this article, this one is by far the most important one. Safety should always be the highest priority for any maternity photoshoot. Even when choosing a location and exploring other shoot options, it’s important to consider the mother’s health and safety first. Ask if there are health concerns before the shoot and ensure she’s hydrated and cared for during the shoot. Don’t wait until it’s too late and chance putting the mom-to-be or the baby at risk.
Tip 2. Understand Your Client’s Vision Before Choosing A Location

Your clients may already have a location in mind when they come to you, especially if it’s someplace they visit regularly or hold dear; otherwise, you may need to suggest a location.
To help determine a location for your shoot, complete a wall art vision exercise (WAVE). If you’ve never heard of this before, don’t worry. Basically, the exercise boils down to asking your client to imagine and describe one image that they’d be willing to purchase and hang on the wall in their home. This exercise will help them focus their expectations for the photos and give you a place to start for planning the shoot.
Once you’ve chosen the location, you’ll need to consider the subject’s wardrobe, which leads to our next maternity photography tip point.
Tip 3. Select An Appropriate Wardrobe
Formal Vs. Casual Attire

When we say that your subject should select an appropriate wardrobe, we’re not talking about dressing conservatively and not showing too much skin. In fact, a large number of maternity portraits showcase the mother’s belly and include high slits for the legs. What we mean to say is the wardrobe should match the location and style of the shoot. If your location falls more on the formal side with elaborate architecture, such as Pasadena’s City Hall, your subjects should dress for the occasion and wear formal outfits (see the picture above).

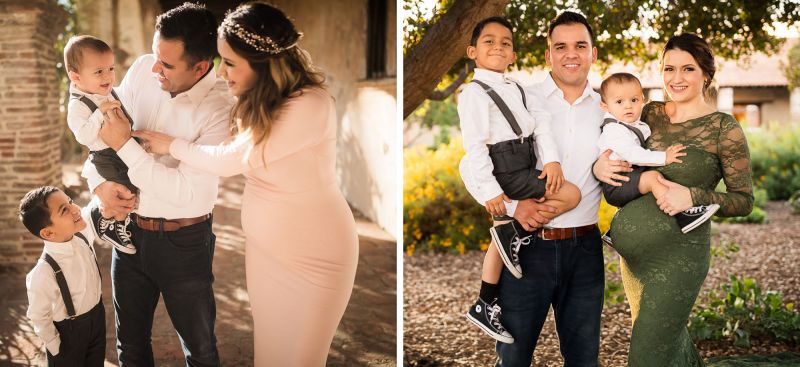
On the other hand, if the location is more casual, such as in the park or on the beach, then recommend that your clients wear a slightly dressier version of what they might normally wear in those environments. Instead of shorts and a t-shirt, for example, suggest that they wear jeans and a nice button-up or polo shirt (for the dads). Of course, this all goes back to client preference, but you can make suggestions based on the location.
Specialty Dresses

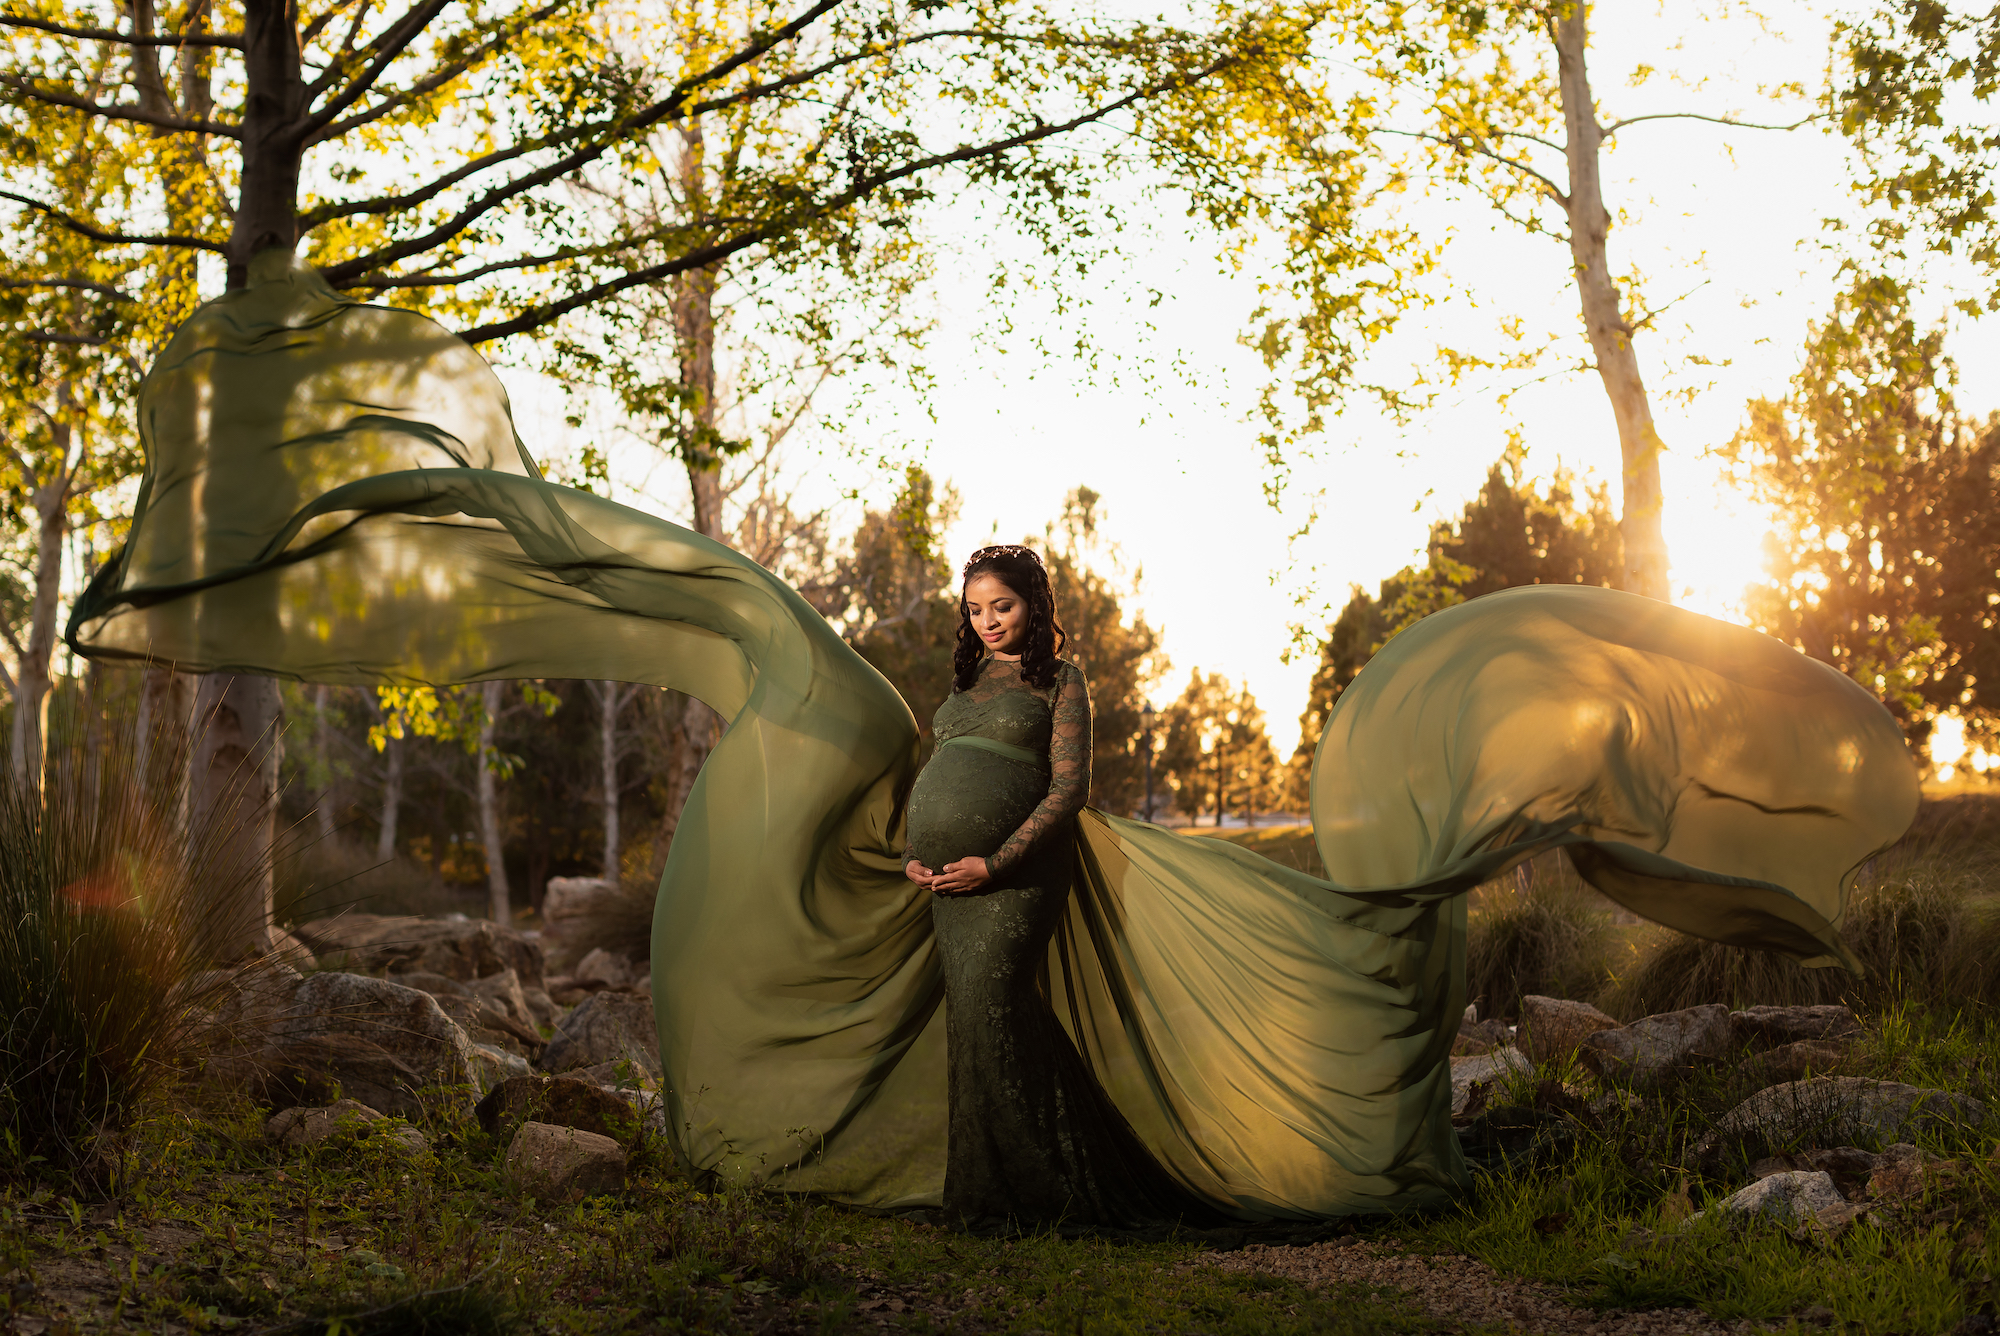
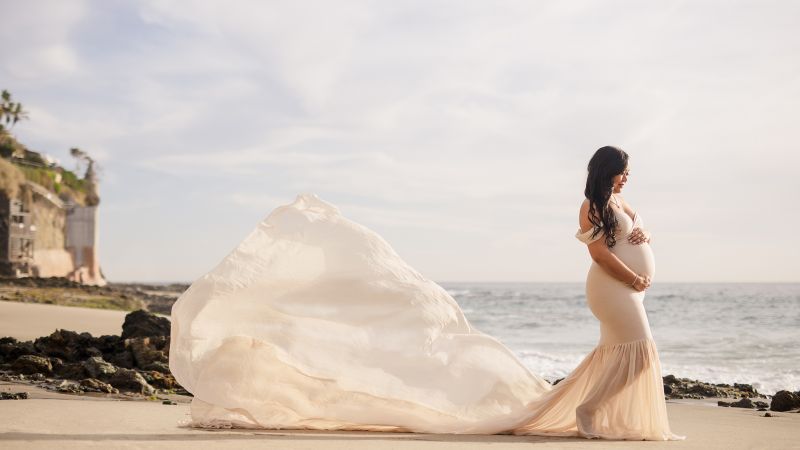
If your mom-to-be prefers long, flowing dresses (see the image above), look to dressmakers like Sew Trendy, who are known for creating maternity dresses that allow for epic movement. To create the image above, we used a composite technique and took two separate shots, dropping the train of the dress on one side and then the other for a butterfly look. You can learn more about compositing here.
Color Coordination

Regarding color, choose one that will either pop (such as a complimentary color) or else lend itself to a monochromatic theme.
Tip 4. Decide On A Lighting Style
Typically, as is true in other genres, you’ll need to decide on a single lighting style and stick to it. If the expectant parents have no preference, you can refer to your own style, whether that means using natural light or adding flash. When it comes to maternity photography tips for lighting, we recommend using flash sparingly, unless otherwise requested by the client. Instead, use that time to create full stories, to capture various angles, and find interesting compositions.
Example of Natural Light Maternity Photo

The majority of the time, you’ll likely find that most on-location maternity photoshoots end up using natural light for that ever-popular bright and airy look. Just like with engagement and other portrait photoshoot, the last hour or so before sunset (also known as golden hour) is usually the most popular time to schedule sessions.
Example of Maternity Photo Using Flash

Adding flash to your images opens up several opportunities. First, you can extend your shooting hours as the time of day becomes less significant when shooting with flash. Secondly, you can bring a dramatic, editorial look to your maternity imagery with the added light, which will help your work stand out from the majority of maternity photoshoots found online. You can find more information on creating dramatic maternity images here.
Tip 5. Build On Foundation Posing (reference foundation posing video here as well)
Once you have everything else figured out, it’s time to focus on posing and take pictures. While posing a mom or family for a maternity photoshoot will borrow heavily from foundation posing, which is what we use to pose engaged couples, brides and grooms, and others having their portraits taken, there are some attributes that are unique to the maternity genre. Below are some maternity photography tips and ideas for posing.
Candid vs. Standard Expressions

First, let’s tackle the similarities between posing for a maternity shoot versus other types of photoshoots. To deliver a complete set of photos, you should aim to capture candid images, as well as posed images. This is true for individual portraits as well as family or group shots.
Hand Placement for Maternity Photos

Here’s where things change up for maternity portraits. In engagement photography, we have several options for hand placement for the woman. She might rest her hand on her own hip, the shoulder or chest of the guy, or on a nearby wall or object, etc. In maternity photography, however, the mother will often place her hand above or below her stomach to draw attention to her baby bump. This is not required for every image, but you’ll probably find yourself posing her this way more often than not.

Hips and Body Angles for Pregnant Women

In addition to hand placement, you can use the hips and body angles to accentuate curves. You can see in the image above, the mother-to-be is facing toward and away from the light, each time rendering a great image that showcases her curves. The key here is that she has shifted her weight to one side (away from the camera) and swept one of her legs back with the knees close together. Also, she has angled to the side (rather than facing straight on to the camera) to reveal more of her curves.
Tip #6 – Bring The Right Gear

We want to end our maternity photography tips with some basics on what to bring. While these aren’t absolutely necessary, we’ve found that they come in handy and make you look like a hero in certain situations. We recommend bringing the following items on your maternity shoots:
- Hairspray
- Safety Pins
- Snacks (Energy Bars)
- Water
- Clothesline Pins
- Matte Blotting Papers in case of sweat
- Props such as ultrasound pictures and other personalized elements
Tip #7 – Bring The Right Gear
After capturing couples portraits, transition to male solo portraits to highlight the father-to-be. While the shoot is “not about him,” these portraits will likely be appreciated and only take a few extra minutes. They’ll also add to the story as a whole.

Tip #8 – Start With The Family
Start with the group shots of the family and use the environment as best you can to provide ideal lighting (using reflecting objects like a bright nearby wall) as well as the perfect scene for a backdrop, This is especially important if there are other children involved. With short attention spans, you want prioritize images that involve small children before any potential meltdowns or distractions.
Conclusion
Throughout the process, it’s important to remember to have fun. Your interaction with the expectant parents will either enhance or diminish their experience and how they view the images you create. So, be sure to practice on the technical aspects of shooting before walking into the shoot so that you can focus on creating a positive experience.
Here’s a recap of the tips we provided above for photographing a maternity photoshoot.
- Always Consider The Mother’s Safety
- Complete The WAVE To Determine A Location
- Select An Appropriate Wardrobe
- Decide On A Lighting Style
- Build On Foundation Posing
You can dive more in-depth on this topic with our complete Maternity Photography Workshop, which is available for purchase or streaming in SLR Lounge Premium. This workshop will give you the tools to break into maternity photography and exceed your clients’ expectations.


Get Connected!