
Instagram quickly became one of the most popular platforms for sharing photos and visual content. As a photographer, videographer, or digital creator of any kind, it’s essential to showcase your work on Instagram in the best possible way.
One crucial aspect to consider when preparing your images for Instagram is the export settings in Adobe Lightroom. In this article, we will guide you through the best export settings to ensure your photos look their best on Instagram.
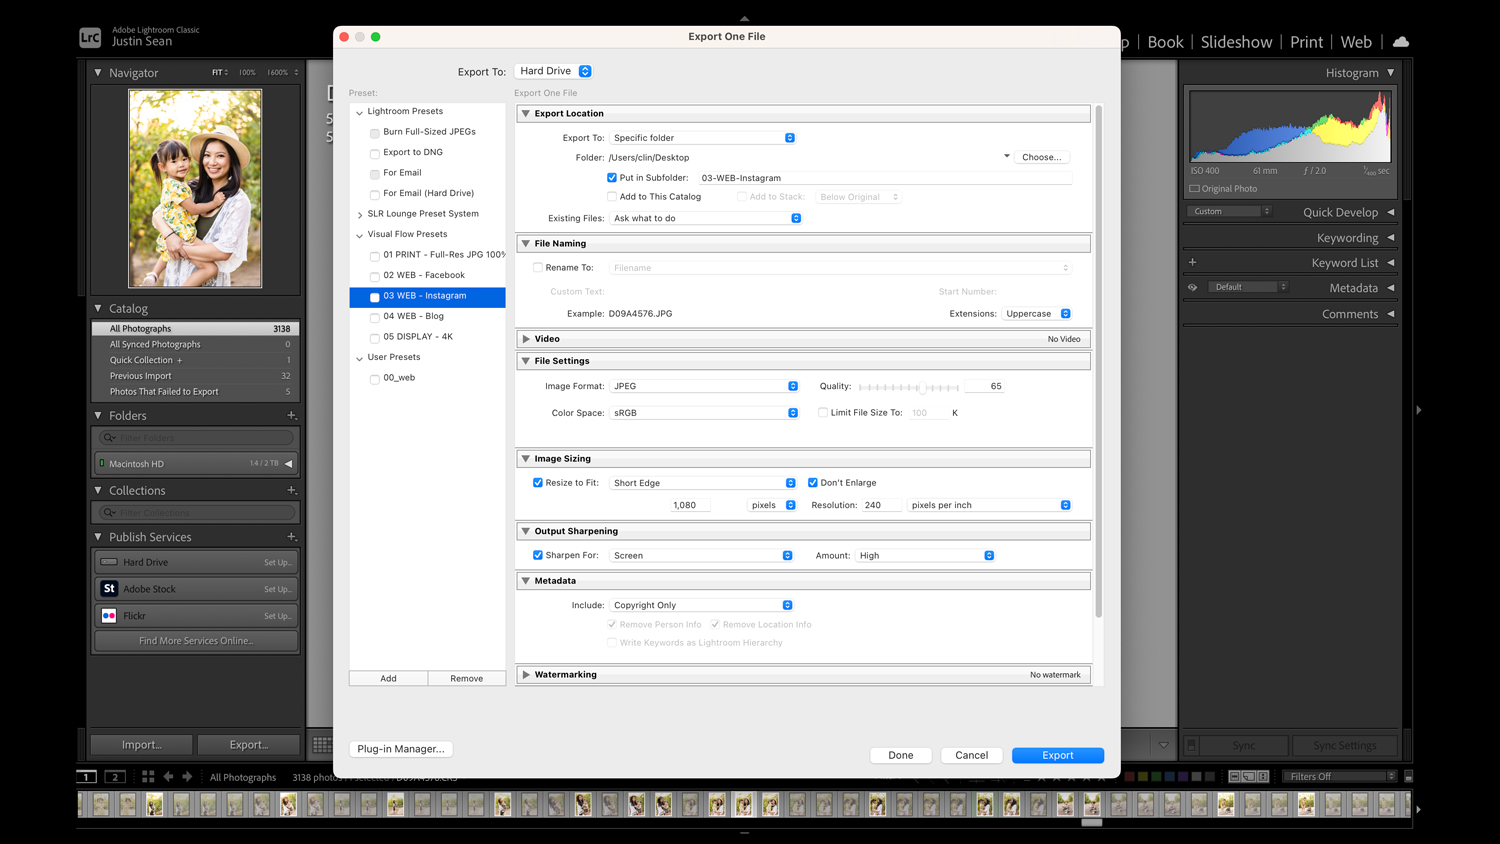
For those of you who are looking for a simple, quick answer, here are the settings we use! Of course, keep reading below for more details about why we choose these settings, and when you might want to change them:
- Image Format: JPEG
- Color Space: sRGB
- Quality: 80
- Limit File Size To: (Unchecked)
- Resize to fit: Short Edge 1080 Pixels
- Resolution: 240 pixels per inch
- Sharper For: Screen
- Sharpen Amount: High
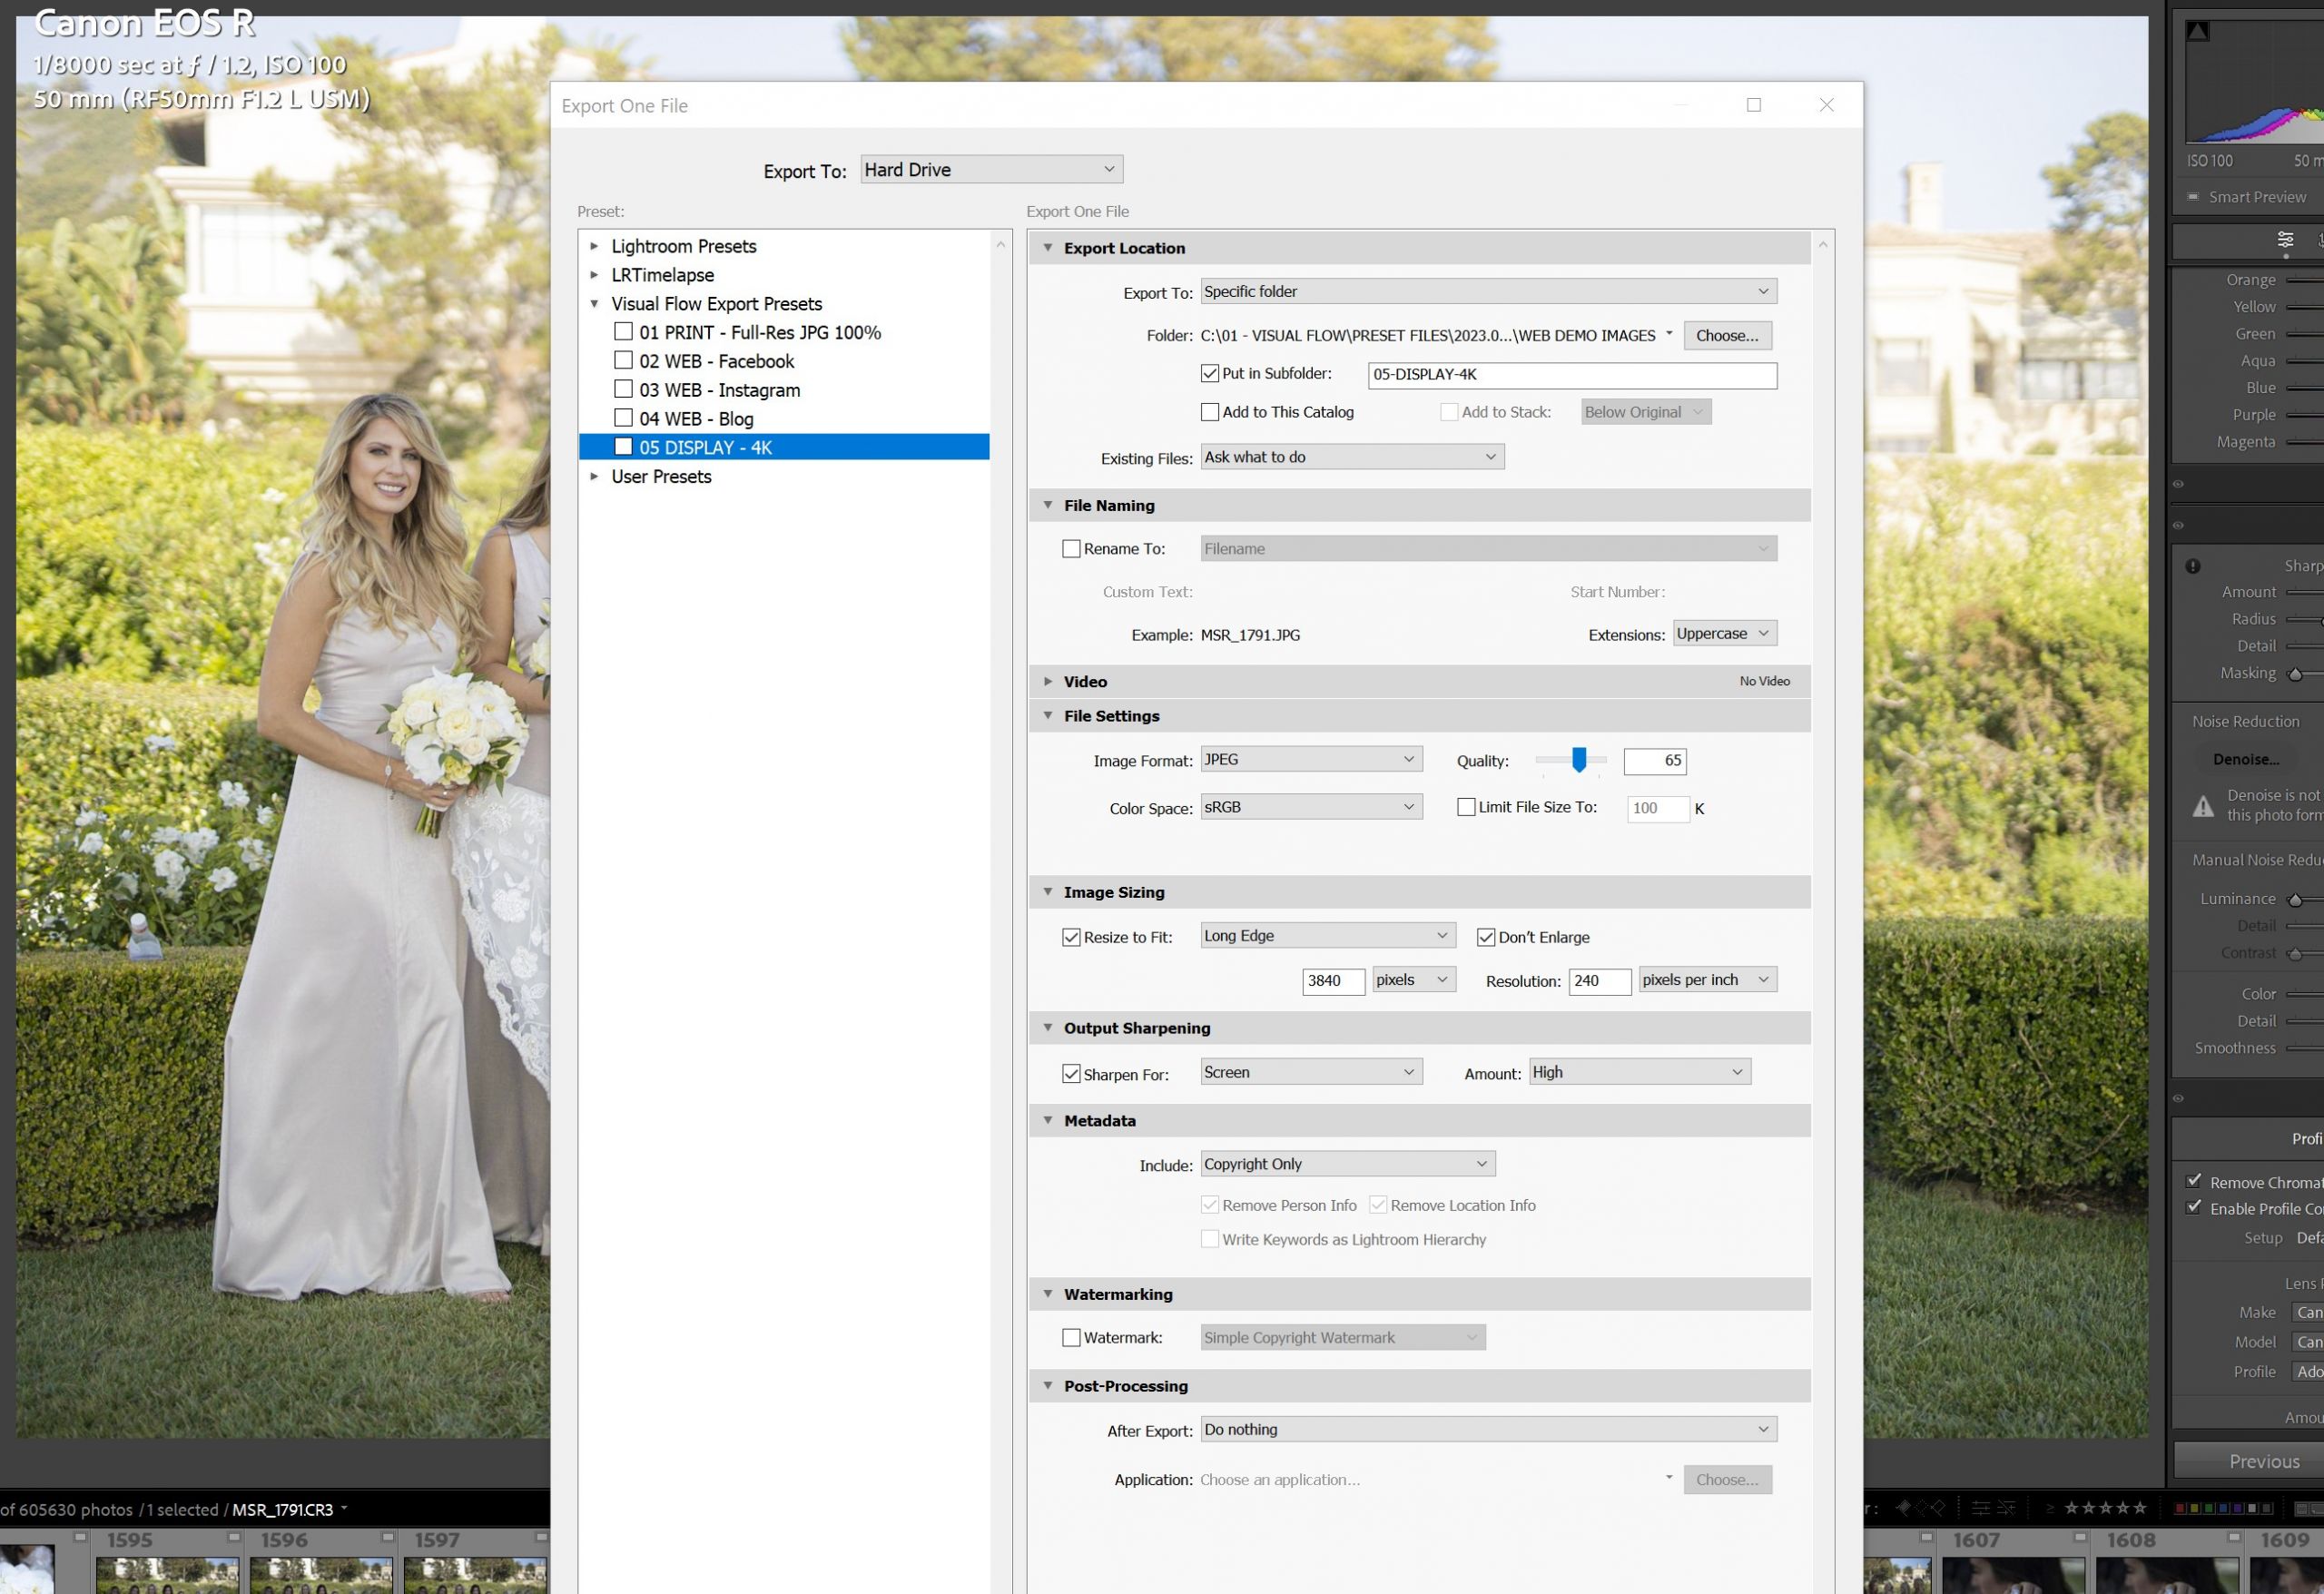
Download & Install Our Export Presets
For your convenience, we created a set of Free Lightroom Export Presets that include export presets for print, web, Instagram, Facebook, and more. You can download them for free here.
Each Instagram Export Setting Explained
Now let’s explore the individual export settings for optimal Instagram compatibility.
Image Crop for Instagram
Instagram allows images with a maximum aspect ratio of 4:5, when they are in a vertical orientation. Horizontal images are also allowed to be as “tall” as the 4:5 aspect, though many photographers will crop to 1:1 (square) in this case.
To ensure your photos are not forced to be cropped by Instagram, it’s recommended to crop them to the 4:5 aspect ratio before exporting, whether they are vertical or horizontal. You can use the crop tool in Lightroom to adjust the composition of your images accordingly.
In some cases, a crop to 1:1 may suit your subject and composition equally well, however, keep in mind that a vertical 4:5 will always occupy the most “screen real estate” because Instagram is a mobile app that only allows vertical orientation.
Image File Format For Instagram
The best image format for Instagram is JPG, of course. Instagram does support other formats like PNG, but JPEG offers an optimal balance between image quality and file size, making it ideal for online sharing. Not to mention the fact that you may also end up doing other things with your images on similar social media apps too, of course!
Color Space For Instagram
Instagram converts all uploaded images to Adobe sRGB color space, so it’s advisable to export your photos in sRGB to maintain consistent and accurate colors. In Lightroom, you can choose sRGB as the color space under the “File Settings” section in the export dialog box.
If you accidentally export using another color profile, there is a chance you won’t notice a difference, however, there is also a chance that very saturated colors and clear, crisp contrast could become very dull and flat.
Image Quality For Instagram
To strike a balance between good image quality and small file size, set the JPEG quality (compression) to around 80-90%. This ensures your photos look crisp and vibrant while minimizing the file size, which is essential for faster uploading and smoother browsing on Instagram.
For those who are working a slower internet/data speeds, and/or those who simply have a lot of images to upload, our testing has revealed that about ~75% is when the JPG image quality setting starts to visibly deteriorate, so try not to go any lower than that!
Image Size For Instagram
The recommended image size for Instagram is 1080 pixels on the longest side. Instagram has a “hard limit” on image size and will downsize your images to fit this width. So, especially if you upload images that are just slightly larger, (or smaller) …you will be subject to additional image quality loss in the fine details, besides the JPG compression itself.
Therefore, in the export dialog box, set the image size to 1080 pixels wide under the “Image Sizing” section. Ensure you uncheck the “Resize to Fit” option to maintain the original aspect ratio.
This way, whether your image is horizontal or vertical, it will almost always be the correct width.
Image Resolution
For Instagram, the PPI (pixels per inch) is irrelevant, although most displays used a default resolution of 72 PPI. In the export dialog box, set the resolution to 72 ppi under the “Image Sizing” section. Just note that if you leave it at Lightroom’s default of 240, nothing bad should happen either.
Sharpening For Instagram
Instagram’s image compression can sometimes soften your photos, so applying a mild sharpening effect during export can help maintain the desired level of crisp detail. Of course, you can learn all about Lightroom Sharpening in this article here, but what we’re talking about right now is actually a secondary, export-only setting.
Indeed, Lightroom provides another set of sharpening options inside the export dialog; look for the “Output Sharpening” section. We usually recommend setting these settings to “Screen” and “High”, but if you are actually hoping for a slightly softer look (such as for soft skin in certain portraits) you can also use “Standard” as well.
How to Export Photos From Lightroom For Instagram
Now that you know what each setting is and how to set it for Instagram, here are the quick, basic steps to export your photos from Lightroom for Instagram:
- In Lightroom, select the image(s) you want to export.
- Open the Export dialog by going to the “File” menu and choosing “Export”, or use the shortcut keys Ctrl+Shift+E (Windows) or Command+Shift+E (Mac).
- Customize the export settings for Instagram, as outlined above.
- Designate an Export Location (the first export settings tab) and choose either a specific folder, or “Same Folder as Original Photo” with the check box checked for “Put in Subfolder”, and name the folder “Instagram” or similar.
- Click on the “Export” button to save your images in the desired location.
How To Create A Lightroom Export Preset

Of course, you may want to create an export preset for these settings, to either export all your Instagram-bound images to one specific folder on your Desktop or a cloud folder. Creating a Lightroom export preset is an easy process: simply enter the Export dialog as instructed above, and then click the “Add” button in the lower left of the left-hand Preset panel!
How to Install Lightroom Export Presets

Lightroom’s export presets are some of the most difficult to install, unfortunately, but it’s still a relatively quick process. For a full walk-through on how to install Lightroom Export presets, check out our free Lightroom export presets here. Below are the simplified steps to installing export presets in Lightroom Classic:
- Enter the Lightroom Export dialog (CTRL/CMD+Shift+E)
- Right-click any existing preset
- In the pop-up menu, select “Import…”
- Locate the export preset files, which are “.lrtemplate” file format
- Click “Import” (You can import multiple presets at once!)
Conclusion
Optimizing your export settings in Lightroom is crucial to ensure your photos look their best when shared on Instagram. By following the guidelines mentioned above, you can maintain image quality & color accuracy, and avoid unwanted cropping. Remember to consider key factors like image crop aspect ratio, image size, (dimensions) color space, and sharpening.
With the right export settings, you can showcase your work on Instagram in a visually appealing manner that captivates your audience, and keeps them following and engaging with you!


