
Contrary to popular belief, dramatically lit portraits do not require external flash or any other “added” light source. All you need is a camera (a smartphone will do), a decent amount of natural ambient light, and a little bit of technique.
In this article, we’re going to walk you through every step—from shoot to post—for creating a dramatic portrait with natural light. This is one of many techniques covered in our Engagement Photography 101 Workshop, which focuses exclusively on shooting with natural light.
Download the exercise files and follow along as we edit our dramatic natural light portraits in Lightroom.
How to Create Dramatic Portraits with Natural Light – Shoot
Step 1. Find a Dark Background for Your Subjects
First, we want to use a background that is darker than the light that is falling on our subject. For this scene, we used a dark column on the shady side of a building.
Step 2. Position Subjects in Directional Light

While a dark background is important for this shot, directional light plays an equally important role. Be sure to position your subjects in a location that allows enough directional light to fall on your subjects and separate them from the dark background.
In essence, the natural light and dark background in this portrait combine to create a chiaroscuro effect, an interplay of dark and light, which chisels out our subjects. Make sure to capture enough contrast between light and dark surfaces in your image to make it easier (or possible) to control the shadows and highlights in post.
[Related Reading: Lightroom Dodge & Burn Preset for Natural Light Portraits]
Step 3. Dial In Your Camera Settings
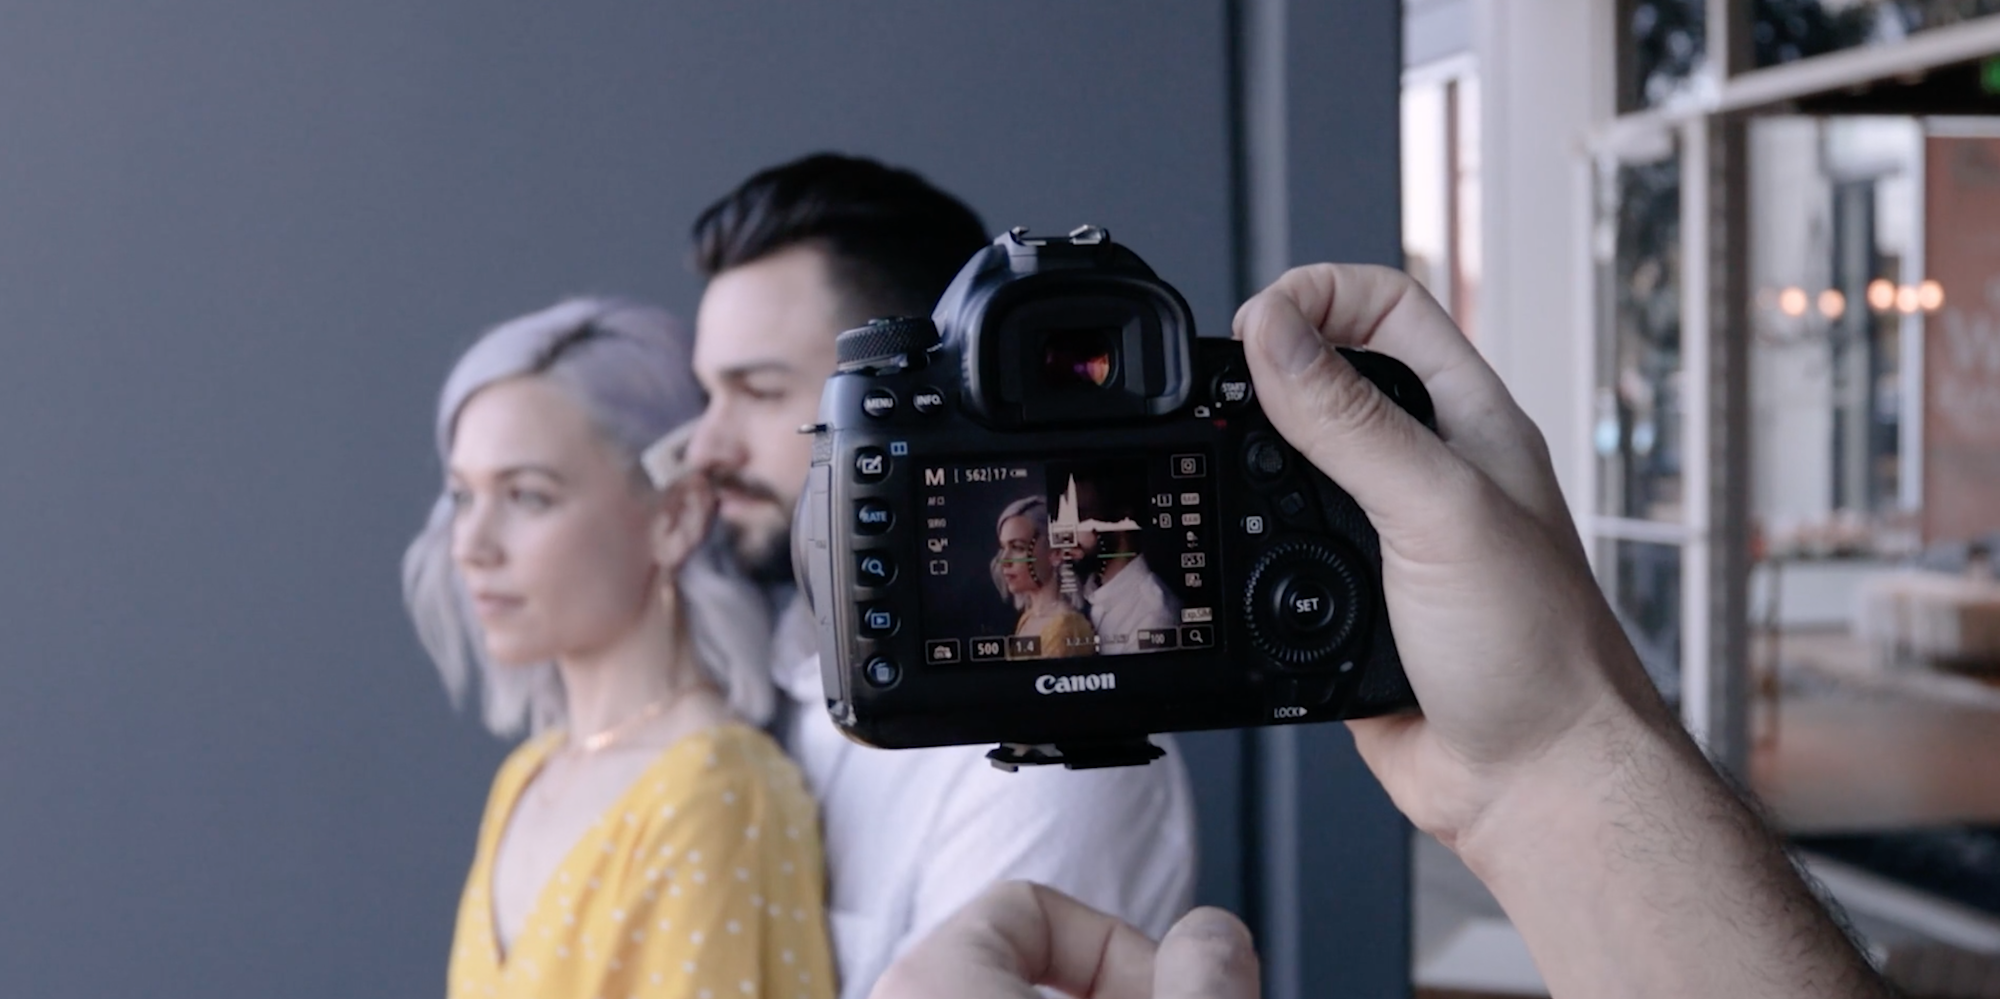
After selecting a location and placing our subjects, we can start dialing in our camera settings. Creating this image depends more on technique than gear, but this is how we adjust our exposure in-camera.
- Use Live View when setting your exposure to see adjustments in real time
- Check the histogram to help maximize your dynamic range and avoid clipping shadows & highlights
- Set the aperture so that both subjects are in focus (unless depth of field doesn’t won’t affect your goals). For this image, we settled on f/2.8 for a somewhat shallow depth-of-field.
- Set your ISO on the lower end to keep the background darker and minimize the graininess in your photo (unless you’re intentionally going for filmic look)
- Adjust your shutter speed to arrive at an ideal exposure level
Step 4. Cue the Action and Capture the Image(s)

Now, with our ambient exposure dialed in and our subjects in position, all that’s left to do (before editing) is capture the images. Dramatic portraits typically call for more serious expressions to match the mood, but there’s plenty of room for playful poses and expressions as well. Direct your subjects into the pose and expression that you want, but try to be intentional in your direction. Doing so usually yields better results.
Pro Tip: Capture the scene from wide, medium, and tight angles. You’ve already taken the time to scout the location, compose your shot, dial in your settings, and pose your couple; you might as well take advantage of your setup and create a variety of looks, which will to offer more deliverable files to your client.
[Related Reading: Foundation Posing Ideas for Couples]
How to Create Dramatic Portraits with Natural Light – Post

In case you missed it above, you can download the exercise files and follow along as we edit our dramatic natural light portraits in Lightroom. For these edits, I’m going to use techniques previously outlined in our “Dark Mode” editing video/article, which you can find here.
If you haven’t already learned about the dark mode editing technique, I highly recommend reading the article linked above. In it, I share to how to do a dark mode edit as well as how to create and save a dark mode preset (which is otherwise available as part of our Retouching Toolkit).
In the meantime, here’s a quick overview of the editing process and tools for the images we captured above.
Step 5. Dial In Basic Dark Mode Settings
Once you’ve loaded your images into Lightroom, you can start the dark mode editing process. Here’s a look at the settings in the Basic Panel.

The goal here, as you can see by the adjustments made in the image above, is to lower the exposure and then paint back in the highlights and lift the blacks.
Step 6. Use the Quick Dodge Brush
The next step involves activating the Quick Dodge brush (which is part of the Visual Flows Retouching Toolkit) to further enhance the highlights and make the subjects pop against the dark background. If you don’t have the Retouching Toolkit, you can copy the settings below to create your own brush. Here’s a look at the settings in the Basic Panel.

With the brush selected, paint over your subjects. It should look a little something like the image below.


Pro Tip: Apply a range mask to tell Lightroom not to include any elements that are in shadows when you’re using the Quick Dodge brush to enhance the highlights on your subjects.

Don’t worry about keeping your brushwork perfectly lined up to the edges of your subjects. You can always turn on “Auto-Mask” while holding down the “Alt/Option” button to select your eraser tool and clean up your brushwork (see the image below):

Step 7. Apply a Preset

For our edit, we used a Visual Flow Crush Pack preset to add a bold pop to the photo. All Visual Flow presets have been designed as a one-click solution based on profiles and lighting conditions. After clicking the preset, you might need to adjust your exposure and white balance, but that’s usually it. Again, if you don’t have this preset, you can use any preset that produces a finished look that you like. You can also plug in the settings below, which will get you close to the same preset.

Step 8. Add a Radial Burn
To further accentuate your subjects, add a radial burn. Drag a large circle around your subject and invert the selection. Then, lower the exposure so that the area around your subject darkens (see the image below):

We then applied the same techniques to the wider image (same below) to keep a consistent look across our selection of photos. The wide, medium, and tight angles work well for storytelling on blog posts and in photo albums, so be sure to capture a variety of angles during the session.
Final Images


Both images above: 50mm, f/2.8, 1/250, ISO 200 | edited with Visual Flow Presets > Crush > Soft Light.
Conclusion
We hope you enjoyed this video and lesson on how to create dramatic portraits with natural light, based on concepts covered in our Engagement Photography 101 Workshop. Be sure to catch our next episode of Mastering Your Craft on Adorama’s YouTube channel next week! If you want to catch up on all the episodes, make sure you check out our playlist!


