In this video, we’re going to use Adobe Lightroom and Photoshop to show you how to process this editorial portrait from start to finish. This is the second video in a two-part series of the conceptualization, lighting, shooting, and editing of this editorial Doctor’s portrait. If you missed the previous video, we covered how we used the Profoto B10 Plus to create the image we’re editing. You can watch the full-length editing tutorial below and download the exercise files as well!
In part one, we explained how we conceptualized, lit, and shot this series of editorial portraits for my client who needed images for a medical publication. Make sure you download the free exercise files before watching the video to follow along with me as I edit through these images.
Now that you’ve imported the exercise files into Lightroom, let’s dive into the step-by-step process of editing this composite portrait.
1. Process the Image in Lightroom
 You should have three images imported into Lightroom, the final lit image, and two plate shots. The middle shot, where it’s lit and we have our subject’s expression, is what we essentially want our final image to look like however, we need to composite out the light stand (hence the plate shots). Using our Visual Flow Presets we are able to dial-in the base look, a starting place for the edit. These presets are designed based on lighting conditions so for this image we are using the Hard Light preset from our Modern Pack. This gives us a classic and true-to-color edit without heavily impacting skin tones, color in the scene, and overall shadows/highlights. The Hard Light preset will pull the highlights a bit while raising the shadows. We can see that the overall image has gotten brighter this tone curve is designed to brighten and add contrast back on a statistically sampled basis so what on a statistically sampled basis.
 Next, I’m using the Visual Flow Retouching Toolkit to add a -.50 Exposure Radial Burn directly into the center of the image to draw the attention into my subject and burn the edges of the frame a bit. Applying that same logic, I then added a -.50 Exposure Graduated Filter from the top of the image down to the subject’s head. Once we have reached a final edit, we batch process all three images with the same Develop settings.
2. Composite Image in Photoshop
 Select all three images and right-click to ‘Open as Layers in Photoshop’. Now all three of these images have been processed identically, Photoshop will open them and automatically stack them into layers which saves us a whole bunch of time instead of having to manually copy and paste these images on top of each other. To be more organized, you can rename the layers as ‘dark plate’, ‘bright plate’, and ‘key image’. Auto-align the layers (even if the camera is on a tripod, this will help the composite process) and then create a layer mask on the dark plate image to paint out the light stand. Dodge and burn the image in Photoshop and that’s it! Watch the video for more shortcuts in Photoshop to help you save time while editing.
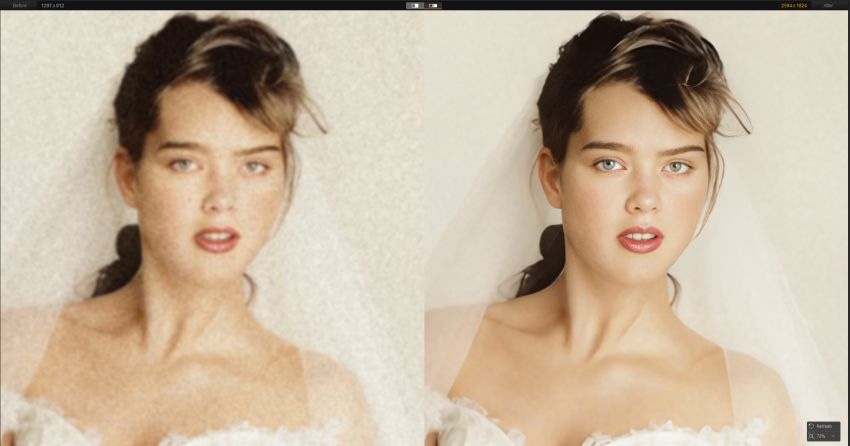
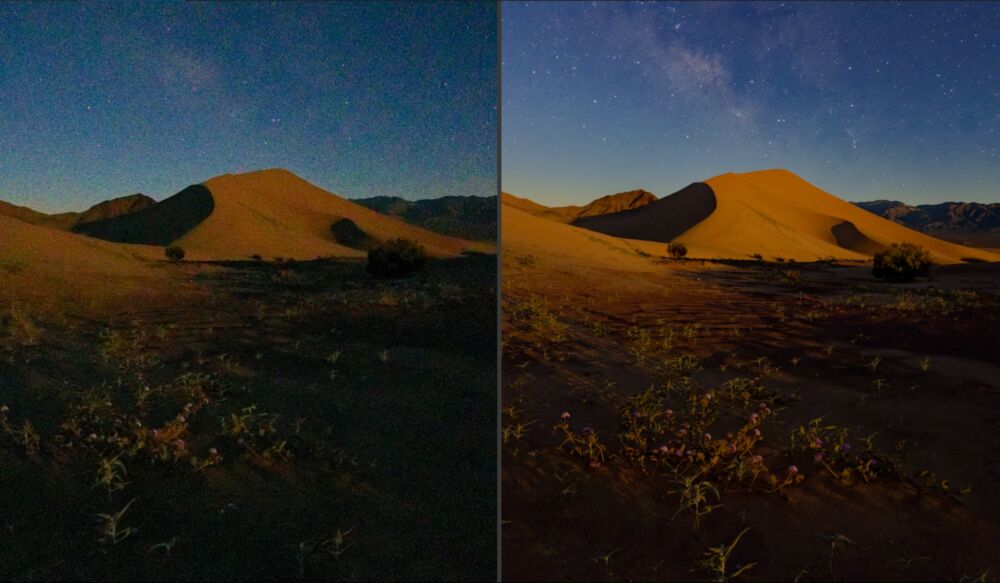
You can pull the images back into Lightroom for any fine-tuning if needed. I applied the same Develop preset used on the key image at the beginning to a series of images from the set and here is a look at the final before and after:

If you’re looking for more tips and tutorials for editing in Lightroom make sure to check out our Mastering Lightroom course in SLR Lounge Premium where we use our Visual Flow Presets in action to show you just how easy editing in Lightroom can be.