In photography, depth of field (DoF) is a critical, foundational concept that every photographer—novice and professional alike— needs to understand. It’s the aesthetic magic that separates the crisp, in-focus subject from a beautifully blurred background, evoking emotion and drawing attention. Yet, achieving the desired DoF is not solely reliant on adjusting the aperture. In this article, we will delve into the four critical factors that influence depth of field, offering photographers a better understanding of how to artfully control focus and create visually captivating images.
I’m guessing some of you are in the same mode of discovery I was in a few years ago, so I’ve compiled a bunch of resources to help you understand the four factors that affect depth of field. Wikipedia defines Depth of Field in optics, particularly as it relates to film and photography, “as the distance between the nearest and farthest objects in a scene that appear acceptably sharp in an image.” What in the heck does that mean? Let’s find out by exploring the four factors that affect the depth of field in your image.
1. Aperture (a.k.a f-stop)
Aperture is one of the easiest ways to control your depth of field. It’s why photographers love lenses with a 1.2 maximum aperture. Open your aperture all the way to 1.2 and you’ll get that creamy bokeh (blur) we all love in the background. The gif animation above illustrates quite well how aperture affects depth of field, or as the definition above says, how many of the objects in the scene will appear to be in focus. For a shallow depth of field (at a wide open aperture, f/2.8), only a small plane of the image will be in focus, like the one toy in the middle there. With a wide depth of field (and a closed down aperture, f/22), almost the entire image is in focus. Make sense?
2. Subject to Camera Distance
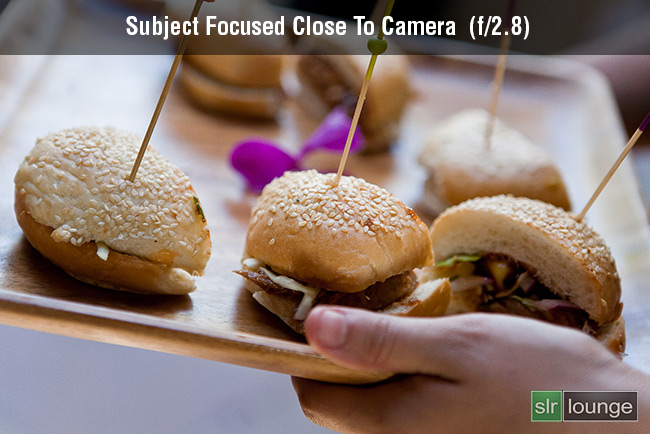
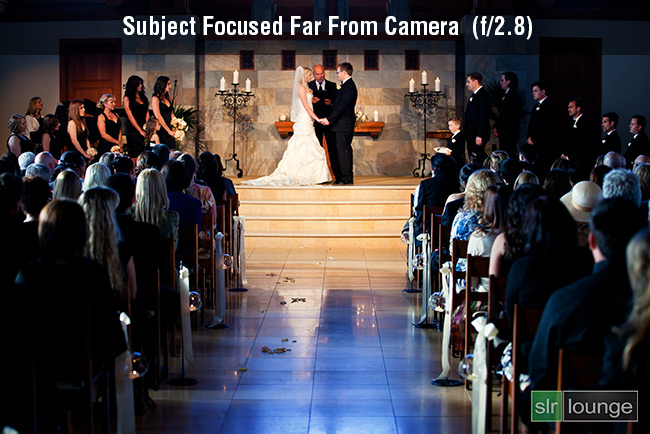
The closer your camera is to your subject, the more shallow depth of field you will have in your image. Pull your camera far away from your subject and more items will be in focus, even when using the same aperture. Here are two great examples from Joe’s article mentioned above.

In this image, yes the aperture is at f/2.8, which will help us get that blur in the background, but the camera is also right up close to the subject, which allows the foreground to be in focus and the background out of focus.

In contrast, this image was also shot at f/2.8, but since the camera is far from the focal point (the bride and groom) much more of the image is in focus, including the first several rows of people in the congregation.

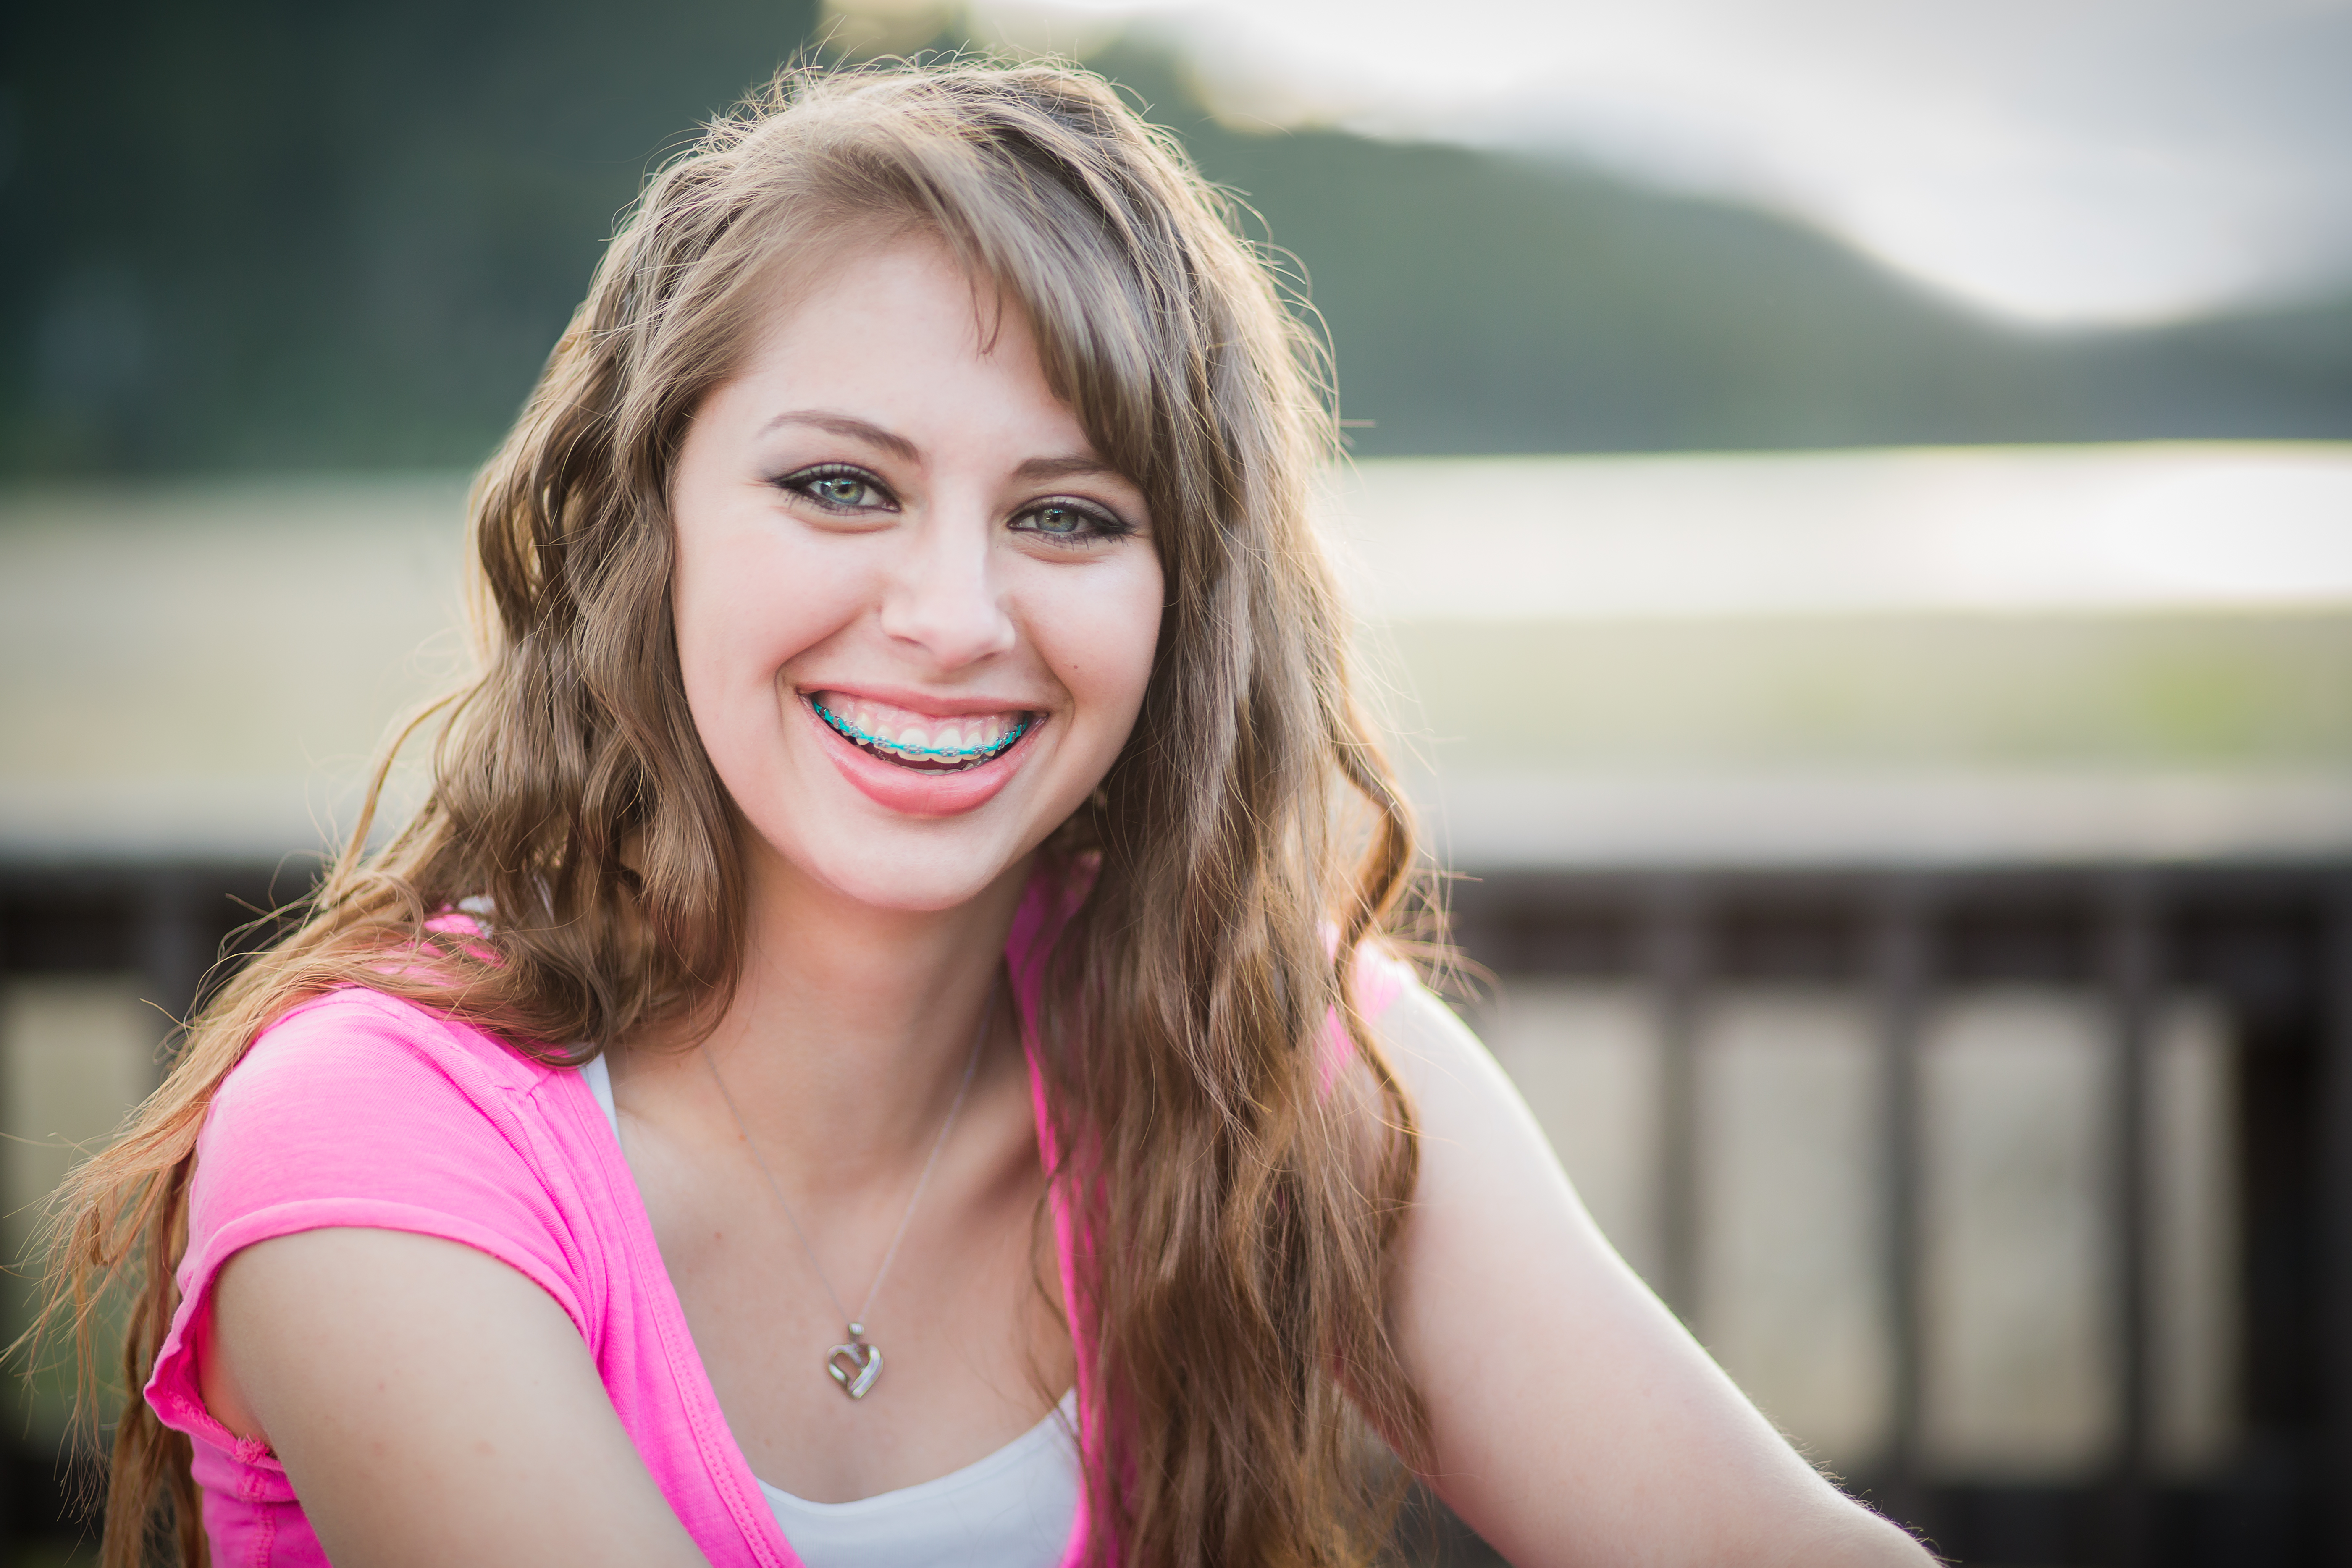
On a related note, the distance of your subject from the background will also affect how much bokeh you’ll get in the background. This is one reason I often have my subjects step away from a fence or wall if I want some blur back there. In this image, my subject is standing right up against the wall, and it is relatively in focus. This was shot at 70mm, f/2.8.

This image was also shot at 70mm, f/2.8 but I had her step several feet away from the wall, which results in a nice creamy blurred out background. I love it! By the way, neither way is “better,” just different depending on the look you are going for.
3. Lens Focal Length
Did you know the focal length of your lens will also affect your depth of field? I didn’t realize this until a few years ago. This is one reason portrait photographers love their 70-200mm massive lenses. They can get some amazingly shallow depth of field when shooting at 200mm. In contrast, landscape photographers shoot with wide angle lenses, not only so they can fit more in the scene, but so they can achieve sharpness in the maximum amount of the image as possible.

In this example, the image is shot with a longer focal length lens (100mm). Even though the aperture is closed down to 7.1, since the focal length is longer, the background is compressed and blurred out. Man, this makes me want to go out and buy the Canon EF 100mm f/2.8L macro lens right now!

In this example, at the super wide angle of 17mm, most of the image looks pretty sharp. This is surprising since you would think you would need to have your aperture at a lower number like f/11 or f/22 in order to get an image to be this sharp. You can see how much the focal length of the lens really affects depth of field here.
4. Camera Sensor Size

Camera sensor size is a factor affecting depth of field that I honestly hadn’t given much thought to until I was doing research for this article.
In regards to depth of field, basically, the bigger the sensor, the shallower the depth of field will be overall, when taking all the other three factors into consideration. This is why, when I upgraded from a Canon Rebel to a Canon 5D Mark III, even though I was using the same Canon 50mm f/1.4 lens, I noticed I was getting a much shallower depth of field when shooting wide open with that lens on the new camera. It was so dreamy and exciting!
This is also one reason landscape photographers sometimes choose to shoot with a crop sensor camera. When overall sharpness and deep depth of field are desired, a smaller sensor can help achieve that.
Additional Tips and Tricks
When you want shallow depth of field but you’re using strobes, you might have a problem with overexposure. Learn how to utilize a Neutral Density (a.k.a. ND) filter to correct your exposure using strobes while keeping a shallow depth of field. It’s like putting sunglasses on your camera.
Missing the focus when working with a very wide open aperture is a common mistake photographers often make. Learn how to overcome that hurdle with these specific tips offered by in this article about nailing focus with a narrow depth of field.

Let’s say you’re shooting at f/22, the maximum aperture of your camera, and your entire image still isn’t in focus? What can you do to achieve massive depth of field? Gavin Hardcastle offers three solutions and some incredible photo examples in this article. His three solutions are:
- Choosing the right aperture and focusing carefully
- Focus Stacking
- Using a Tilt-Shift lens


Get Connected!