Let’s get creative with portraits. In this video, I’ll be showing you how to set up, light, and photograph your own creative portraits using plexiglass and a single off-camera flash.
Video: Creative Portraits with Plexiglass and an Off-Camera Flash
Let’s create an interesting foreground element using plexiglass and water. The idea is to create a window effect that we’ll be shooting our creative portraits through. To do this, we’ll need:
- Camera & lens of your choice. I recommend a lens with a short focus distance to allow you to get up close to the plexiglass. I’ll be using the Canon EOS R5 with the RF 28-70mm f/2L lens.
- Off-camera flash. Any studio style flash will work. I’ll be using the Westcott FJ400.
- Plexiglass and spray. You can find these in any general hardware store.
- Stand and clamps for mounting. I’m using a basic Matthews C-Stand with A-Clamps. You can find A-Clamps in any hardware store as well.
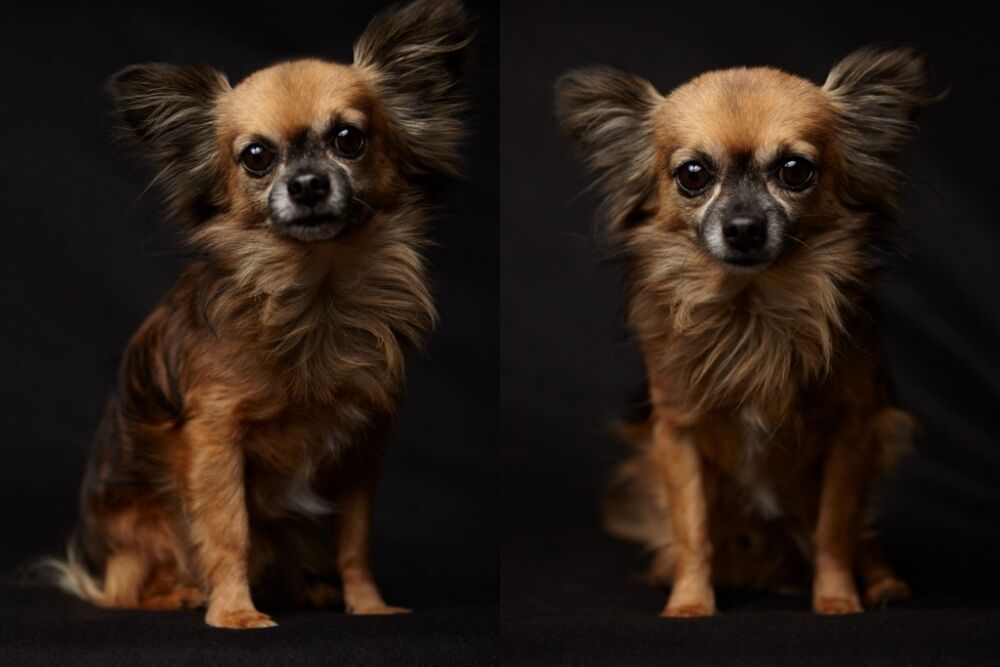
Before we jump in, be sure to give our model today, Kiara, a follow on Instagram.
Composing the Shot

Following the C.A.M.P. framework, let’s begin with the composition. This will be fairly simple. All we need to do is place Kiara in front of a blank white wall.
Lighting the Scene

Since we’ll be using the studio flash, we want to cut all ambient light. After turning out the room lights, the camera settings at 1/200 sec, f/4, ISO 200 gave me a nearly blacked out image.

I set up the Westcott FJ400 in the back camera-right and aimed it directly at the wall. This will light up the wall behind Kiara and give me a slightly silhouetted effect.
Setting Up the Plexiglass

After hanging the plexiglass between myself and Kiara, I used a small bottle to spray water on the surface. Be sure to let the water drip to get realistic textures. You can wipe away small areas to shoot-thru.
Shoot Your Creative Portraits

Time to photograph away! Have fun with this effect. Get close, step back, and everything in between! Here are some of my favorite images from this set-up.
Conclusion
I hope you enjoyed this article/video. Don’t let gear get in the way and have fun with creative portraits! To get even more creative with your photography, check out Advanced SFX Photography on SLR Lounge Premium. There, you’ll learn how to do all sorts of great in-camera special effects for incredible results. You can also visit Visual Flow for our full library of Lightroom presets such as the Pure Pack which we used for our portraits today.
Don’t miss our next episode of Mastering Your Craft on Adorama’s YouTube channel next week! If you want to catch up on all the episodes, make sure you check out our playlist!