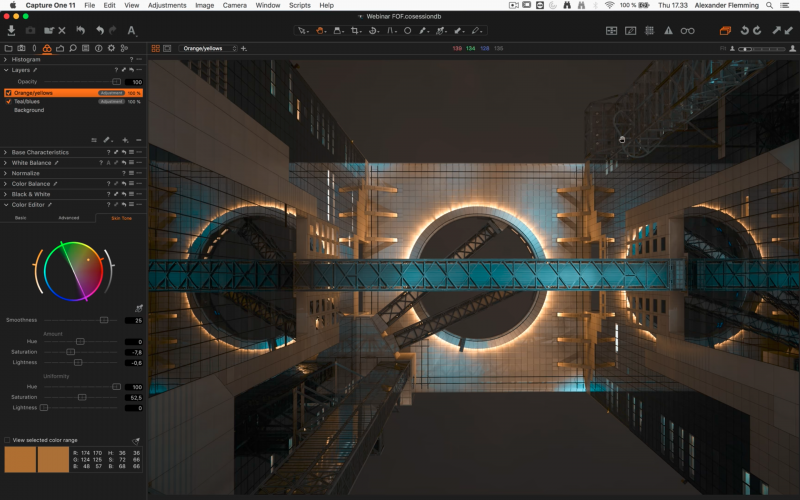
Capture One is a highly capable professional raw processor and tethering solution, and like any advanced photo-related program, there is an abundance of features to learn to make the most of your workflow.
A great way to do this is by watching someone who already knows the ropes, and one of the most knowledgeable people out there on the topic is David Grover. He and colleague Alexander Flemming have shared their wisdom in an hour-long webinar that walks the viewer through the processing of landscape, portraiture, and architecture work.
[Rewind:] Capture One Quick-Start | How And Why To Get Started In Capture One
 Called ‘Follow Our Footsteps,’ the webinar illustrates the use of a host of powerful and essential tools in Capture One on five different images to demonstrate a workflow that is vastly superior to what one can achieve with its widely-used competitor, Lightroom.
Tools and tips covered include the use of layers, keystone (perspective correction), levels, the color editor tool, masking, brush settings, keyboard shortcuts, color grading, the skin tone tool, base characteristics, RGB and Luma curves – basically the full gamut of commonly used tools shown in practical, and sometimes out-of-the-box, use. 
This webinar will be useful to those who have already gotten their feet wet in Capture One and are looking for more advanced or more efficient ways to work. Even if you consider yourself well-versed in Capture One, there are some useful tidbits you can glean from this. For instance, you can pick up new and advanced ways to use the skin tone editor. A hint – it’s not just for skin tones.
Check out the video below, and if you’d like to skip around, click through to YouTube to find links in the video’s description.


Get Connected!