We’ve all been there, you have great clients but a less-than-superb background. How do you deliver the high-quality, creative imagery that your clients have come to expect? Creative accessories are perfect when you need a spark of creativity or need to block distracting elements in your scene. Straight from the Photographing the Bride Workshop, from our Wedding Photography Training System, here are five of our favorite creative accessories to have on hand:
Creative Accessory #1 | The Veil
The bridal veil as a foreground element can create soft and dreamy imagery. Use the veil to not only highlight the bride and wedding day accessories but also cover distracting background elements. Learn to create natural flares, leading lines, and more with a veil in Photographing the Bride.

How to Use It:
- Have an assistant hold the veil just off-frame.
- Use the pull to create a line leading directly into your couple.
- Test height of the pull and composition to nail this shot.
- Always frame the couple so that they are visible and not hidden behind the fabric.

Note: Learn 4 Creative Ways to Use a Wedding Veil in this article.
Creative Accessory #2 | LED Light String
Use a LED light string to create foreground bokeh and conceal dull and distracting backgrounds. In the photos below, the foreground bokeh was used to frame the couple and even change the overall mood of the image.

How to Use It:
- Start by dangling the light string in front of the lens.
- Control the amount, size, and location of light flares by shifting the LED position of the lights.
- Either frame your subject or have the bokeh extend over the frame.
- Play with the size of your aperture to change the size of foreground bokeh.
- In the images above we created larger and softer foreground bokeh with a shallow depth of field.

Creative Accessory #3 | Prism
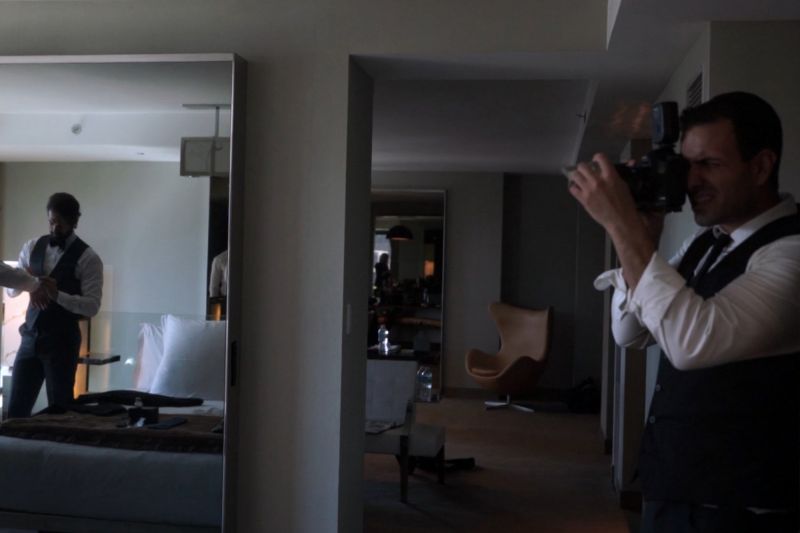
Prisms are glass elements that allow you to add interest to an image by pulling in a reflection and even subtly concealing distracting backgrounds. We used a triangular prism in the image below during the groom prep portion of the wedding day.
Example 1:

Example 2:
How to Use It:
- Angle the triangular prism against your lens toward a light source.
- Control the light distortions and reflections by shifting the angle of the prism.
- Always frame your subject so that they are visible and not hidden behind the reflections.

Creative Accessory #4 | Crystal Stem
Utilize your local craft store to find unique prismatic accessories. In the photo below we used a crystal stem to refract light into the frame to create leading lines. Using the available sun, we created interest and in a common, basic background.

How to Use It:
- Recreate this effect by placing the crystal stem on the top right corner of the frame.
- Control the amount, placement, and size of the sun streaks by shifting the crystal stem back and forth from the lens.
WATCH: See this quick live demo from one of our Facebook Live videos here:
Creative Accessory #5 | Rhinestone Sheet
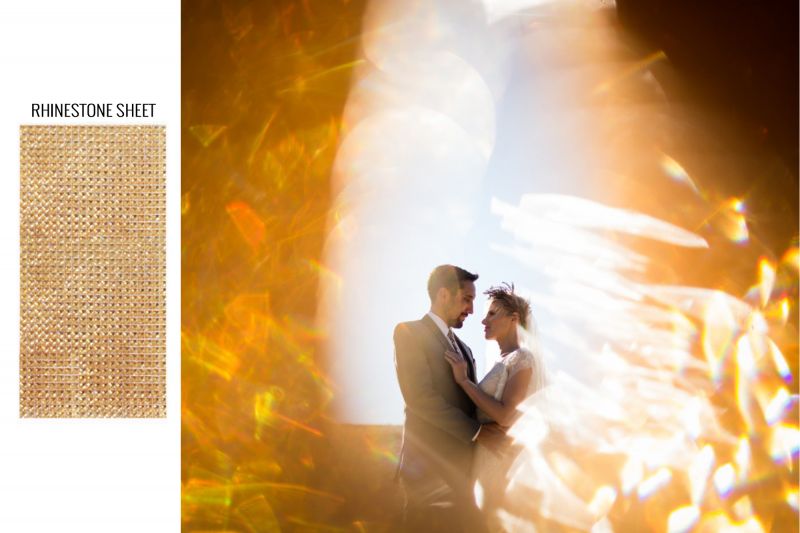
Creative shooting accessories can be found just about anywhere. In the image below, we shot during high noon in an open field. Shooting through a rhinestone sheet not only created a unique flare pattern, but created a frame around the couple to add interest to an otherwise traditional portrait.

How to Use It:
- Recreate this effect by holding a folded a rhinestone sheet in front of your camera.
- Angle it against your lens toward a light source, in our case, we utilized the sun as an ambient light source.
- Shoot through the rhinestone sheet to capture the refractions in light, create interest and hide boring or distracting backgrounds.
Conclusion
Having a creative toolkit is incomplete without a couple of tricks up your sleeve. In order to differentiate yourself from the pack, you need to start thinking outside the box when it comes to creating art. We hope this article helped you visualize how you can incorporate some of our creative effects using everyday items and affordable tools that can be purchased online. These items are great for concealing portions of your shot that you may not want in the frame.
If you enjoyed this tutorial, we recommend checking out our Shoot to Post Workshop, in which we teach you how to shoot with the final product in mind. You can also upgrade to SLR Premium to gain unlimited streaming to photography education – your path to portrait photography success.


Get Connected!