
Wedding receptions can prove to be the most challenging part of a wedding with the presence of so many uncontrolled variables. You are stuck in a low light scene, forced to work with the DJ’s light setup, and you have no choice but to adapt. In this article, we’re going to review 10+ Wedding Reception Lighting Tips to help you overcome any possible lighting hurdles that get in the way of delivering exceptional images to your clients.
Note: The content is a recap from our wedding photography training system.
Wedding Reception Lighting Video Tutorials
In this first tutorial, Pye discusses how he uses Magmod flash modifiers and Off Camera Flash to light an indoor wedding reception. Here’s a list of the modifiers used in this video/article:
In this second video, Shivani and Michelle discuss their strategies for wedding reception lighting. While this is an older video, the information is still relevant.
Tips For Wedding Reception Lighting
1. Bring the Right Camera Equipment
Whether you are shooting indoors or outdoors, it is imperative to have an off-camera flash on you for wedding reception photography. High ISO settings can only take you so far when it is pitch black outside, and can create nightmares in post-production due to high noise levels. Your best bet is to invest in a couple of items that will increase the quality of your images and also save you time and effort in post:
- Camera: Use a full frame DSLR or Mirrorless Camera with good low light performance.
- Lenses: Use versatile, low aperture lenses. See a full list of wedding photography lenses here.
- On-Camera Flash: Ideally you want to invest in an on-camera flash that has an in-built trigger system. Pocket wizards will also work but in order to cut down on gear consider converting to a wireless trigger system such as the Profoto A10 or the Godox V1.
- Off Camera Flash: Bring the corresponding off camera flashes for your system of choice.
- Light Stand: We suggest investing in high quality light stands for longevity and durability. Our all-time favorite is the Manfrotto Black Nano Stand that extends up to 60″.
- Grid: A.K.A the game changer. We love using the MagGrids to give us precise control over where you want your light, helping you to create photographs that capture the real feel & mood of the reception.
- CTO Gel: Most wedding reception ballrooms have that unavoidable tungsten light, so in order to match the existing light you need to add a gel to your on & off camera flashes.
2. Use the Right Camera Settings
The ideal camera settings for wedding receptions will vary depending on your available ambient light and the power of your camera.
- Shutter Speed: In low light situations, we like to shoot between 1/125th and 1/200th of a second
- ISO: Use an ISO of 800-6400 depending on the amount of available light and your camera’s low light, high ISO performance.
- Aperture: Typically opt for the widest aperture your lens allows. Ideally, use an aperture of f/2.8 or lower.
3. Decide on the Position of Your Flashes
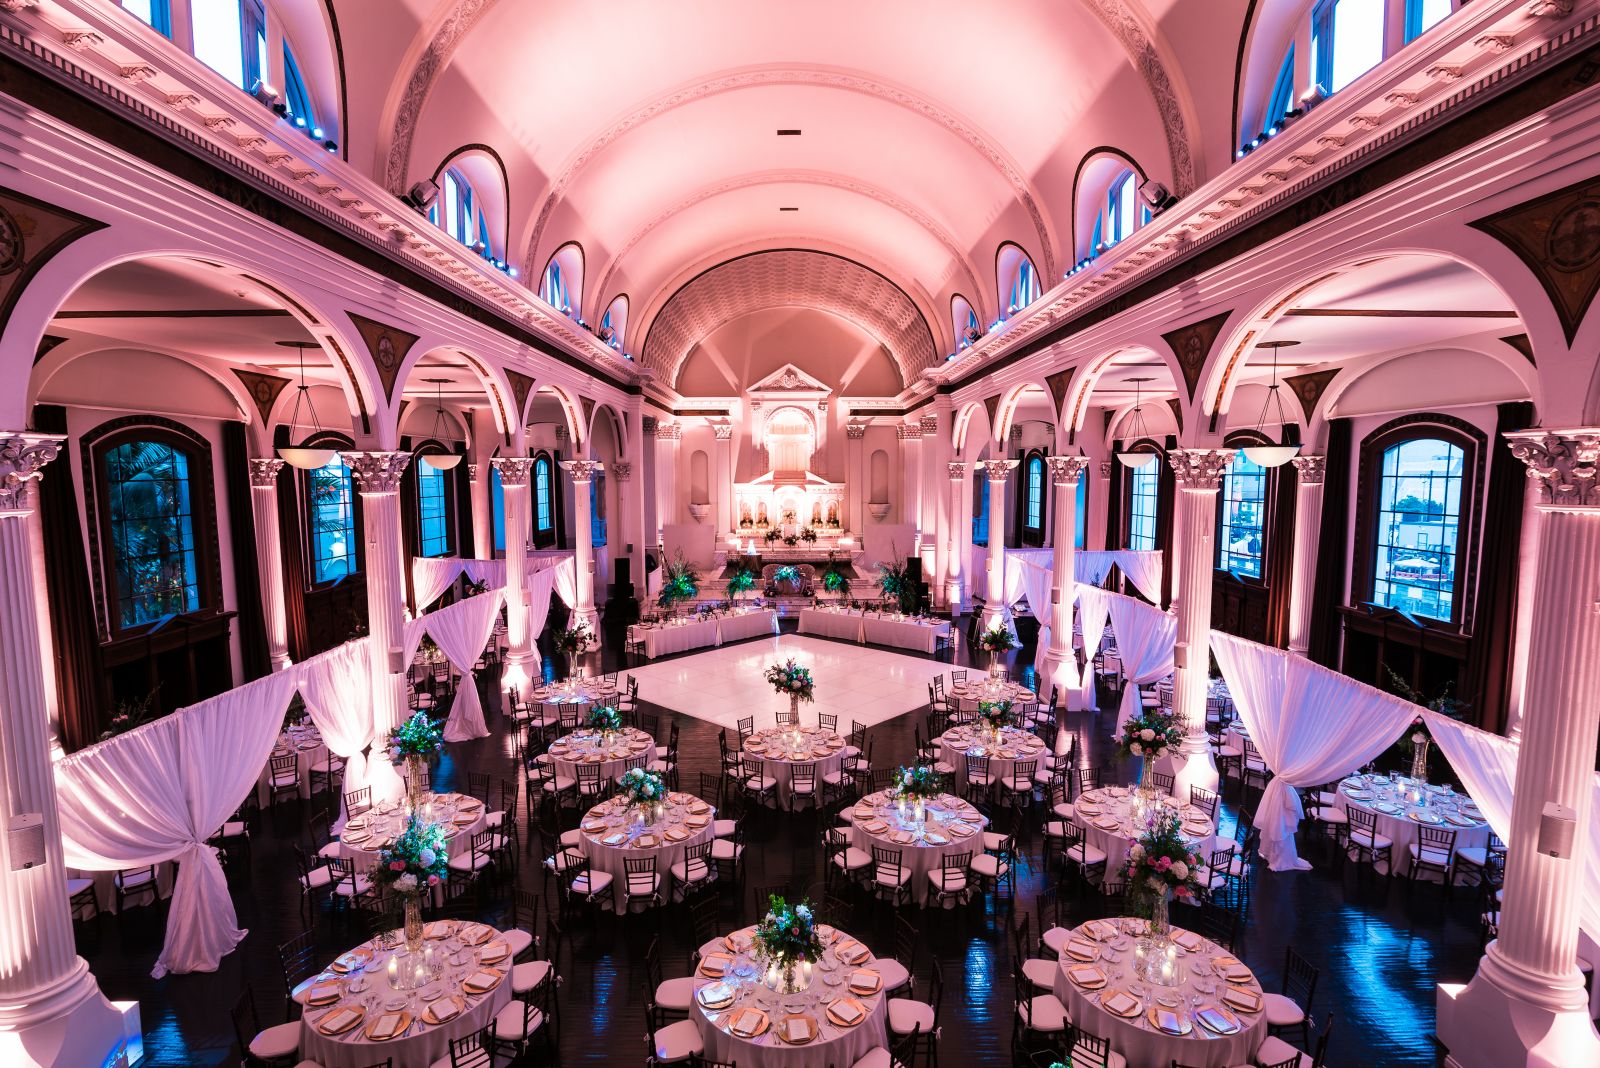
Walk into the scene and decide where to place your flashes. A good default position to place your flashes in the far corners of the room, where you know you will need a bump of light or in areas that require a back light to pull subjects out from dark backgrounds. Raise them to about 6 feet to avoid having shadows cast from any of the seated guests, and zoom them all the way in to prevent any light spill.
4. Match the Color of Light
There is no point in adding in light if it isn’t the right kind. Match your on-camera flash and off-camera flash to the existing light in the room. Depending on the temperature of the ambient light (Tungsten, Daylight, etc.), dial in a Custom Color Temperature setting in-camera to balance out the light in your scene. In most wedding reception ballrooms, the light will be tungsten, so have your orange gels ready.
5. Use On and Off Camera Flash Together
Adding in on and off-camera flashes puts the control in your hands. While the DJ and the venue control their lighting setup, you hold the power of implementing additional light sources to benefit your overall product. Having a full-feature flash or flash trigger that operates as a master and controls your off-camera flashes gives you the ability to decide when it is necessary to add light to your scene. Let’s review the most common wedding reception lighting positions below:
5a. On-Camera Bounce Lighting (Easy)
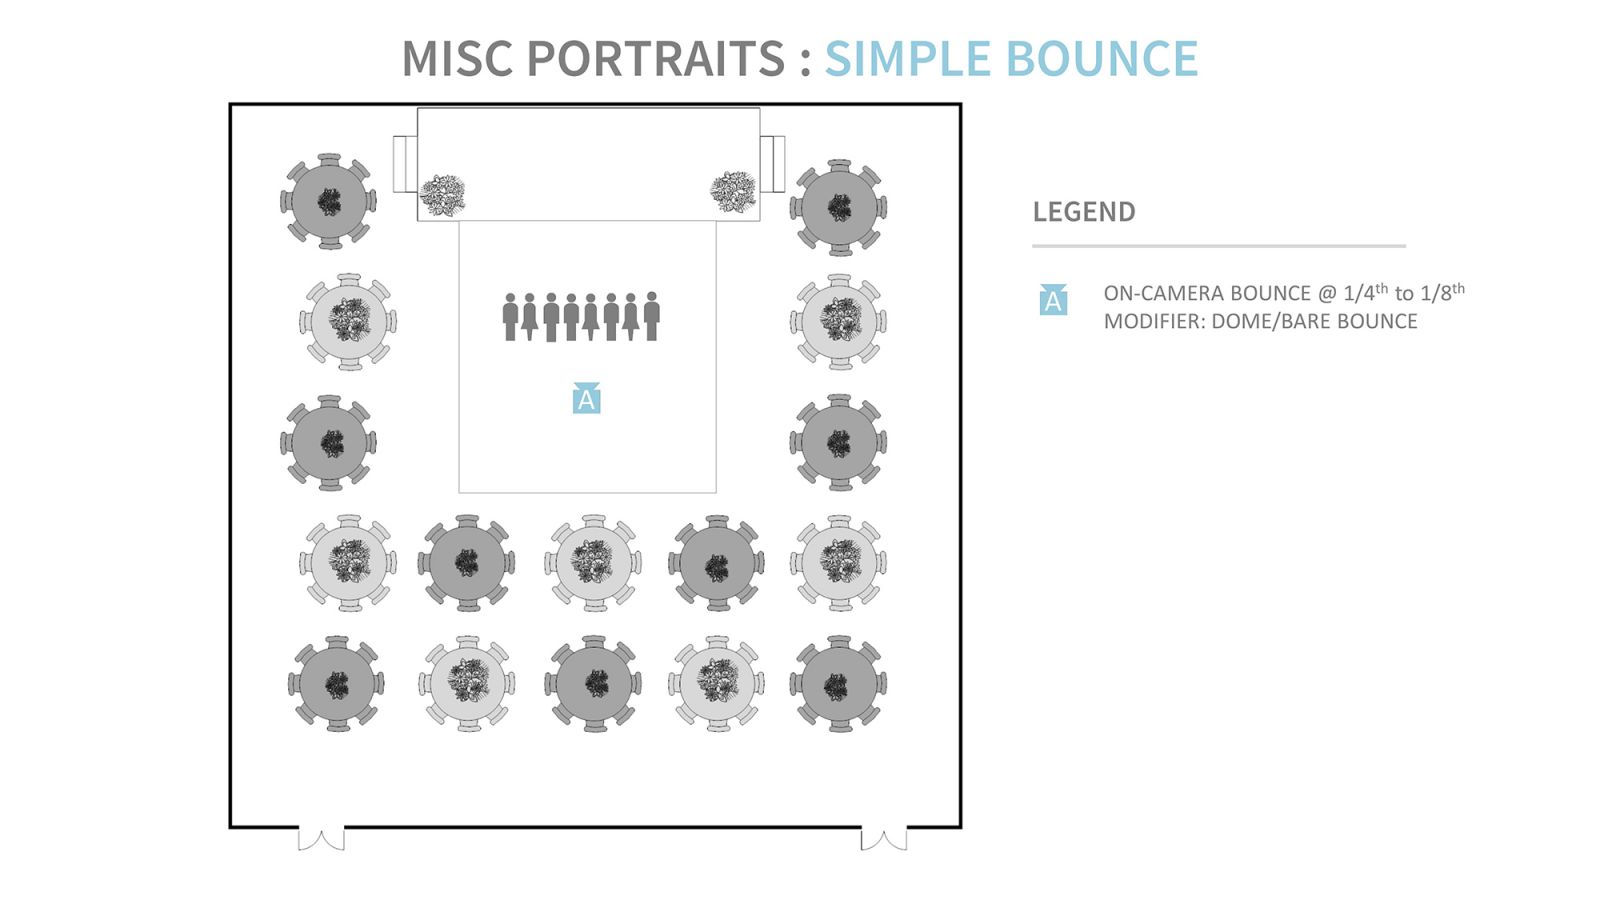
Let’s start with one of the most common techniques for wedding reception photography, or any indoor event photography for that matter: bounce flash. This works great for many reception ballrooms with low white ceilings because it essentially creates a softbox effect when you bounce a flash against it. The key to this technique is to point your flash backward or to the side so that the light coming back is hitting the subject at an angle rather than bouncing your flash directly overhead and creating harsh shadows under the eyes. Of course, this technique doesn’t work with dark or high ceilings, and it also may not be the look you’re going for.

5b. Diffused On Camera Flash (Easy)
Many photographers make the assumption that they are getting the most out of their on-camera flash by bouncing it off the ceiling. In most venues where there are low white ceilings this proves true, however, you may find yourself at a venue with dark wood or painted ceilings, in which case you need to make use of your surroundings and find walls or objects to bounce your light.
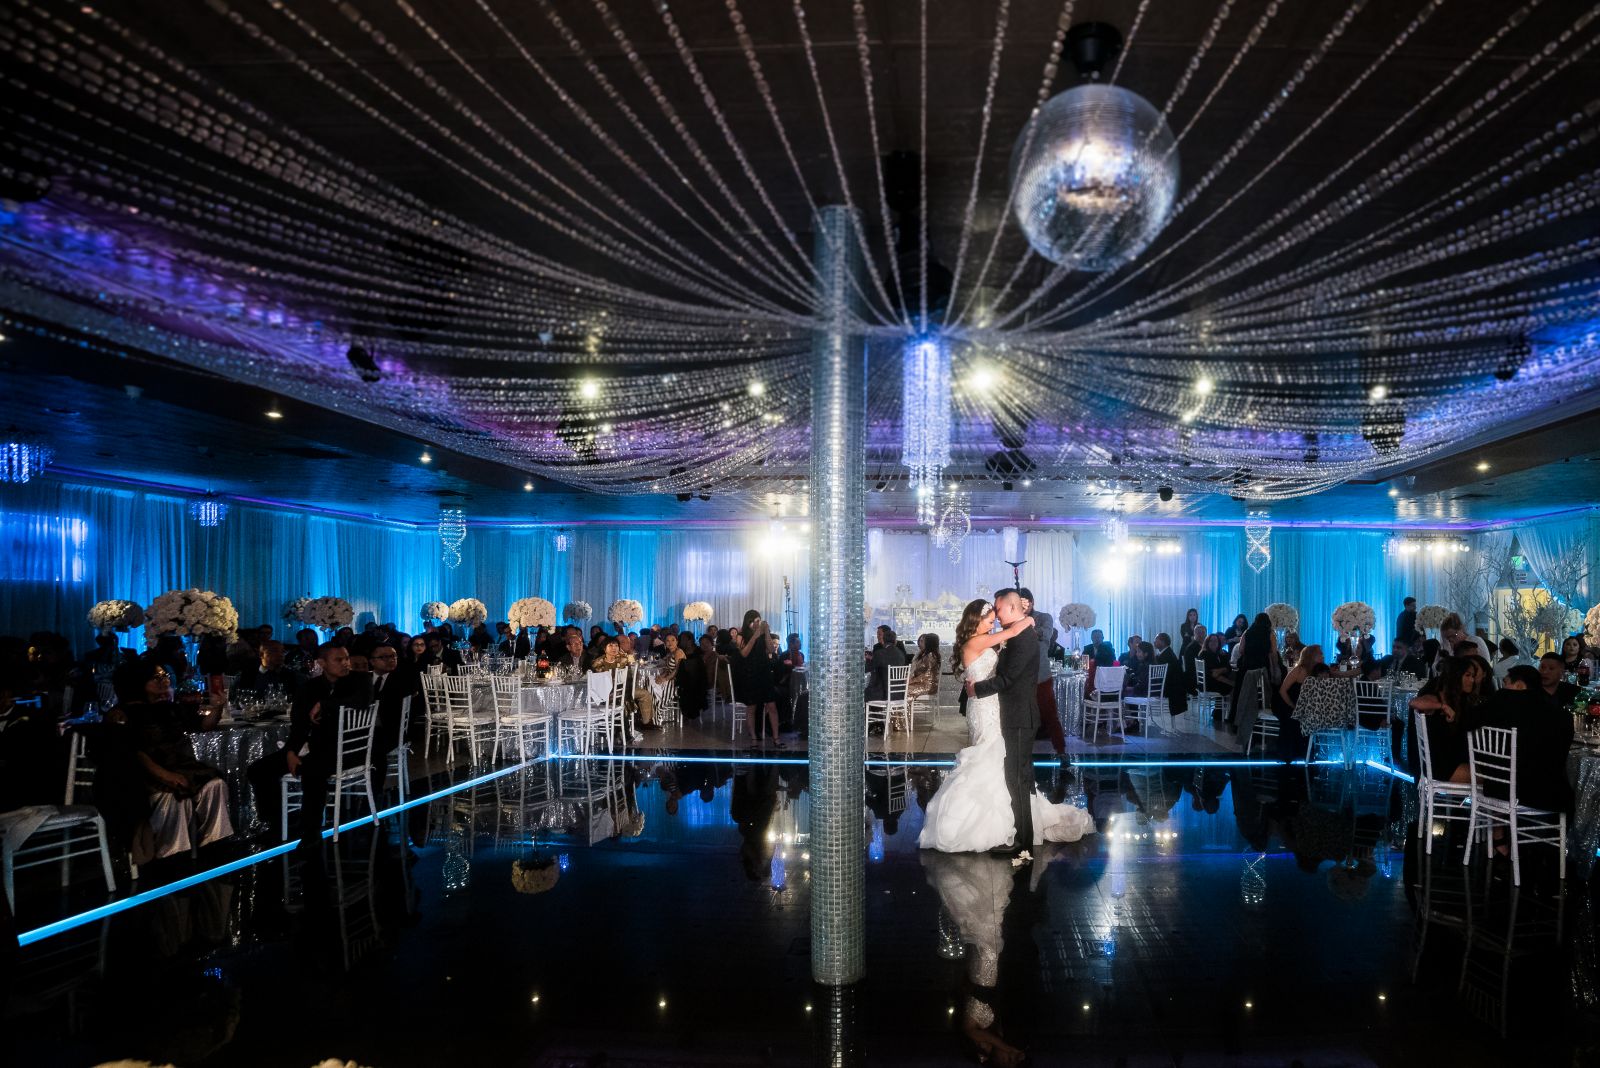
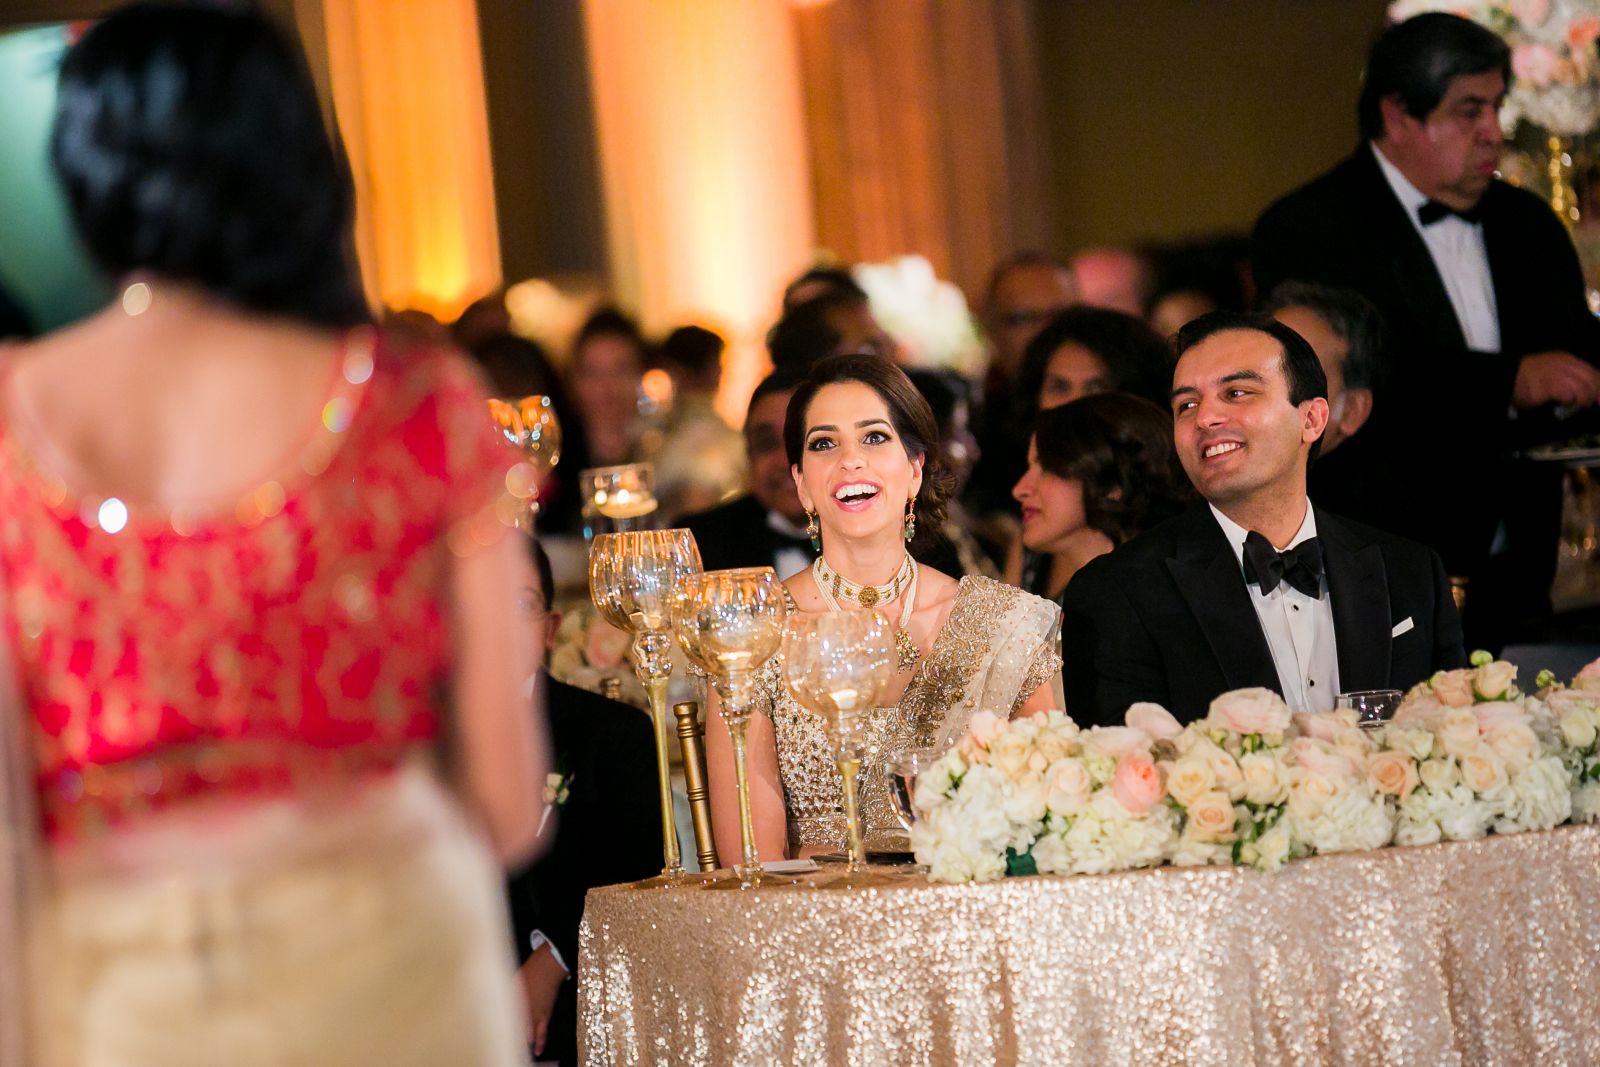
5c. Off Camera Flash Pin Lighting with Grid (Advanced)
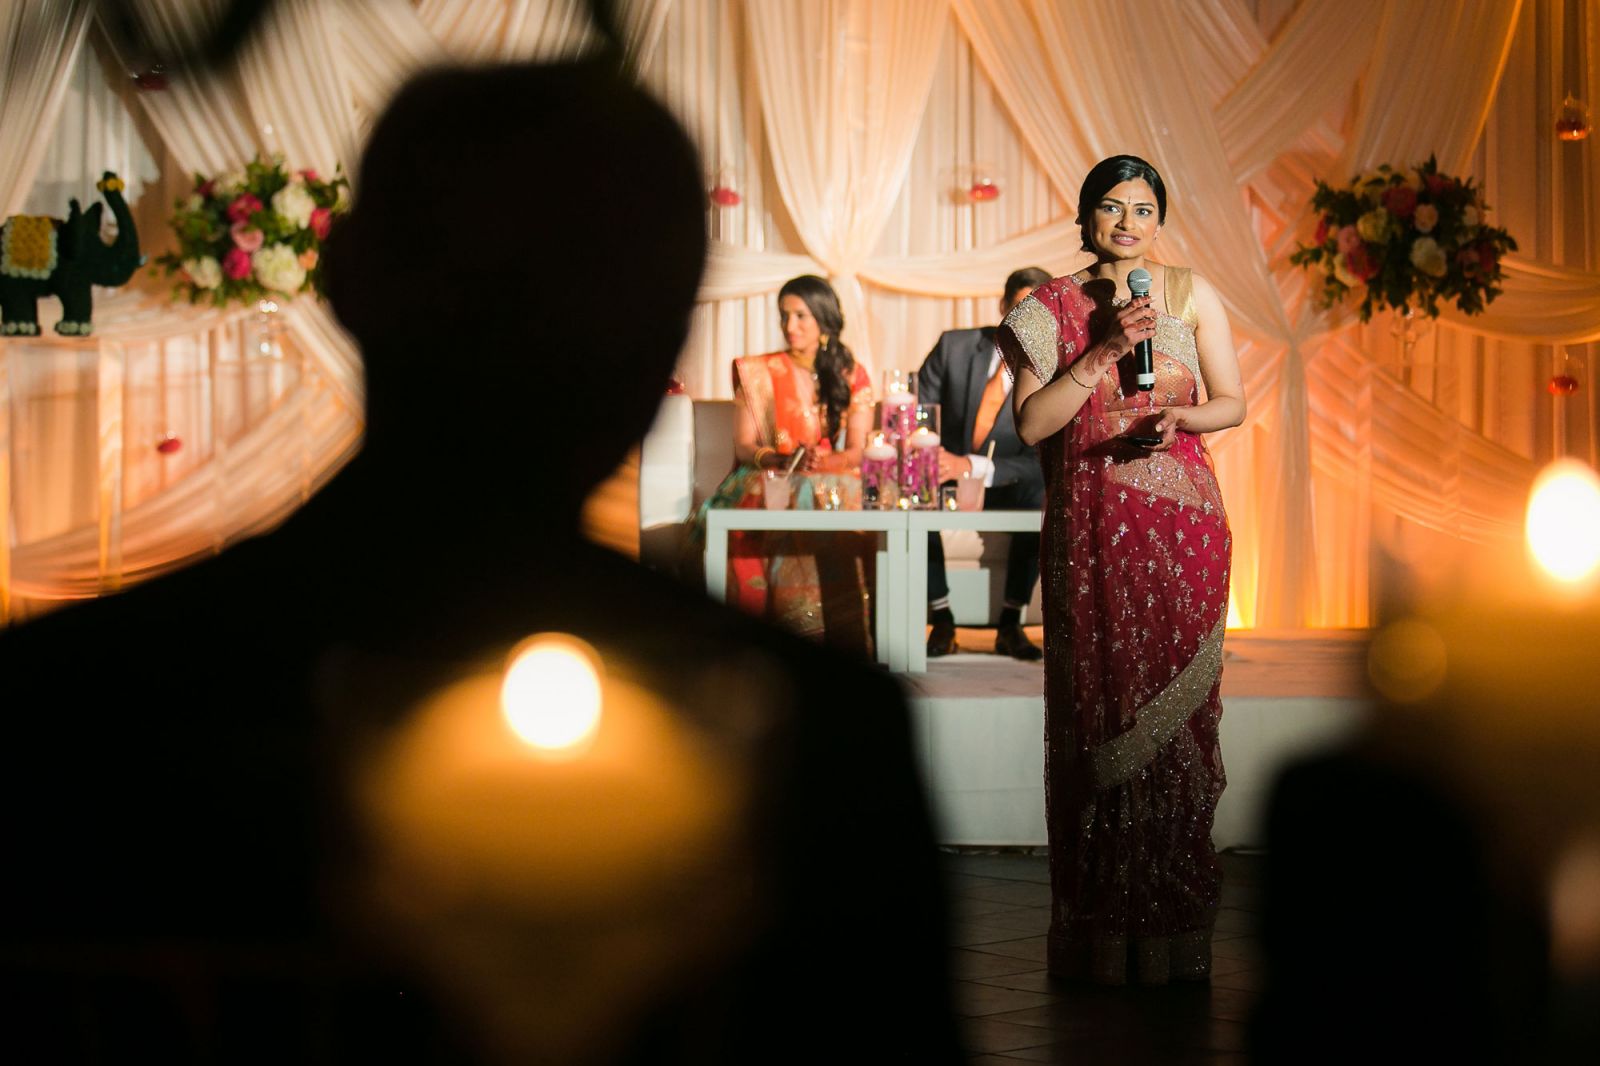
Many times in wedding receptions, you’ll find that the DJ/lighting crew sets up spotlights for grand entrances or for toasts. Along the lines of this idea, take your off-camera flashes and use them as pinned spotlights for your subjects. This technique works great for toasts since the speakers are usually close enough to the couple to be able to use one light to hit both of them.
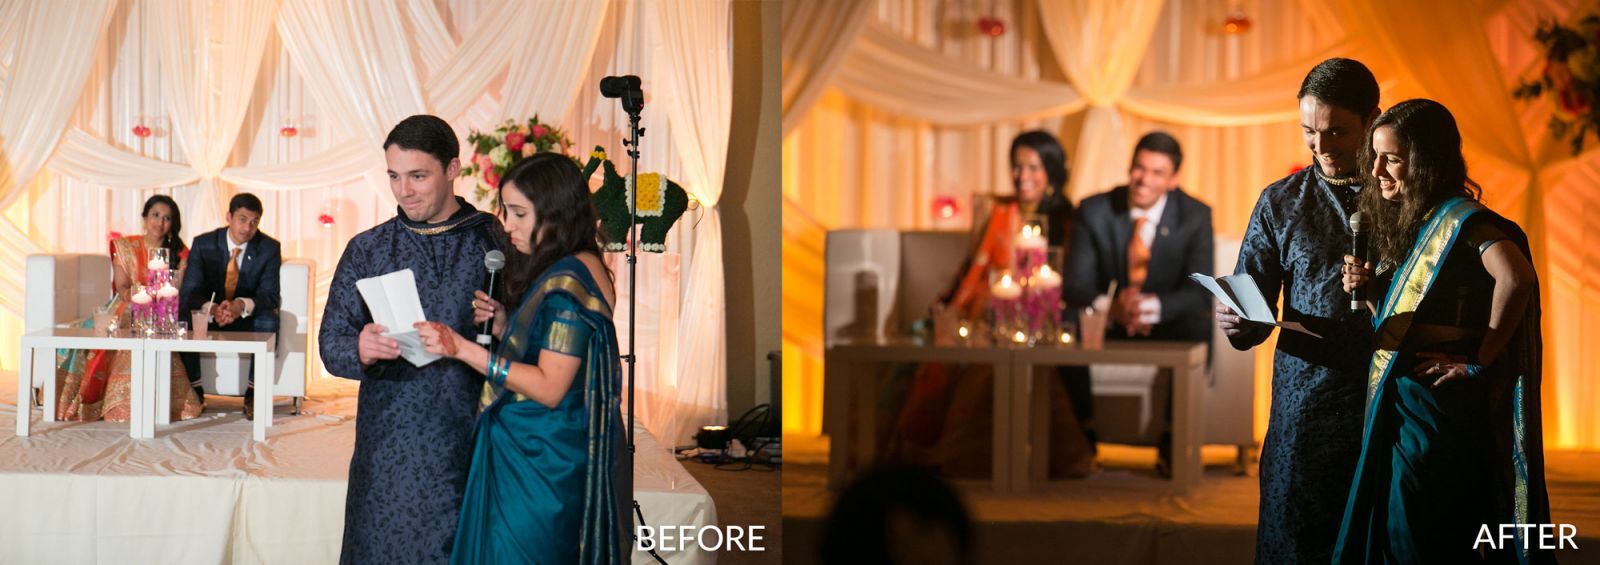
Wedding receptions are often lit to be dark and moody, so, we are going to need the help of flash to add some light to our scene. A bare flash is going to send light everywhere which will create bland and boring imagery (as you see on the left) and inevitably will ruin the intended mood and ambiance of the reception. We need something that can control our light spill while allowing us to move around and get consistent & creative shots of our scene, like the image on the right made with Magmod.
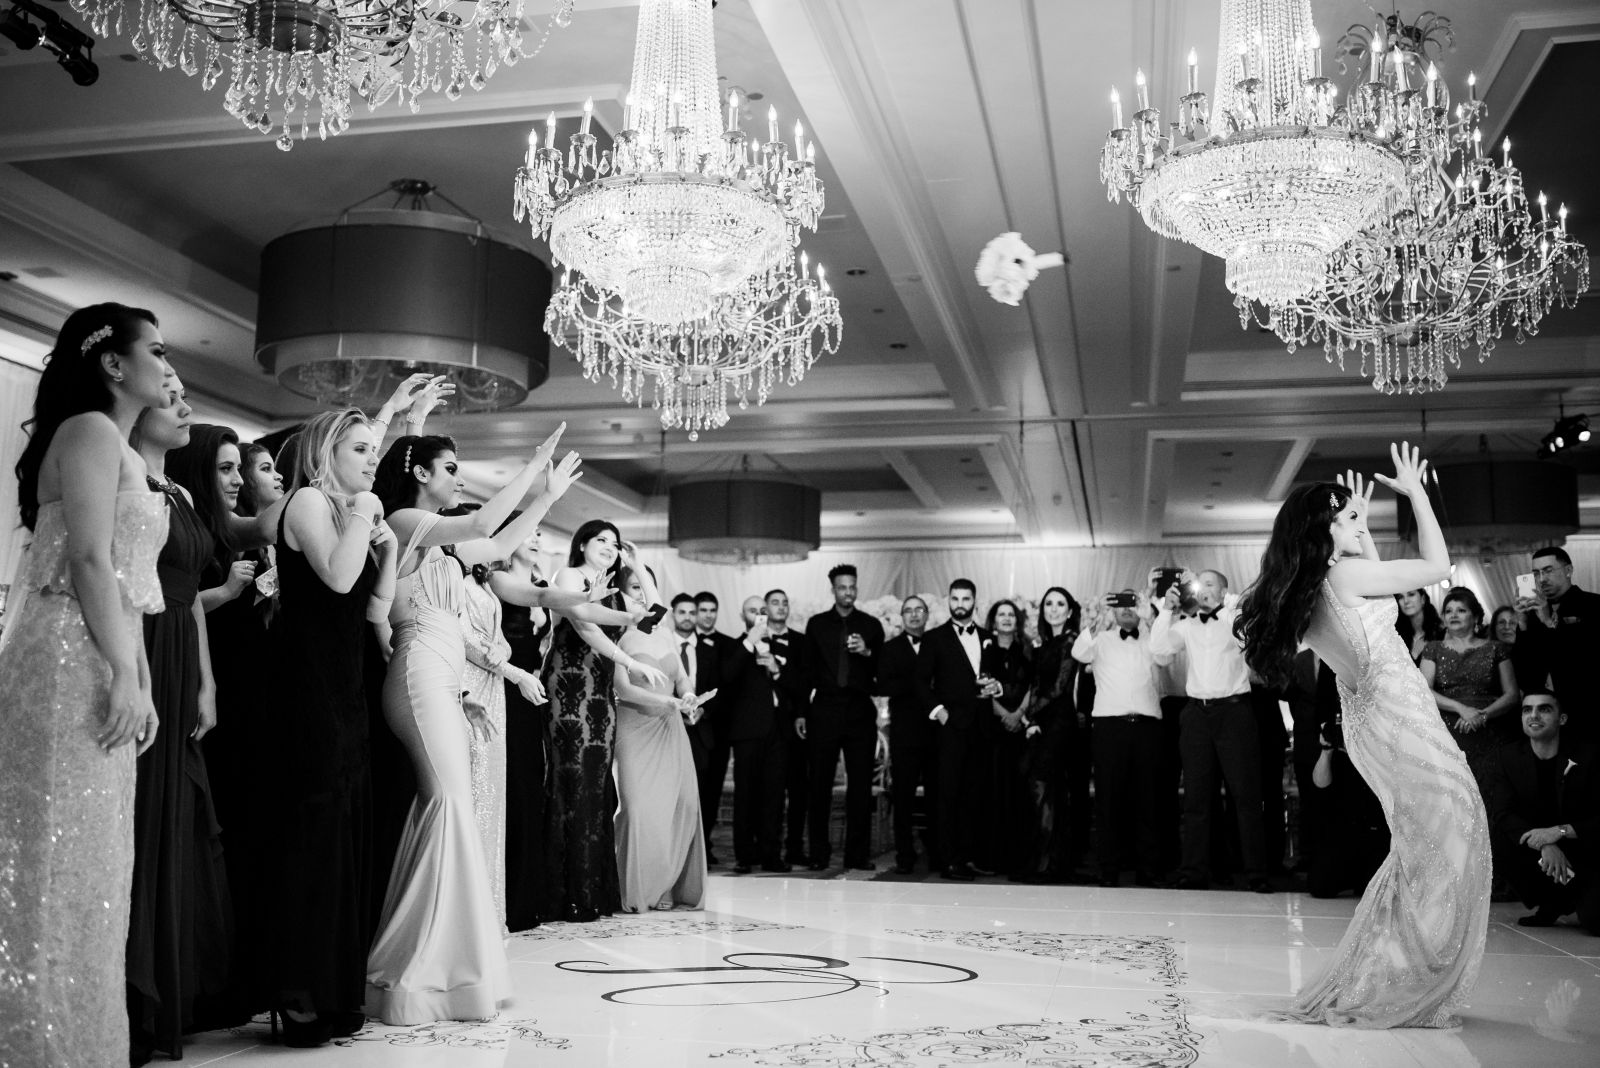
5d. Rim Light with Off Camera Flash (Advanced)

Let’s add in a second, or third, off-camera light. This time, the light is being used to chisel the subject out of the darkness by creating a rim light or hair light. This will yield images with higher production value and a more polished look. This is essentially a 2-light clamshell set up with one key light hitting the subject from the front and one rim light hitting the back of the subject’s head.
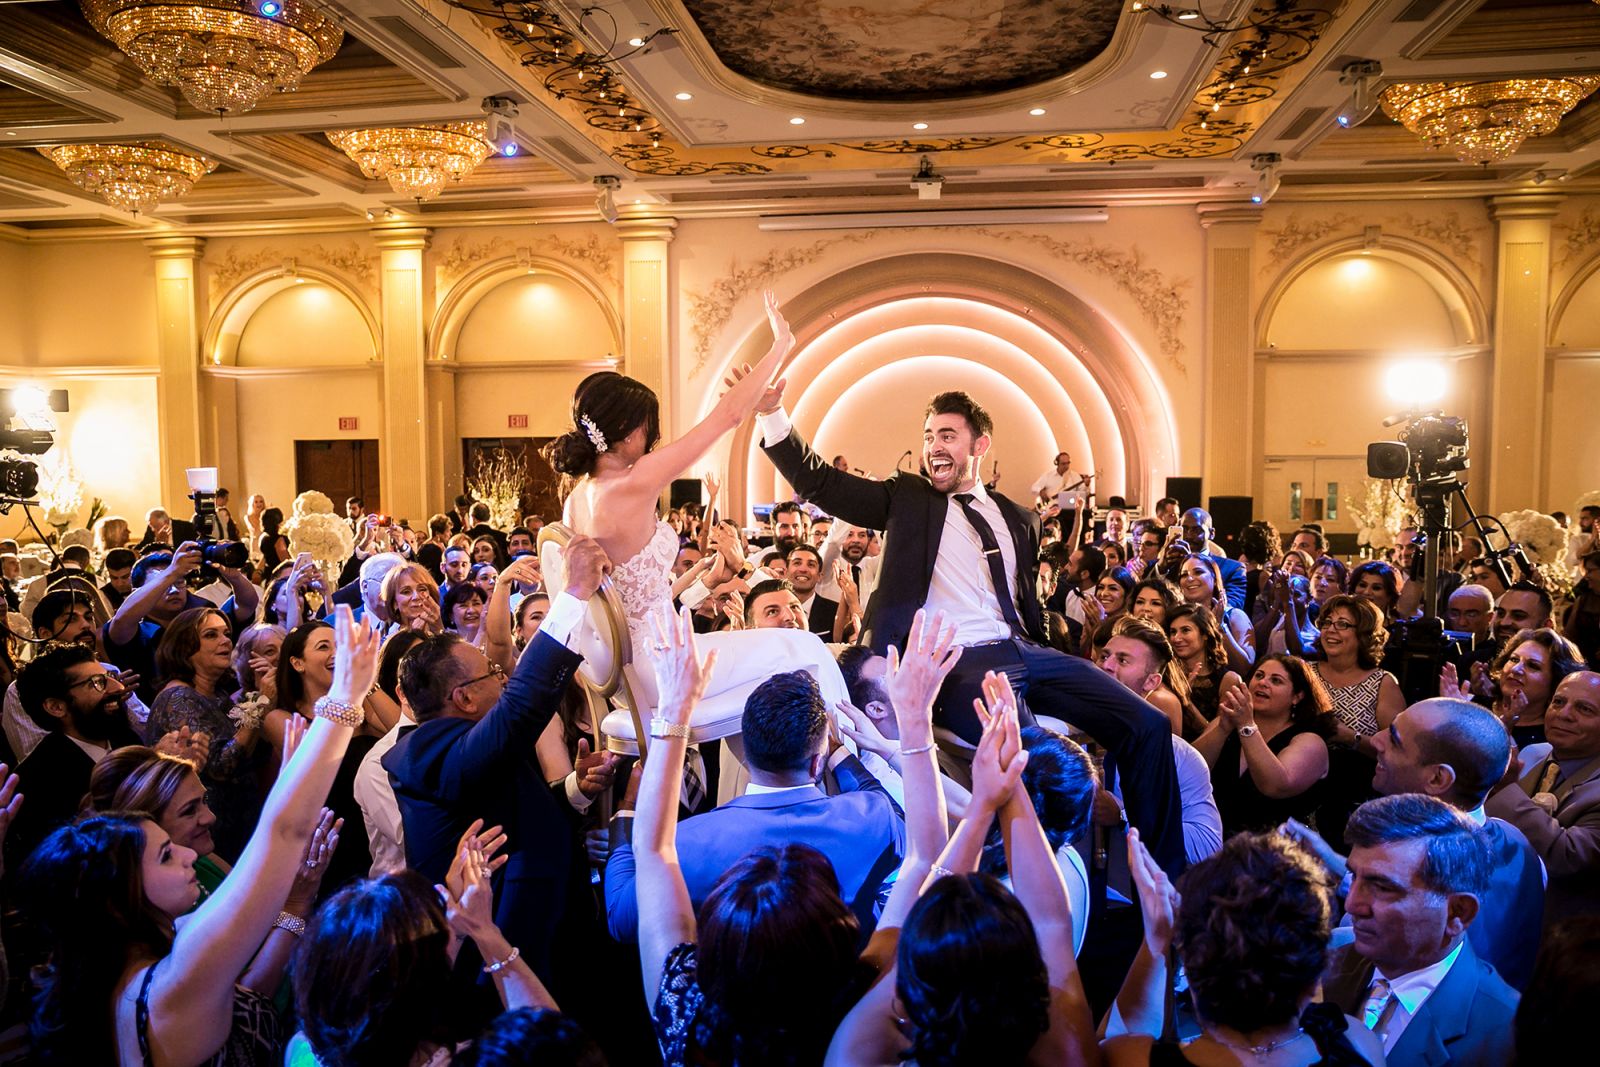
5e. Direct Flash with On Camera Flash
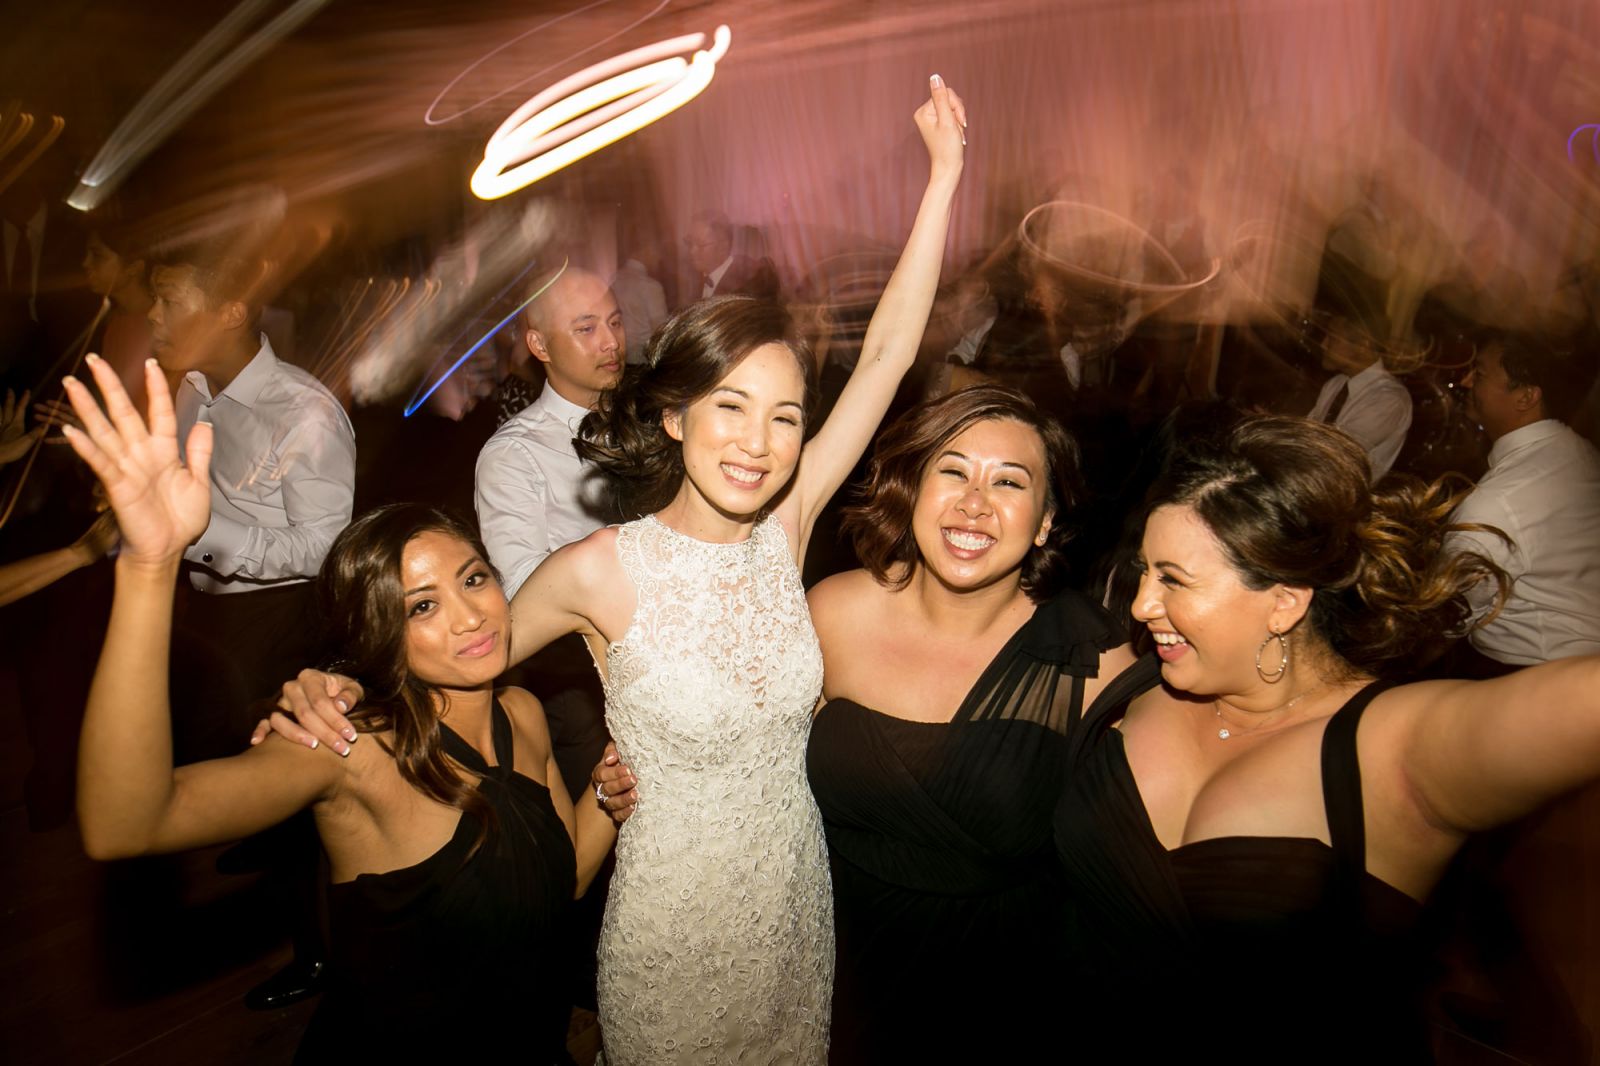
Direct flash gets a bad rep for looking too amateur, but there is a way to do it for stylistic purposes. Using your on-camera flash you can freeze subjects while incorporating motion into the shot, creating the effect that you see above. Learn more about the dance floor camera twist here.
5f. Try the Statue of Liberty
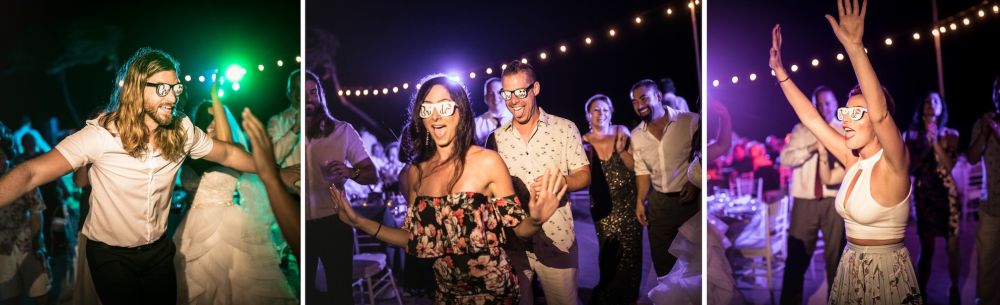
This is just a fancy way of saying “hold your own flash!” We coined this term for run and gun scenarios where you want a strong key light and maybe don’t have an assistant handy. It creates that spotlight effect that pushes a strong and clean key light onto your subject. This is a perfect lighting technique for venues with crazy ambient lights.
6. Shoot Against the DJ Lights
After you have put in your song request for the night, talk to the DJ about which lights will stay constant and which will be added later on throughout the night. The point here is to avoid any surprises during grand entrances, first dance, parent dances, etc. Cover all your bases so you can focus on creativity and not worry about anything unexpected.
7. Get in the Right Position
Assessing the room and placing your lights is just the first step in creating your image. Figuring out where to stand to either utilize or avoid problematic lighting is a part of the trial and error process that comes with creating multi-point light setups.
Conclusion
Wedding receptions can be filled with challenges, but it is solely up to you to plan in advance to arrive at the shot you want. Understanding what lights you need and where they need to be placed will lay the foundation for the rest of your night, so make good use of these 10 tips before your next shoot!
If you are interested in learning more on tips for photographing and lighting at weddings, see our Wedding Photography Training System in SLR Lounge Premium.


