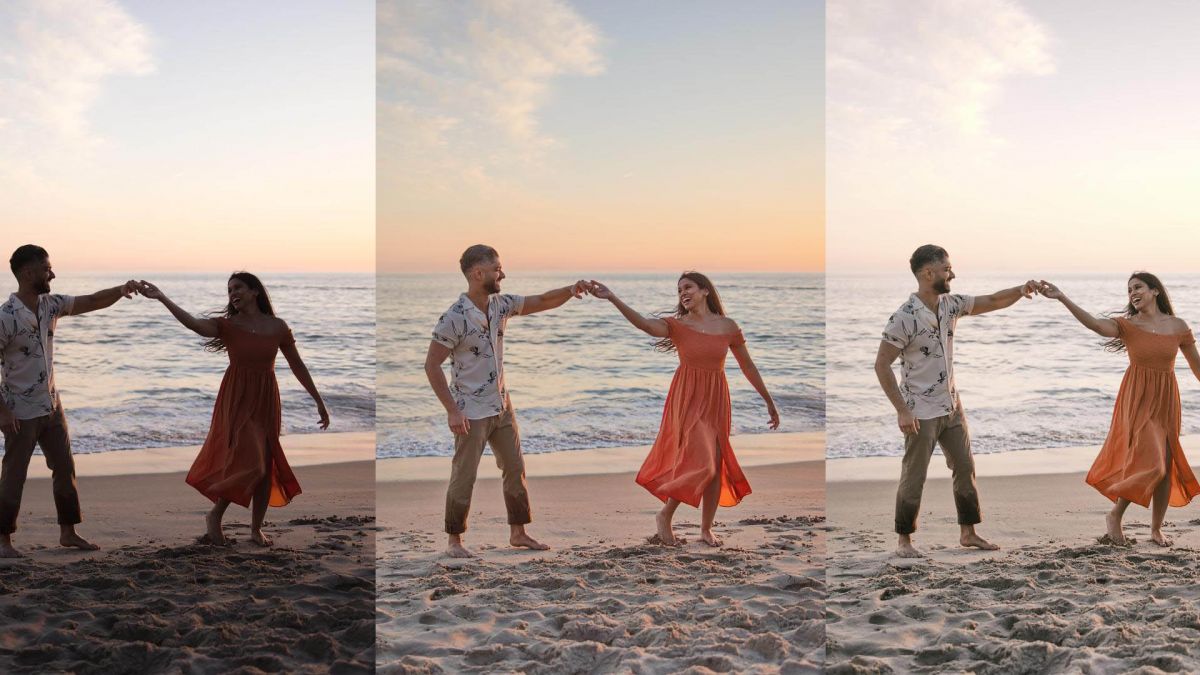
2023 has been an exciting year for photographers, with all sorts of new technology arriving. While the debates and dilemmas surrounding AI will likely continue for years to come, there is one thing that we’ve learned this year that is universally positive: Now, photo editing workflow tools have never been better! Both from a creative standpoint and a technical one, the tools at our fingertips today are truly impressive. In this article, we are going to discuss some of the best ways to enhance your creativity while also reducing the unwanted “chores” in your workflow. We will be using Zoner Photo Studio X, which we have reviewed earlier here, and we’ll be focusing on two of the major features that have been released recently: The addition of LUTs, and the ability to customize your raw editing defaults. With that said, let’s dive in!
Organize Your Workflow: Artistic Creativity, Technical Tasks, & Automated Processes

The biggest thing you can do to vastly improve your photo editing in virtually every way is, first and foremost, to organize it. Ask yourself: which parts of your workflow do you want to have the most control over, and spend the most time doing? Oppositely, which parts of your workflow would you prefer to automate and/or not have to worry about at all? Answer these questions for yourself, and you may just unlock a whole new level of creativity in your photo editing!
Artistic Creativity
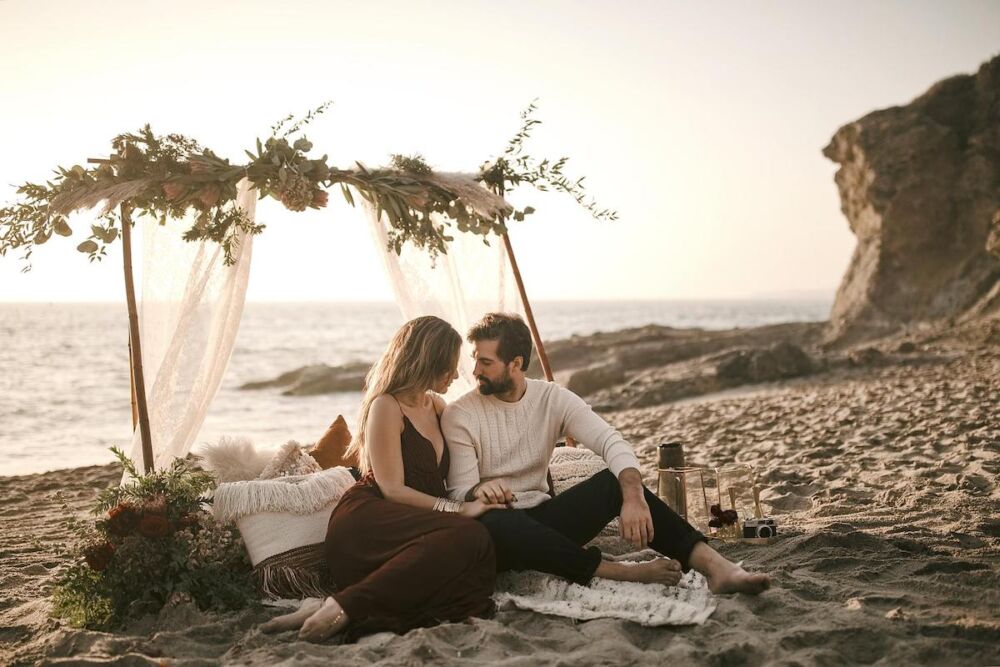
Above all else, you’re an artist. This means that you should never let the editing process be a drain on your creativity, but also, you have to beware the potential pitfalls of getting too technical. Or, unfortunately, even things like presets and LUTs can result in a creative slump. In other words, don’t just use a “cookie cutter” approach to your editing. Routinely remind yourself to think outside the box, try something new, and stay inspired!
Technical Tasks
Compared to the creative side of things, technical tasks are the things you DON’T want to spend time on, period. In fact, if possible, almost all technical tasks should be automated. If you want all of your images to have a particular sharpening or noise reduction setting, that’s a great example of something you should never have to worry about. Save these settings as a preset, or even make it your raw default! Even if you still want to go through the edits and make subtle adjustments, having a starting point is always better than doing things from scratch every single time.
Automated Processes
Lastly, one of the greatest ways to speed up any photo editing workflow is to have as many automated processes as possible. We could spend days giving tips and advice, but here are just a few suggestions, in rapid-fire:
- Import and export your photos in batches. Also, make sure that you have something else to do while the process is running. Most photo editing applications, including ZPS X, allow you to do almost anything else while a folder of new or edited photos is being imported or exported.
- If your computer gets “bogged down” when exporting hundreds or thousands of high-megapixel images all at once, then just take that opportunity to get up from your computer and go for a walk!
- Use a cloud-based storage system to ensure that you can seamlessly transition from editing photos on a desktop or laptop computer, and posting low-res versions of those edited images to social media from any of your mobile devices.
- For high-resolution photo sharing directly with clients or other viewers, one of the ultimate solutions is to seamlessly integrate your editing workflow and an online gallery for full-resolution images. This is one reason why we’ve recommended ZPS X in the past–the Zonerama online gallery feature is fantastic, and an excellent solution for automating the final step in your photography workflow.
What Is a LUT? | LUTs Versus Presets
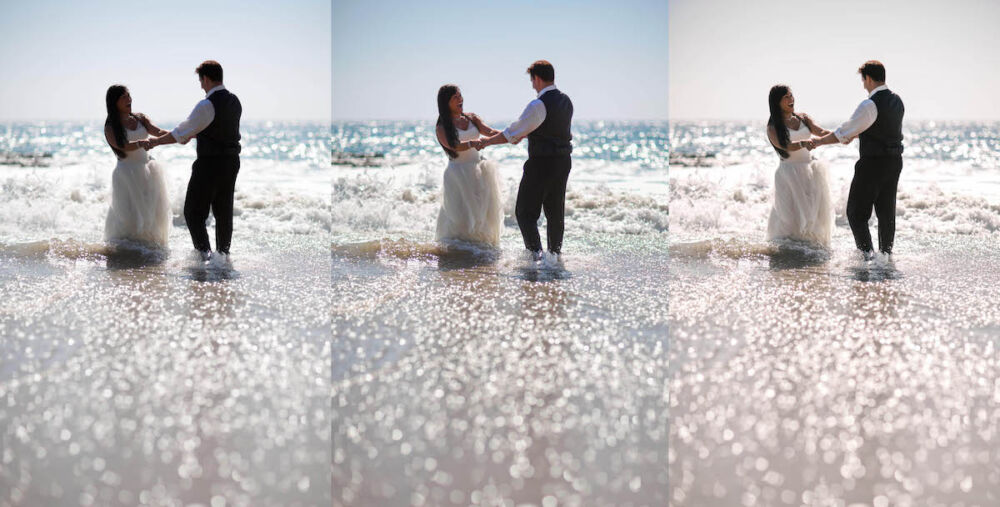
You have probably heard about LUTs before, especially if you do both photo and video editing. A LUT is a “LookUp Table”, which was basically a fancy videography word for what most photographers have known as Presets. (That’s an oversimplification, but we’ll explain further!) Basically, a preset is a group of saved settings that affect your editing adjustment sliders. You can create presets for not just basic adjustments to exposure, contrast, saturation, and white balance, but also for advanced things like highlights & shadows, tone curves, Hue/Color, sharpening, or vignetting. As you can see below, hitting the “Highlight Details” preset in ZPS X gives a certain look, which you can dial up and down from 0% to 100%. Notice how the sliders move along with the presets “Intensity” slider…

On the other hand, a LUT is a very specific type of preset; and technically we shouldn’t even call them presets because of how separate they are. LUTs only affect the color and tone of an image, in a relatively subtle way. Also, (and this is important to note!) a LUT works independently of your editing sliders! In other words, if you apply a preset that adjusts your RGB curves, you’ll see the points of the curve change. If you apply a LUT, however, you won’t see any of your adjustments changing, because the LUT operates “under the hood”.

In Zoner Photo Studio X, LUTs are now accessible toward the top of the Editing panel, as part of the “Color Style” panel. You have a main Color / Black and White option, a drop-down menu for selecting your 3D LUT, and then an Intensity slider to increase or decrease the effect of the LUT you select. The LUTs included with Zoner Photo Studio X are quite diverse and powerful. Plus, you can easily import additional LUTs that you might have downloaded, to emulate almost any look!
Why You Should Use LUTs in Photo Editing
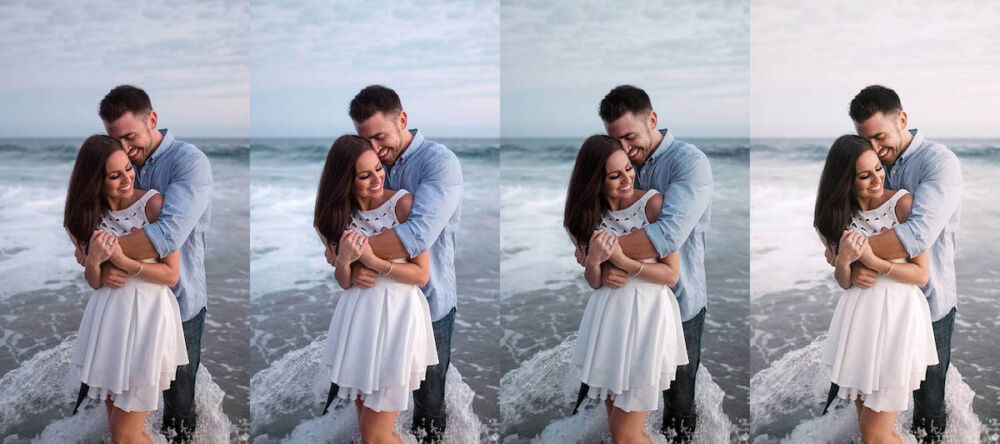
The question is, if a LUT is so similar to a preset, why should you bother using them? LUTs require special tools to create, while presets are easy to save/create, and are built into most photo editing programs. Answering that question is very simple: LUTs are useful because they don’t change or undo any of your existing edits; they are an additional “layer” so to speak. This means that, unlike a preset, a LUT can have a nearly identical effect on every image you apply it to, whether that image was captured in soft light, harsh light, or even an HDR type scenario. How can this be a benefit to you? One example is this: You can edit a portrait session or other job however you normally would, as the default, “color-corrected” look. Then, on top of that, you can apply a LUT to further enhance the image by adding a subtle, stylized look to the colors and tones. This effect will appear universal across all your different images. (Doing the same thing with a preset is usually impossible, or extremely difficult at best!)

Alternatively, you can use LUTs in basically the opposite way: Set one as your default, so that all your images start off representing your preferred style without even applying any edits. Then, (as you can see above) apply a preset that suits your image’s actual subject/scene. This method is particularly useful if you have a consistent style that you want to always see your images with.(We are getting ahead of ourselves, but you can also consider adjusting your raw defaults for this same reason!)
How To Add A LUT in Zoner Photo Studio X
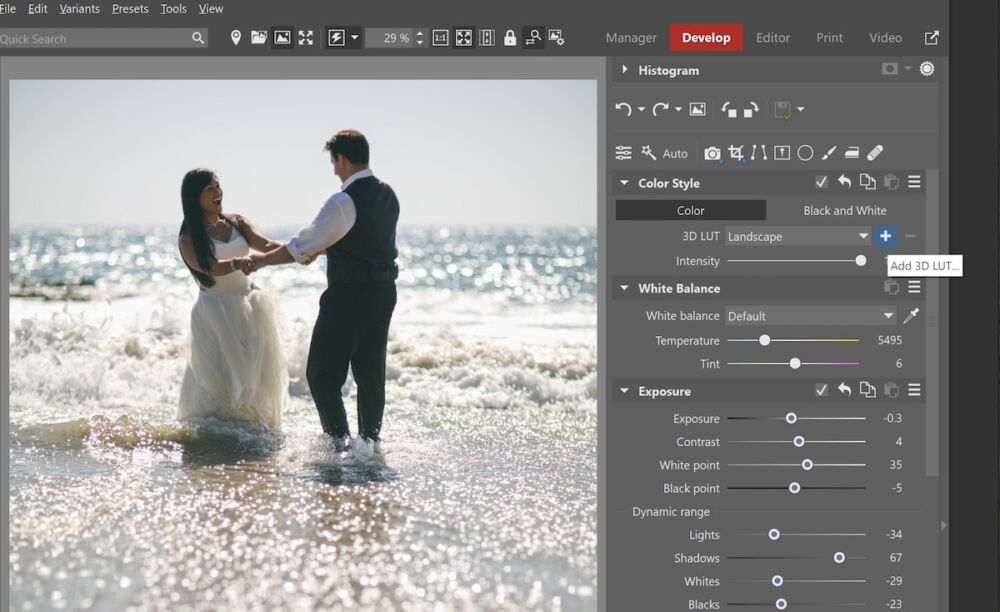
In Zoner Photo Studio X, creating a new LUT is a very easy process. In the “Color Style” panel of the “Develop” tab, look for the little plus sign next to the 3D LUT drop-down box. This will allow you to locate a LUT file that you have downloaded, and import it to join the seven built-in LUTs. Unfortunately, creating your own LUTs isn’t easy to do. However, thankfully, various LUTs are very common and easy to find online, including ones that emulate the trademark cinematic color schemes of different popular films!
How To Customize Raw Defaults in Zoner Photo Studio X
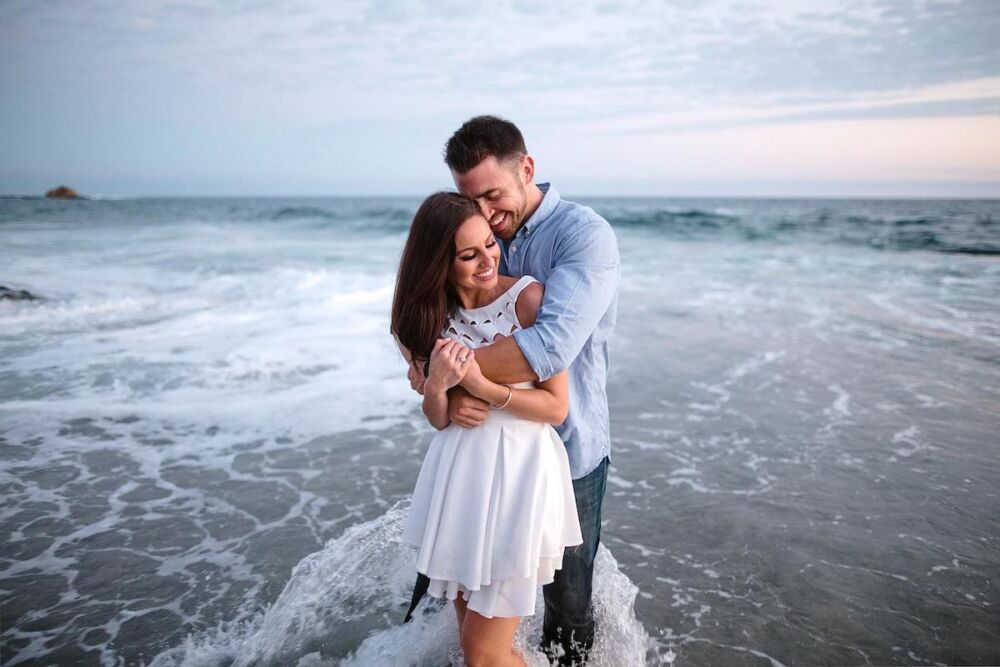
Opposite from what a LUT does, sometimes what you want is for all of your images to start off with the same set of adjustments already applied. But, at the same time, (unlike a LUT) …you want the option to go back and re-adjust one or two of those settings such as Contrast or Saturation. Maybe you like the way your images look without any editing at all, but you’d prefer just a faint additional “pop”, or a subtle tweak to the dynamic range. In this case, simply create a new raw default! Starting with a completely unedited image, make the minimal changes that you’d like to see appear as the defaults whenever you import new images. Then, save the new raw default.
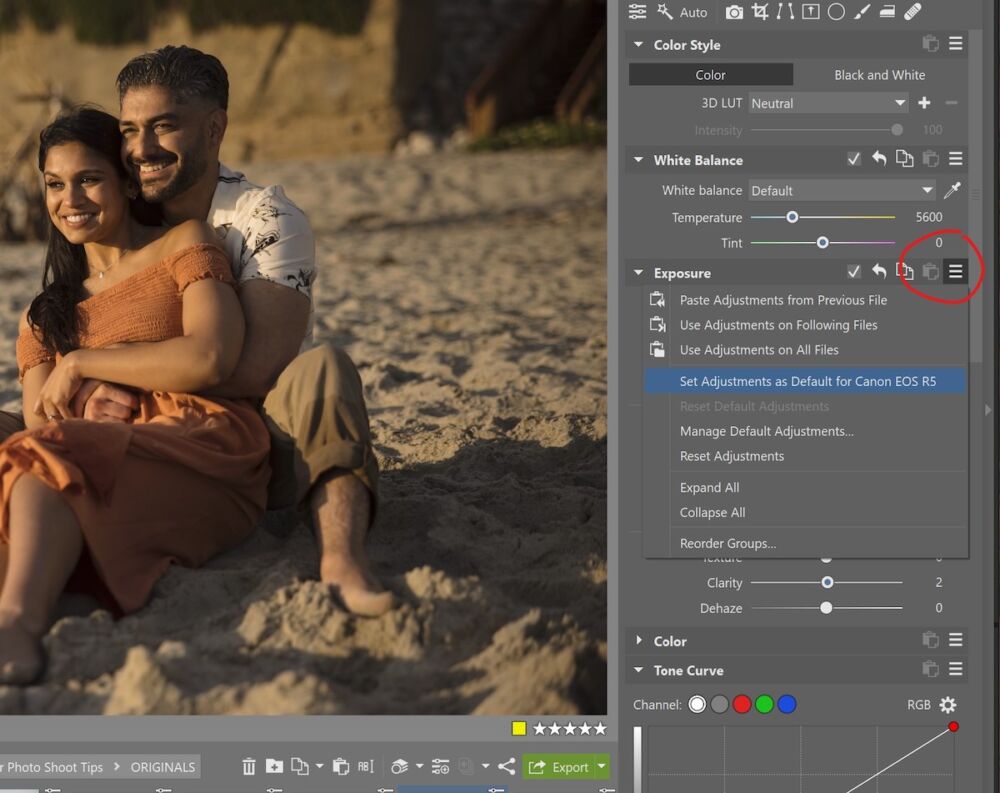
Of course, if you ever decide that these new defaults aren’t right, you can always revert to the original, “actual” raw default again, or just save a slightly different new default. (Note the grayed-out “Reset Default Adjustments” option below the highlighted option, above.) One of the best suggestions that we can make when you are changing your raw defaults and when you are saving a preset in general is this: Think of it sort of like you would a LUT! That is, use the editing tools you are less likely to need to adjust later. So that your defaults stay as universal as possible. For example, if you want to slightly increase contrast in your image, try using the curves instead of the contrast slider itself, if you rarely ever use the curves slider. Similarly, if you want to save a new raw default that has slightly increased dynamic range, try using the curves for that instead, so that your basic sliders are still free to adjust highlights and shadows for each image individually.
Conclusion
All in all, there are many ways to improve your workflow from both a creative and technical perspective. With the right workflow tools, this can be a seamless process from start to finish! Remember to organize your workflow tasks so that you don’t lose sight of those things that give you artistic inspiration in the first place. If you can eliminate anything repetitive or tedious, and give yourself an inspiring starting point each time you fire up your computer to edit photos, then this challenge becomes significantly easier! We have consistently recognized ZPS X to be one of the most complete workflow solutions in this regard, and these newest tools in the fall of 2023 are making things even easier.
Matthew Saville
Follow his wilderness nightscape adventures on Instagram: instagram.com/astrolandscapes


Get Connected!