
Introduction
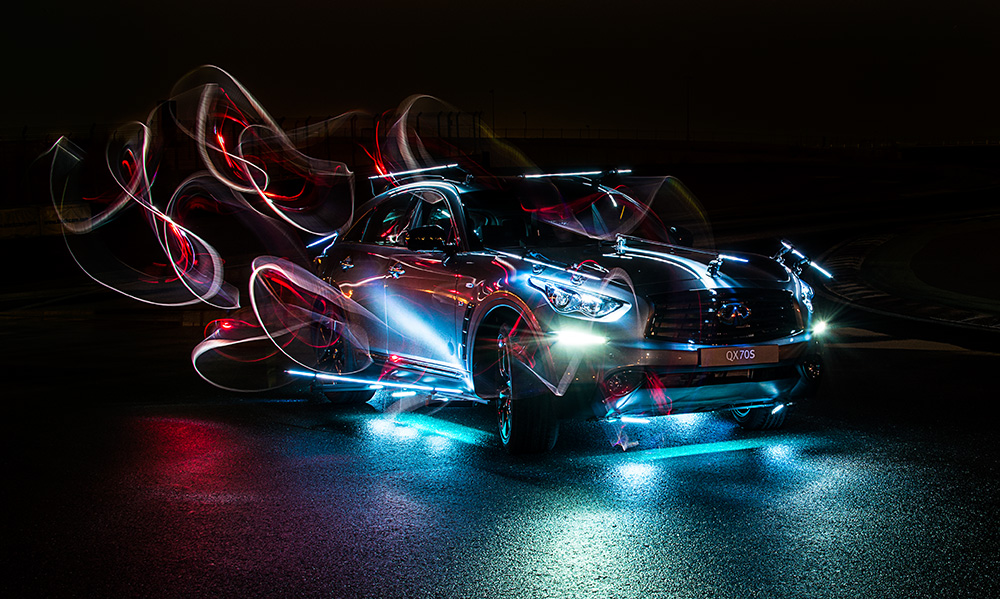
Here is the latest art project I did with Infiniti cars in Dubai. We transformed three cars into moving light painting brushes to create a new kind of image. All images, still or moving, were created in front of a camera lens. Even post-processed light trails in the video use only actual information recorded in shot-footage. NO CGI.
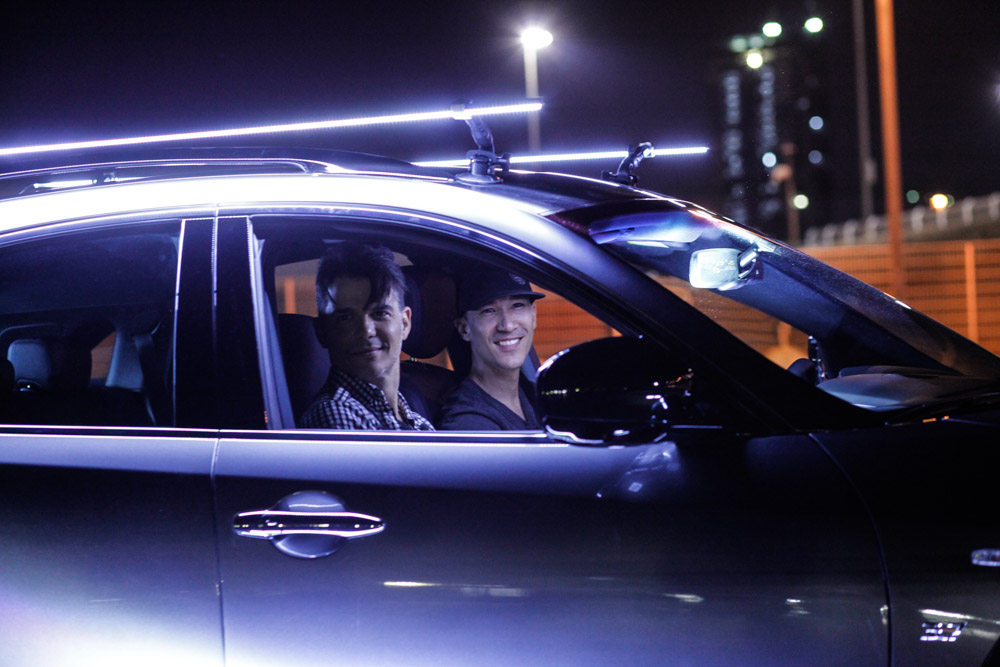
After weeks of measuring, mapping, planning, trial & error, each car took four experienced technicians four hours to rig, while the prototype took several days.
There are no light bulbs on the rigs. Each QX70 has 59 feet, or 18 metres, of LED strips, carefully fixed in place. The car remained completely intact, all lighting modifications were designed to be installed & removed with out damaging anything. Power supplies and wiring were all carefully concealed in the interior, with a switch as the only visible addition.
On my end, the “Inspired Light” project with Infiniti Motors took four months in the making. On the client’s side it took six months.
Watch Inspired Light By Infiniti
It’s always incredible to me what goes on behind the curtain to make a creative project happen. I think this is where the real spectacle is. To me the process or the journey -call it what you want- is key to a great result. I try to teach this in my conferences and workshops. I practice a holistic approach to each project and try to refine it every time. All is important to me. I build a vision in my mind of what the project will be and then I serve it; I serve and protect the vision.
Then it’s about the team. My team is composed of all the same type of people. They are intelligent, talented and sensitive. The sensitive part is important, it helps for the respect and the chemistry between us. It eliminates big egos who are too self absorbed to see what and who is around them and it also feeds the project in the all right ways.

Now for the challenge of going from mind to matter. When the vision is done, then comes the fun part. Sharing the vision with the partners and planning how all of this is going to happen.
The first person I contacted, after TBWA Middle East contacted me, was Evan Jones.
Evan was the mastermind in creating and producing the Red Bull / Snap! wakeboard project. To my great joy, Evan got onboard with “Inspired Light” and we spent countless hours on Skype going through ideas and refining the vision. Honestly if he said no, I’m not sure how I would have accomplished this. That is how important he is to this.
Between Orlando and Montreal, no distance was apparent thanks to the communication tools we have today.
Everyday, even on weekends, we were working together virtually on the project. During that time, I saw so many nice dishes coming to his desk, cooked by his wonderful girlfriend. Evan and I invested two months of our time without any guarantee this would move forward. This was so experimental that even the client and agency were uncertain of getting the green light and budget to do it.
So, basically all of us invested, took risks, and believed in this project blindly.


At one point, we were about ready to quit. Bills were pilling up, time was running short and the hopes for a ‘go’ were wearing thin. While the conversation started to shift towards a fade out on this project and we began investing energy in other neglected priorities, it happened. We got a deposit, the green light, the go ahead we were working for. Honestly, we were both stunned.
Immediately afterward, we solidified the rest of the team, and it ended up being six of us -Jonpaul Douglass and Marco Cordero from L.A. Evan Jones and Vincent Santilli from Orlando. Pierre Tremblay and myself from Montreal. This became the core creative team that flew to Dubai. Not to mention the complete team from Dubai, who truly represented “We Are the World” -including Egyptian, Italian, British, Lebanese, American, Indian, Filipino, Zimbabwean, French, Australian, Canadian, Syrian and Russian talent. That was the cherry on top, working with all these different cultures like we knew each other from before.

 One of the other keys for this was the music. Getting fresh new material specially composed for the video made a big difference. Given budget sensitivities, the client suggested online library music, but I insisted in working with Romain Strugala, a Montreal based freelance artist who creates great sound. So we did, and it added tremendous value to the process and solidified the final result. It provided flavour, a colour, especially for the editing.
You know, it’s always a dance between the client and yourself. We all have to push and pull a little and find the right balance that will work for everyone. If you control too much, you stop things from happening so it’s better to allow, but if you let everyone’s opinion change the project then all is diluted and the essence is lost. So, it’s quite a fine balance.
The way I work with my part of the creation and my team is, first to make sure everyone gets the vision. Then organize and prepare the shoot, particularly on the technical side. Then once we are on the shoot, it becomes a creative playground. Everyones takes the lead with their ideas; everyone creates, saves the day and pushes the vision higher. I believe when a bunch of good hearts and good minds work together toward the same goal, amazing things are going to happen beyond any great planning. This is where I allow things to happen, let go of control and trust my team.


So, the holistic approach is to care for every detail, choice, and step you make along the way. Even before and during the shoot I insisted we get super healthy food and supplements to support the body during the long hours of work. I prepared a music play lists for different times of the day, trying to keep the rhythm right. I made regular rounds to see everyone, ensuring sure all was well, and tried to connect and link everyone on the shoot for the best synergy between us.
It did get chaotic, improvised, and surprising, yet we managed to hit the target dead center and surpass all expectation. This approach is a little abstract for some clients and photographers. So, experience and faith are requisite, but it’s how I get the best and highest results. It’s the creative process I know and refine every chance I get.
Patrick Rochon, the light painter
About the Guest Contributor
Patrick Rochon has been innovating since 1992, creating his unique style of light painting, energy art, and is now considered a master light painter.
His work is regarded as intense, visionary, and highly creative. He specializes in portraits, fashion, nudes and live performances.
For Patrick, the idea behind light painting is to allow for the perfect moment to happen, where everything comes together in synchronicity, creating an amazing moment of magic. His true ingenuity is to have created thousands of different types of light paintings, constantly re-inventing himself. Light is his teacher. He believes that our bodies emit light and that light painting is an expression of this phenomena. See more of his work on his website.


Get Connected!