
If there could be one thing said for the pains of looking through torrents of photos daily, it’s that boredom, and familiarity are great filters. Looking through hordes of work can be approached as study, no doubt, because only this way can you really begin to notice details of a photo at speed. To some degree, it’s important to spend time on each image to appreciate the nuances, but after you’ve seen volumes of work, it becomes a lot easier to spot the ones that may warrant that time, much more quickly.
[REWIND: How To Make The Most Out Of Graduated Filters In Post | Camera RAW Makes It Easy]
I can liken it to my Uncle, a Hemopathologist, who has been looking at slides of human tissue for the past three decades, for the purpose of diagnoses. He says he is at the point, where with incredible accuracy, he can tell within an extremely minute period of time, when there is something amiss – something that’s cause for concern. What may take a junior doc ten minutes to deduce, he will do in seconds. What he often tells me is that it’s not really just a matter of a predisposition to being good at this, but simply he has looked at millions of slides in his time, and he is able to pick up in a flash, the irregularities.
Similarly, in photography, going through the amount of work I do, I can spot the boring images, and the images that deserve a second look. One of the few things that can get more time and attention continuously, are images of motion. This is not to say all motion does a good photo make, but that it’s still much less common than a perfectly still image. Capturing that motion isn’t necessarily a difficult thing to do, but it pays to know a few ways to do it.
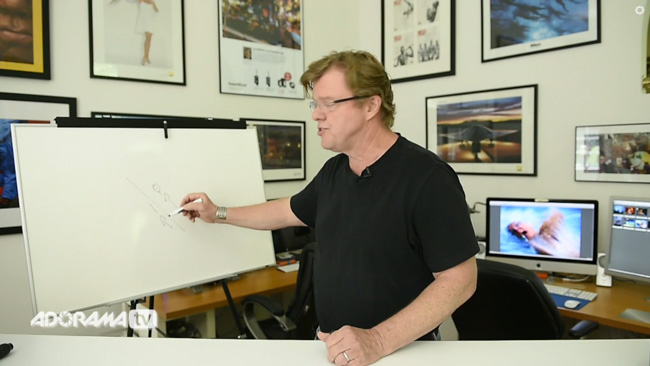
In the video featured here, Joe McNally, in conjunction with AdoramaTV, will rather quickly discuss two ways to capture motion which I think are good starting explanations and how-tos. It’s not necessarily groundbreaking techniques being discussed, but Joe has a way of explaining things and bringing you into a scenario with his words that often find a way into your memory. He’ll discuss, albeit briefly, the function of flash in motion, what shutter speed to show motion generally, and also an idea of when to use both. When to implement these in your work is, of course, to your discretion, but I think it’s a great way to separate from the crowd.
Source: ISO1200, images are screen captures from featured video.


Get Connected!