If you haven’t tried it out yet, let me tell you that Luminar 4 has revolutionized my editing workflow, allowing for dramatic, portrait-based enhancements to small projects and social media posts.
In this walkthrough, I’ll show you how to make simple yet dramatic edits to a portrait. You’ll learn how to use tools in Luminar 4 to make a photo shot in relatively underwhelming conditions vibrant and fun.
Step 1 — Exposure and Shadows

I captured this shot with a Fujifilm X-T30 and 56mm f/1.2 lens (natural light, dull day, large reflector to the left). I like the Fuji tones in my studio. But in Fujifilm’s standard color mode, this shot of Carmen looks flat.
I usually shoot underexposed, then build back color and exposure. In the Essentials tab, I increase the exposure slightly and adjust the contrast and shadows. I also shape the curve profile into a slight “S.” Carmen immediately looks more alluring.
Step 2 — Selective Colors

Next, I use Luminar 4 to adjust the color saturation and hues. In the Essentials tab, I go to Color and set the Saturation to -5 and Vibrance to -7 to decrease the overall saturation before I selectively enhance certain colors.
Carmen’s skin looks lackluster, but it can glow with a simple adjustment of the orange luminance slider (Hue -4, Saturation +3, Luminance +17). I also selectively desaturate colors that don’t appeal to me, like the green in the wooden stool.
[Related Reading: 5 Tips for FAST and EASY Portrait Retouching in Luminar 4]
Step 3 — High Key

This photo is soft since it was shot at almost maximum aperture. Under the Portrait tab, I use the High Key settings to give it a creative glow. A strong high key setting can make a subject seem ethereal or angelic.
I like to be true to my model’s character, but a little tweak here makes for a real pop on social media and beyond. The High Key sliders bring soul and cinematic flair to portraits. Carmen has nice skin, but AI Skin Enhancer in Luminar adds a professional touch.
Step 4 — From Enthusiast to Professional

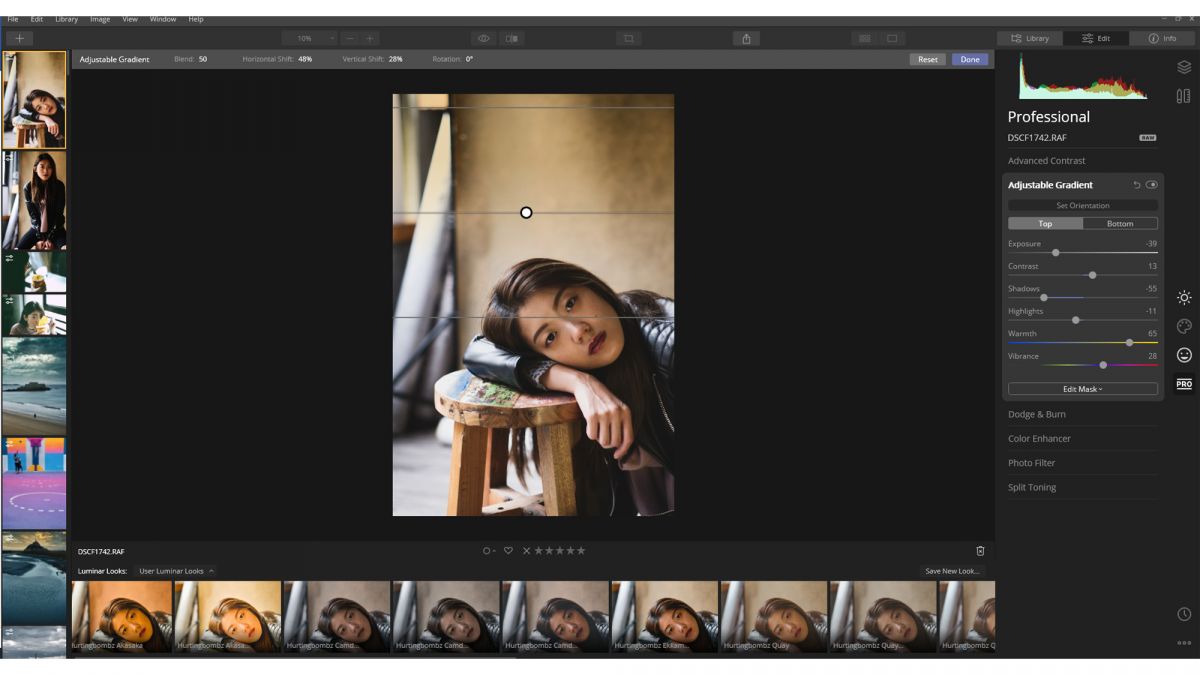
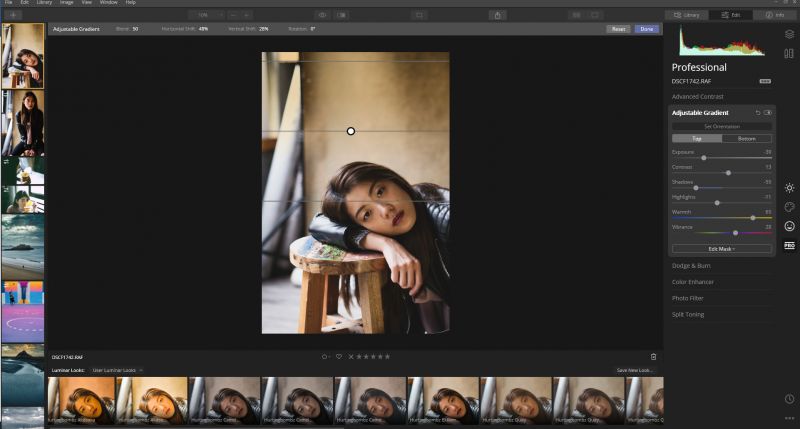
The top of this photo is a little too bright. To bring the focus back to Carmen’s face, I use the Adjustable Gradient tool in the Professional tab. I click on Set Orientation, position the grid over the top third of the photo, and adjust the Exposure and Shadows.
I decrease Exposure at the top and move the Warmth slider to the right. This brings out the hues in the backdrop. As a final touch, I add film grain in the Creative tab, moving the slider to 7.
And that’s it! Have a look at the before and after comparisons below and let us know what you think in the comments!


Bonus — Cinematic bespoke
For a good starting point, I recommend my Cinematic Bespoke Looks, which are available for purchase in the Skylum shop. All the edits I’ve shown can easily be made on top of these Looks. If you’ve never used Luminar before, you can download a free trial here and get started immediately.


Get Connected!