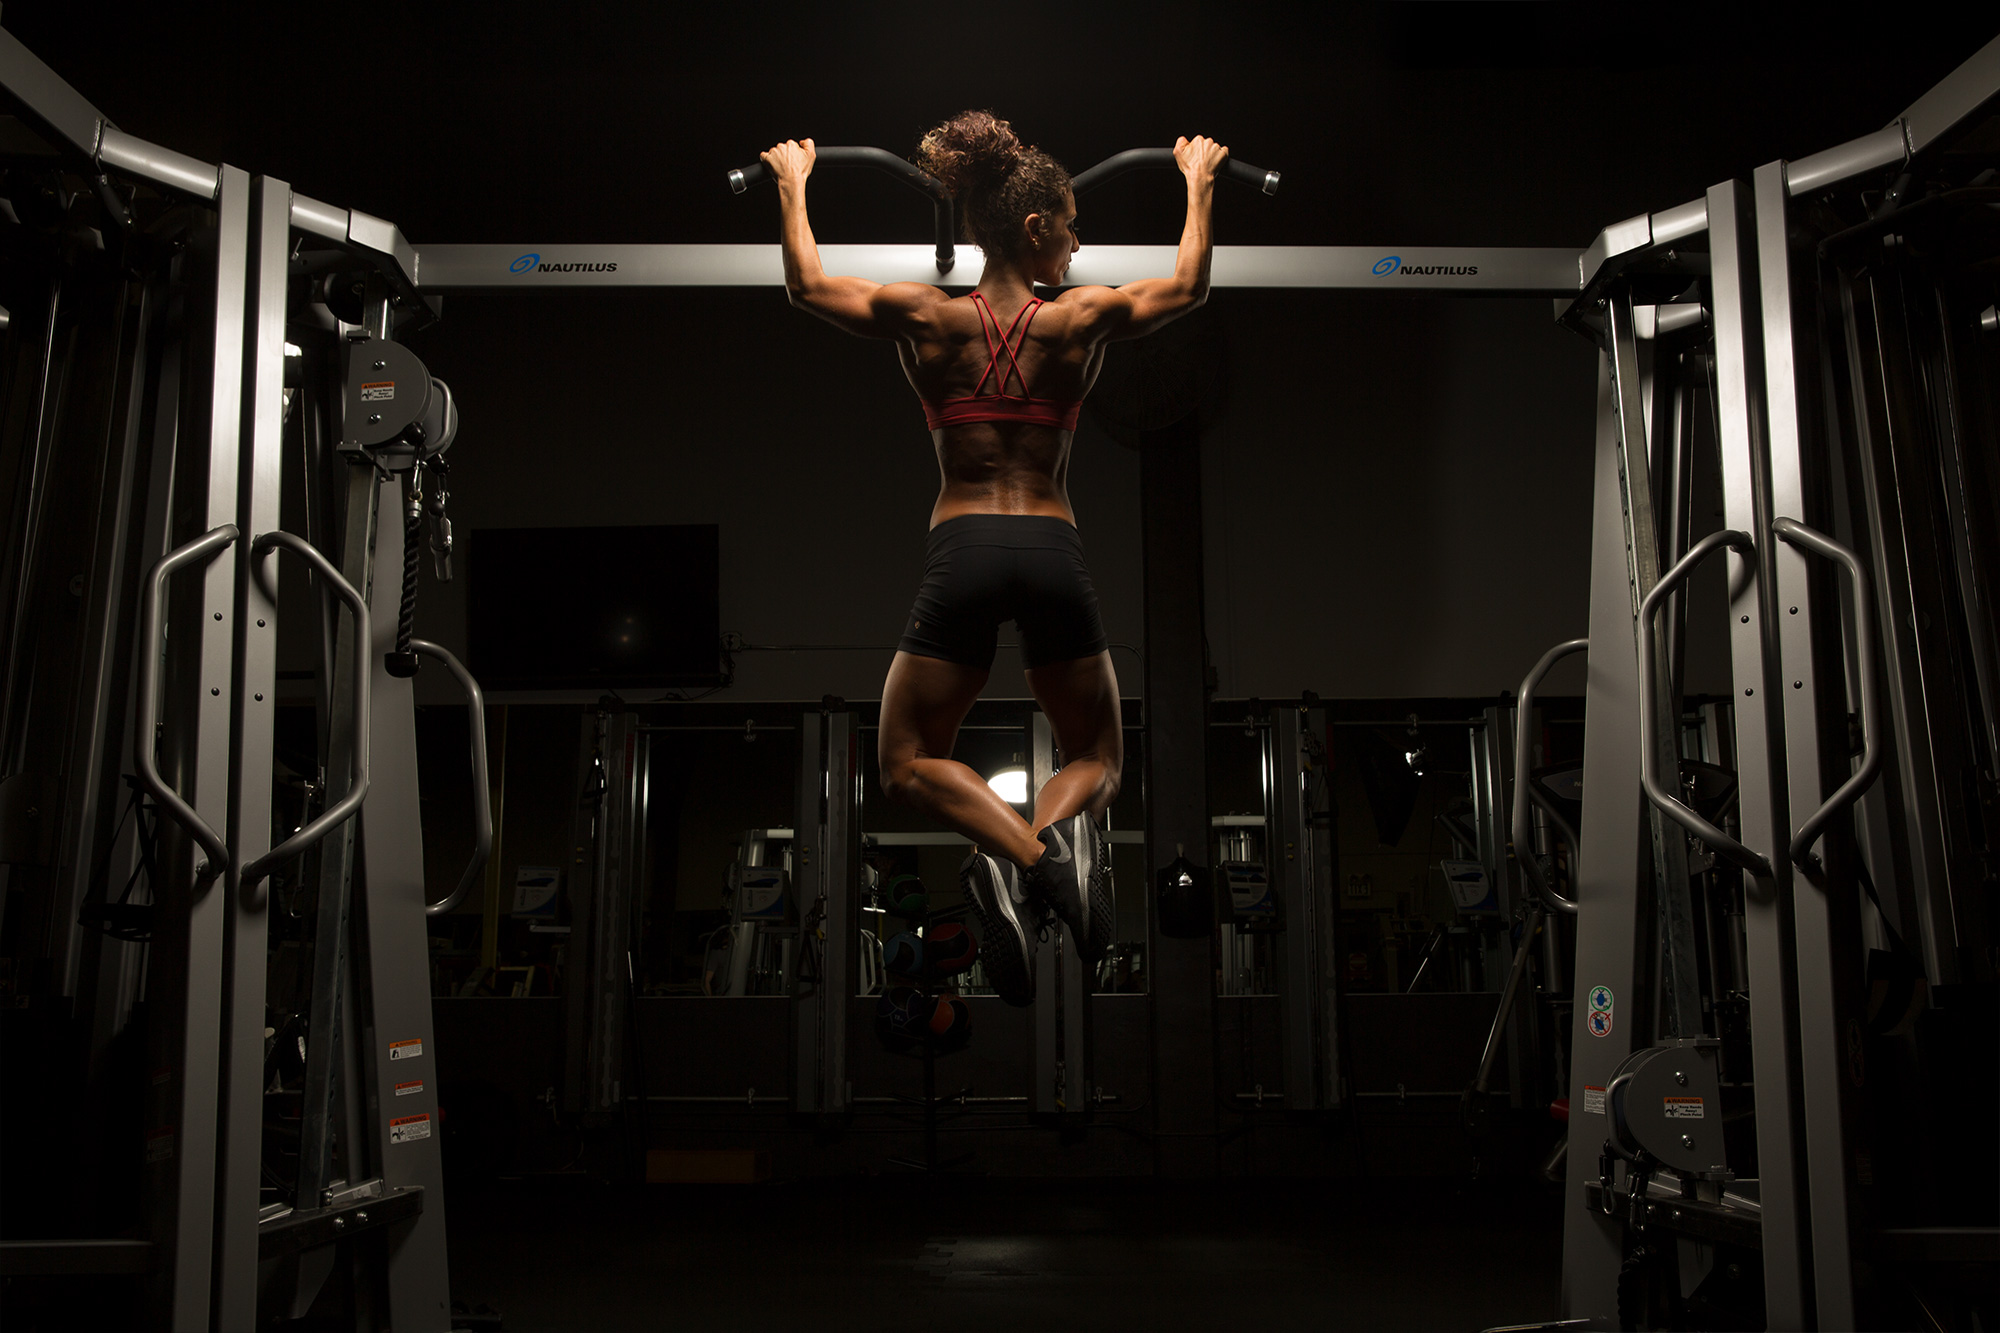
Compositing can range from simple to incredibly involved. One of the easiest ways to make a convincing composite involves a technique called ‘plate compositing.’ It’s got nothing to do with dinner plates (unless maybe you’re shooting food,) rather, it is the process of shooting a base exposure that is “empty,” that’s the “plate,” and one or more exposures with the subject or parts of the subject.
Reasons for doing this include the need for something like a light or piece of grip equipment to be in the frame to achieve the desired effect, but that something does not be in the final photograph and safety, such as easily removing a parents’ supportive hands from a newborn shot to leave the baby looking like it can sit up on its own.
Whatever your reason for making a plate composite, there are steps you can take to make the compositing as seamless and simple as possible.
USE A TRIPOD
Putting your camera on a tripod makes a world of difference when it comes to determining how simple or complex your Photoshop tasks are going to be. Slight changes in angle can make it exponentially more frustrating to try to perfectly match multiple photographs for a seamless composite. Ideally, you want the shots you are going to use for the composite to be framed exactly alike – same view, same zoom level, same depth of field and so on.
Shooting on a tripod will also allow you to easily move things within the frame without having to re-positiosn the camera and hope that you can re-place yourself to take a shot with the exact same framing again.
MATCH RAWS
When preparing the images to composite, get your exposures levels and adjustments as close as possible to each other. If your images are close but not *quite* a match, there are things you can do in Photoshop to match them, to an extent, but the closer the images’ processing matches going in, the easier the composite will be.
OPEN AS LAYERS IN PHOTOSHOP AND ALIGN
Once you’ve got your images matching in appearance, highlight any that are to be used, right-click, and select ‘Open As Layers In Photoshop.’ To get a seamless blend, select all layers and navigate to Edit > Auto-Align Layers. When you do this, Photoshop will do its best to make the layers align perfectly. This will be much, much easier if you’ve shot on a tripod.
MAKE A MASK
 With aligned layers, you will be able to simply mask out an obstruction. Without a plate layer, retouches like we are describing would be incredibly time-consuming and difficult to produce realistic results. With a plate, the removal is as simple as painting on a mask.
For simplicity’s sake, we’ll discuss the process on an image with only two layers to composite. With the plate layer on the bottom and the layer containing the subject on the top, make a white layer mask on the top layer. Layer > Layer Mask > Reveal All is one way to do this. Then, making sure the layer mask is selected, simply paint black with the brush tool over areas you want to ‘disappear.’ In our example, we are ‘erasing’ a light stand from the image by concealing the portion of the top image which contains the light stand, in turn revealing that area of the plate image underneath, which does not contain the offending obstruction.
[REWIND:] PHOTOSHOP TUTORIAL | 5 WAYS TO CHANGE THE COLOR OF ANYTHING IN PHOTOSHOP
For more great Photoshop tips, be sure to check out our Premium workshop, ‘Fitness Editing And Retouching.’ And don’t forget, you can access all of our past, present and future content as well as our SLR Lounge Lightroom Preset collection if you become a Premium subscriber!


Get Connected!