
The healing brush is one of the most widely used tools in Photoshop and one of the very first tools that new Photoshop users will find a use for and try on their work. Used well, it can remove unwanted portions of an image so that one could never see that they existed in the first place, but it is also capable of pixel butchery in unskilled hands. Nathaniel Dodson of Tutvid has created a video to help break it all down into easily digestible tips to help you make the most of this tool. We’ll go over a few for you here, and you can see them all in the video with demonstrations.
CREATE A NEW LAYER

Working non-destructively in Photoshop, meaning that you aren’t altering the pixels in your background layer so that changes can easily be reverted, is a good thing, and the way to do this with the healing brush is to create a new layer above your background layer on which to do the healing work. When working on a new layer, make sure the ‘sample all layers’ checkbox is selected, otherwise, the healing brush will have nothing to sample on the new layer.
SPOT HEALING BRUSH


Know The Modes
There are three modes that the healing brush uses to determine how it will replace whatever is being removed. They are ‘content-aware,’ ‘create texture,’ and ‘proximity match.’ ‘Content-aware’ does exactly what it sounds like – it is ‘aware’ of the image’s content and attempts to create something based on that content to replace the unwanted pixels. ‘Create texture’ again does pretty much what it sounds like – it creates a texture to place into the healed area. ‘Proximity match’ is similar to ‘content-aware’ in that it ‘notices’ what is around the area being healed, but it is less intelligent and is analyzing a smaller area.
HEALING BRUSH
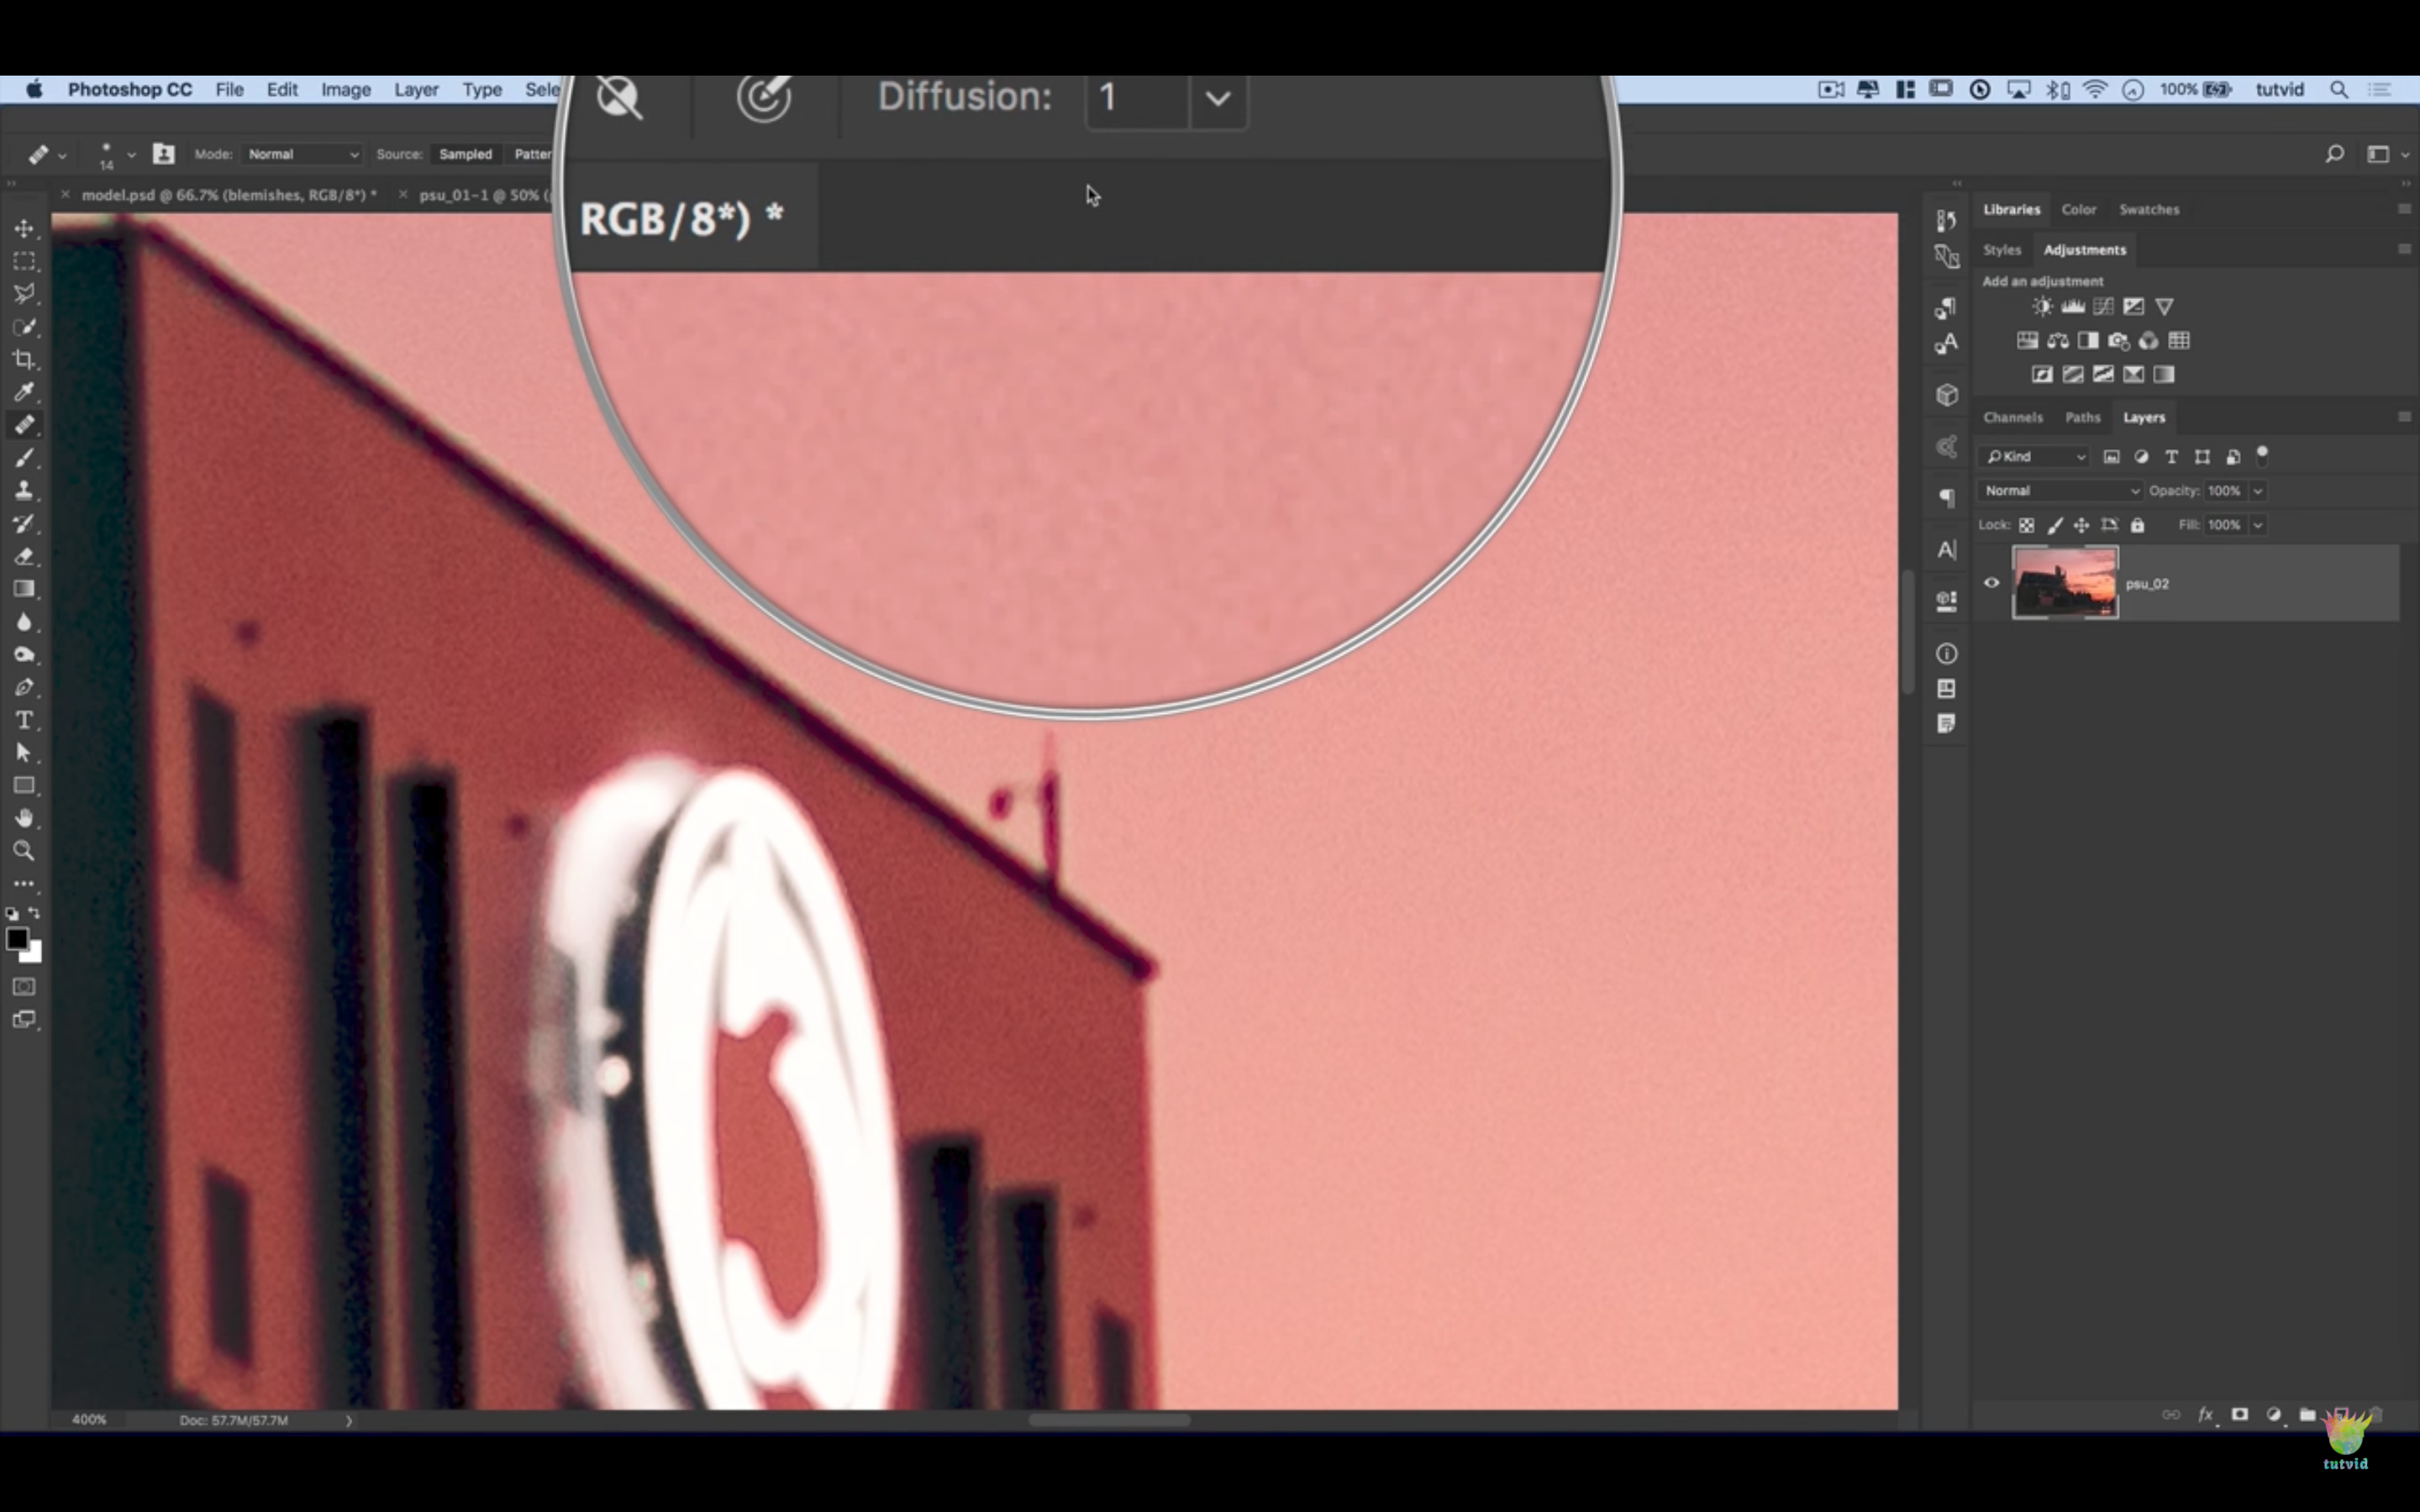
Diffusion
There is a setting in the toolbar when using the healing brush called ‘diffusion.’ From a drop-down, you can choose a number from 1-7. That number will determine how large the spread of pixels around your brush is. When the diffusion is set to 1, there is the least spread around the brush. Another way to say this is that the edge is the hardest. When diffusion is set to 7, there is the most spread around the brush – the edge is the softest. Lower diffusion is useful for greater precision in smaller areas and higher is good for working in larger areas.
For more from Tutvid, check them out on YouTube!


Get Connected!