
You do not need a vast arsenal of expensive lighting equipment to create striking portraits. In fact, the most powerful light source you’ll ever need is free: the sun! But even with all the intensity that it provides, the sun can be a bit finicky to work with.
The big problem with working with sunlight is that you, the photographer, have no control over it. You can’t adjust the power, move it to a different part of the sky, or part the clouds to match your vision, so careful planning, and knowing how to work with whatever mother nature gives you, are essential to a successful shoot.
For a complete framework on capture beautiful natural light portraits, see our Engagement Photography 101 workshop.
Open Shade
First of all, there is no time of day when it is impossible to get flattering light on your subject. In general though, the rule of thumb is to avoid direct sunlight during the middle of the day when the sun is directly overhead. Anytime the sun is shining brightly, unimpeded by cloud cover, and from directly above your subject, it will create harsh, unpleasant shadows on their face. The easy fix is to get your subject into the shade! The best shady spots are often very close to the border between sunlight and shade. In some cases, to get the best light, your subject will be comfortably shaded while you, the photographer, are standing in the sun.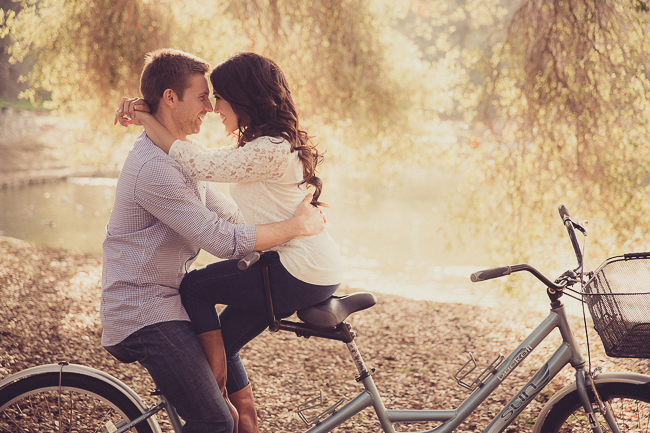

Even in this type of open shade, the light coming from one direction will be strongest. To identify where that brightest side will be, you can either stand in your subject’s spot, and look around for the brightest thing in view, or hold your hand up in front of you, and turn until it is most evenly lit. The primary direction of light will determine how the shadows fall on your subject, so you’ll generally want to shoot from that direction, with the light behind you, so that your subject will be evenly lit.
Golden Hour
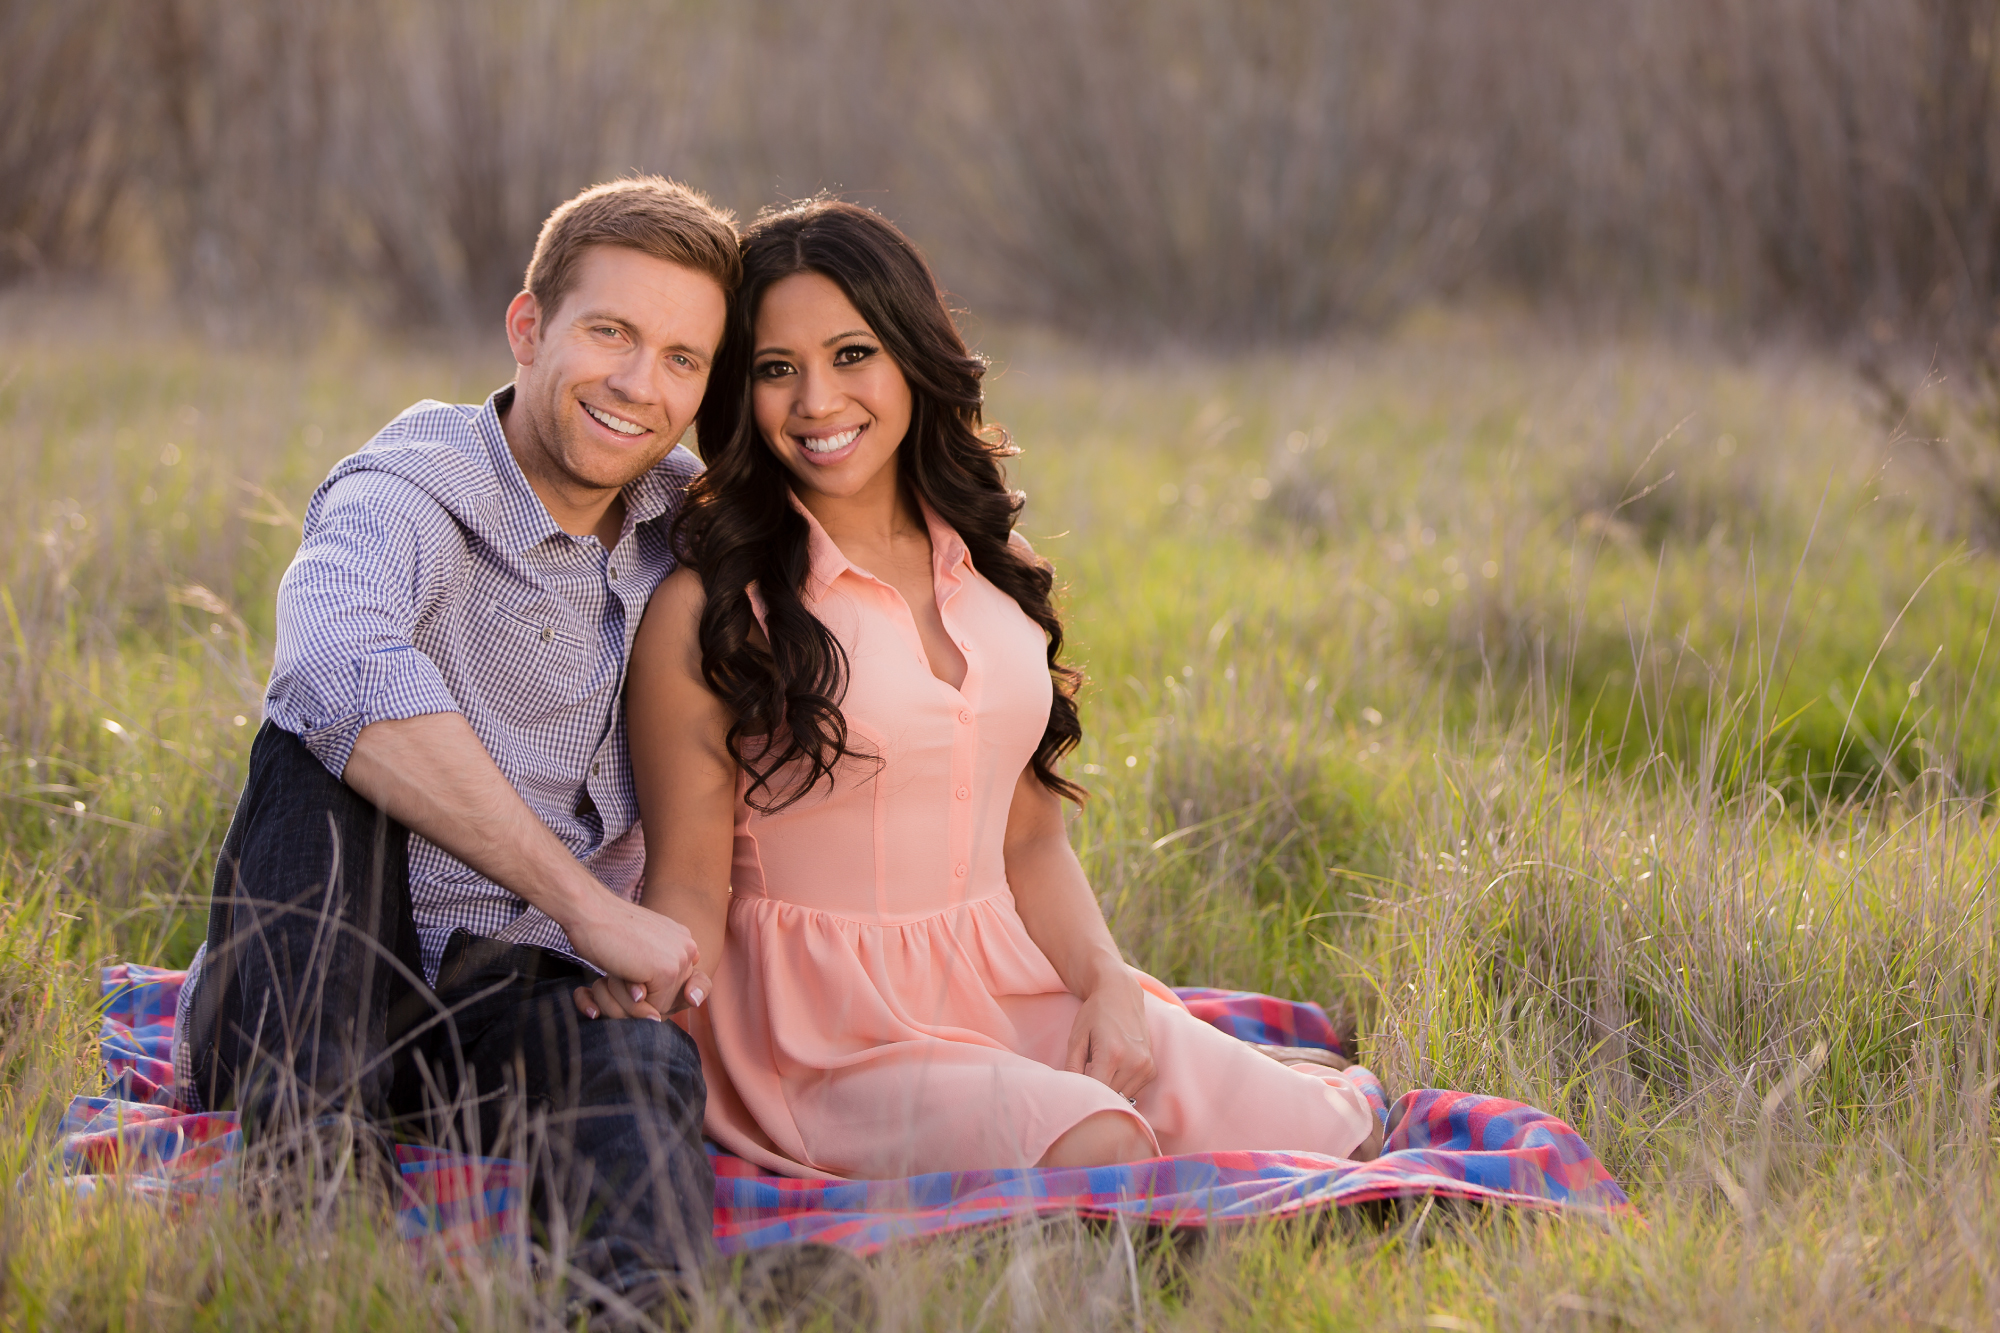
If you’re able to shoot during the few hours after sunrise or before sunset, it’s much easier to make great portraits with direct sunlight. During the morning and late afternoon the sun is lower in the sky, and is slightly diffused by the atmosphere. This means that we photographers can use it in a variety of ways.

The simplest way to use it is as your key, or main light. By placing the sun directly behind you, you can create what we would call “butterfly” lighting, with a small shadow directly under your subject’s nose and even lighting across their face. For best results, have your subject turn their head in the direction of the sun, and ensure that their eyes are not shadowed by their brow. Alternatively, by shifting either yourself or your subject to one side, you can create more dramatic shadows on your subject’s face, creating loop or Rembrandt lighting.
The key consideration for any of these arrangements, because the sun is such a hard light source, is your subject’s skin. Direct sunlight will expose every skin imperfection on their face, so if you’re working with someone with flawless skin, this can show it off and yield stunning results.
Find Natural Reflectors
Before you think about composing our shot and dialing in our exposure, scout the location for a suitable backdrop. To take advantage of natural light photography techniques, look for an existing light modifier in the scene, like the bright surface of a wall or building, that we can use to illuminate our subjects.

Bright white walls make for great natural reflectors and can provide ample light for your subject. Think of the wall as an oversized scrim or 5-in-1 reflector. When you happen upon such a location, all you need to do is find a position for your subject (somewhere near the wall) and take full advantage of the light bouncing off of this natural light modifier.

For more tips from this scene, watch the video below.
Use a 5 in 1 Reflector
If you’re shooting someone with less than flawless skin, it may be best to either shoot in the shade, as described above, or soften the light using a reflector. Reflectors are versatile, powerful lighting tools, and are so much cheaper and more portable than off camera lighting.
When shooting near sunrise or sunset, one fantastic technique is to turn your subject so that the sun is behind them, acting as an edge light, and use the reflector to bounce some of that light back into their face. In this scenario, the reflector is your key light, so make sure that it’s being held above your subject, to cast flattering, natural shadows.

Using a white reflector and metering for your subject’s face will amplify the effect of the back light coming from the sun, and make any shadows more subtle. A silver reflector will bounce more light, so once you’ve compensated with your camera settings, the rest of your scene will appear slightly darker.
Or, if you’re using a 5-in-1 style reflector, you can take off the cover completely and use the diffusion disk at its core to shade your subject. This essentially turns the sun from a very hard source into a much softer one. The closer you hold the diffuser to your subject, the softer the light will be. This way, you can use the sun as a key light, even if your subject’s skin has some flaws. The trick when using this method is to make sure that you don’t see the hard edge of the diffuser’s shadow on your subject. If you shoot a full body shot of someone, but your diffuser is only big enough to shield the sun from their upper body, you’ll see a line across their legs, which can be very distracting.
Your reflector can also be used as a fill light. Whether you’re shooting in the shade, or direct, golden hour light, if you’re getting unwanted dark shadows on your subject’s face, you can simply hold the reflector on the shadow side to bounce some light back, and open up those shadows. In this case, you can hold the reflector even with, or below, your subject’s face since you won’t be able to detect the shadows coming from your fill. However, if your reflector catches too much light, and begins to cast shadows of its own and makes your subject look like they’re being lit from below, either back off your reflector, or angle it away from your subject a bit to lessen its effect.
For more in-depth video instruction on this subject, as well as posing tips, consider signing up for an SLR Lounge Premium membership and checking out our Natural Light Couples Photography Workshop.


Get Connected!