Want to learn how to start getting Lightroom-quality editing on your phone? Look no further! We’ve created two jam-packed tutorials on how to use Lightroom Mobile presets and edit like a pro, all from your phone. You can now add our best-selling Visual Flow Modern Pack directly to Lightroom Mobile and use our lighting condition-based presets on the go. Follow along in these video tutorials to learn the process from start to finish!
Video: How to Add Presets to Lightroom Mobile
In this video, we’ll walk you through how to install mobile presets on your phone. Unfortunately at this time, Adobe hasn’t given us a way to automatically install presets when going into mobile, so it’s a manual process. If you are one of our desktop users then your presets for mobile are installed automatically with your desktop software but if you’re mobile-only then this video is for you.
1. Download Lightroom Mobile App
 The first step is just to get Adobe Lightroom onto our phones. It Is available in the Apple App Store or Google Play for Android users. It’s actually completely free to download and use! There are a few premium features but you’re not going to need those features when it comes to importing your own Lightroom Mobile presets.
2. Create Lightroom Mobile Preset from Edited DNG Files
 Now that you’ve downloaded and installed Lightroom Mobile onto our device, import the DNG files for each preset. Each image has all of the settings saved into it, so when you import that image into Lightroom, you can save the Develop settings out as a new preset. Once you’ve imported multiple presets you can group them together and rename them accordingly.
Video: How to Edit Using Lightroom Mobile Presets
At this point you have the presets installed and when you load Lightroom mobile they should be present and available to you. In this tutorial, we will be using Visual Flow Modern mobile presets but feel free to use the presets you just imported or ones you’ve created to fit your style.
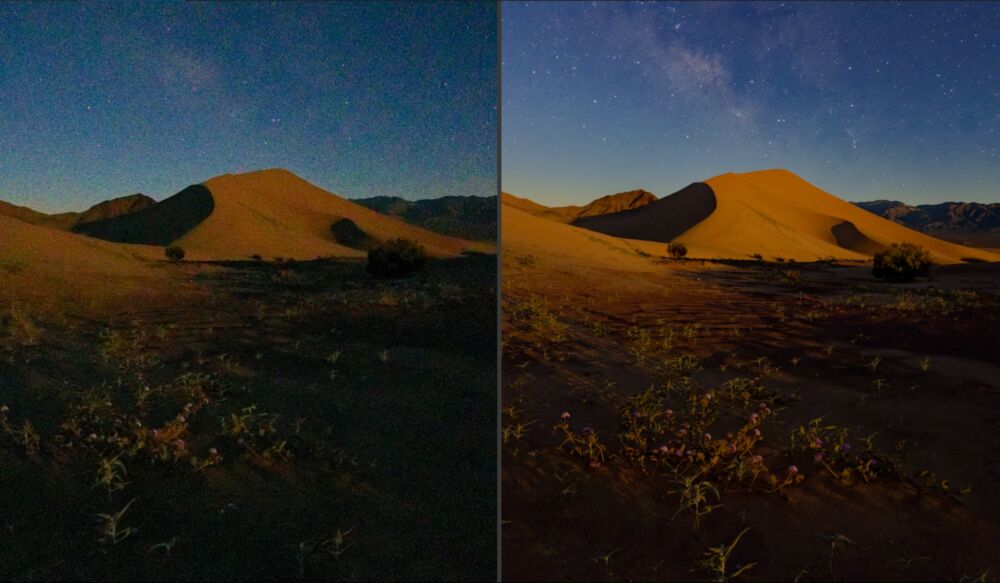
 After capturing your image, load it into Lightroom Mobile then head to the Presets tab and apply the preset of your choice. For this image, I selected Soft Light because of how the image was shot. From there all we need to do is adjust exposure to taste and make any color corrections in white balance if necessary. That is where the free capabilities end in Lightroom Mobile but if you have the paid app then the options are limitless! You can click the Selective tab to open up a world of possibilities using the gradient tool and local adjustment brushes.
If you’re looking for more ways to enhance your mobile photography and editing skills make sure you check out our Creative Photography 101 course. It was designed to only use your phone to capture and edit images!