
Lightroom has a ton of powerful features—but rather than walking you through all of them, I want to highlight one of my absolute favorites: the Dehaze slider. It’s a simple tool that I now use in nearly every edit because of how quickly it can transform a flat image into something vibrant and dynamic. In this quick tutorial, I’ll show you exactly how to use the Dehaze tool to add contrast, cut through atmospheric haze, and make your images pop.
What is the Lightroom Dehaze Tool?
The Lightroom Dehaze tool is a powerful slider found in the Effects panel of Adobe Lightroom that’s designed to either reduce or add atmospheric haze in your photos.
Originally introduced to help photographers cut through foggy or low-contrast scenes, the Dehaze tool works by adjusting the image’s contrast and clarity at a micro level, specifically targeting the midtones.
When you increase the Dehaze value, it removes haze and adds depth, making skies richer, colors more vibrant, and details more pronounced. On the flip side, lowering the Dehaze slider can actually create a dreamy, misty effect—perfect for stylistic edits. Whether you’re enhancing a washed-out landscape or giving portraits a punch, the Lightroom Dehaze slider offers a quick and effective way to make your images pop.
Lightroom Dehaze Video Tutorial
Watch the video below for a quick walkthrough on how to use the Lightroom Dehaze tool and see real before-and-after examples in action.
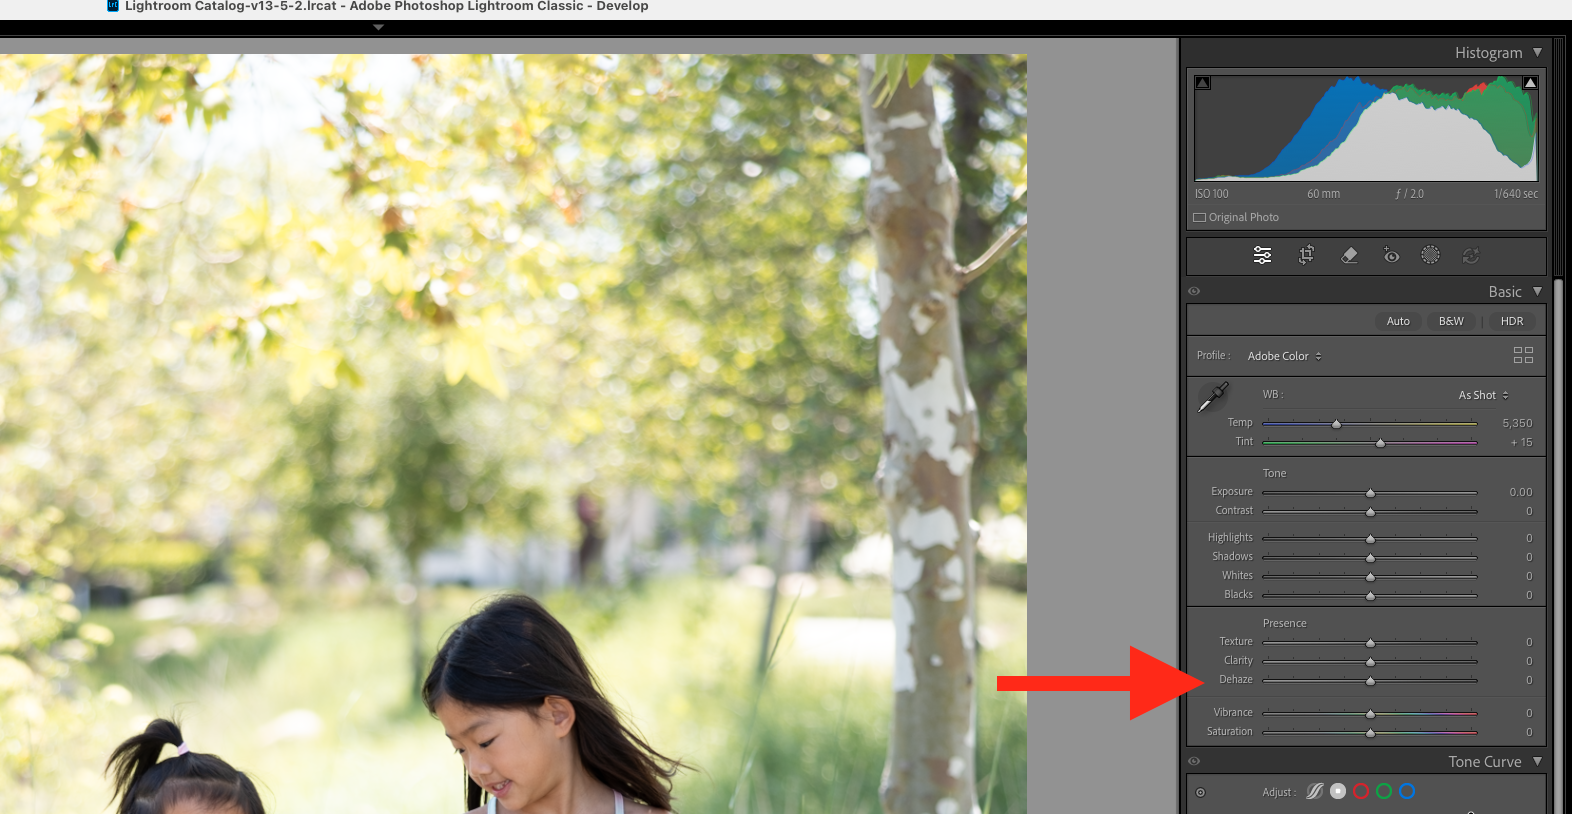
How To Use The Lightroom Dehaze Tool
Found under the effects tab, the Dehaze slider is a new tool that was released in June as part of an update to the Lightroom CC that launched this past April. If I could use one word to describe to this slider, it would be: “magical.”

Essentially what the Dehaze slider does is it removes the haze in your images, which in turn minimizes having to play with the whites, blacks, and vibrancy sliders.

In the image above, notice the difference in the sky color after utilizing the Dehaze tool. Amazing right? But since it’s difficult to see the couples on the bottom of the image, I add a graduated filter and pull up the exposure. If you’re confused about how I used the graduated filter tool, I definitely encourage you to take a look into Pye’s Lightroom tutorials.
Fixing Skin Tones After Using The Dehaze Slider
Now, the small downside to using the Dehaze slider is that it can sometimes knock out skin tones. But here I’ll show you how that can be easily fixed.
After using the Dehaze slider, notice that the skin tones have been tweaked as well. So I head over to the HSL bar, and adjust the saturation and luminance accordingly.

The same process is done in the image above. I use the Dehaze slider and adjust the saturation and luminance, typically bringing my orange/red/yellow saturations down and bringing the luminance up.
Conclusion and More Lightroom CC Features
I hope you enjoyed this quick run through on how to use the magical Lightroom Dehaze slider. Stay tuned for part 2 where I show you a new and nifty crop tool.
Quick Reference Lightroom Dehaze FAQS
Q: What does the Dehaze tool in Lightroom do?
A: The Dehaze slider in Lightroom helps remove or add atmospheric haze, improving image clarity and contrast—especially in landscape photos.
Q: Is Lightroom Dehaze available in all versions?
A: The Dehaze tool is available in Lightroom Classic and Lightroom CC, but not in all mobile versions.
Q: When should I use the Lightroom Dehaze tool?
A: Use it when you want to cut through fog, boost contrast, or recover clarity in hazy images—especially landscapes or outdoor portraits.


