In this series of articles, Joe Cha, Photographer and Videographer, teaches the basics of Cimematography from a photographer’s perspective.
Learning Lighting for Video
Lighting for video is like learning how to ride a bike, intimidating at first, but once you learn the basics, it will take you very far. In this article, I’ll be covering some basic lighting theories for video as well as some of our favorite lights we use at SLRLounge.
The Lighting Triangle
The Lighting Triangle consists of a Main light (or Key Light), a Fill light, and a Back light. We call this the lighting triangle because these lights are placed in a triangle formation. The Main light is your main source of light, the Fill light controls the light fall off, and the Back light separates the subject from the background.
Lighting Triangle In Practice
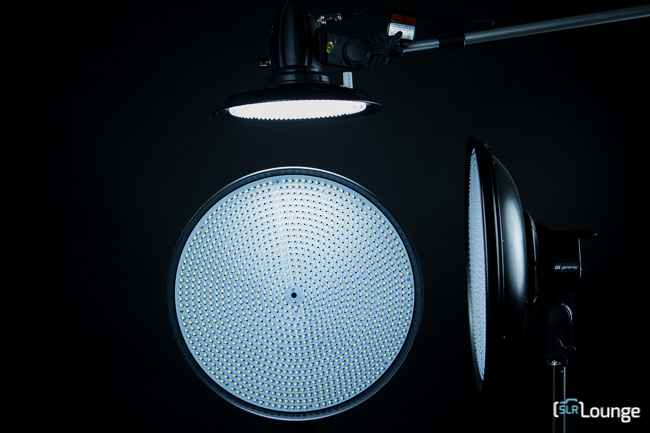
For all the productions at SLRLounge, we’re using some variation of the Lighting triangle. For instance, in our Gear Talk videos, we’re using 2 Impact Octacool lights as our main and fill and we’re using the light bulbs in the back as our back light.
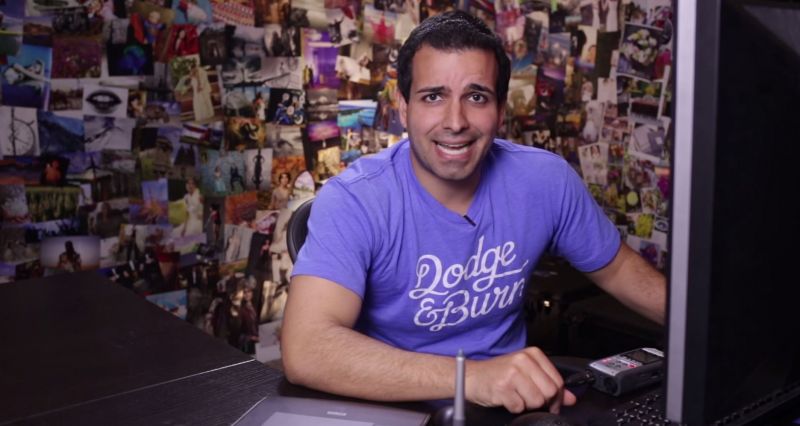
In Pye’s recording space, we use a Genaray Spectro LED as a main light, his computer screen adds the fill light, and we have another Genaray set up as a hair light. You can see exactly how we set it up by clicking here.
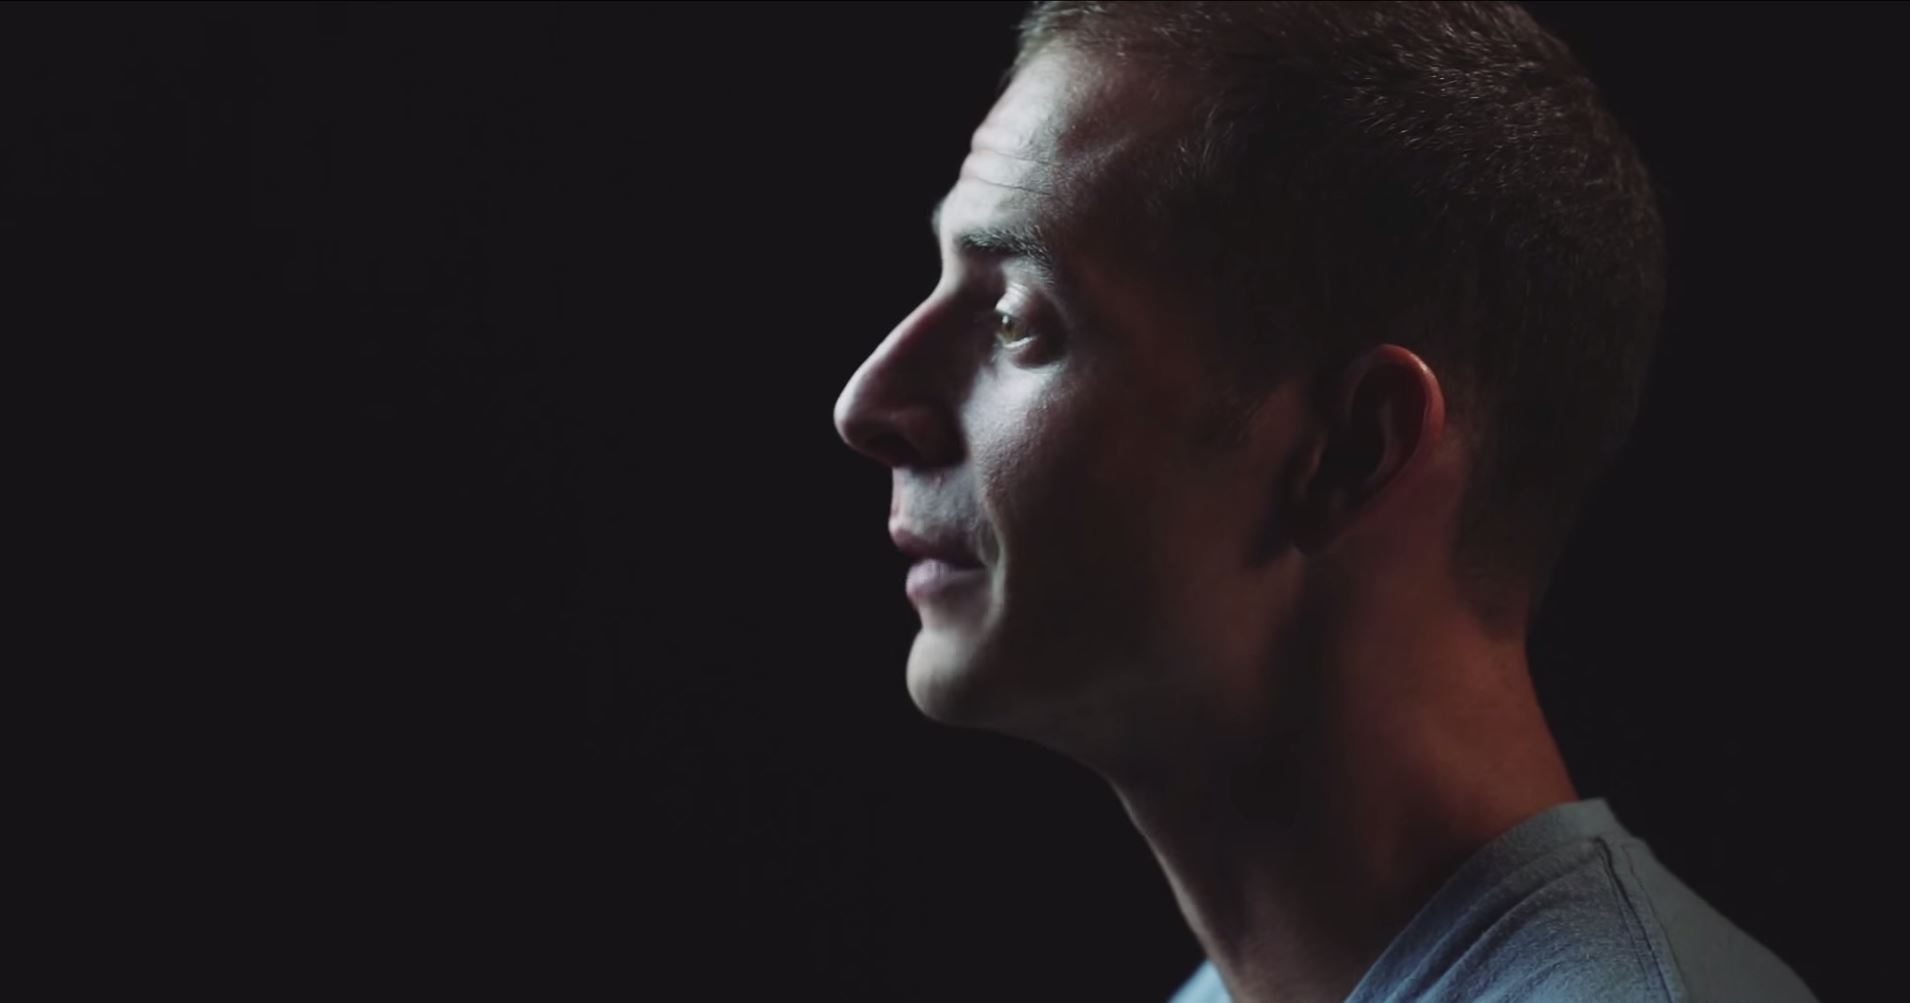
Recently we had an interview with Kevin Young, a photographer who was paralyzed and has an amazing story on how he overcame his tragic disability. To get a dramatic lighting effect, we actually took out our fill light (to maximize light fall off), using only a Impact Octacool as a main light, a Torch LED as a hair light, and an Impact Octacool with a CTO gel as a kicker (rear sidelight). With this setup, we’re also able to shoot a nice silhouette on our 3rd camera angle.
The Lights We Use
Impact Octacool
The Impact Ocatacool lights are the lights we use most frequently in the studio. It gives a beautiful soft light, and we’re able to control the output by selecting how many lights we want on.

Impact READY COOL 4 Lamp
When we need a lot of light in a scene, we use the Impact READY COOL 4 Lamp lights. We use these lights when we want to shoot at high frame rates (especially when shooting super slo mo). We also use the Ready Cool 3-Point Lighting Kit and love it because of it’s size and versatility.
Genaray SpectroLED and LED Panels
For our on location shoots, and in Pye’s recording studio, we’re using the Genaray SpectroLED interview kit and LED light panels. We like these lights because they have a variable dimmer output, stay cool, and because we can add an umbrella to the front to further soften the light.
Torch LED
When we’re in a jam and need to light up tight places, we use the Switronix TorchLED Bolt. We love this light because of it’s size and it’s ability to control output on both it’s daylight and tungsten balanced bulbs.
Lowel Pro Light
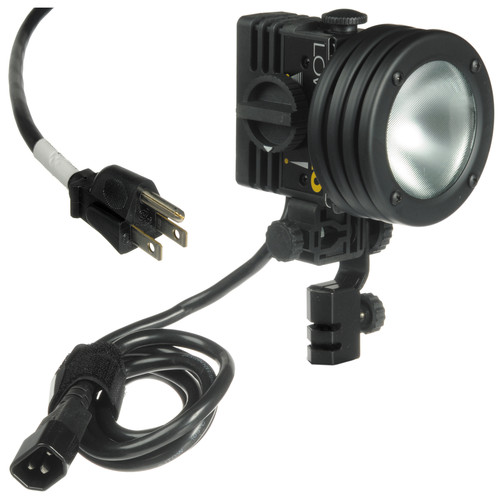
I never go on a shoot without the Lowel Pro lights in my kit. They’re size, output, and quality of light make them useful on every shoot I go to. I have 250 Watt bulbs in my pro lights, and I also have them attached to AC dimmers so I can control the output. These lights come with Spot to Flood light controls, and I also have barn doors attached to further control the spread of light.
Conclusion
I hope you enjoyed this article in our Stills to Motion series. For all the Stills to Motion articles click here! If you have any questions, or want me to go over any topics in future Stills to Motion Articles, please let me know in the comments!


Get Connected!