
Wedding receptions present photographers with unique challenges, especially when it comes to lighting. Conditions vary at every location, and you’ll need an assortment of go-to techniques to help navigate the different scenarios you might encounter. For this reason, we’ve put together a quick list of our five favorite lighting techniques that you can use to take better wedding reception photos.
Let’s get started.
Video: 5 Lighting Techniques for Better Wedding Reception Photos
Lighting Modifier Checklist
Here’s a list of the modifiers used in this video/article:
Technique #1: Dark and Outdoors
When shooting outdoors in a dark environment, using direct flash with an on-camera flash unit may seem like the obvious solution, especially when there’s nothing to bounce the light off. The results, however, usually turn out to be less than ideal. Instead, dial in the ambient exposure in-camera and then modify your on-camera flash with a MagBounce. You’ll see that you can quickly go from this…

…to this:

To help you get started, use the following settings as a jump-off point and adjust as needed, depending on your specific scenario:
- Shutter Speed: 1/160
- Aperture: f/2.8
- ISO: 3200
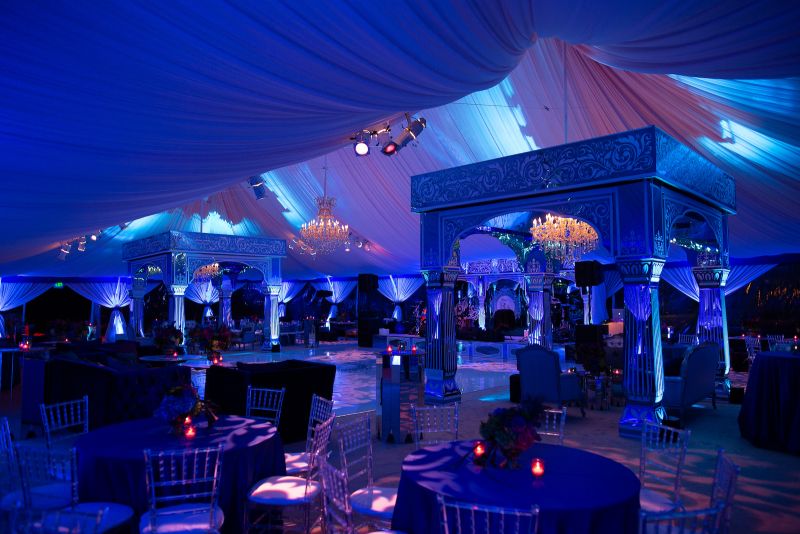
Here’s another example of how we used the MagBounce to clean up the light on our subject in a reception tent that was heavily lit in blue lighting.

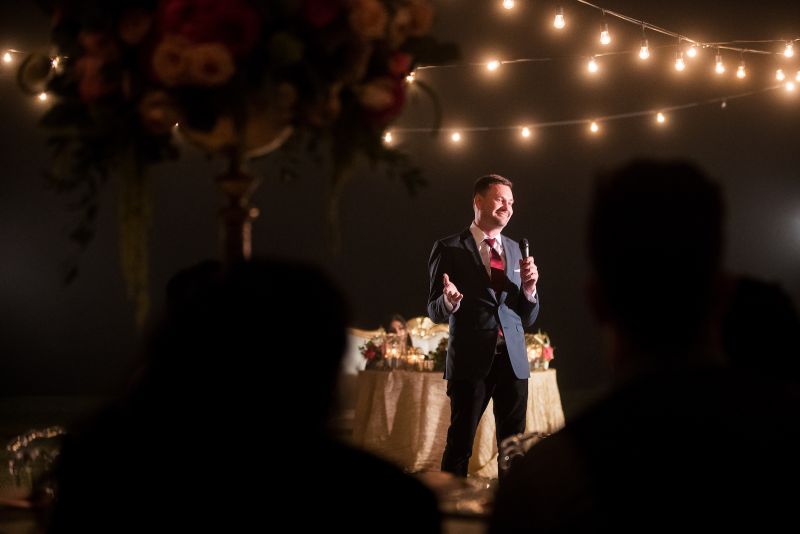
Technique #2: Directional Light
Whether shooting indoors or outside, we can take our flash off the camera and use directional light to really enhance photos of the speeches, toasts, or performances during a wedding reception. This lighting technique works especially well indoors when we might otherwise spread to much light with a light bouncing modifier and an on-camera flash.
Here’s an example of bouncing light indoors with an on-camera flash in which the excessive light washes out the ambient light and colors in the room.

Instead, with off-camera flash, we can take advantage of directional light for more dramatic results as illustrated in the following images:


Here’s how to do it.

- Place an off-camera flash onto a MagShoe and then onto a light stand.
- Place a grid (preferably a MagGrid 2) on your flash to minimize light spill and further control light direction.
- Position the flash off to the right near the corner of the dance floor, as shown in the graphic above.
- Shoot from the opposite side of the room. If you’re too close to the flash, it’ll look like you’re using an on-camera flash.
Because you now have the freedom to move around and still get consistent results with the lighting, be sure to do so.


Technique #3: Gel and Bounce
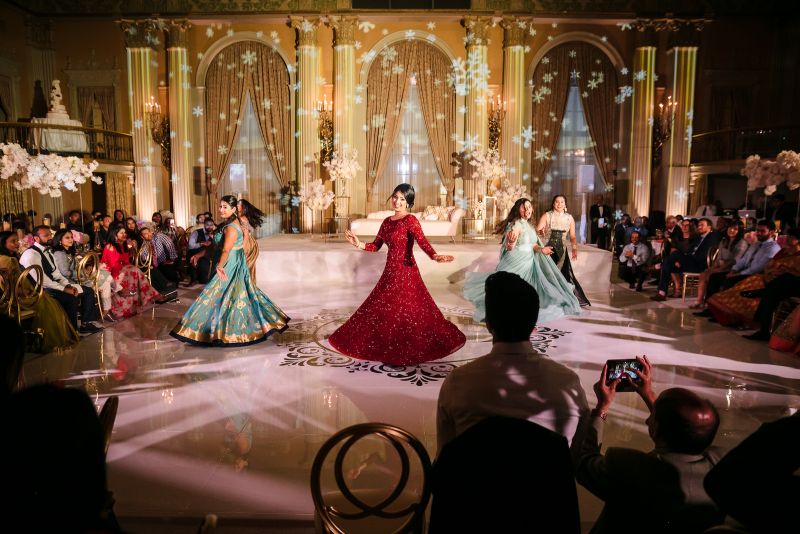
Wedding reception locations are known for using moody lighting with lots of colors you wouldn’t typically encounter during a regular indoor portrait session, from bright purples to deep reds and so on. Even a simple, warmly lit area can create mixed lighting issues if you don’t pay attention to correcting the white balance in-camera and with CTO (color temperature orange) gels.

In the photo above, we placed a full CTO gel on the flash and set our in-camera white balance to somewhere between 3600 to 3800 Kelvin to match the ambient color in the room. When it’s time to edit the photo, all you’ll have to do is click on the white balance dropper, select a neutral color in the scene, and then make any final adjustments as needed.
Check out these examples using a MagSphere and CTO gel for a softbox lighting look.


Technique #4: Backlighting with Grid + Sphere
Here’s another off-camera flash technique you can use to capture some beautifully backlit photos during the wedding reception.
Use the MagSphere to Wrap Your Subjects in Light
To wrap your subjects in light, use the MagSphere and follow these steps:

- Place the flash directly behind your subjects, maybe 5-10 feet back (adjust as needed)
- Position the flash somewhat low and point it slightly up towards the subjects
Here’s the result of using this technique:

Use a MagGrid for a Controlled Backlight
For a different backlit look with more controlled lighting, go with a MagGrid.

Follow the same steps you took for the previous look. The grid will yield different results from the sphere.
Technique #5: The “Statue of Liberty” (or Dance Floor Technique)

It’s time to jump onto the dance floor. For this technique, you’re going to have to strike a pose that looks somewhat like the Statue of Liberty, hence the name of the technique. To use this technique, do the following:
- Take the MagShoe off the stand
- Place a MagGel on the flash
- Hold the flash up and away in one hand, and use your other hand to operate your camera
You have a few different options for this set up. Each will use a slightly different modifier combo and all will give you different results.


Conclusion
We hope you found these five lighting techniques for better wedding reception photos helpful. Put them into practice right away and take your wedding reception photography up a notch.


Get Connected!