Last week, Adobe shared a preview of an upcoming feature and major workflow enhancement in Lightroom (or for those of us who’ve been around the app for a while, the Mobile version). We will soon have the ability to import our photos directly into Lightroom on iPad and iPhone. This is an exciting new feature that many of us have wanted since Adobe first announced the new app, and it will be available later this year.
You can watch this functionality in action in the video below:
[Related Reading: Take a Tour of Adobe Photoshop on the iPad]
Something that many of us have been less excited about involves Photoshop for the iPad, which has caused a lot of noise recently regarding how we can’t (currently) work with RAW files in it. What’s one to do in a situation like this? Adobe has promised that RAW imports in Photoshop for iPad is coming; in the meantime, if you want to work with your RAW files, there is a workaround available and it leverages what you’ve just watched above. It’s not perfect, but until we get an update, it’s completely viable for your mobile editing workflow. Now, just as a disclaimer, this is not editing RAW directly into Photoshop. This is a _workaround_ to let you work with your RAW files and get that information into Photoshop for iPad.
Working With RAW Files on Adobe Mobile Apps
The process I went through for this may not be the most efficient, but, I wanted to test it from a “worst case, most steps” scenario to be sure I could get the most out of my files. Keep in mind that I don’t own a new iPad, so I had to do this at two separate times using Lightroom mobile on my phone one day and then the iPad another day (using a colleague’s iPad). Anyway, let’s get into it.
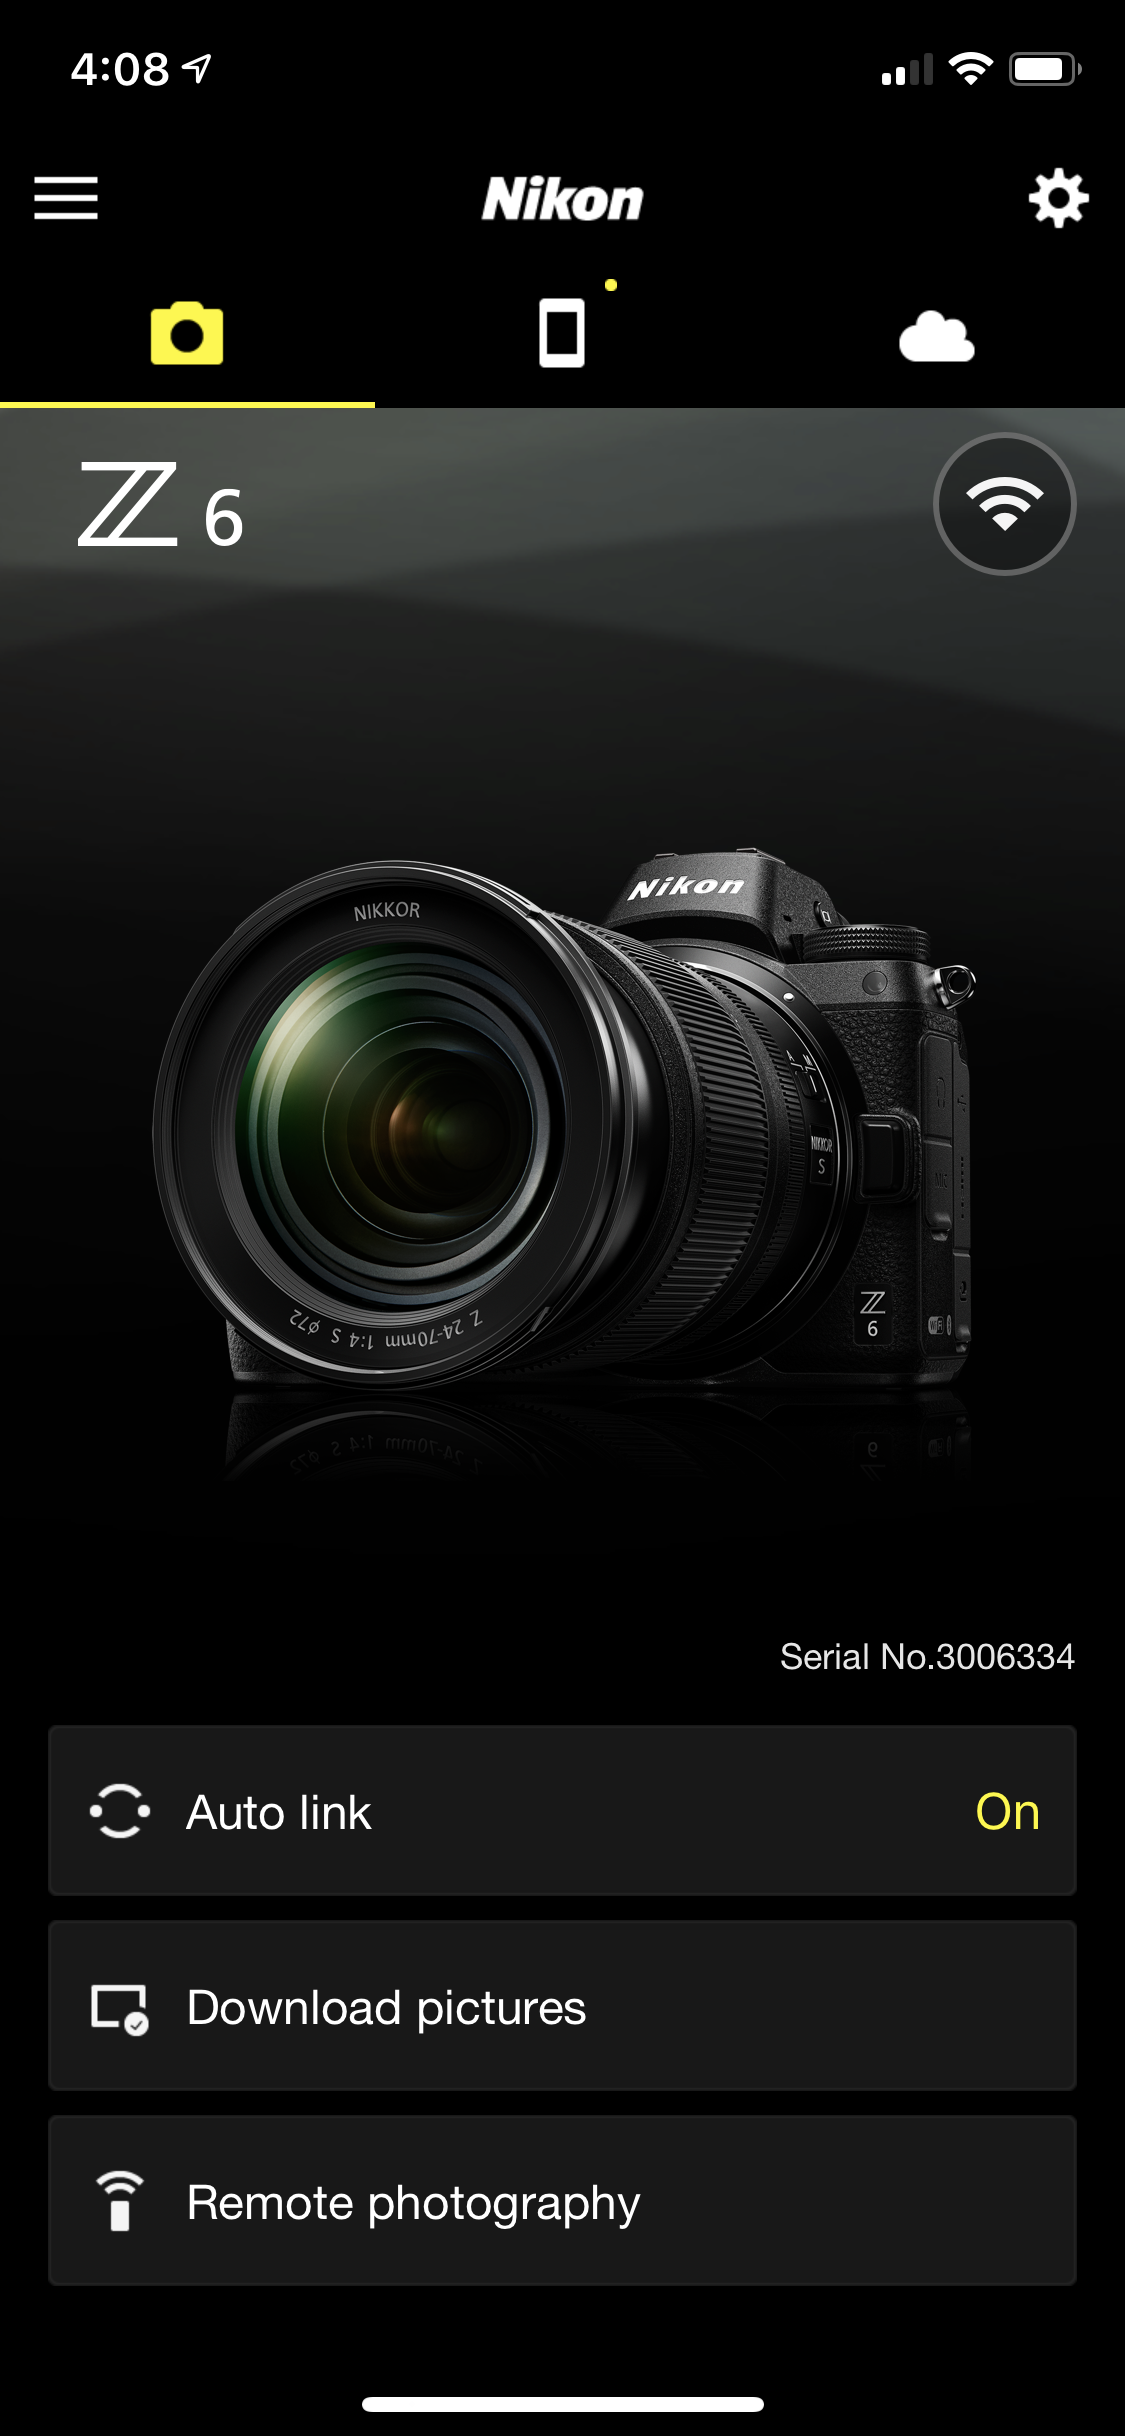
Note: For the purposes of this writeup, I used my Nikon Z6 and the Nikon Snapbridge mobile app to pull the RAW files to my iPhone and my colleague’s new iPad.
Step 1 – Import the RAW Files to Your Device
To start, I use the Wifi on my Camera to transfer a RAW file over to my phone (or iPad). Once connected (as you can see in screenshots below), I can then go through the files on my camera and grab whichever ones I want to get and work on.
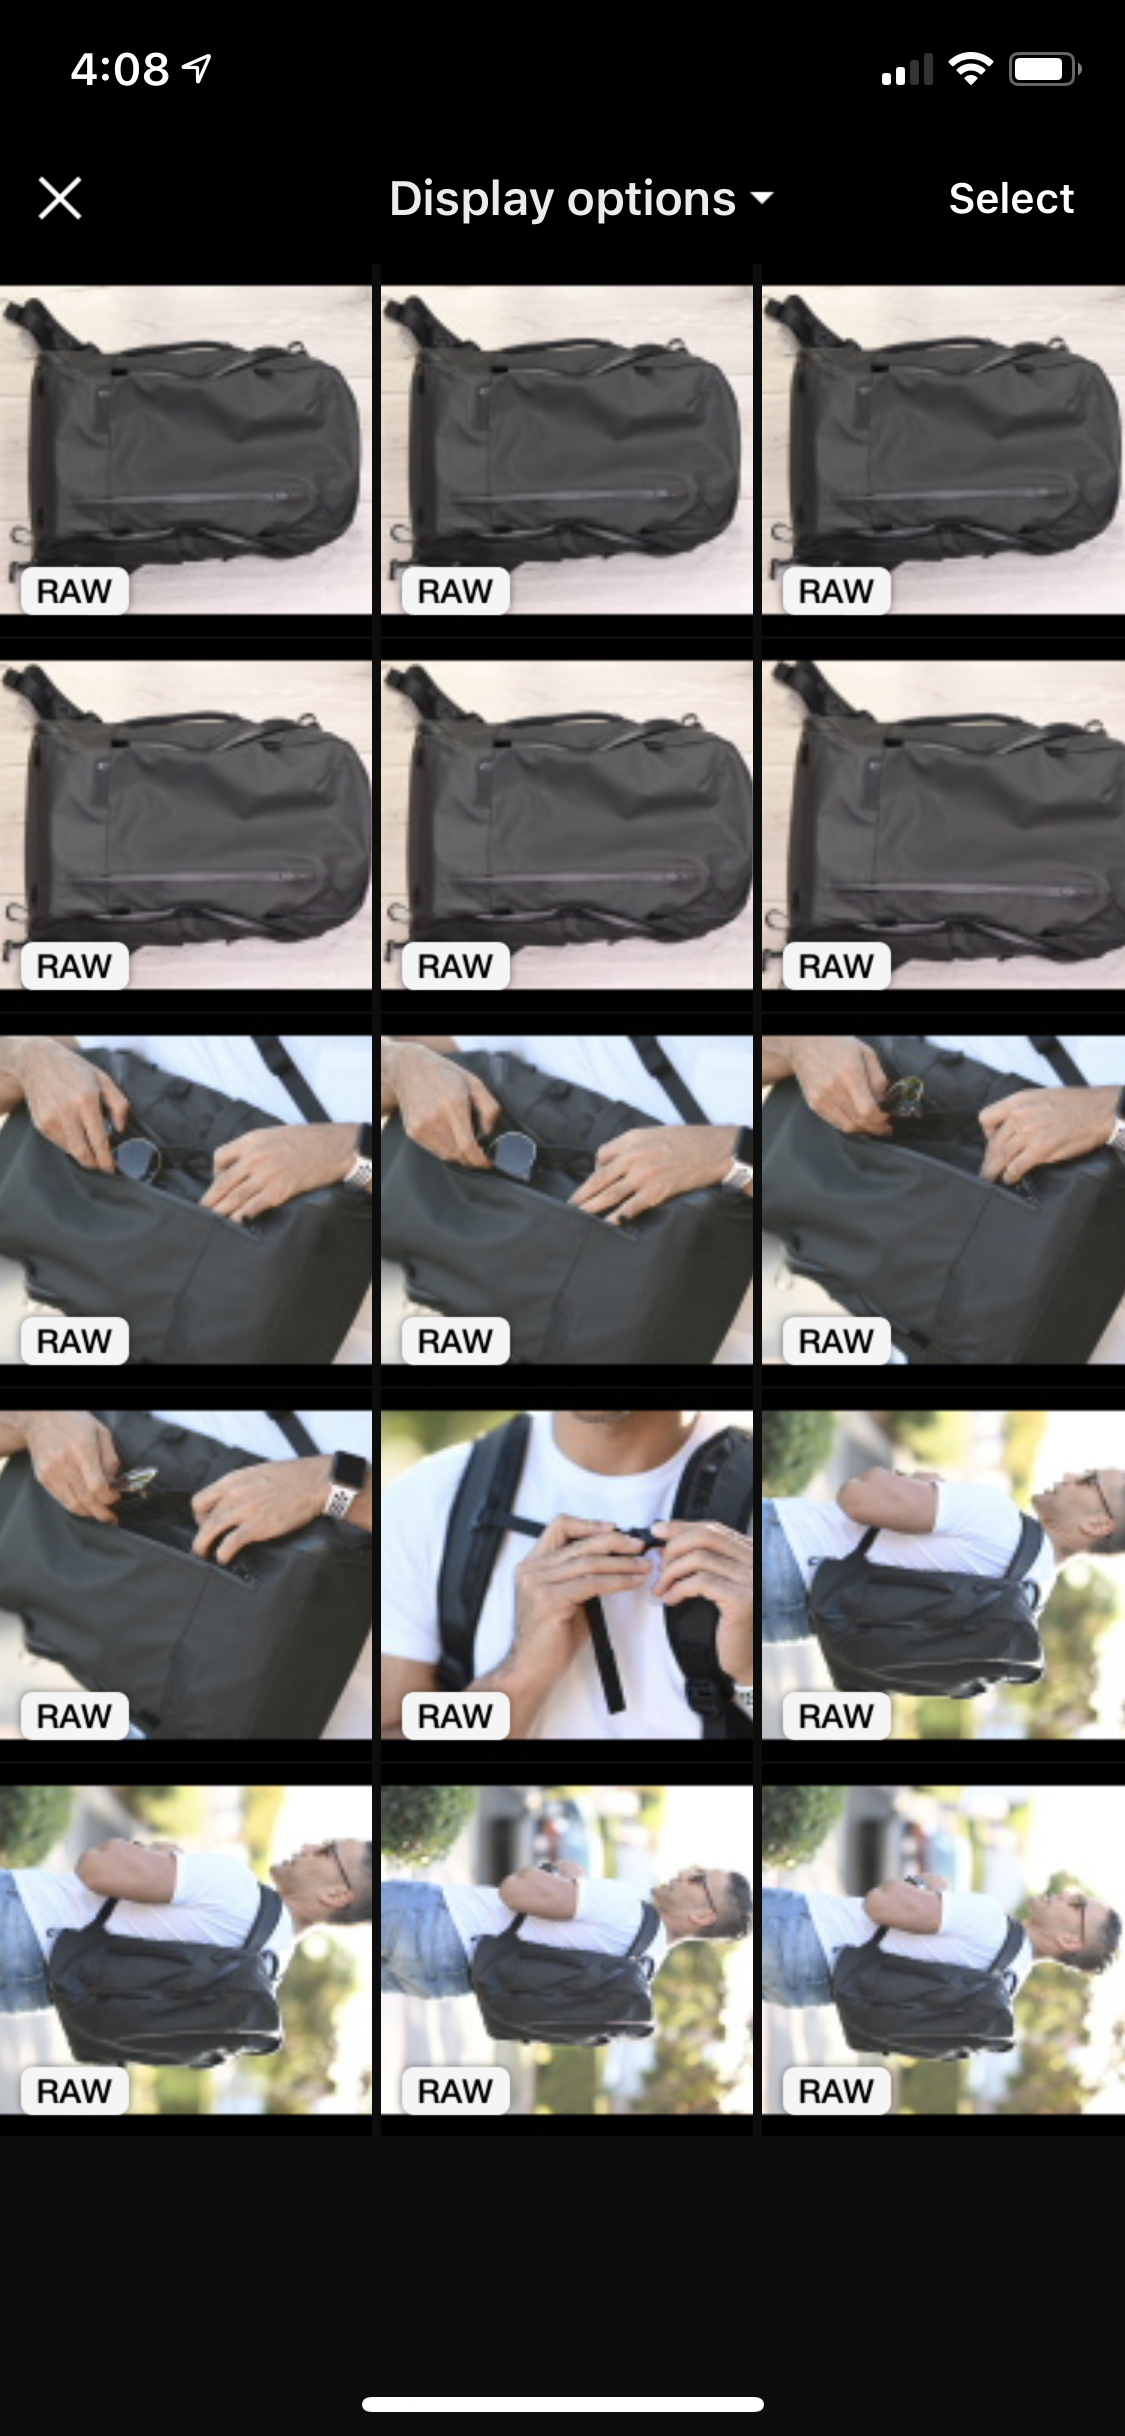
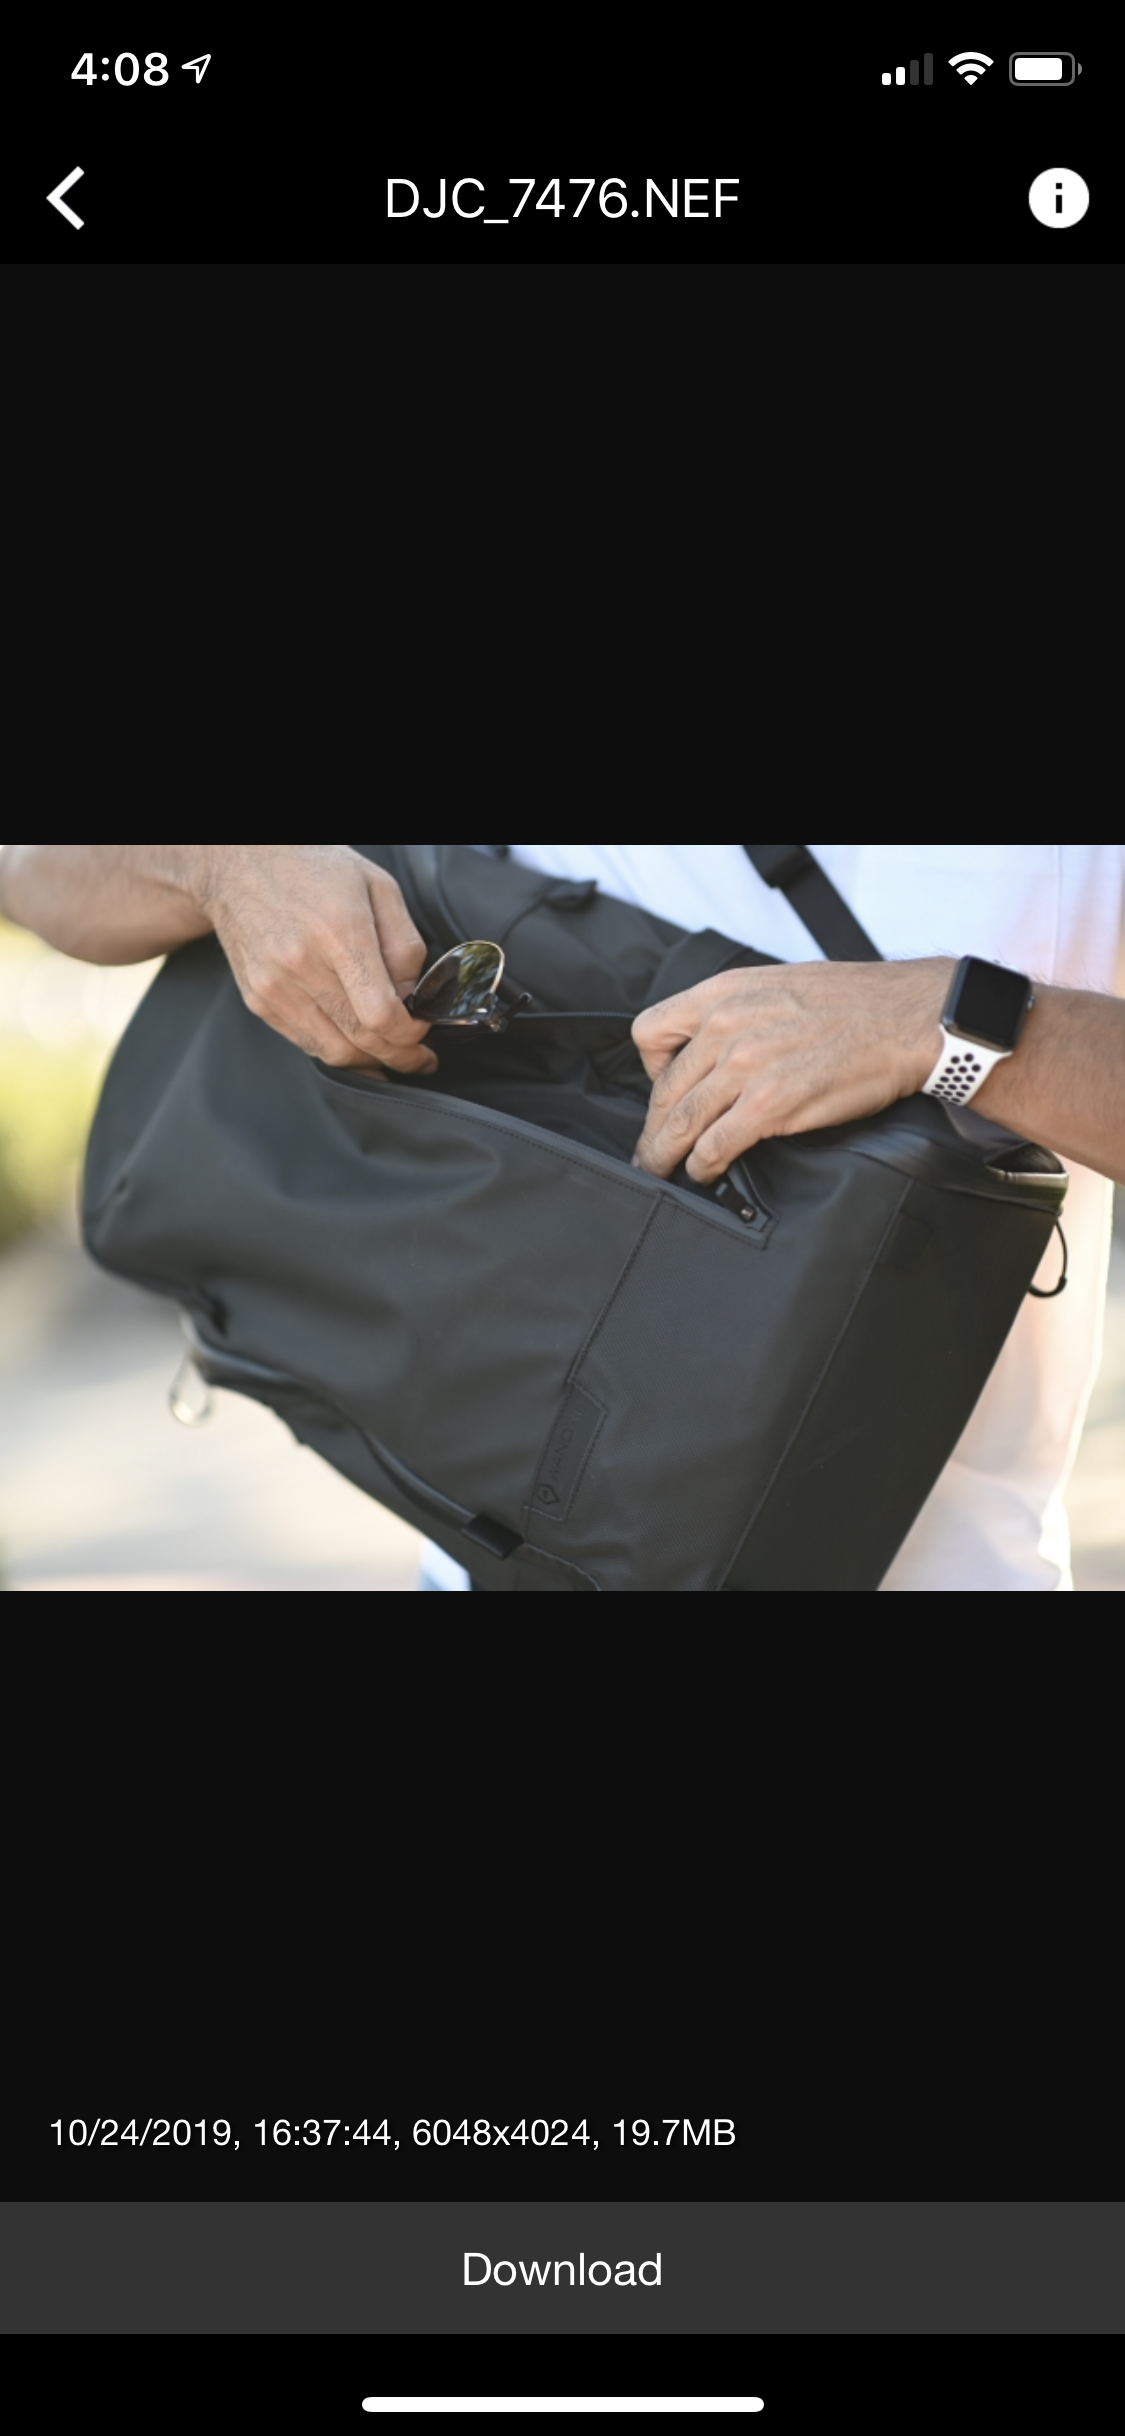
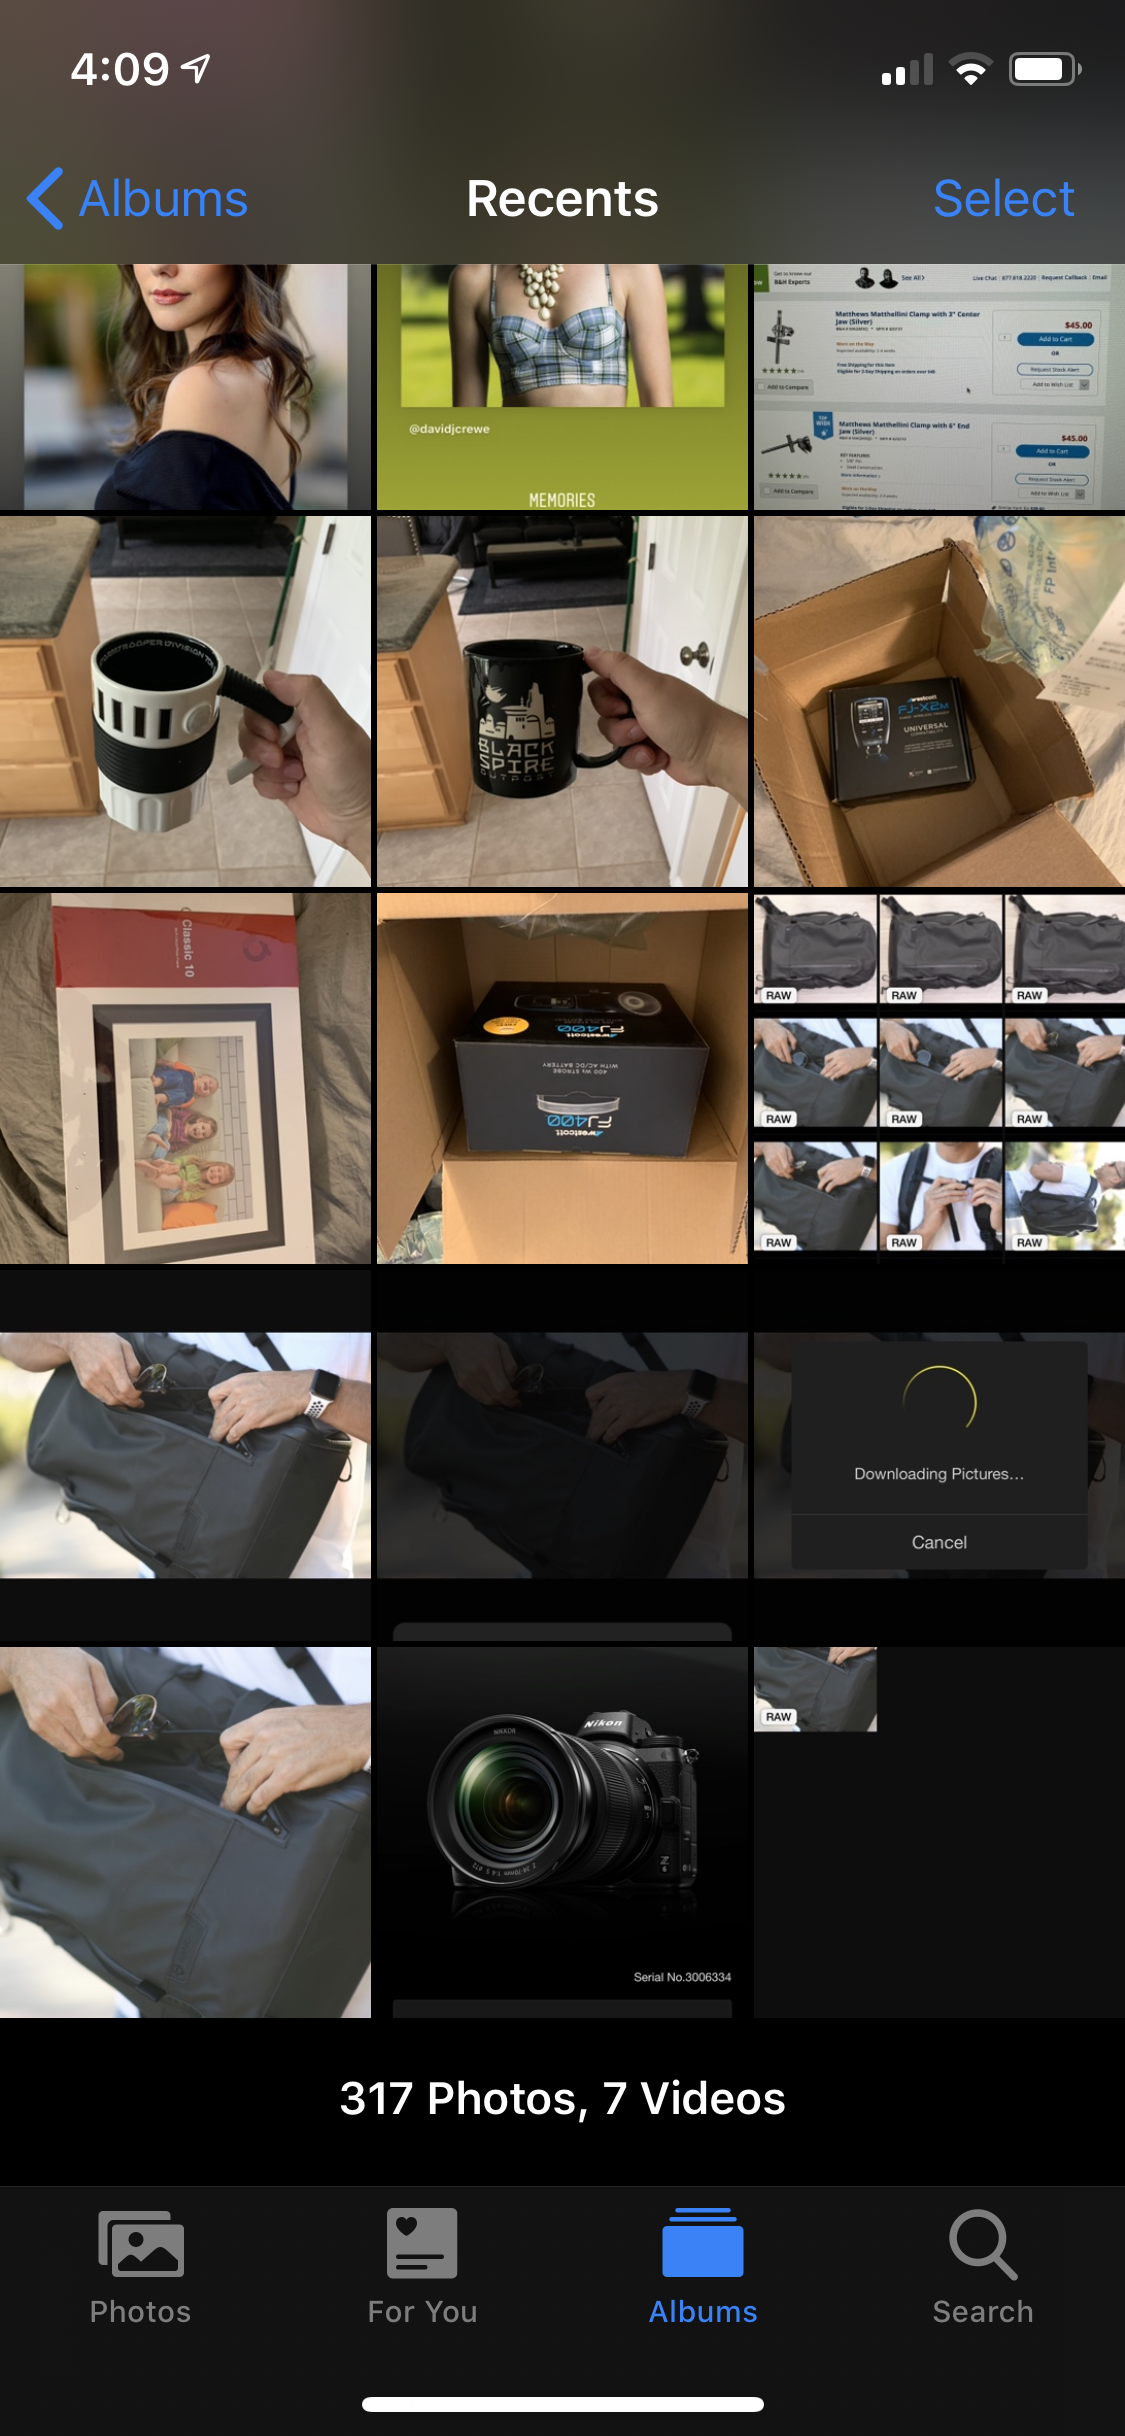
After I’ve found the file, I’ll download it in RAW format right to my phone, where it’ll save to my camera roll.


Step 2 – Let’s Bring That RAW Image into Adobe Lightroom Mobile
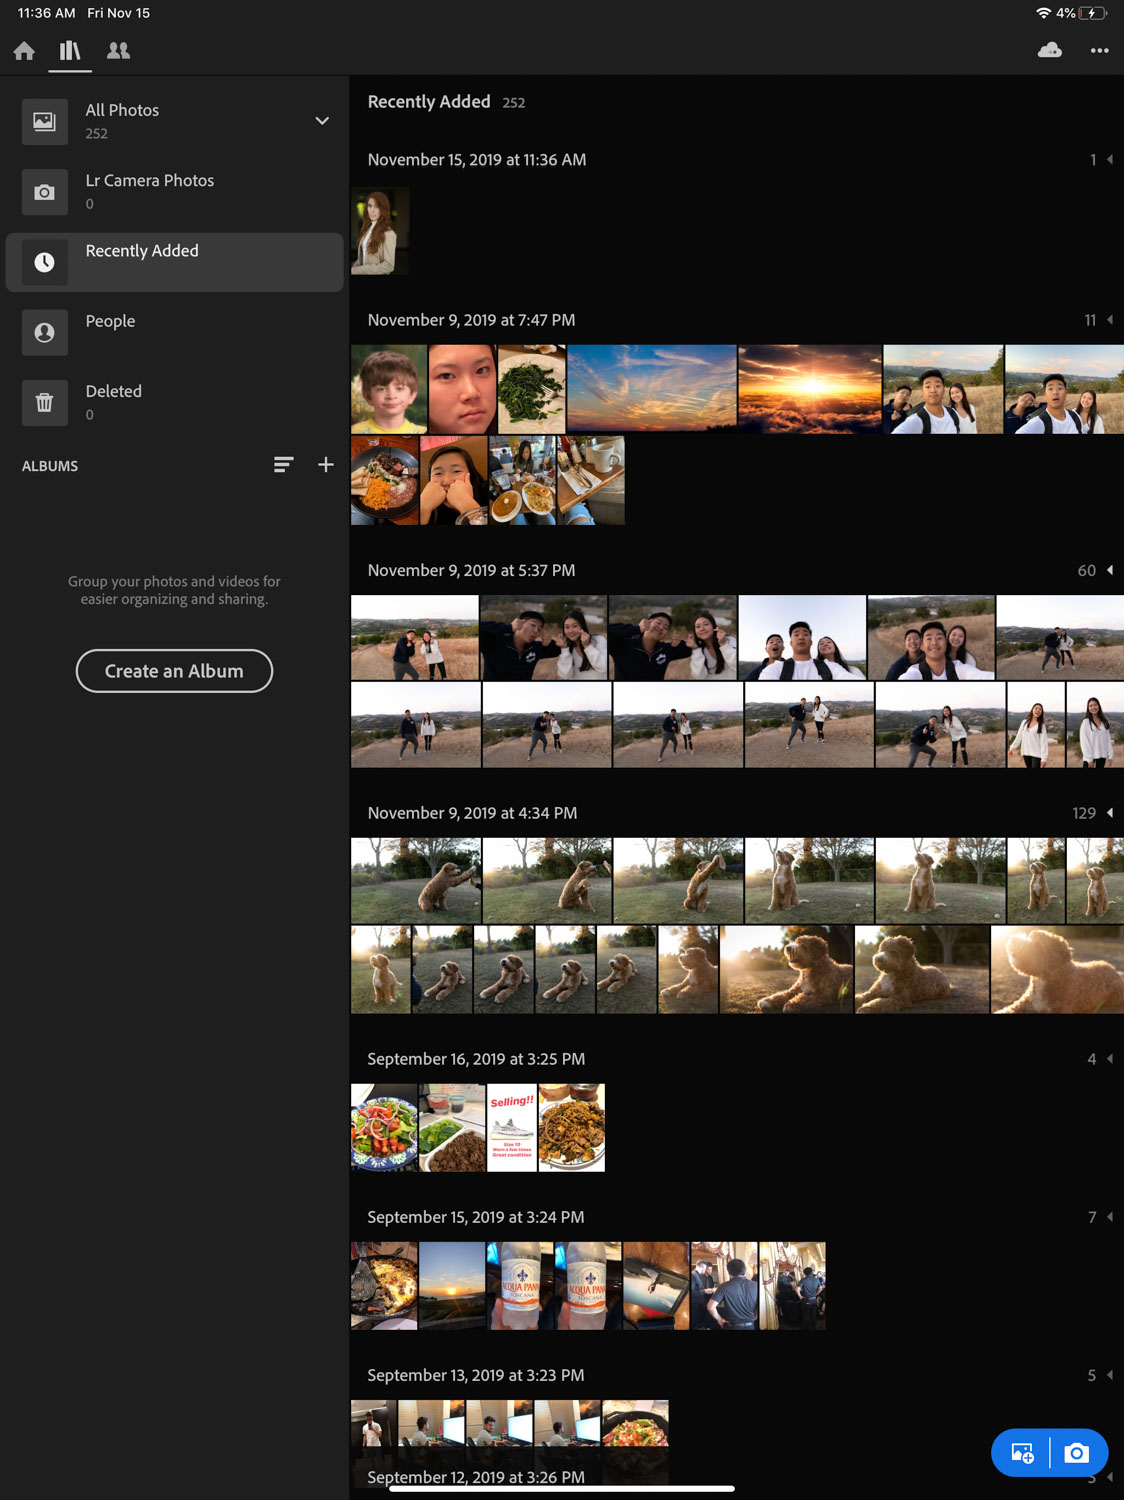
Now that the RAW file is on your mobile device, you’re going to then open up Lightroom and import that file from your camera roll. Just to prove it’s a RAW file, I’ll show you a screenshot of the download screen when we did the import below (and yes, I’ve switched to a new RAW file since I did this over two separate days with two separate devices and sets of files, as previously mentioned).

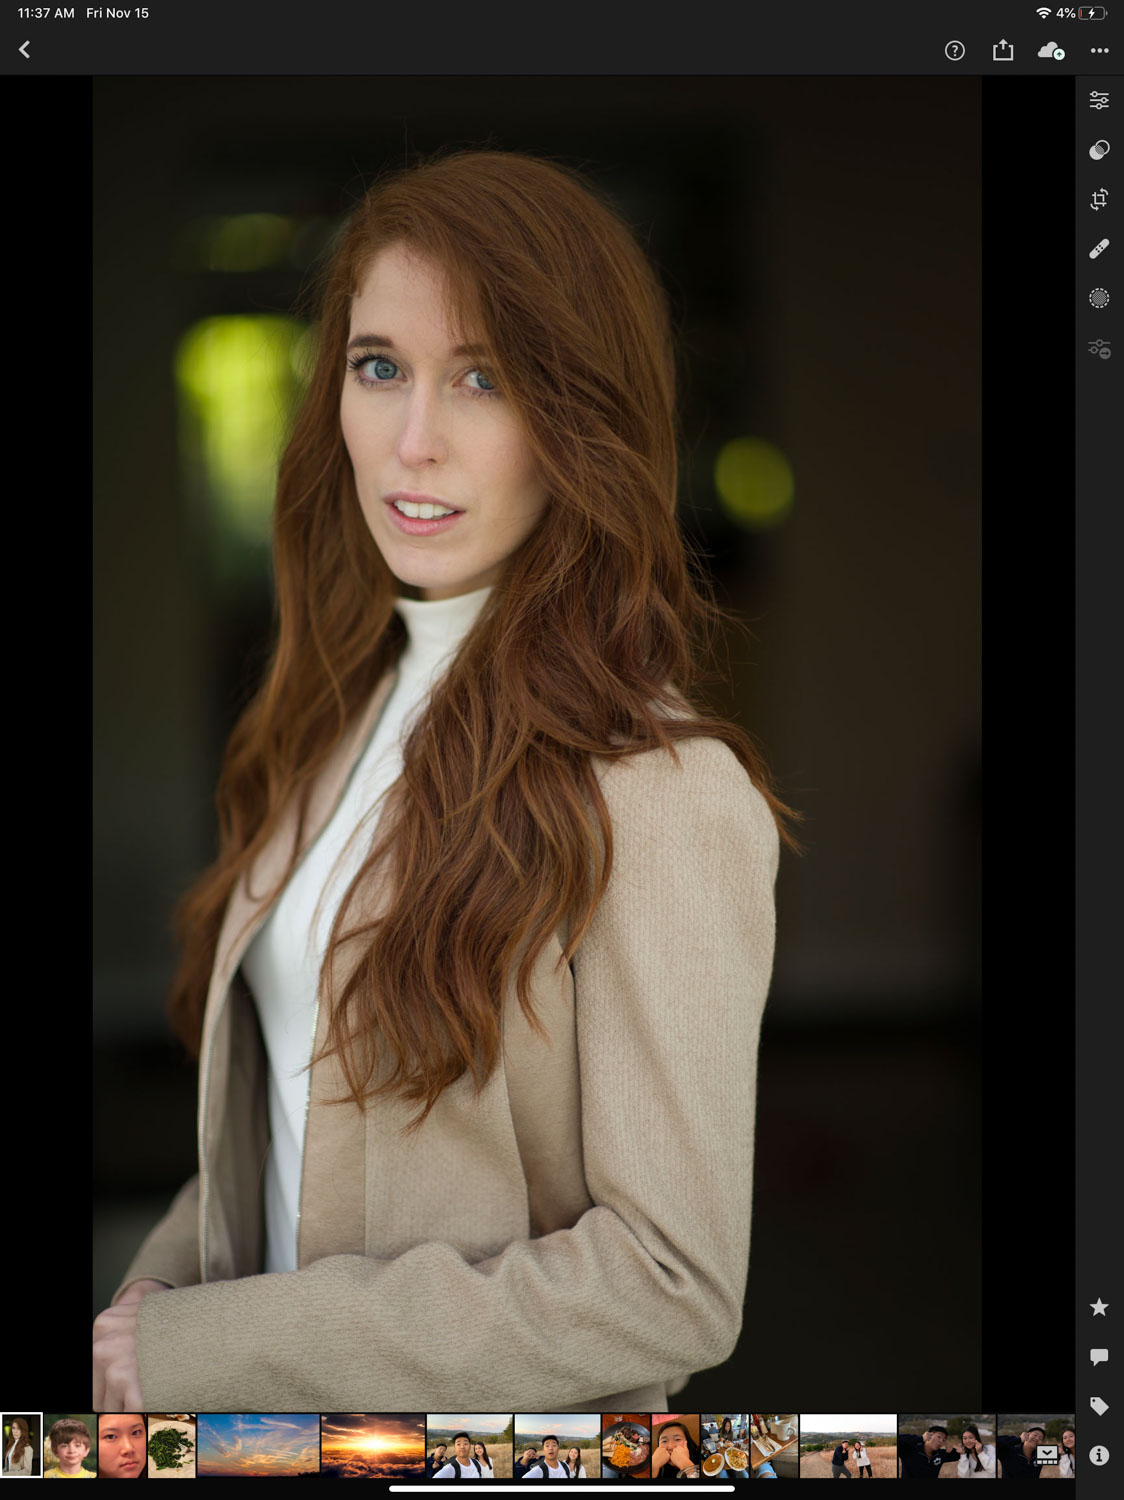
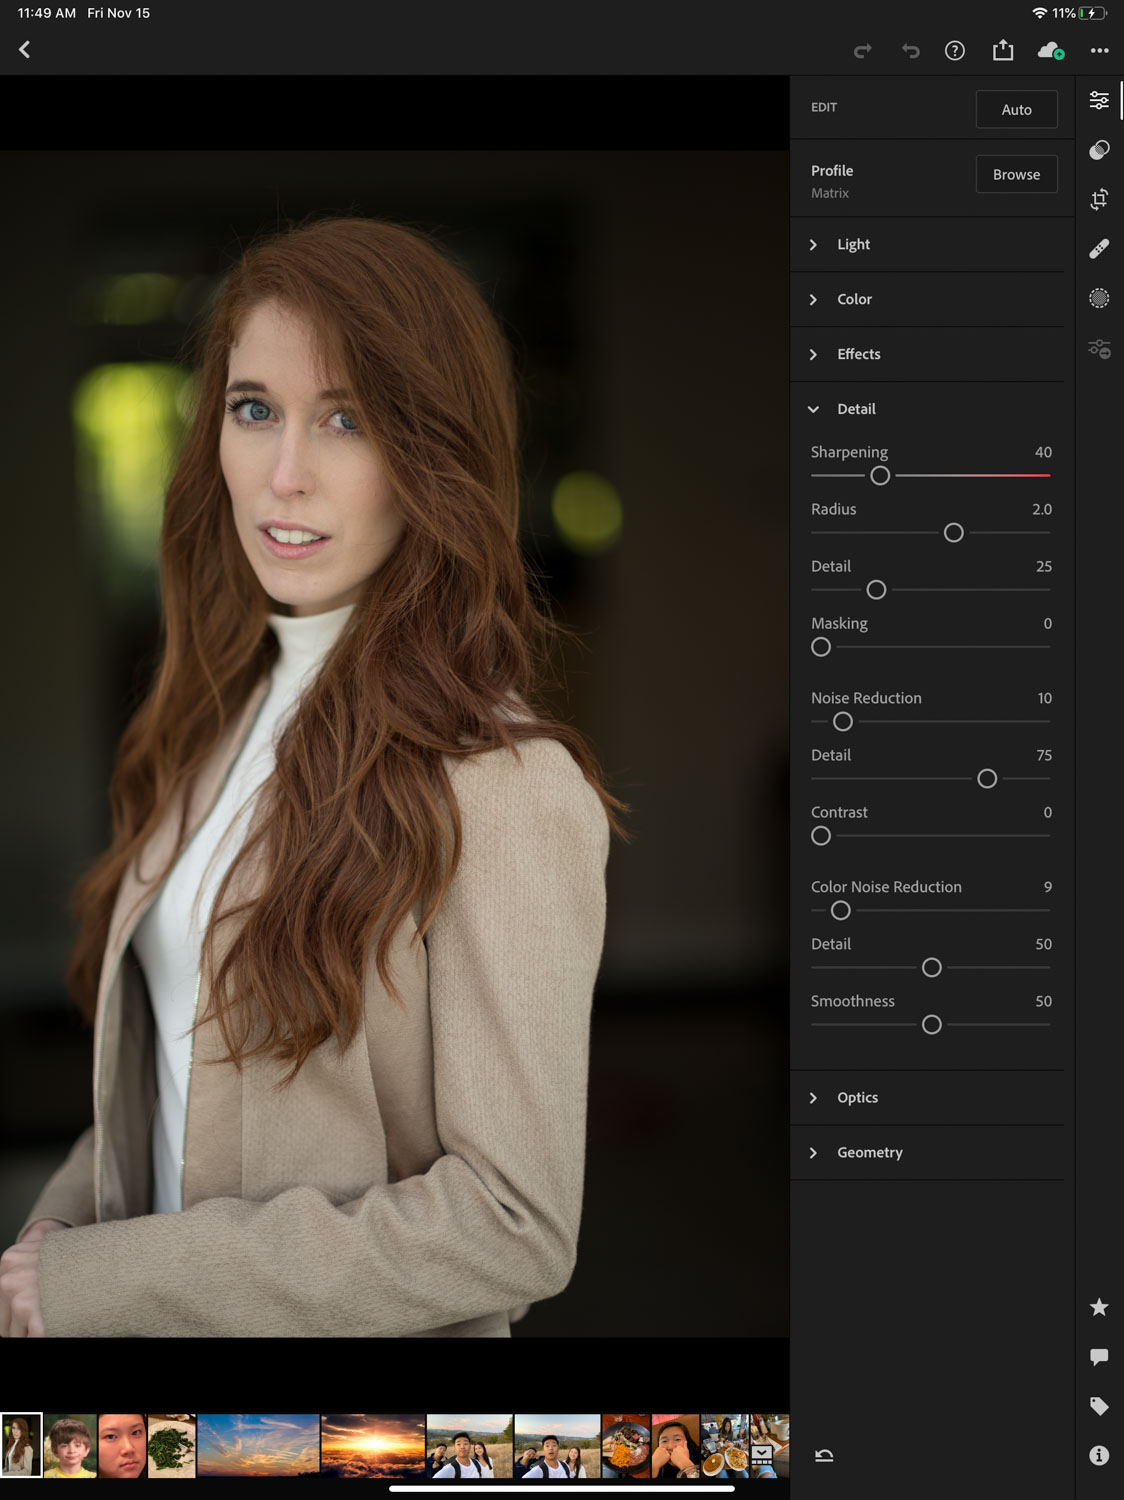
Step 3 – Edit Your RAW File in Lightroom Mobile
Next, from Lightroom, you’ll select the file and, well, you can edit your image now however you please, leveraging the full power of Lightroom mobile and all the extra data you’ve captured by using the RAW file.

Step 4 – Time to Move over to Photoshop for iPad
Now, here’s where things get exciting. While you can argue this isn’t “traditional raw support” for Photoshop on the iPad, you’re right. It’s not. BUT, let’s face it, who actually uses Camera RAW and imports a RAW file directly into photoshop these days? 99% of the time, the user base is sending files into Photoshop from RAW Processors or catalogue engines like Lightroom, Capture One, Skylum, or whatever else they’ve got kicking around the computer, and usually after making quick and easy adjustments over there….but I digress…back to what we need to do!
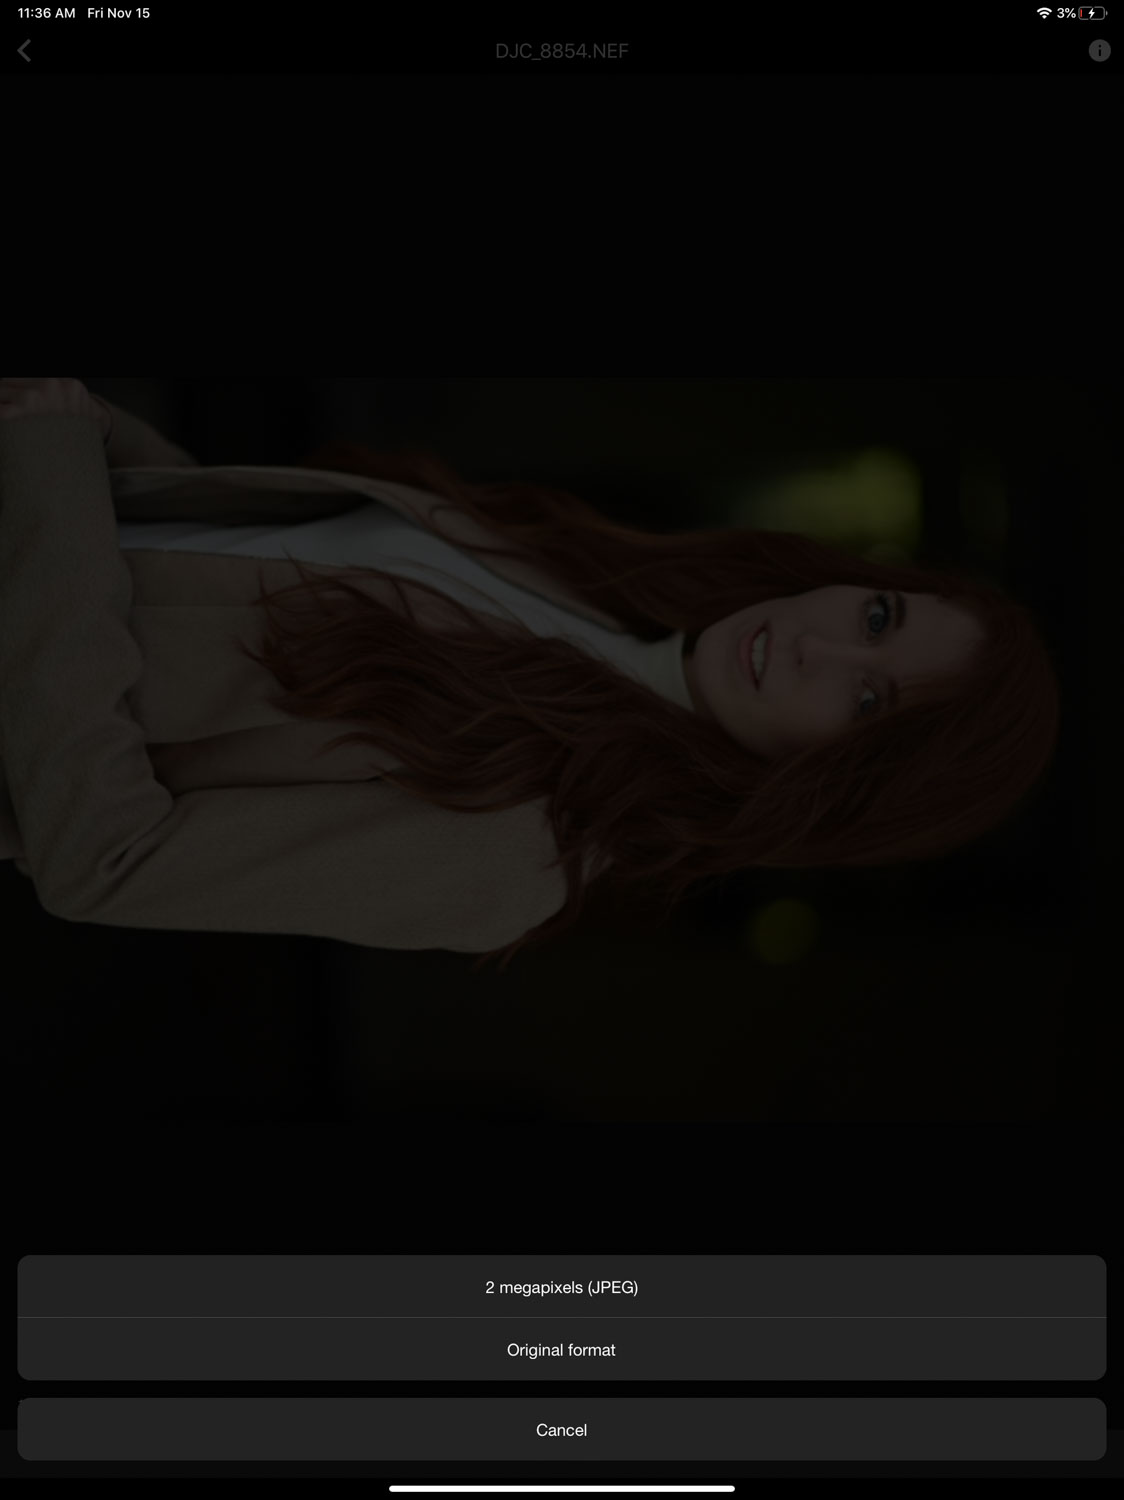
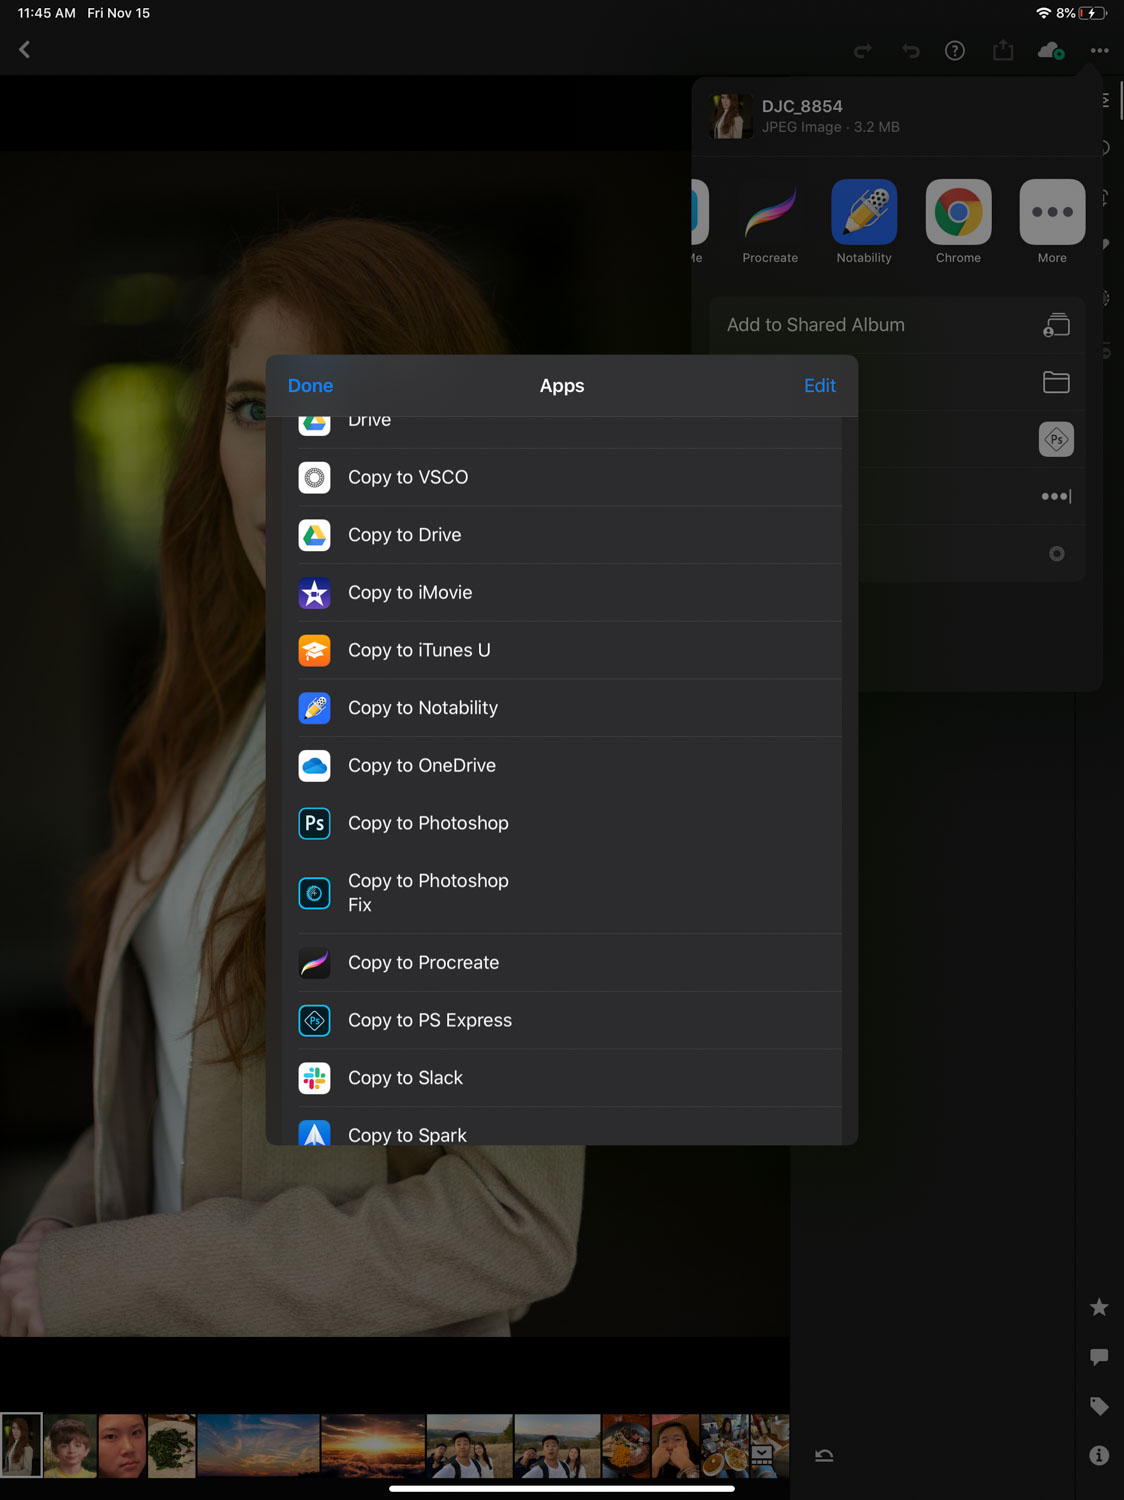
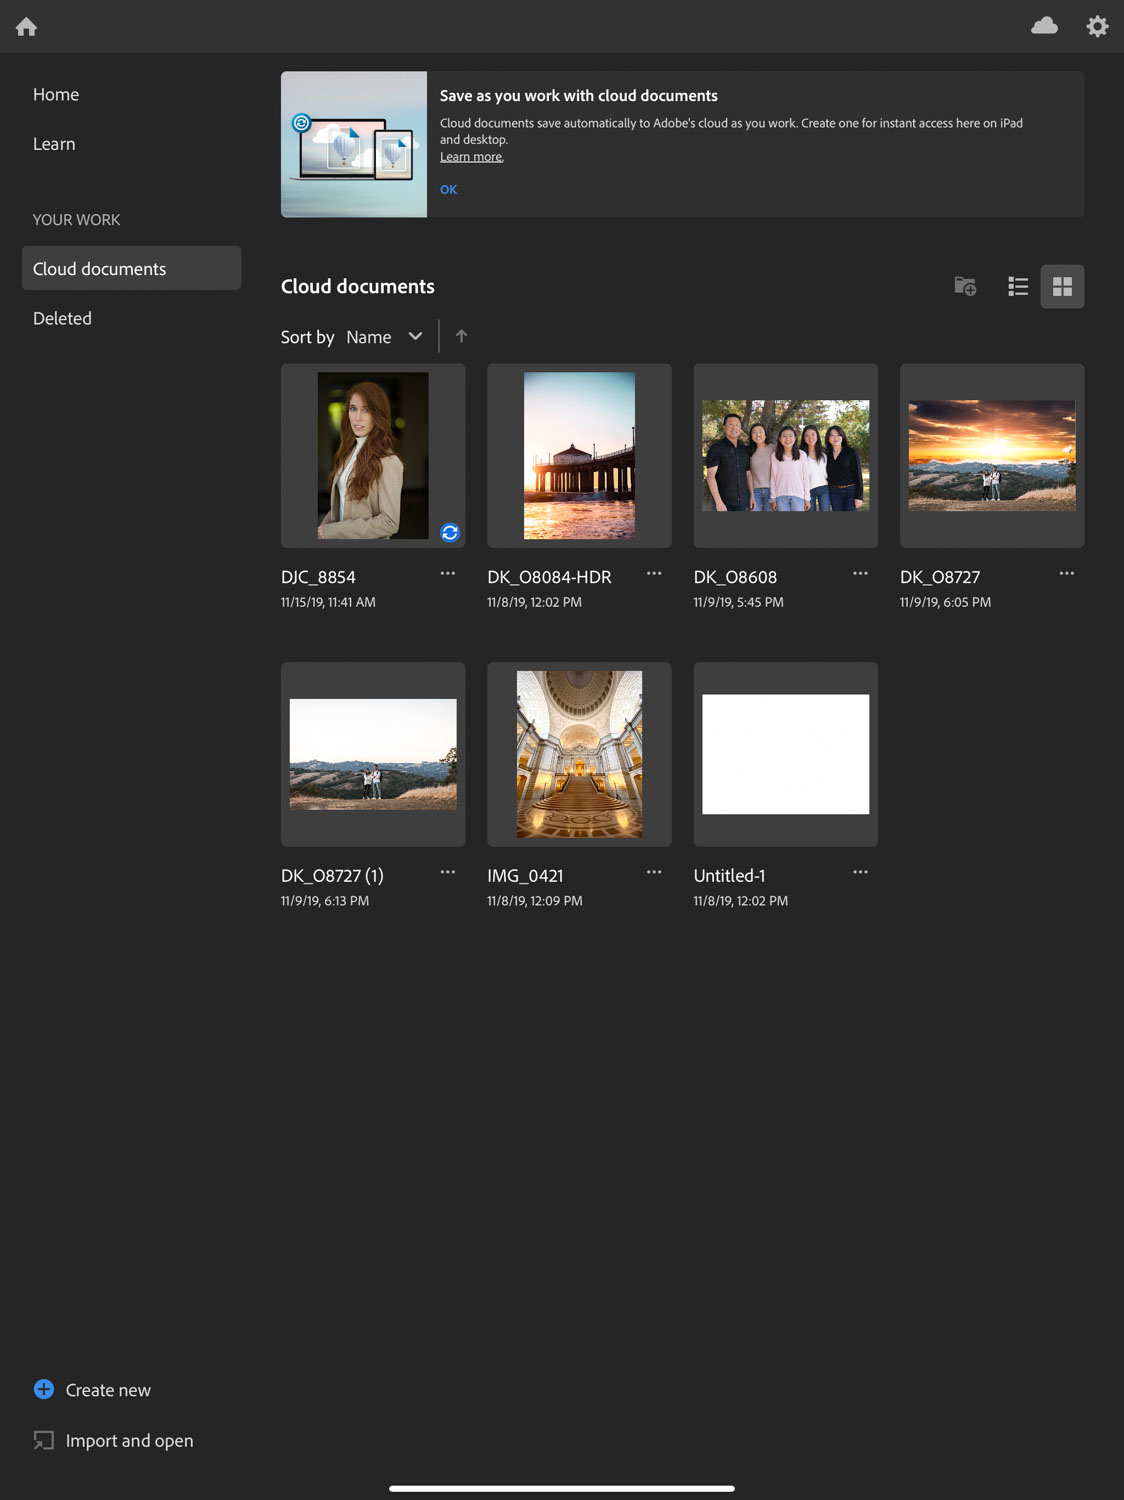
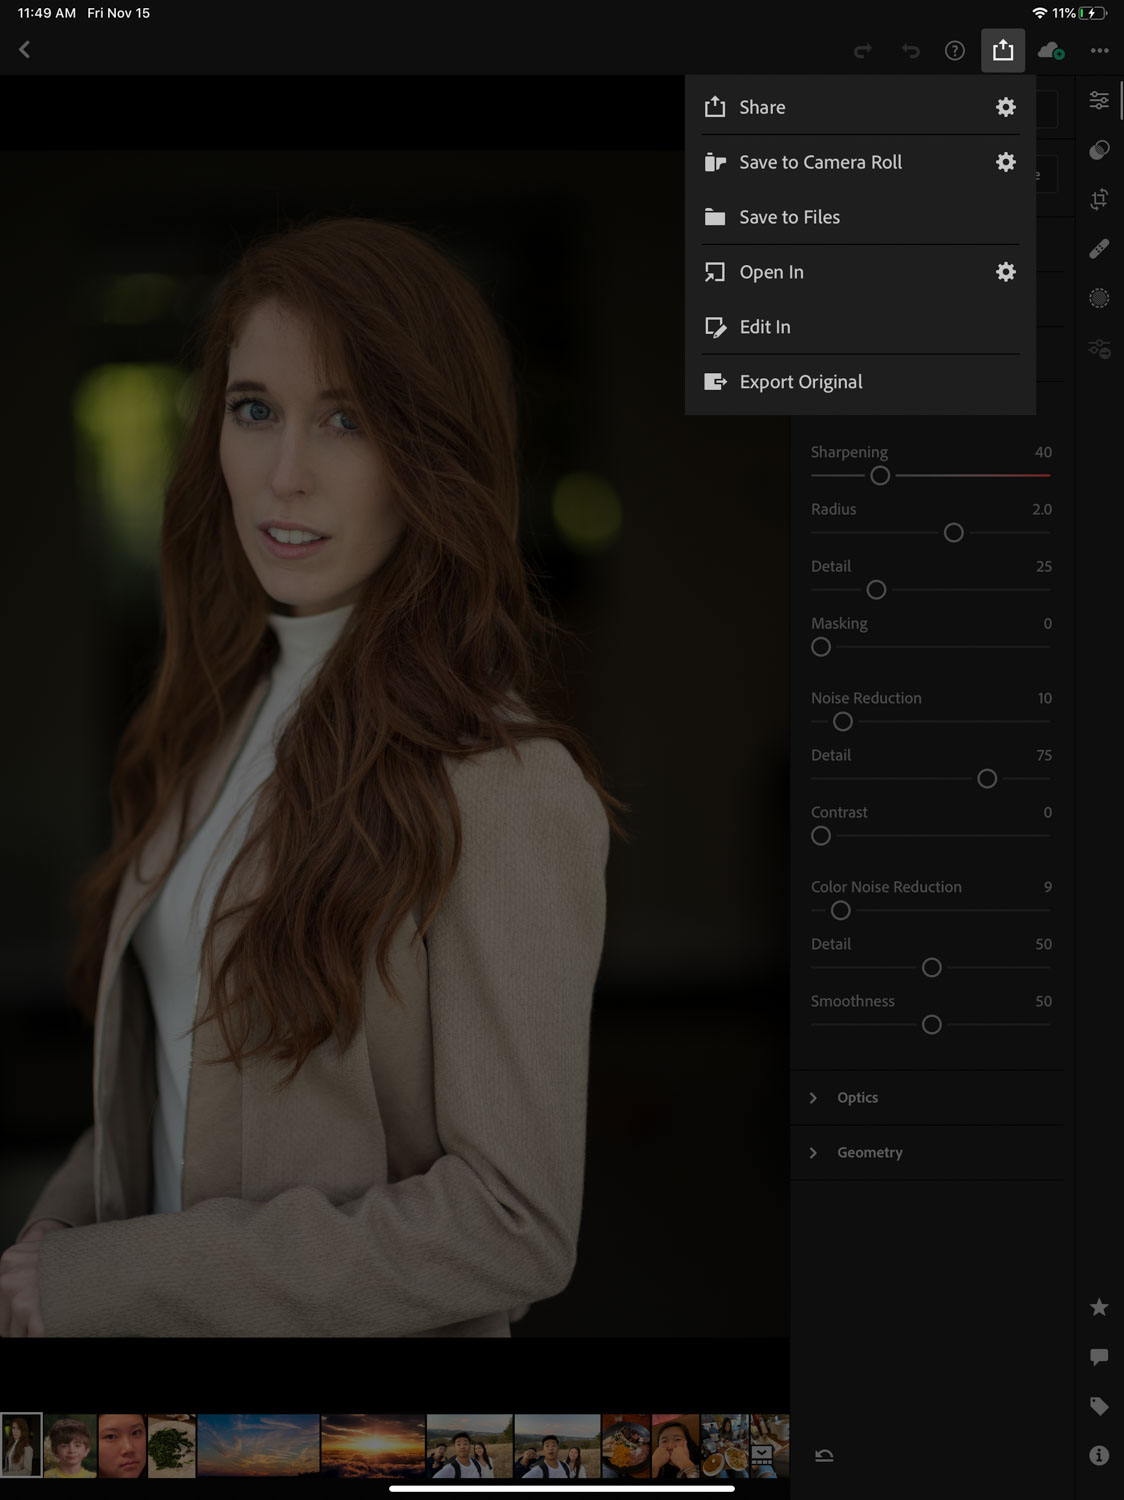
So, from Lightroom, you’re going to save and export your processed RAW file into Photoshop for the iPad by selecting it from the dropdown list of available apps. Clearly, this will vary from user to user, but for this article we’re focusing just on Photoshop. Select your RAW file and move on. Another option, instead of sending it directly to Photoshop, involves saving your work to your Adobe Creative Cloud account and then opening it directly from there.
Now, here’s where we get to the “this isn’t true raw processing for Photoshop” part. Technically speaking, you’re creating a psd/tiff/dng or some sort of other mobile accepted file, and what you choose is entirely up to you. But the bottom line here is you _have_ worked on your file in full 10-63meg or larger RAW format and are now sending that data over to Photoshop, (vs. opening a small 2-meg jpeg and doing the same).
Step 5 – Edit Your “RAW” File In Photoshop for iPad!
Now that you’ve opened/imported your processed “RAW” file into Photoshop on the iPad, you’re free to edit as you please with all the creative power that’s been unlocked by this new app. Again, it’ll currently not be near as powerful as what you can do on your desktop, but if you’re in a situation where you have to get work done and have to do it in a mobile setting, it’s a great tool. Plus, if you want/need to work on RAW, while this isn’t ideal, it is at least a step-by-step work around to get you working on your RAW images in Photoshop instead of being forced to export the smaller compressed JPEGS from your cameras or phone conversions.
[Related Reading: Photoshop for iPad, Cloud Documents and Other Updates Announced for Photoshop 2020]
Step 6 – Finishing Up
Once you’ve completed editing and retouching your image, you can then save it in any of the available formats and locations that Photoshop provides for you, including saving that recently edited image back to your camera roll so you can share on any social media platform you want too, or send directly to your client(s) for approval.
Again, I’ll reiterate, that as a disclaimer, this is _not_ importing and working with a RAW file directly into Photoshop for iPad; rather, this is a workaround for those of you who still want to be able to work with the full data from your RAW files while editing on your mobile devices. It’s not perfect, and yes, it involves a few extra steps, but it will let you get the most out of your files when you can’t get to an actual desktop to do your editing! This is also a very lightweight guide, but it’s really just about showing you that it’s possible to still work with all that data and create epic images using Photoshop on the iPad.
I hope this helps those of you out there who were confused and wondering about where things stood with Photoshop and it alleviates any concerns you may have had. And even more importantly, I hope this encourages you to give it a try for yourselves to create something epic!
As usual, please let me know if there are other apps or ways to grab your RAW files and bring them into Photoshop on the iPad, and if you have any comments or questions, let us know in the comments below!