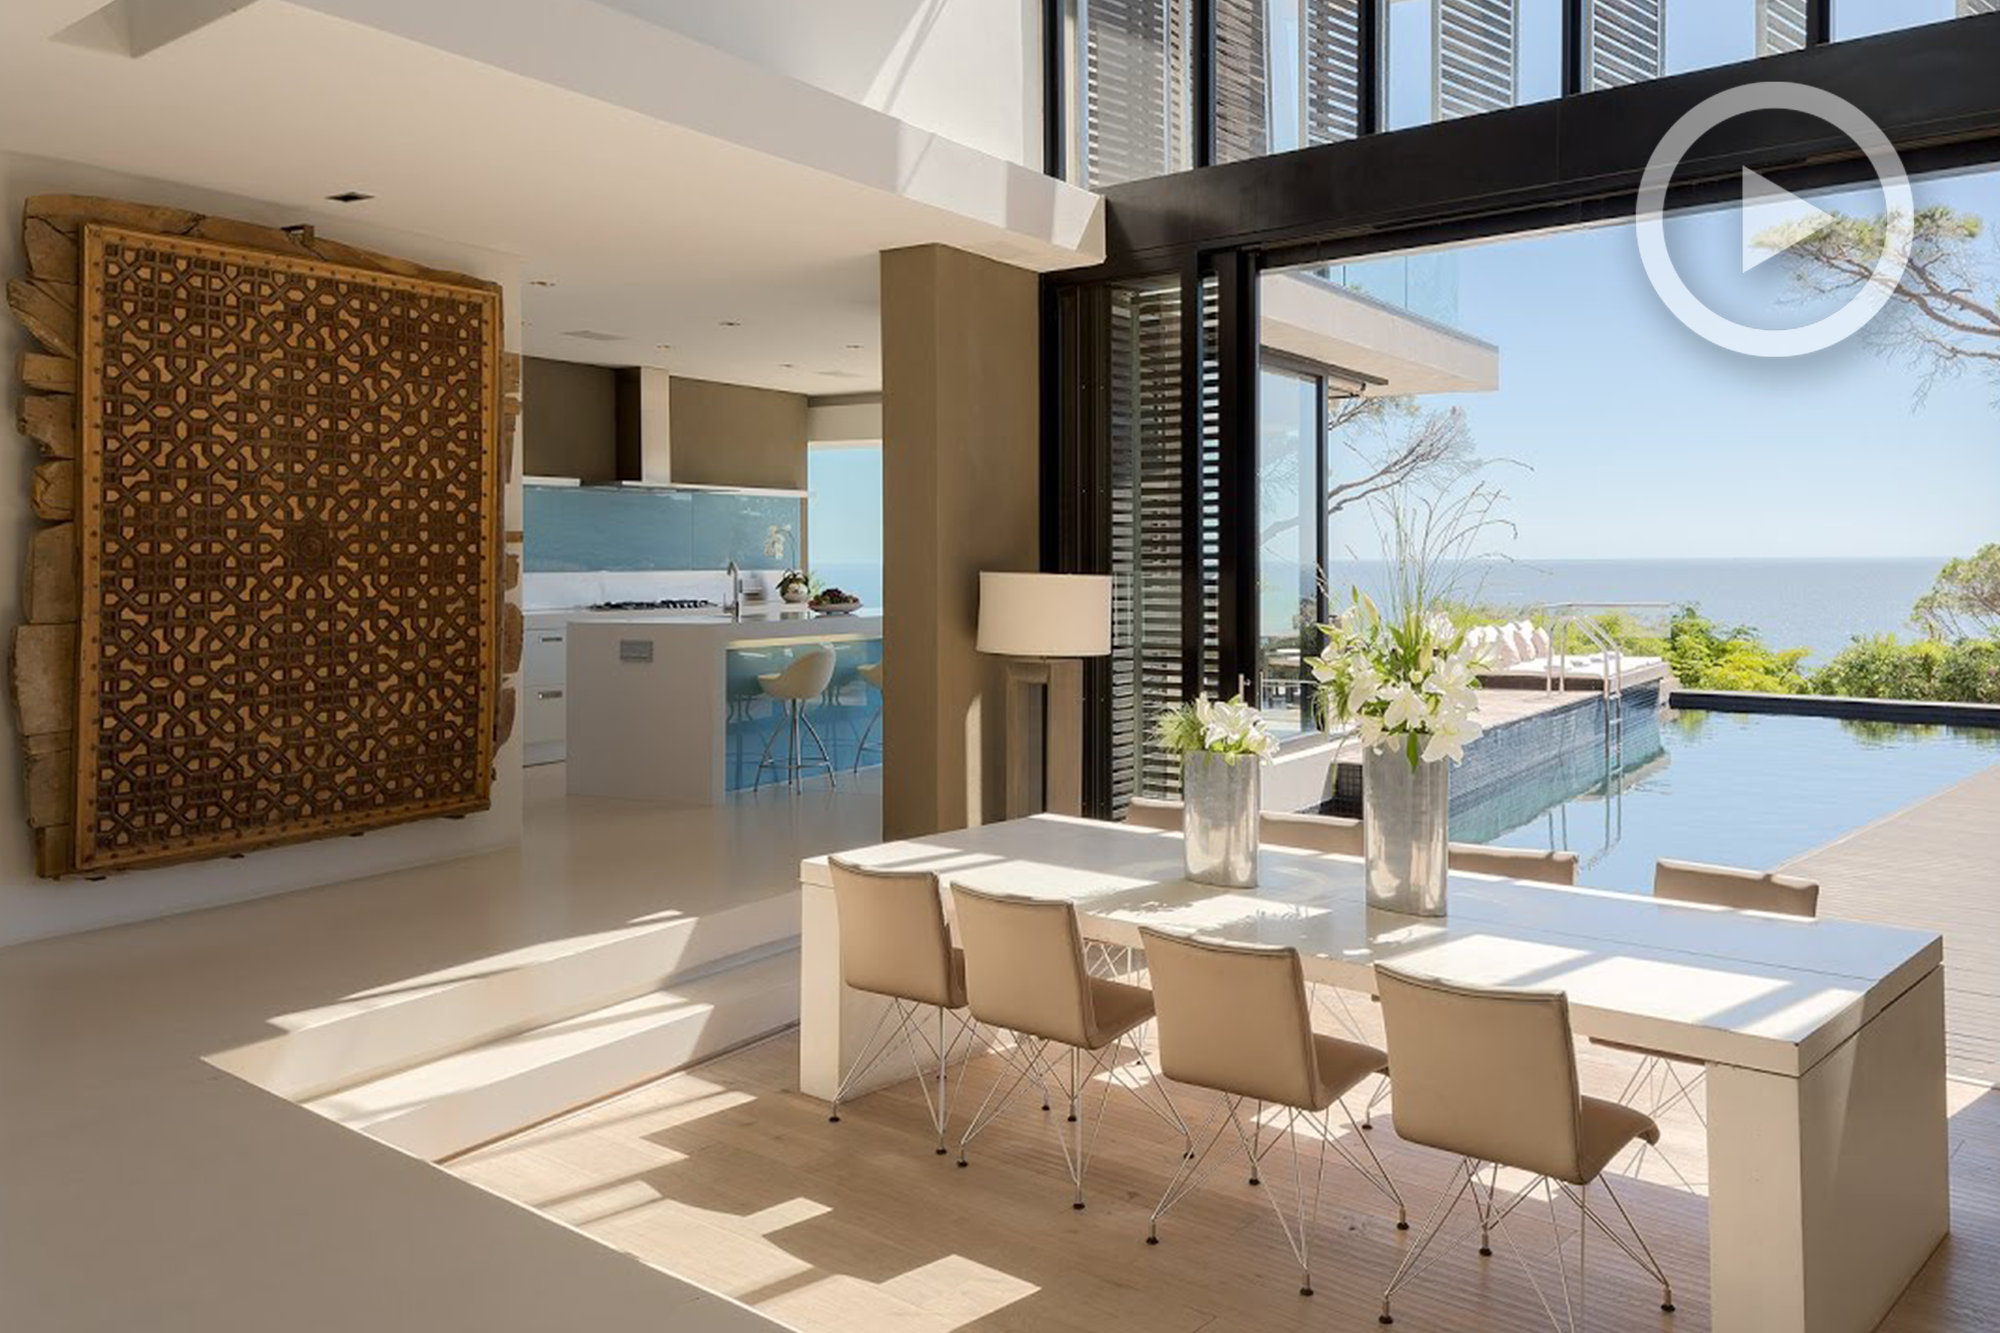
If you’ve ever taken interior shots with windows included and then combined the exposure in Photoshop, you likely know that without some particular know-how, it can go a couple of different ways. Overdone, cartoonish HDR is one way, or perfect and beautiful but at the expense of a whole lot of your time and some bald patches after pulling out your own hair due to the tedium.
Don’t you love it when you learn something that can drastically change the way you work in Photoshop for the better? The hair will grow back, and going forward your life will be easier.
Jimmy McIntyre saves the day with his video showing fast and easy, realistic exposure blending two ways – with the inexpensive and useful Raya Pro plugin and without. I’ll go over the “without,” but if this is something you do frequently, check out Jimmy’s process with Raya Pro in the video and consider picking it up. You can see SLR Lounge’s take on Raya Pro here.
To start, when in the field you need to have captured multiple exposures of your scene in order to catch all its dynamic range. Sometimes two is enough, but three is usually a good starting point. Open all your shots in Photoshop on different layers and align them.
In this video, there are three exposures and they are stacked like this: an underexposed layer to rescue the highlight detail is on the bottom, a mid-tone detail exposure is in the middle, and an overexposed layer to bring out detail in the darkest portions is on top.
[REWIND:] ALL 27 PHOTOSHOP BLENDING MODES EXPLAINED | REQUIRED LEARNING FOR BEST PHOTOSHOP RESULTS
To easily create an intricate mask on the mid-tone details layer in order to show the brightest detail from the layer below, turn off the overexposed layer, create a mask on the mid-tones layer and select ‘apply image’ from the ‘Image’ menu. See the photo above for settings. To get a mask that has enough contrast, do it over again a few times. Or, simply use the levels adjustment on the layer mask to tweak contrast.
Next, disable the mid-tones layer and select the overexposed layer. Create a mask on it and use ‘apply image’ again, but this time check the ‘invert’ box.
Enable all layers, and have a look at your exposure. If it still needs work, you can adjust levels until you like the look.
What do you think, is that faster and easier than methods you’d previously tried?


Get Connected!