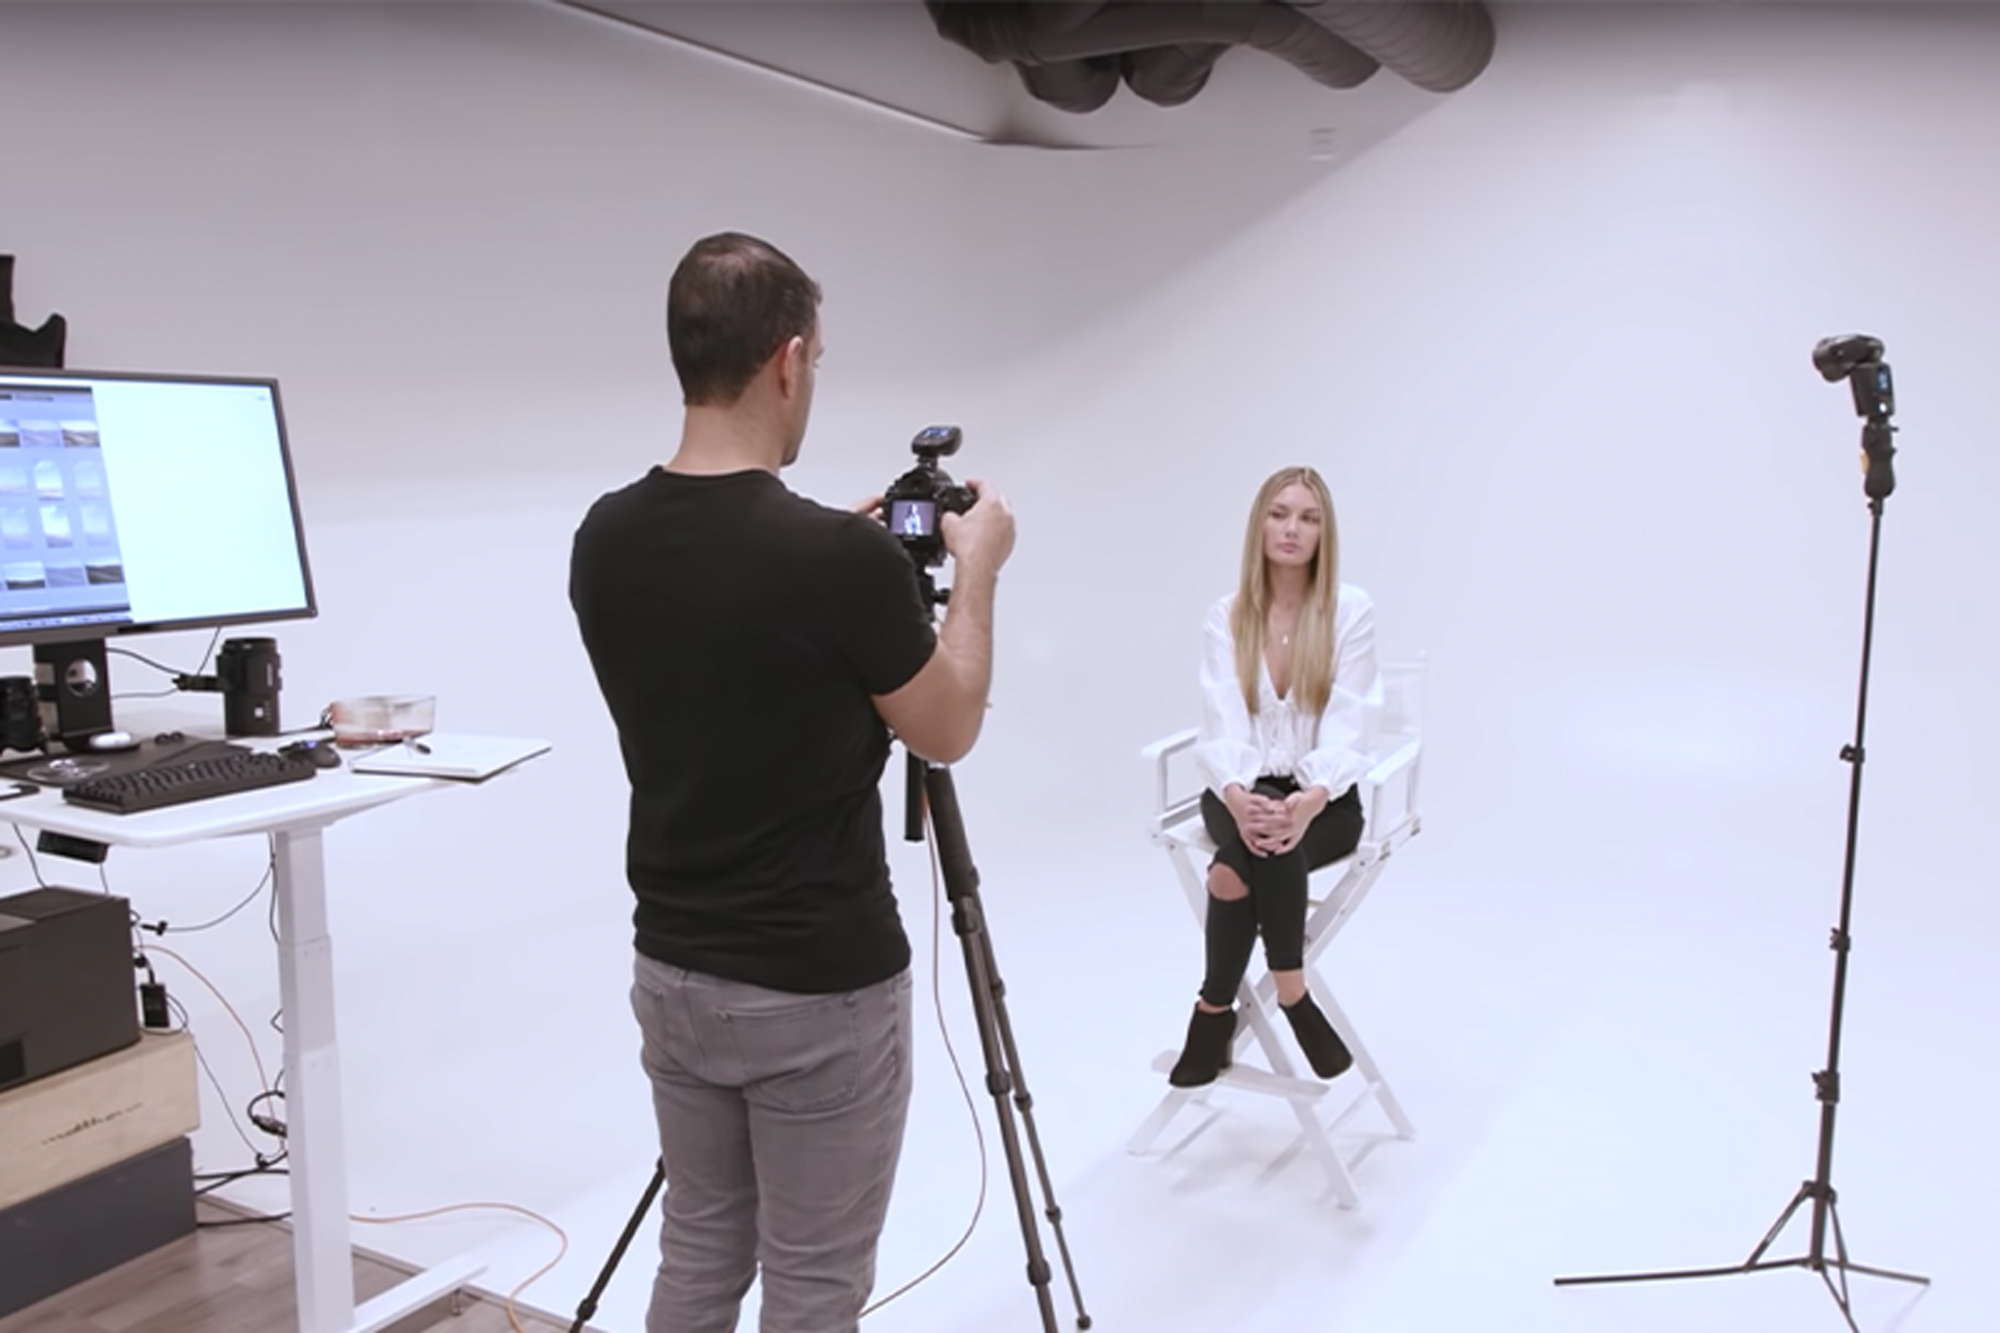
Introduction
In this tutorial we’re using the HDR Grunge presets, which are great for street photography and stylistic journalism. This edit will add a lot of great contrast and details to photos, giving them a grungy and filmic look. From studio portraits to street photography, the Lightroom Presets v5 has everything you need to get the look you want in just a few seconds and clicks.
[Note: In the new Lightroom Presets v5, we have revamped all of the presets to improve image tonality and quality, allowing you to achieve even more amazing results. We’ve also added 95 new presets to reach a total of 311 presets in what is the gold standard of Lightroom image processing. In this series we’ll be going over how to use the new v5 presets to create great looking photos. Click Here to learn more or purchase the system.]
With each of our Ordinary to Extraordinary Edits, we’re going to first be going through how we create our effects with the SLR Lounge Lightroom Presets v5, then we’ll be going through the details in the develop settings so everyone can understand exactly how we get to a specific look. This way, whether you have the presets or not, everyone can benefit from watching this video or reading the article below.
Lightroom Presets v5 Mixology Recipe
For those who have the Preset System, you can follow the Mixology Recipe below to get to the same results. If you don’t have the Preset System, please continue to watch the full video tutorial, or read the written article below.
My Mixology
- 01-30 BASE – VIVID: 36a. HDR Heavy Grunge – Desat
- 03-40 ADJUST – SHADOWS BLACKS: 43. Darken – Light (+10, -20)
- 04-00 SFX – COLOR SCHEMES: 01c. Orange/Teal
- 04-10 SFX – FILM & LENS: 11e. Max Film Grain
Local Area Adjustments
- Radial Filter: 43 Heavy Desharpener
Watch The Lightroom Video Tutorial
Read The Complete Written Tutorial
The first preset we’re applying to this image is the “01-30 BASE – VIVID: 36a. HDR Heavy Grunge – Desat” preset. We see right away that a lot of Contrast and Clarity is being added, and that’s bringing out a lot of great colors and details to the journalistic nature of this shot. Here’s what the photo looks like before and after the preset is applied.
Before HDR Heavy Grunge Preset

After HDR Grunge Preset

We crop the image with an aspect ratio of 2 x 1 to bring more focus to the face of the child in this photo. The HDR Grunge preset and this crop gives a nice cinematic look to this image.

To get a little more contrast in this image we’re using the “03-40 ADJUST – SHADOWS BLACKS: 43. Darken – Light (+10, -20)” preset. This preset is adding nice texture in the clothes and hair, and it’s making the eyes really stand out.

To get more of a filmic look we’re using the “04-00 SFX – COLOR SCHEMES: 01c. Orange/Teal” preset. The orange in the Highlights and the teal in the Shadows is a popular look in cinema, and it looks great in this photo.

Now we want to give our photo a grainy filmic look, and the “04-10 SFX – FILM & LENS: 11e. Max Film Grain” preset adds aesthetically nice grain to help get us there. Now we have a great cinematic, filmic and grungy look to our photo.

The last thing we’re going to do to this image is apply a lens effect that will blur around the center of the image. A Radial Filter with the “43 Heavy Desharpener” preset will give us that effect.

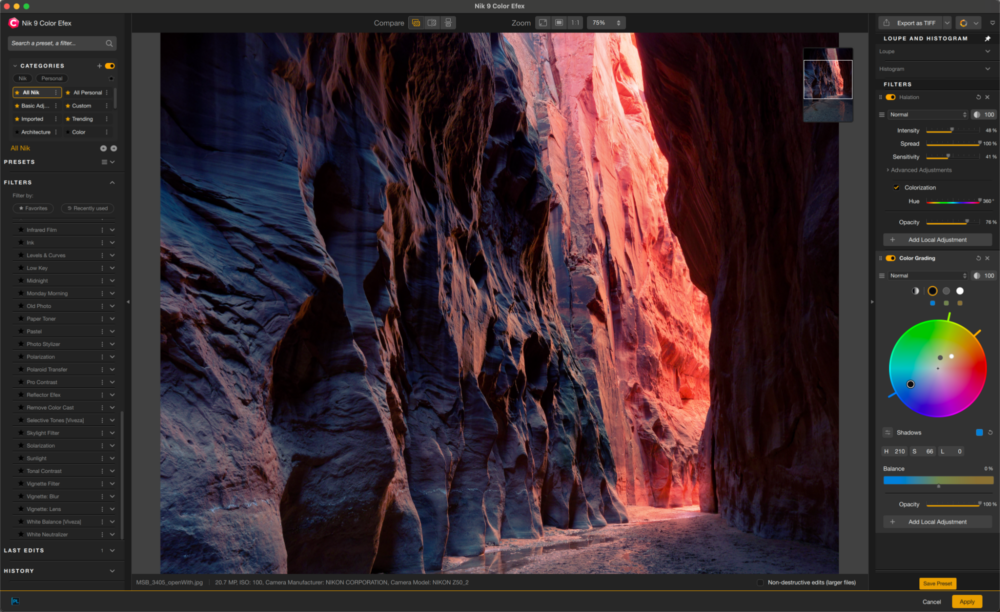
In the Develop settings we’re dropping Highlights, Shadows and Whites while increasing Contrast and Shadows. The Clarity has been raised significantly and the Vibrance and Saturation have both been dropped. This combination of adjustments is giving our image the dark, grungy look. In the Tone Curve we have our standard “S” shape contrast boosting curve.
In the Split Toning we’re adding orange to the Highlights and teal to the Shadows. We have our standard amount applied in the Sharpening settings and because we added a film grain preset we have no Noise Reduction adjustments. Here is what our Develop Settings look like after our presets are applied.

Here’s what our photo looks like before and after our presets and adjustments are applied.
Before

After

Conclusion and Learn More
We hope you all enjoyed this tutorial. If you are interested in learning more or purchasing the SLR Lounge Lightroom Presets v5, please click any of the links in this article. Also, remember that the SLR Lounge Lightroom Workshop Collection not only includes the Preset System, but also full A to Z instruction on mastering Lightroom Image Processing, Organization and Workflow.
Stay tuned for more SLR Lounge Weekly Edits!