
Sharpness an important factor in photography. An image capturing a beautiful moment or great expression can be ruined if the image lacks sharpness. Of course, a great image doesn’t always need to be tack sharp, but without creative intention, a blurry image can look like a mistake and lack a professional look. In this article, we’ll teach you how to take sharp photos with 12 essential tips. We’ll guide you through techniques, settings, and practices, ensuring that your images always hit the mark. Dive in and make the blur a thing of the past!
Use a Fast Shutter Speed for Moving Subjects

Shutter speed is probably the first thing most of us think about when considering how to take sharp photos. Ensure that your shutter speed is fast enough to capture the motion and action. The exact number will depend on the speed of movement, but in general, start with at least 1/250 for moving subjects and increase from there. For fast moving objects, like flying birds or athletes running at full speed, try shutter speeds at 1/1000 and up.
Eliminate Camera Shake
Camera shake is one of the biggest culprits for a lack of sharpness. This is when movement of the camera causes blur in the photo. A good general rule to adhere to the the reciprocal rule. This means maintaining a shutter speed of at least the reciprocal of the focal length of your lens. For example, if you are shooting with a 400mm lens, then your shutter speed should be no slower than 1/400.
If you’re handholding your camera, make sure you switch on any vibration reduction that your lens may have built-in. Not all lenses come with this, but if you have it, use it when hand holding your camera. See more in the video below:
Use a High Lens Quality
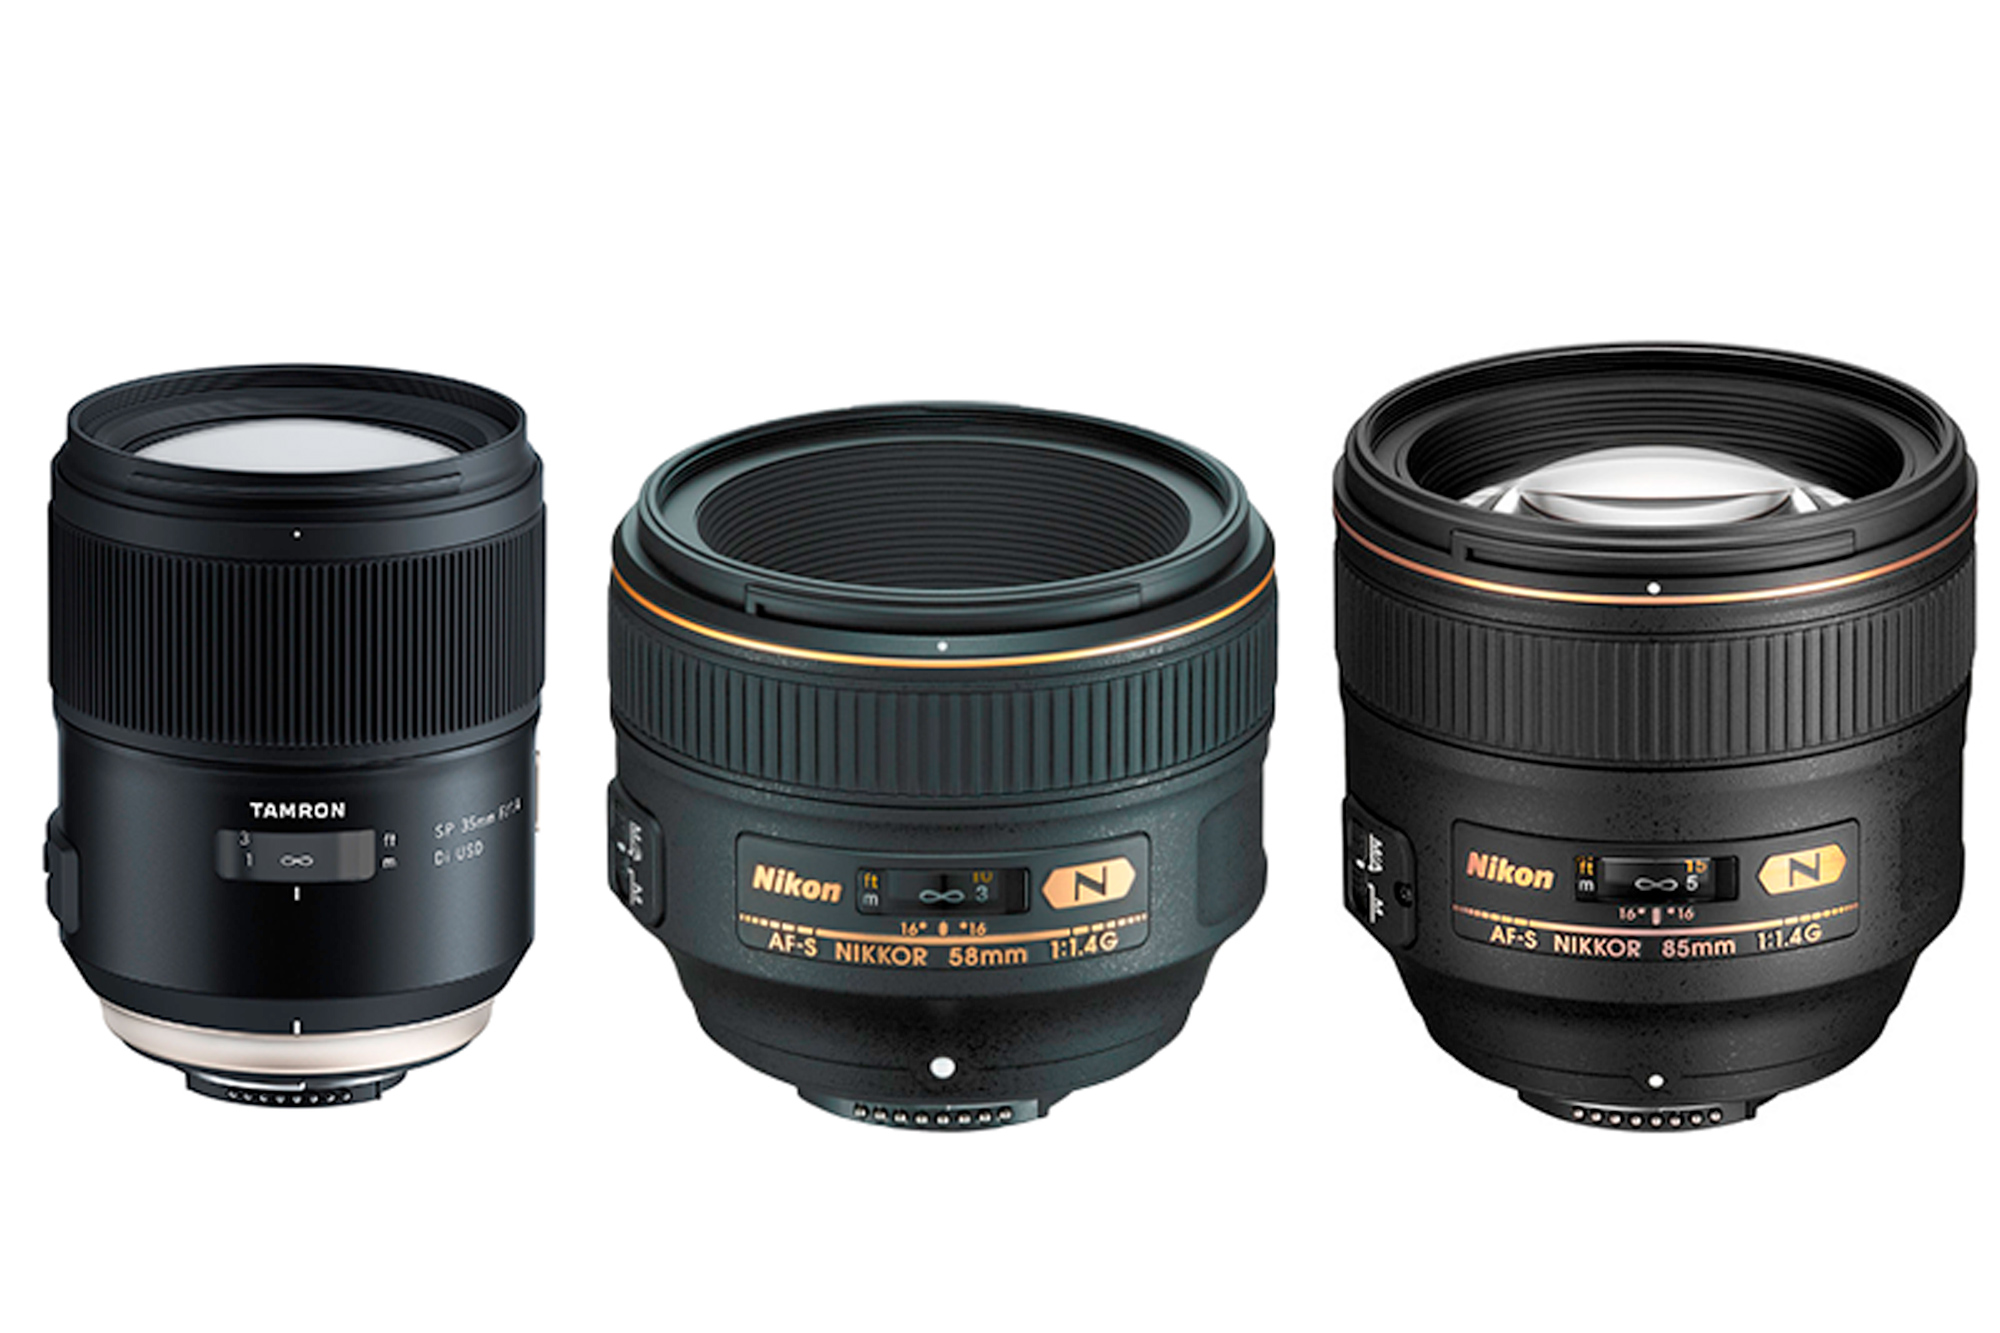
The quality of the “glass” (lens) contributes to image sharpness, contrast and saturation. The lens is what your camera is looking through to take the image after all. If you look through a dirty window, then the scene outside is less clear.
For the most part, professional series Nikon and Canon lenses produce sharper images than cheaper lens models or third party lens manufacturers. However, this generalization does not apply to all lenses, and some tests for select lenses have claimed better overall sharpness from third party manufacturers than their Nikon or Canon counterparts. Does this mean you should buy third party glass? Usage and budget are important factors; but keep in mind that cheap glass, in general, will put you at a disadvantage when trying to create tack-sharp images. You should almost always be prioritizing your lens over the camera. A flagship DSLR camera won’t take better quality images through a poor quality lens, but even an entry level camera will record higher quality images through a better lens.
Find the Ideal Aperture For Your Lens
Aperture is probably the last thing you would think of when it comes to obtaining tack-sharp images. However, it is one of the largest determining factors of shooting tack-sharp images. We all know that aperture controls your depth of field. However, did you know that shooting the exact same shot with the exact same focal point will yield different levels of sharpness at different apertures? For example, if you focus on the nose of a face at F1.4 and with the exact same exposure value and composition, shoot the same face at F4.0, the nose will actually be sharper in the image shot at F4.0. This is simply because each lens has a “sweet spot.”
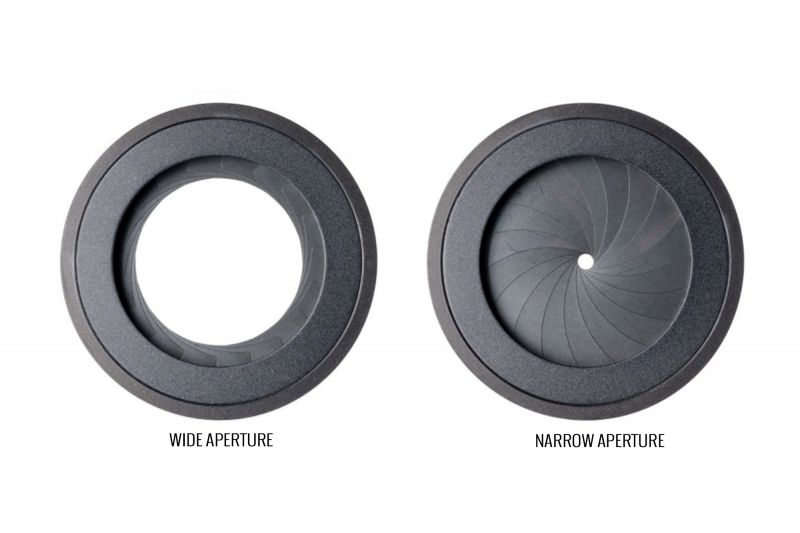
Shooting at your lenses sweet spot will improve sharpness, contrast and saturation. Now you may be thinking, “well how do I find the sweet spot on my lens?” There are several rules of thumb, but the most prevalent is that your sweet spot is around 2 full stops above your lens’ minimum (widest) aperture. Depending on the lens, this will be in the range of F4-F11 or so. Keep in mind though, raising your aperture too high (small) will result in aperture diffraction, another phenomenon that will reduce overall clarity.
Find The Ideal Area of The Image
In composing your shots, keep in mind that different areas of the image will be softer (less sharp) than others. The center of your frame will almost always be your sharpest point, while the image will only get softer as you continue to the edge of the frame. While shooting your subject off-center for composition purposes is often necessary, it isn’t in your best interest to compose shots carelessly because you are relying on cropping the image down in post production. In general, areas away from the center will be less sharp relative to the center at wider apertures (F1.4, F2.8, etc), while areas away from the center will have similar sharpness as the center at smaller apertures (F8, F11, etc).
Ensure Proper Lens Calibration

Did you know that you can calibrate and fine-tune your lens, so the focus performs more accurately? For Nikon users, this will be under ‘AF Fine-Tune’ in your menu. This is particularly useful if you find that your photos are always just a little out of focus, but you are convinced that your technique is not flawed. There are pieces of equipment for calibration, such as the Spyder LensCal, which can help you to accurately fine-tune your lens. For more information, see our article on how to calibrate your lenses.
Use a Tripod or Monopod If Necessary

If you don’t absolutely need to handhold your camera, then use a tripod. Not only does it eliminate camera shake, it helps you to compose your shots better. If you’re handholding (especially with heavy lenses), you may well find that you sway slightly.
Avoid The Focus Recompose Technique
When working with a shallow depth of field, you may have a very small amount actually in focus. Depending on the focal length of your lens, distance to your subject, and the aperture you have chosen, you may have anything from a few inches to a couple of millimeters in focus.
Focus recompose is a technique made popular by cameras that possess some focus points that, putting it kindly, are best avoided (think Canon 5D Mark II). When using cameras like that, photographers often stick to using the center focus point (normally the best) and then recomposing the frame once they have gained focus. The key point here is that by doing so, they have to move the camera. If your depth of field is only as wide as an eyelash, then you could very easily shift that focus with your movement.
Instead, try to select the focus point as near as possible to the point in your scene that you are focusing on, thereby reducing or removing altogether the possibility of losing your focus as you recompose your shot.
Choose Your Focus Points
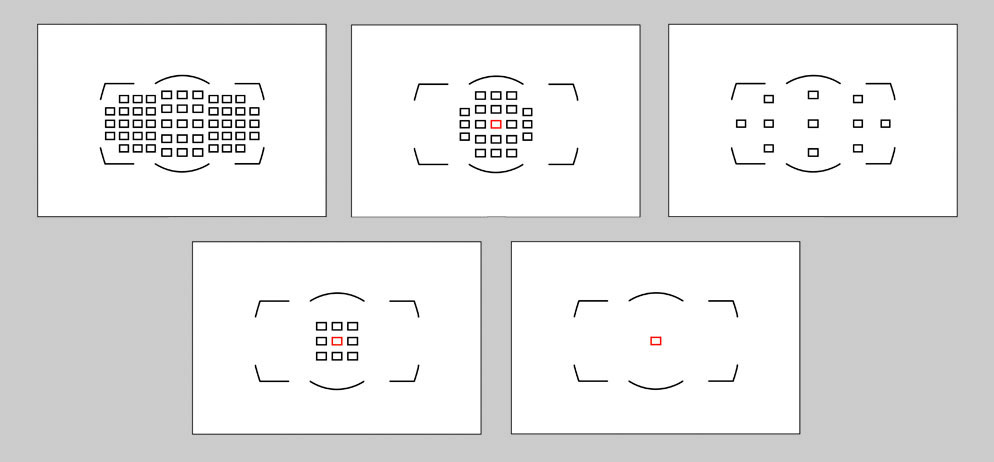
When you’re focusing, make sure that you are using single-point focus. Cameras using multiple focus points to select the focus often choose the focus incorrectly. This is particularly true of modes like AF-area (Nikon cameras) and photographers often find the camera focusing in the wrong area. For example, when photographing an animal you want the focus to be on the eyes. But cameras often choose the largest area of the subject, and land the focus on the body. This leaves the head slightly out of focus in comparison to the focus point, and it can ruin a photo in an instant.
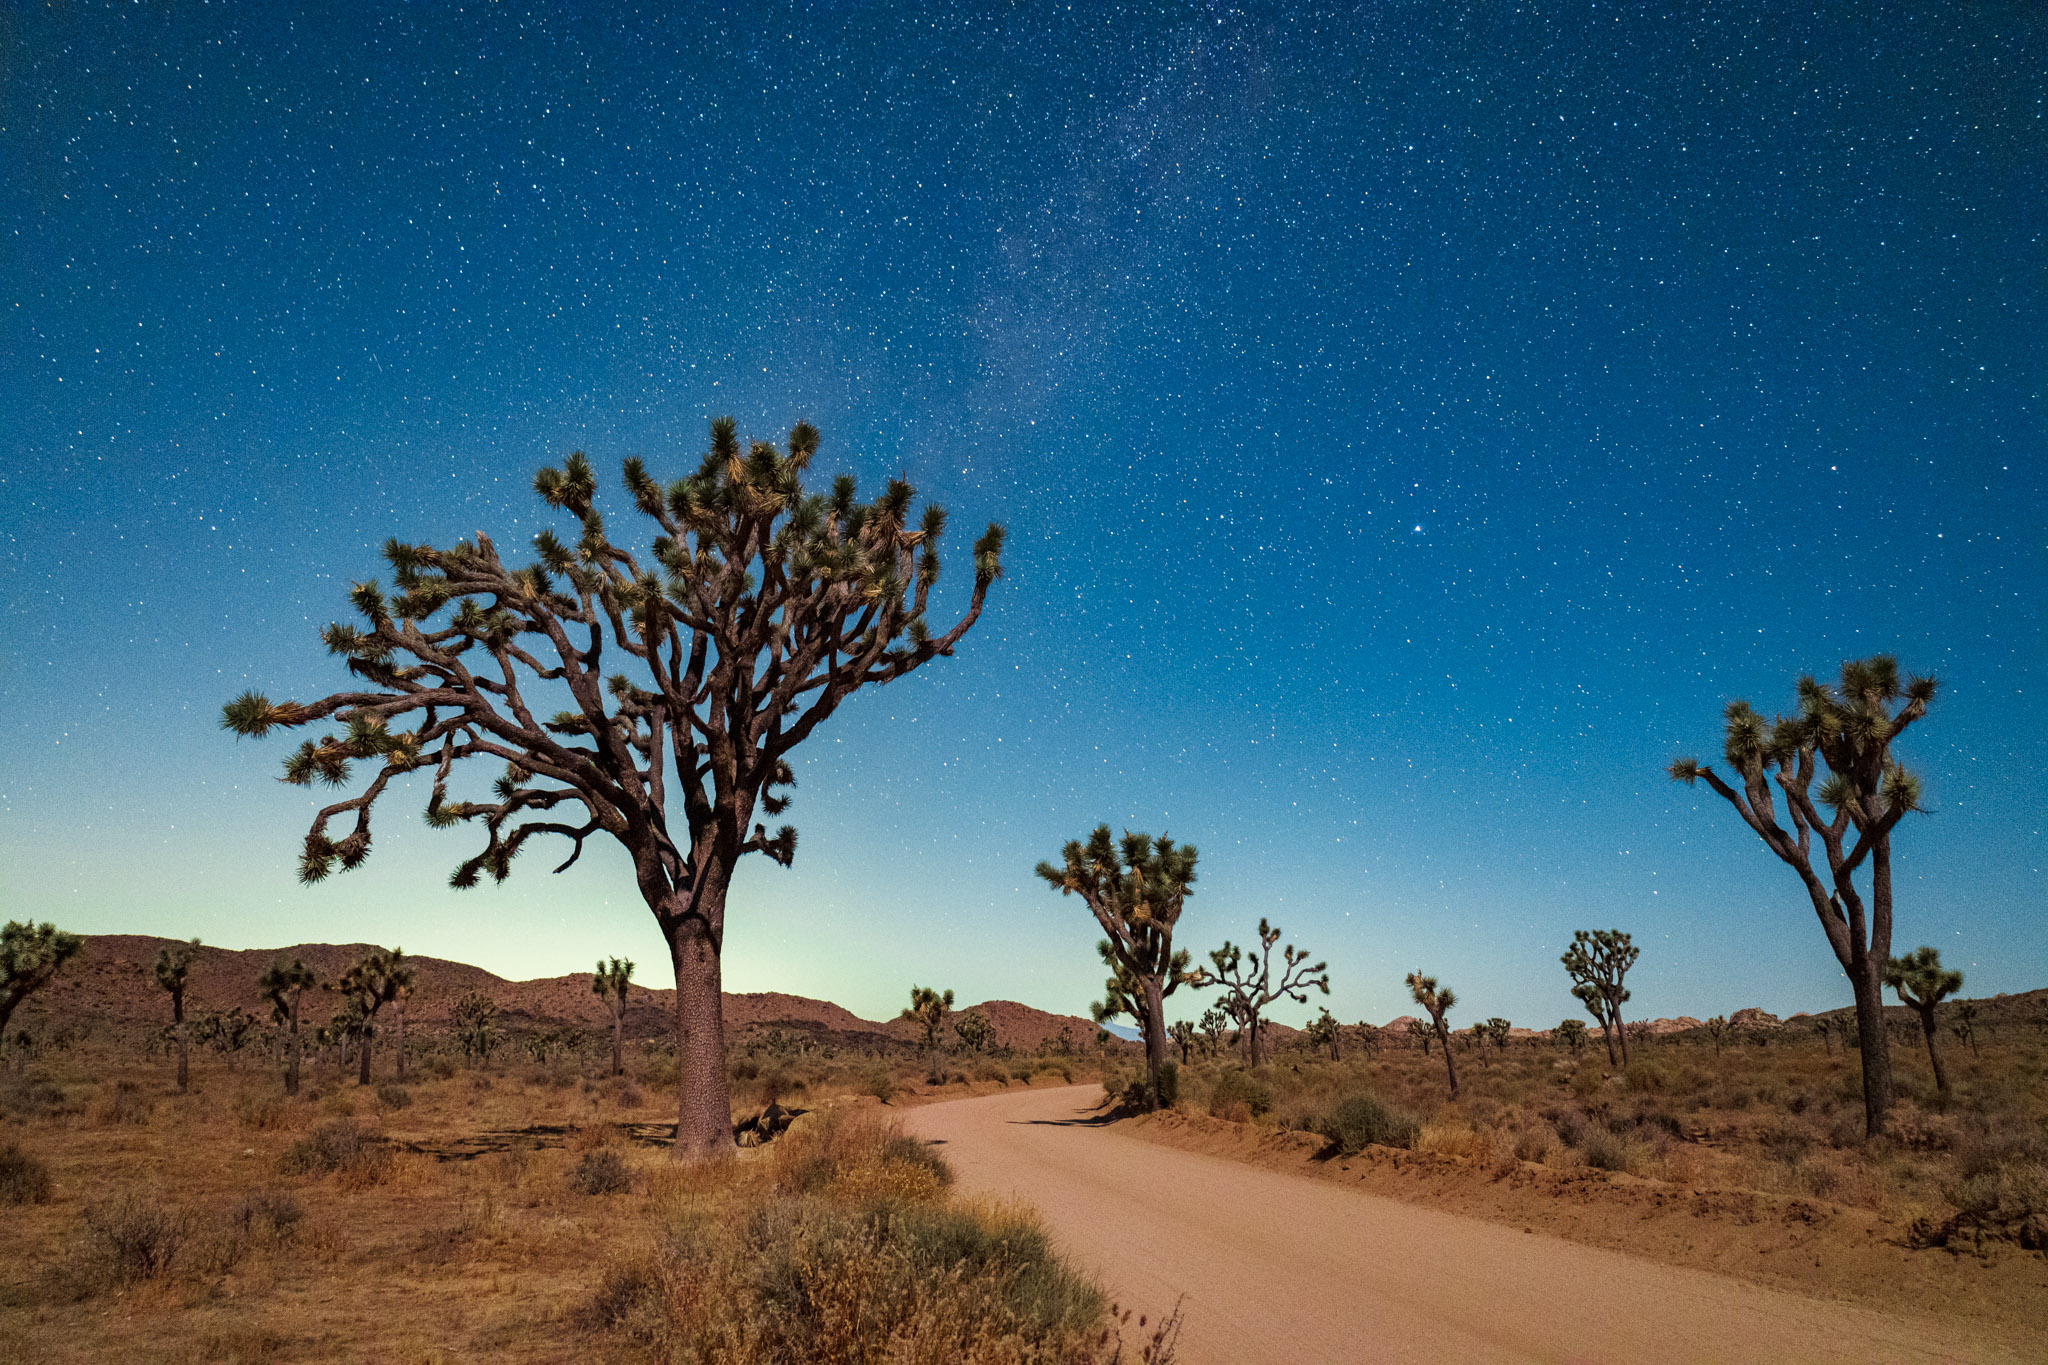
Try to Manual Focus (If needed)
Manual focus is not always appropriate, but it is mostly the friend of landscape photographers. Use the live view on your camera and zoom in digitally to achieve proper focus. Make sure that you have set the lens to manual focus mode, or when you press the shutter, you’ll just alter the focus automatically again.
Sharpen in Post Production (As Needed)
All those super sharp photos you see online will definitely have had some sharpening work done to them during post processing. This is completely normal in the industry and, in fact, it is necessary, especially for showing photos off-online. When you reduce the size of a photo from 1000s of pixels wide, to, say, 800px wide to show online, the sharpness of the photo is reduced due to the compression. Image Sharpening is required just to bring it back to normal. But the same goes for the high-resolution files, too – sharpening is necessary in most cases. Learn how to properly sharpen your photos in your editing software and watch your photos come to life. You can also try AI Sharpening software like Topaz Labs to sharpen blurry photos.
Watch for Graininess Caused by High ISO

While ISO speeds up the process in which your film/sensor absorbs light, it also adds grain to your image. Too much grain destroys detail/sharpness in the image. The higher your ISO setting, the more detail is destroyed. New professional DSLR cameras can shoot at much higher ISO settings while retaining much of the image detail. However, with the proper lighting, it is usually best practice to shoot at the lowest ISO setting possible.
Conclusion
We’re always aiming for an image that is as sharp as possible, but is it the end of the world if we’re a little off? The answer to this question will depend on what you are shooting. With product photography, yes it matters. Whereas, a portrait of a couple, family photo, and many other instances are a little less crucial. If you are already working with a very shallow depth of field, then your images will have a very soft quality to them anyhow. In my opinion (and some of you may disagree), we can extend our range of what we call “acceptably in focus.” In terms of what is acceptable, you must use your own judgement. But don’t simply discard an image if the focus is a little off.


