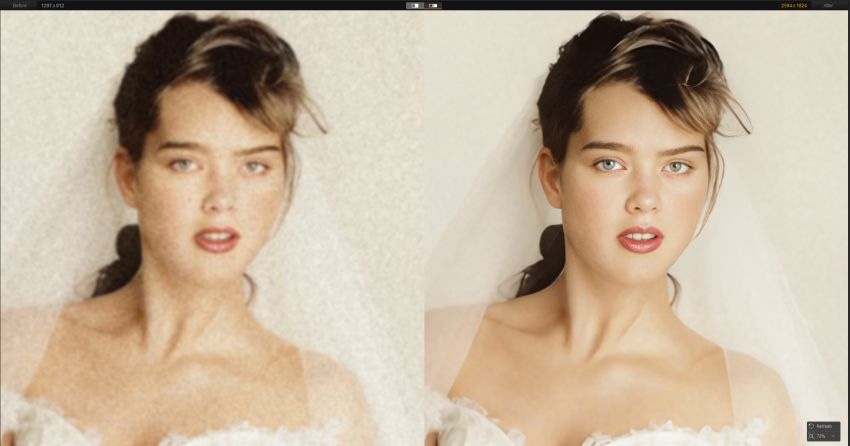
Smartphone photography is on the rise and so are the number of apps to accommodate quick photo editing. One of these apps is FaceTune, number 16 in the photo & video category on iTunes with over 105K ratings. The app promises quick and easy “selfie editing” with features that include retouching, teeth whitening, and much more. Think of this app like a mobile-only, lightweight version of Portrait Pro or Luminar 4.
As with any photo editing software, we always recommend to keep things subtle. We generally avoid any of the features that change the structure of a face, shrink or widen a body part, etc and stick with an editing style that makes the subjects look like themselves. But that’s a discussion for another article. For this article, we’re giving you a basic primer on how to use the app.
What is Facetune?
As mentioned, Facetune is a photo editing app specifically for selfies and portraits. In addition to editing static photos, you can also use their Facetune video app to apply similar effects to videos. Facetune has also recently released Seen, an app that provides animations and graphic editing functionalities for Instagram Stories.

How Much Does Facetune Cost?
You can use the free version of Facetune, but for most of the worthwhile features, you’ll have to use the paid version.

What Are Facetune’s Main Features?
Facetune offers a ton of editing features. Here are some of the top functions you will use after downloading the Facetune selfie editor app.
Retouch – Retouch is where you’ll handle the basic photo edits. You can use the automatic retouch feature or dive into the many functions yourself.

Whiten – The whiten function is marked by a smile icon. This function whitens both teeth and other white elements as needed, such as white accents on a mural background.
Heal, Smooth, and Smoother – The heal function is marked by a bandage and lets you spot-treat blemishes. This function works hand-in-hand with smooth and smoother for a flawless complexion.
Texture – The texture feature lets you add a fine texture to your skin to look more realistic after the smoothing process is done.
Details and Sharpen – Details make your eyes and accessories pop in the picture. This feature goes well with sharpening, which intensifies lines and colors in the image.
Structure – The structure feature is perfect for highlighting your best features, such as your hair, strong eyebrows, or fashionable clothing.
Glow and Vibrance – As the name indicates, the glow feature gives your skin a glow. You can use this when the lighting is a little off. Vibrance is exactly like it sounds and makes the colors in the photo more intense.
Cleanse and Conceal – The cleanse button helps minimize pores and eliminate blackheads from your image.
B&W – The B&W feature allows you to make a portion of your photo grayscale while leaving other colorful elements.
Face – The face features lets you adjust your facial structure and highlight individual features, including your eyes, eyebrows, lips, smile, and nose.
Reshape – The reshape feature allows you to target specific areas and make them bigger or smaller, with a restore button in case you overdo it. As mentioned, these are the features of photo editing software that we do not recommend using.
Filters -The filters are all categorized by an overarching theme, then show previews of each sub-filter to help you decide which looks best.

Paint – The paint feature lets you spot treat your skin tone, add some faux foundation, and add glitter.
Backdrop – With this feature, you can replace the background with another image or preset backdrop.
Patch – You can use the patch to highlight a blemish and replace it with a sample of your blemish-free skin.
Relight – Use the relight photo to change the angle of the lighting and alter your shadows.
Tips for Using FaceTune
Below are a few tips for getting the most out of Facetune.
Less is More – Do not overdo it! Facetune can be great for subtle changes, but if you take your sliders too far, the image can quickly become unnatural.
Make Sure It’s Still You! We don’t recommend using the features that change the structure of your face. Use the app for subtle tweaks, minor improvements, and creative effects.
Have Fun! Remember that this is a fun tool for improving portraits and selfies for social media and small screens. Don’t get too caught up trying to perfect each and every image, and most importantly, don’t let yourself become obsessed with creating perfect, unrealistic and idealized versions of yourself.
Notice that these FaceTune tips are similar to the tips we provide for any face altering software, such as Portrait Pro.
Conclusion
In conclusion, the rise of smartphone photography has led to an increasing number of apps dedicated to quick photo editing, with Facetune2 standing out as a popular choice in the photo & video category on iTunes. As a specialized selfie editing app, Facetune offers a range of features to enhance portraits and selfies, promising quick and easy improvements. However, it is essential to approach photo editing with caution, remembering that subtlety is key to achieving natural-looking results.
Facetune provides various tools for retouching, whitening teeth, smoothing skin, adding texture, enhancing details, and adjusting colors and lighting. While these features can be fun and useful for small improvements, it is crucial to avoid excessive alterations that drastically change facial structures or body proportions, as such edits may lead to unrealistic and idealized representations of oneself.
The app’s free version offers basic functionalities, but for more advanced and worthwhile features, users will need to explore the paid version. To get the most out of Facetune, it’s essential to exercise restraint and use the app to enhance, not transform, the original image. Embracing imperfections and celebrating individuality can result in more authentic and relatable photos.