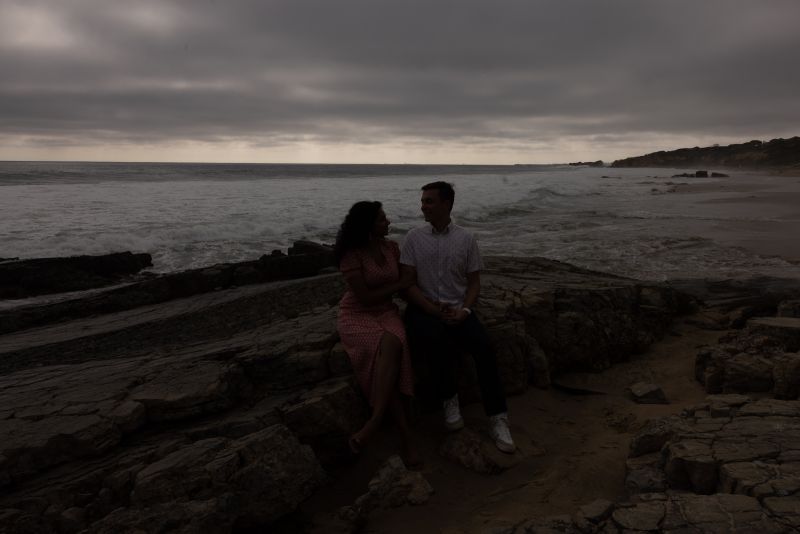
Using just our cameras, lights, and modifiers, we can significantly change the look of the scenes we’re photographing, in-camera. There’s no need to add magic in post. For example, a simple way to dramatically alter the look of a scene involves the use of off-camera flash and some colorful gels. In the video below, we’ll demonstrate how to use this creative color effects technique to change the color and mood in your photos. You’ll also learn which gels to use to get the exact color you want within your scene, regardless of the colors present outside of your camera.
Let’s jump in.
Video Tutorial
Gear Checklist
To execute this technique, we used the following gear:
- Off-camera flash (Profoto B10+ – use anything with 250 watt seconds or more of power)
- MagBox Pro 24
- MagBox Pro Speedring for Profoto
- MagGrip 2
- MagGels (Correction Gels – We used 1/2 CTO, 1/2 CTB – Blue, and 1/2 Plusgreen)
- MagGrid (optional)
Use Color Gels for Creative Color Effects
As you’ll see in the examples below, you can use color gels to transform the color and mood of your photos. We’ll start with the most common, the CTO gel, and then walk through some other examples using different color gels.
Be sure to use the C.A.M.P. Framework when using this technique for creative color effects.
Step 1. The Standard Shot – Natural Light
You’ll want to dial in a darker ambient exposure (than what the eye sees) to create a nice dramatic shot with flash.

Next, underexposed without flash:

And finally, underexposed with flash.

Be sure to capture a plate shot (without the lighting assistant in the frame) so that you can quickly edit the lighting assistant out for the final image.
Step 2. CTO Gel

Depending on your white balance settings, the CTO might make your subject look too warm. What works for natural light images won’t work once you’ve added the gels. To fix the issue, simply adjust your white balance in-camera.
Step 3. White Balance

In order to fix the overly warm looking subjects, we shifted our white balance from 6,000K to 4,300K and adjusted the tint (+11 magenta). This helped balance out the hue of our subject’s skin tone.
Tip for Correcting Creative Color Effects
The following tips will help you know which color gel you’ll need to get the background color you want while keeping the skin tones on your subjects looking normal. You can use the color wheel to help.
Orange Subject – Add Blue
If the light on your subject is orange, add blue to compensate. Everything in the scene will turn more BLUE when you compensate for the orange gel.
Green Subject – Add Magenta
If the light on your subject is green, add magenta. This will neutralize your subject’s skin tones while adding pink and purple hues to the scene.
Blue Subject – Add Orange
What if the light on your subject is blue? Simply add warmth or orange which will make everything in the scene go more orange.
Step 4. Finalize in Post
Finalize your photos in post.
Final Images for Creative Color Effects Using Color Gels


Get Connected!