
I’m a beauty and fashion photographer based out of London, UK. Working in high-pressure environments such as large-scale commercial fashion studios, a reliable, fast and most importantly –colour accurate– RAW converter is as important for me as trustworthy camera and lighting equipment.
Having been a Capture One user for many years I get excited about the company’s constant urge to improve the product and add new, useful features along the way. Today they launched Capture One 11.1 so here is an overview of what you can expect from the upgrade and my experience using the new features this week!
I was most excited about this version’s promise to enhance my educational experience through an improved support platform. Say hello to intuitive problem solving and learning in the face-lifted Resource Hub!
Along with the shiny new Resource Hub comes some nifty new features such as an improved Styles and Presets workflow, new tools, support for 11 new cameras and 10 new lenses.
New Features and Tools in Capture One 11.1
Firstly.. there’s a new tool on the block! Say ‘hi’ to the Normalisation Tool! I shall give you a proper intro to this gem shortly…
Furthermore, 11.1 bring enhanced LCC presets and an expanded Apple script for the industrial and high-volume users amongst us, as well as a bonus style pack for the portrait, wedding and landscape photographers looking to add a little “flair” to their work.In regards to performance, the import of large collections on a Mac has become even faster, while locating directories in catalogs is now speedier for Windows users.
Other significant changes include the Customisation Toolbar now supporting Icon and Text when selected on Mac and the faster tethering performance for Windows users.
Amongst other components, tethering speed has always been a key selling point for me and the latest updates did not disappoint. Nothing is more frustrating than waiting for an image to tether in a high volume studio environment demanding items to be shot and processed within minutes. C1’s speed remains unrivaled.
Enough facts, let’s see how these features helped me.
Normalisation Tool
With the introduction of the Normalisation Tool now comes the ability to create Style Layers from the Styles Tool, giving me (and you) the ability to set a reference point for exposure and white balance for batch adjustments. Whereas in the past the only option was a neutral grey, any color can now be sampled as a reference point.
How is this helpful, you ask? This tool was designed to make life easier when making baseline correction to images as it allows you to “store” any RGB values in a picker, on which to later base corrective White Balance and Exposure values in the target image.
In other words, this tool comes in handy when you’re looking to correct difficult images or to align varied exposures.
Of course, in a confined, never changing studio environment you won’t normally come across this problem, but here is where I found it useful.
Shooting outdoors has always flustered me (especially here in the UK, where we can experience 4 different climates within one morning…), I like my consistency, and on the rare occasion of having a bright day, every tiny cloud can challenge this consistency.
After an outdoors beauty test I imported my images into C1 and skin colour, clothing colour and exposure were anything but uniform.

The Normalisation Tool gave me the chance to pick areas of colour in the image I like and adjust the images where exposure and white balanced differed to that of my “hero” shot.
You can switch between your “picker” and “apply” eye droppers and wait for it to do its magic. Useful not only for skin tones but also items of clothing.

Styles and Presets Workflow
Capture One 11.1’s new workflow provides a speedier way to apply both Styles and Presets to a layer on 1 or multiple images, adding direct control of their opacity.
After Capture One 11 introduced the ability to apply styles and presets to layers, the access to this element has now been improved by adding a new feature to the Styles Tool.
When right-clicking on a style you’re now given the option to choose between applying your style to the Background, to a New Layer or to your Current Layer.

This saves tons of time compared to before when you’d have to first make a fill layer, apply the style, name the layers… this is now done for you at the click of a drop-down menu. Much more intuitive in my opinion!
Capture One 11.1 comes with a little Easter Egg, a style pack called “Spring” already included in the download, consisting of a set of pastel styles especially helpful for wedding, portrait and landscape photographers.

Styles included in previous versions have now been filed into a folder called LEGACY.
When it comes to colour toning I enjoy playing with existing styles, this often gives me a clearer idea of what might look nice in an image. Being able to easily add one (or more!) layers to an image and adjust them within seconds makes experimenting a lot more effortless for me. Less faffing. More creating!
The most exciting announcement of the day!
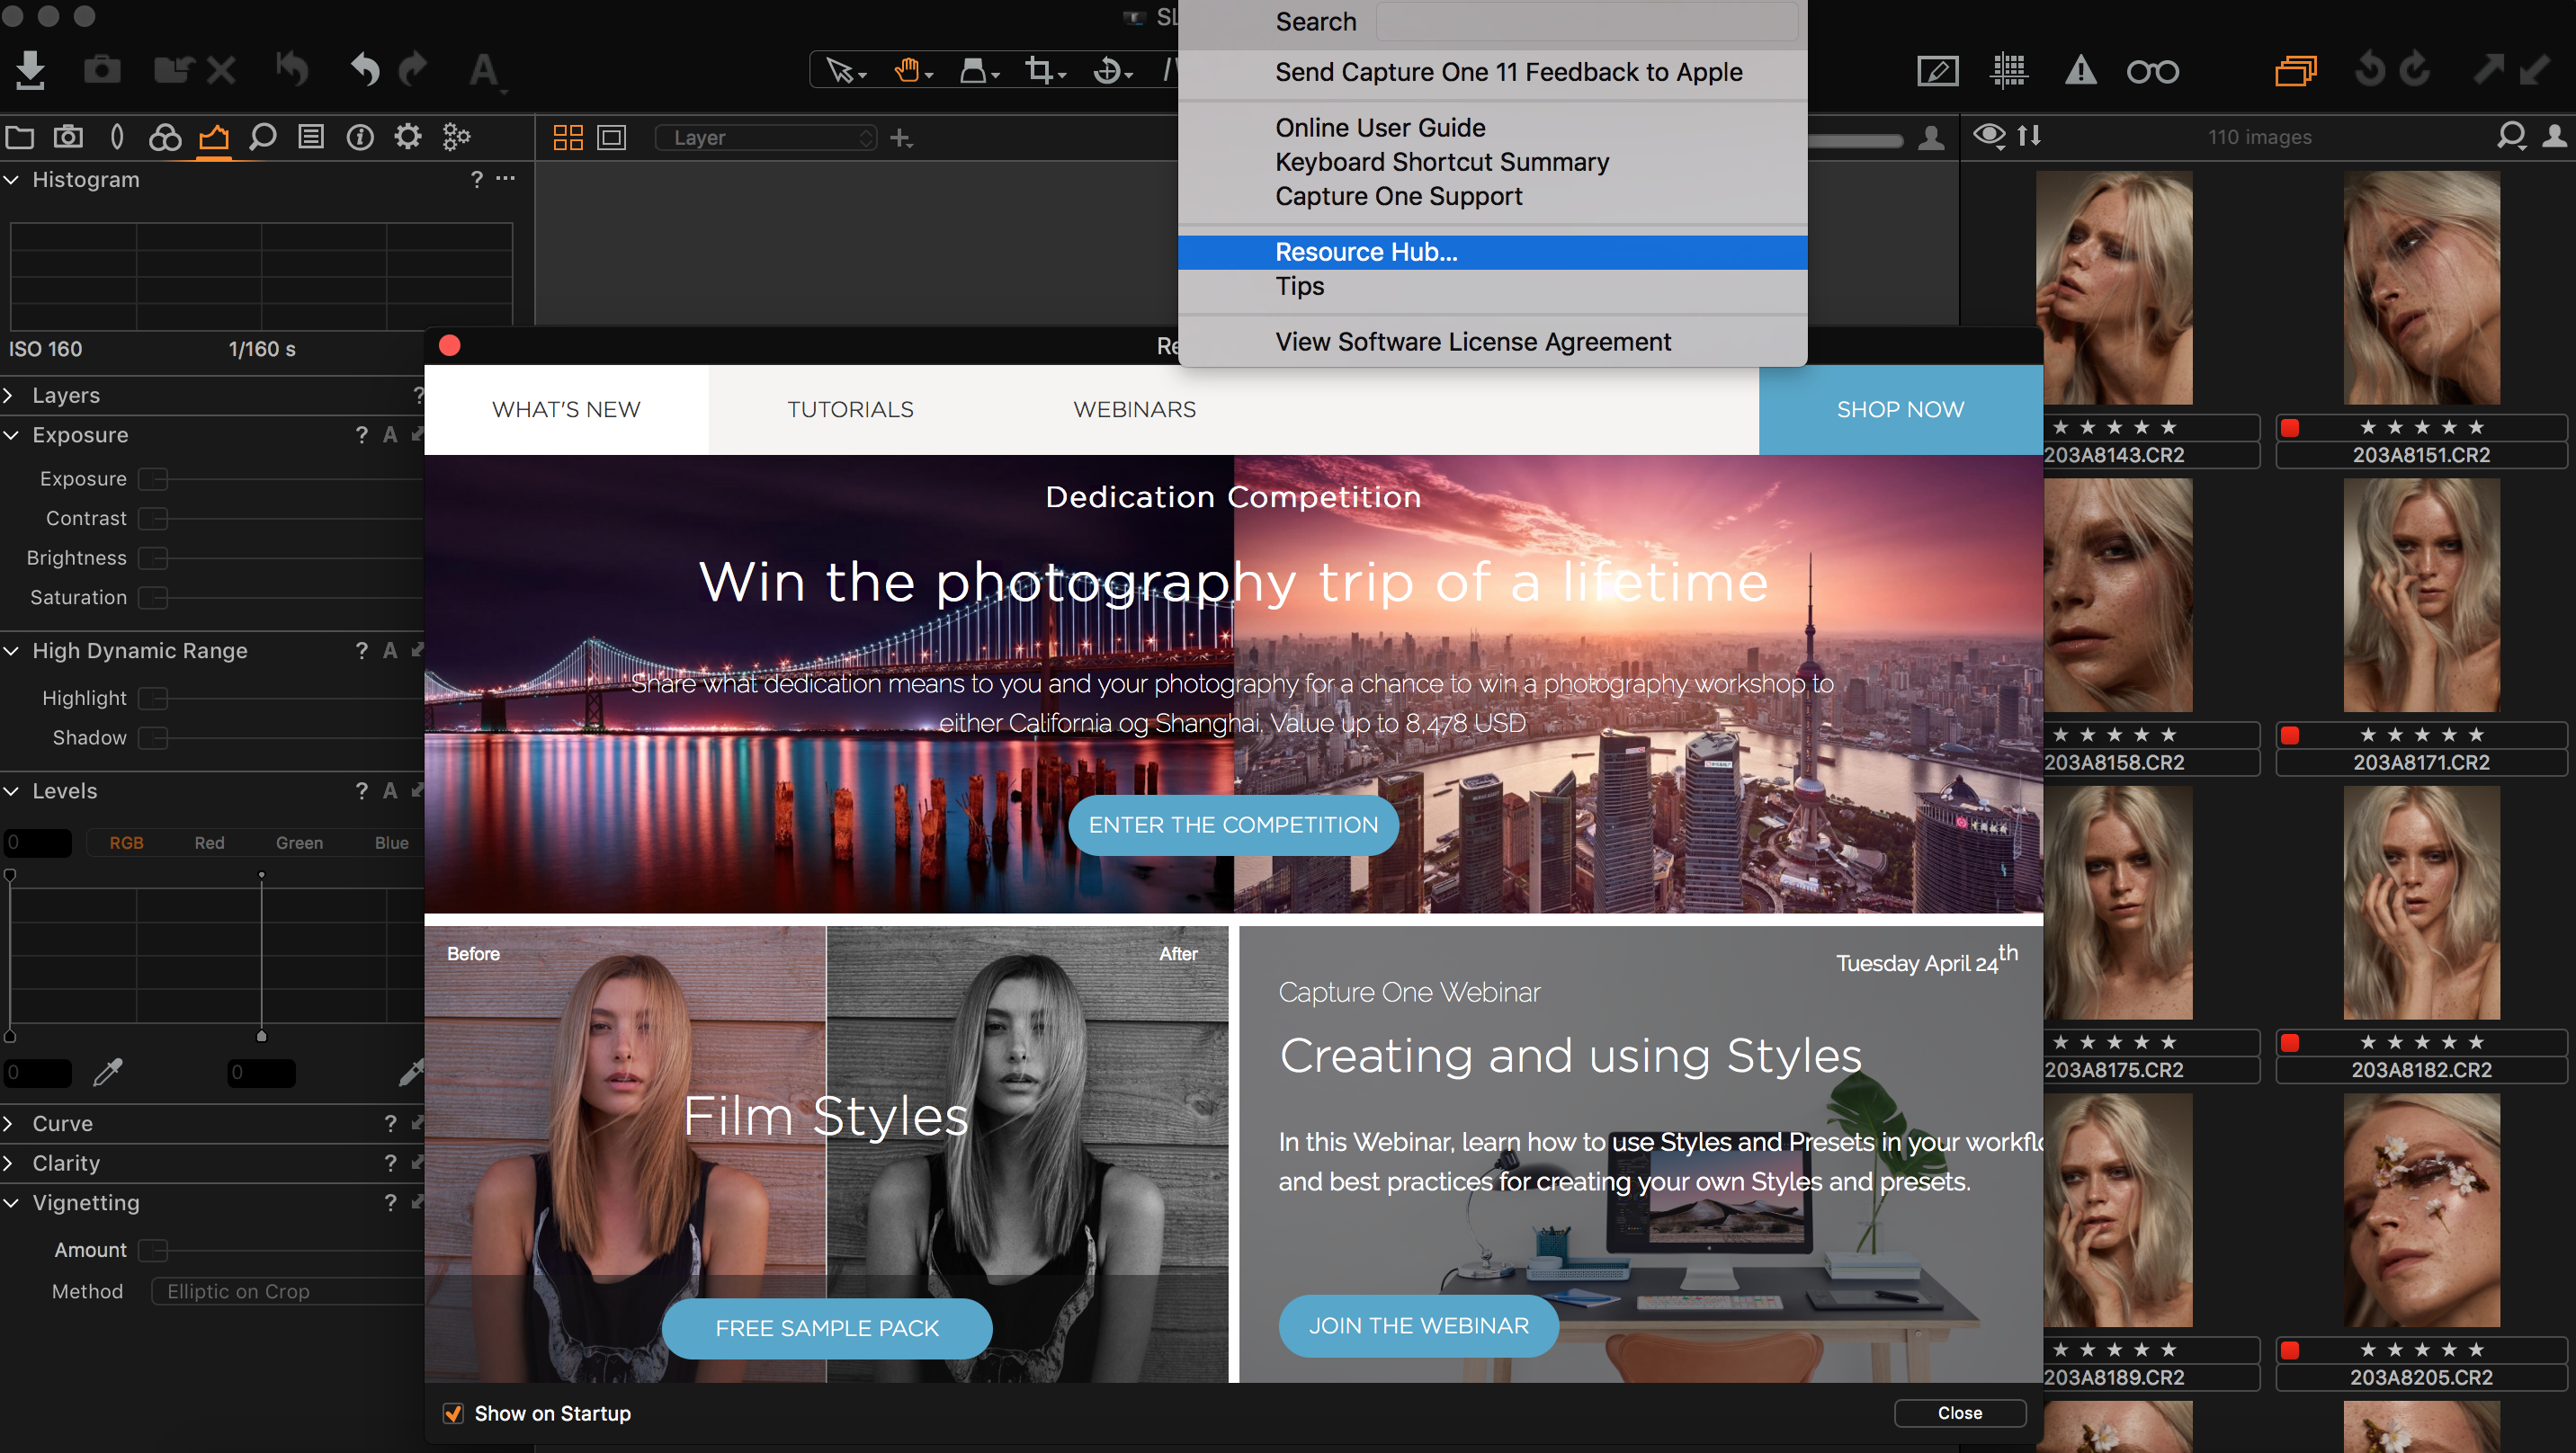
The shiny, improved Resource Hub has been launched to offer Capture One users quick access to free learning resources via a dynamic on-screen portal.
Tutorials, news, webinars, blog posts and help is now available at our fingertips, presenting one convenient location to improve the user experience and education while using the software.
The new hub looks far prettier than the previous one most of us most likely turned off (you can reactivate it in the help menu by the way), way more engaging and informative and I will happily use this as a resource for news and blog posts, rather than the static pop up I couldn’t click away from fast enough.
In the past I’d have ventured into the depth of the website for answers whereas now I have easy access within the program.
New Camera and Lens Support
In a mission to provide as many of us with access to the best out-of-box experience with natural profiles, 11 new cameras and 10 new lenses are now supported by Capture One 11.1 adding to the more than 500 cameras the software supports today.
Amongst the additions are the including the Sony A7iii, Fuji X-H1, GH5S, and multiple Tamron lenses for both Nikon and Canon.
For more info check this article for the press release.
What’s The Verdict.
For those still using older versions of the software, the new features that have been introduced with each update will make your life as a working photographer so much easier.


Get Connected!