The world of light modifiers can seem monumental, intimidating, and confusing. In fact, considering how simple wireless flash itself has gotten lately, (with built-in radio triggers on many strobes) it is indeed the flash modifiers, not the flashes and strobes themselves, that are likely the most daunting obstacle that stops beginners from taking their portrait lighting skills to the next level! If you’re looking for the best speedlights and strobes check out this article before making your next photography lighting purchase.
Of course to learn even more about lighting modifiers and how to use them in all different kinds of portraiture situations, be sure to check out our Flash Photography Training System which includes our best-selling lighting courses:
- Lighting 101: The Fundamentals of Flash Photography (On-Camera Flash Mastery)
- Lighting 201: Single Source Off-Camera Light Shaping
- Lighting 3: Location Lighting for Dramatic Portraits (Advanced Off-Camera Flash)
- Lighting 4: Creating Every Natural Light Effect Using Flash
For each modifier, we will include a description, pros & cons, and uses for various lighting gear and sources. There is something in this article for everyone, no matter what the budget.
Reflectors

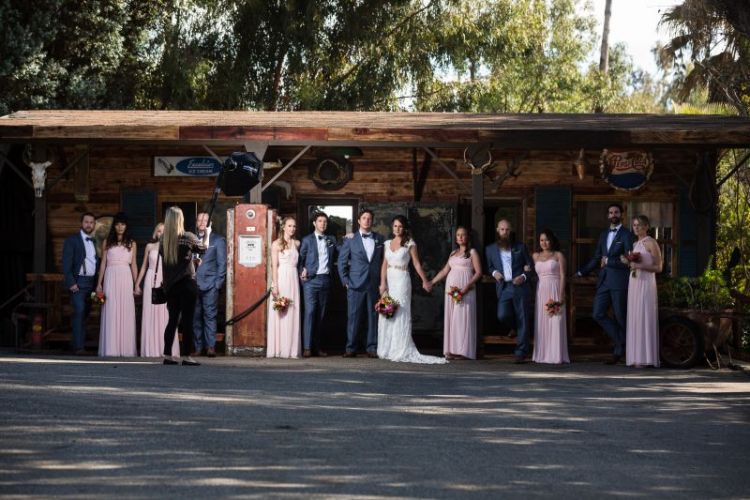
DESCRIPTION: When shooting outdoors, reflectors are extremely powerful tools, and when used correctly they can be used as the main light, fill light, rim light, etc. You can bounce a flash off of the reflector or simple angle it to catch sunlight and push that light towards the subject.
PROS: One of the cheapest, fastest ways to create and control soft light sources. Bouncing flash off a wall or ceiling is also very effective and simple. It’s also very portable compared to lugging around a softbox or light stands.
CONS: Reflectors can waste light power, (brightness) and your non-reflector bounce options are extremely limited if a ceiling is high, or any off-white color. It can be difficult to create consistent exposures, especially if an assistant is hand-holding a reflector and you’re bouncing flash from on-camera. You also risk losing a lot of light power since there isn’t much control from your on-camera flash.
USES: Active or fast-paced situations such as on-location sessions or lifestyle portrait shoots, where you want to create soft diffused light but need to be moving around a lot. Reflectors are more practical for sunlight, while on-camera flash-bouncing is more practical for indoor walls and ceilings. Here is a great example video that shows how you can use a simple on-camera flash and the white side of the reflector to create a portable softbox.
Scrims
DESCRIPTION: Diffuses sun, other natural light, or off-camera flash. The modifier (and flash) can be held by an assistant, or one or both can be on light stands. Instead of bouncing, light passes through a scrim and is diffused.
PROS: Big, soft light, not too wasteful, easy to set up, relatively cheap.
CONS: Light spills everywhere, and there is potential for unwanted shadows if the scrim cannot fully cover the entire subject from the sun or light source.
USES: Best used when you want to do two things at once: create shade from the sun, and add your own light to the equation. Usually, the most flexible uses are when framing waist-up or similarly close portraits. Otherwise, it’s slightly less practical and controllable compared to other light modifiers.
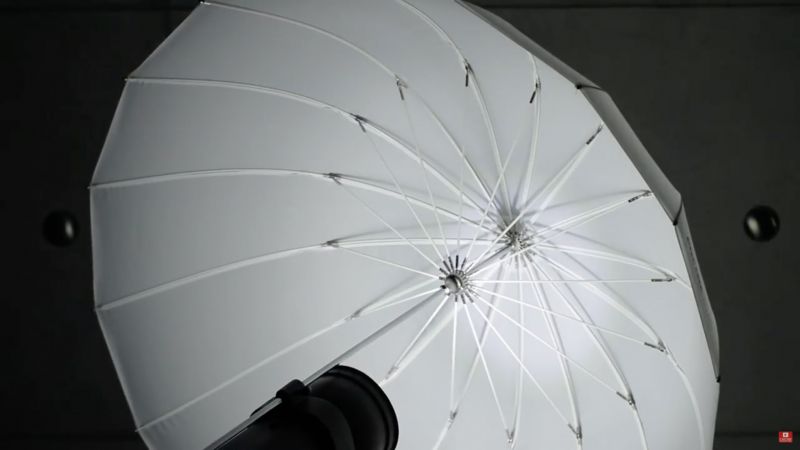
Shoot Through Umbrella
DESCRIPTION: best used for emulating soft, window light. A shoot-through umbrella uses off-camera flash, is collapsible, comes in various sizes, some cheap and some very expensive. Hands down one of the best modifiers to have in your kit.
PROS: Creates a soft and large light source that you can take with you no matter where you go.
CONS: Can be a little obtrusive because of the size. It has a wide spread because there is no cover for the umbrella, making it hard to control the light spill. Can create shadows on the wall that distinctly giveaway the type of light source used.
USES: Simple lighting setups where you need to quickly set up 1-2 lights, get a light source that is bigger than a bare strobe, yet still bright. Great for photographing large groups and soft portraits.
Rewind: Photography Lighting Equipment – The Best Light for Your Budget (2021 Update)
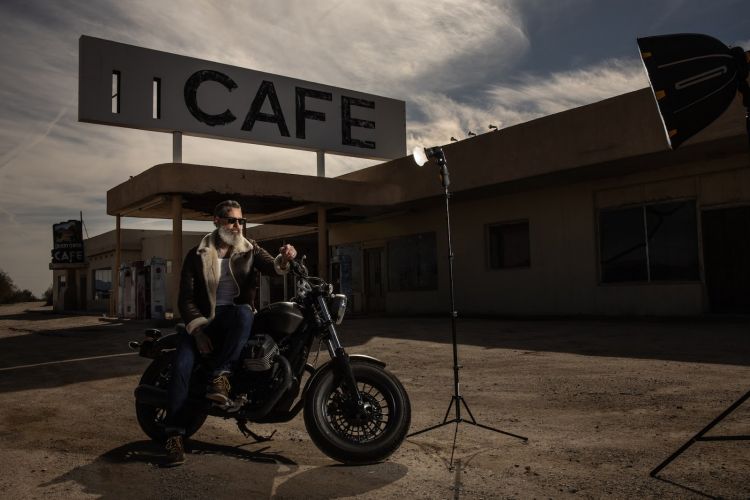
Softboxes or Octaboxes
 DESCRIPTION: Uses off-camera flash or strobes, is collapsible, all kinds of different varieties, some are super cheap and some are very expensive. Needs light stand, or “light on a stick” monopod. (See our Flash Training System for more!)
PROS: Great balance of portability and light control, doesn’t spill everywhere, much easier to get huge directional light sources especially if you have a grid. Many options are very affordable and fast to set up. (umbrella boxes)
CONS: Some options can be pricey, some aren’t exactly effortless to set up.
USES: The better your lighting is, the less post-production you’ll have to do, and the more clean and polished your images will look. A softbox is great for shooting a single subject, a couple, or an entire family, either in-studio or on-location. Add a flash grid to the softbox, if you’re in a setting where you want to minimize spill on foreground/background.
Here are some of the best softboxes for speedlights:
- MagMod MagBox
- Profoto 2′ Octagonal Off-Camera Flash Softbox
- Westcott Rapid Box 26″ Octa Softbox
- Glow EZ Lock Octa 48″
Beauty Dishes
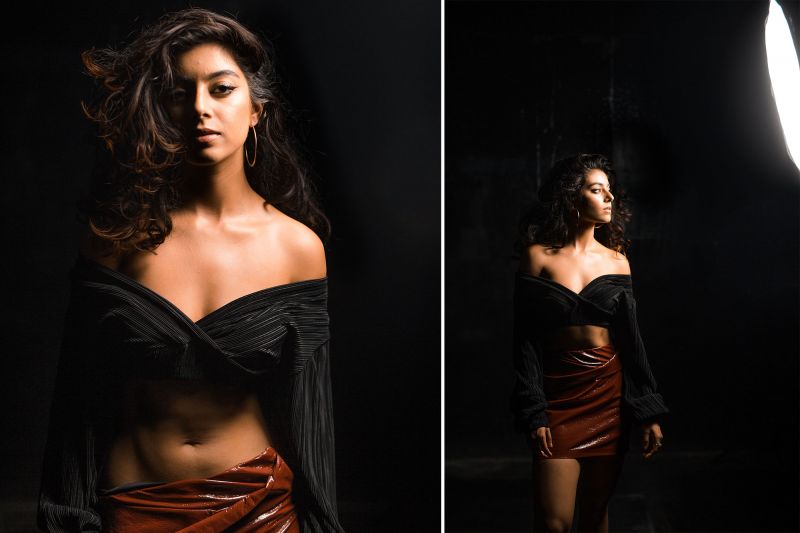
DESCRIPTION: Uses off-camera flash or strobes to create soft, beauty portraiture light. You can watch the full video on how we created the shot above here!
PROS: Very soft yet highly controllable quality of light, thanks to specific grid accessories.
CONS: Many do not collapse, require a lot of flash power, and can become rather expensive when buying a complete system.
USES: Anything from general portraiture to high-end fashion work, as long as you have the help (assistant) to manage it, and the time for setup and break-down. Very good at keeping light focused on the subject and off of the foreground/background, allowing you to shoot a very complex scene with ease.
- Profoto OCF 24″ Beauty Dish with Deflector Plate
- Profoto OCF Magnum Reflector
- Glow 22″ White Beauty Dish for Bowens Mount
Light Controlling Modifiers (Grids & Snoots)
 DESCRIPTION: Used to stop, cut down, or “shape” light direction or spill. (Usually when already using one of the previously mentioned light sources.)
PROS: Pin-point light-shaping abilities, similar to spotlight effect.
CONS: Some grids either cut too much light or not enough depending on the necessary modification. Usually, lower quality grids tend to have more light spill or less gradual light fall-off which defeats the purpose of using a grid.
USES: Small accents (hair, rim lighting, etc.) Also good for wide-angle shots that need a spotlight on a subject within a scene, anything from an environmental portrait to an ultra-wide angle first dance shot.
Speedlight Diffusion
 DESCRIPTION: Uses to diffuse or soften the light output of an on or off-camera flash.
PROS: Quick, simple soft or diffused light, highly portable, efficient.
CONS: Not soft enough or not softer than an umbrella. Some options still have some specularity. Each one of the options below does different things so please be aware of that prior to purchasing.
USES: When you wanted to soften or diffuse the light on your subject instead of pointing a bare bulb towards them. If you are working an event or wedding, having a softer or more diffused on-camera light source will yield better results.
- MagMod MagSphere
- Gary Fong Lightsphere
- Fstoppers Flash Disc Portable Speedlight Softbox
- MagMod MagBounce
Colored Gels for Flash

DESCRIPTION: Colored plastic sheets used to shift or correct the color of light output. Come in a variety of colors for creative or corrective purposes.
PROS: Ideal for shooting creative flash photography and an easy trick to transform a scene.
CONS: Must understand how each color affects each scene’s ambient light exposure in combination with your in-camera white balance. Sometimes, it can come off as cheesy or
USES: Creatively alter the look of your scene or correct skin tones to match the ambient light. Learn how to visually change your camera’s white balance here.
To learn more about lighting modifiers and how to use them in all different kinds of portrait shoots, be sure to check out our Flash Photography Training System, available for digital download and also as part of our SLR Lounge Premium subscription!


Get Connected!