If you had only one light for your portrait, where would you place it? Usually, we’d think of placing the light in front of the subject. In this video, I’ll show you an unconventional one light studio portrait setup that places the flash behind the subject.
Video: An Unconventional One Light Studio Portrait Setup
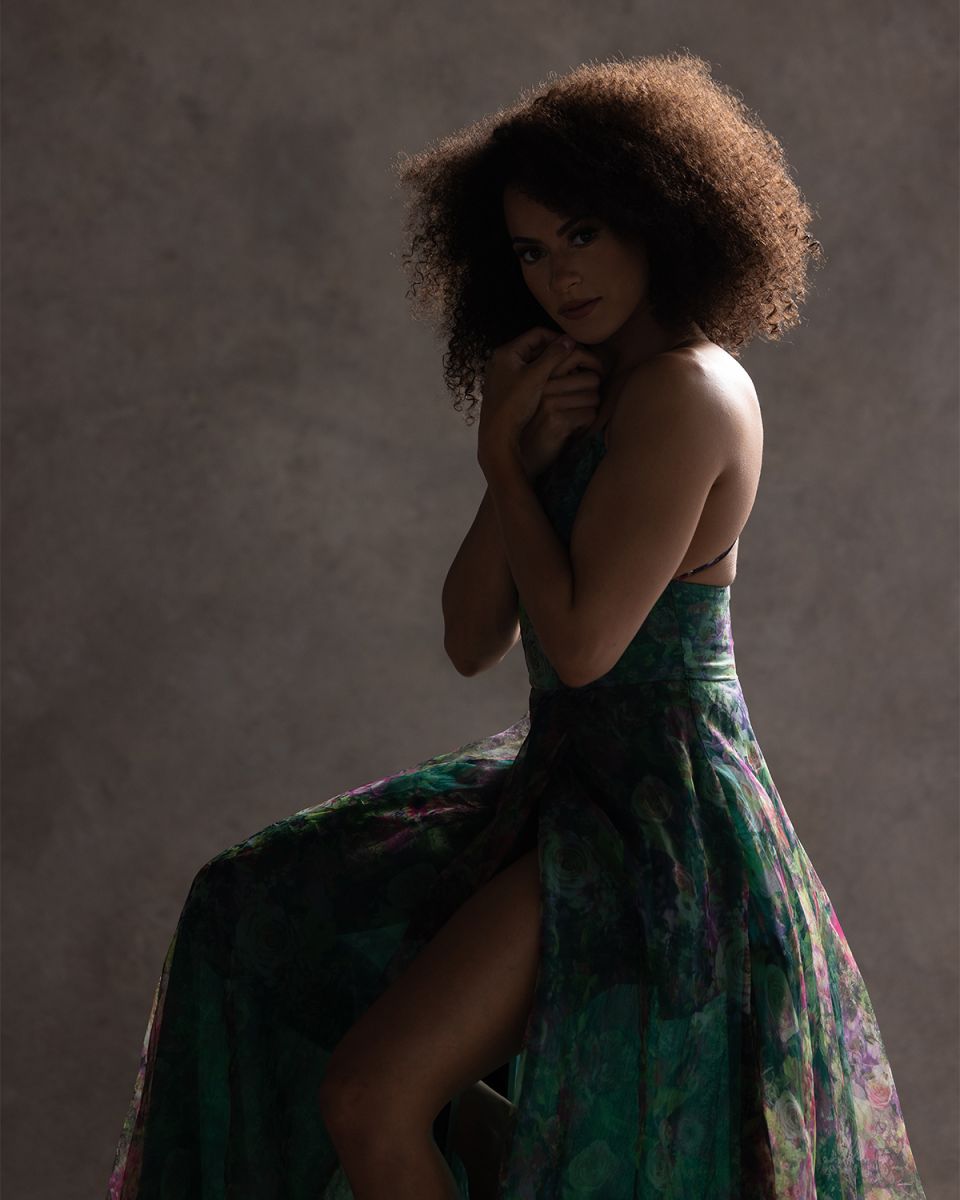
Rembrandt, loop, split, and paramount should sound familiar. These are fundamental portrait lighting techniques. While they’re known for their flattering light quality, I want to try something different for our one light studio portrait. Rather than placing my key light in front of the subject, I’ll be placing it behind her.
Here’s the list of my gear for today’s tutorial:
- Canon EOS R5 Mirrorless Camera
- Canon RF 70-200mm f/2.8L Lens
- Westcott FJ400 Studio Monolight
- Large Umbrella Modifier
- V-Flat
- Backdrop by Jeremy Ellsworth
Before we jump in, be sure to give Kiara, our model today, a follow on Instagram.
Conventional One Light Studio Portrait

Let’s start off by looking at an example of a conventional lighting setup. Here, I placed the light in front of Kiara at an angle, similar to the Rembrandt. Not bad, right?
Related Reading: Studio Portrait Lighting Fundamentals and Posing Tips
Change the Light Position

I’m going to change things up by pushing the light all the way back behind the backdrop.
Notice that when I do this, it leaves most of Kiara in the shadows. We’ll fix this in our next step.
Add in Fill Lighting

To bring the light back on Kiara’s face, all we need is a V-Flat.

I placed it in front of Kiara so that it catches the light from the flash and creates a nice, soft fill light.
Center the Light

Let’s try moving the light directly to the center of the frame. Here, the light is coming in from behind and over the backdrop. Check out the difference.

Let’s zoom in and add some closeups.
Conventional vs. Unconventional

If you’ve noticed, this unconventional one light studio portrait setup is very similar to what you would find in a mid-day backlight situation. Rather than wrestling with the harsh mid-day sun, turn your subject away from the light and use fill to balance out your portrait.
No need to wait around for golden hour lighting when you can create great light for portraits no matter the time of day.
Conclusion
I hope you enjoyed this article/video! If you found it helpful, be sure to check out SLR Lounge Premium. There, you’ll find a ton of courses on photography related subjects such as Wedding Photography, Mastering Lightroom Editing, Flash Photography and more. You can also visit Visual Flow for a complete library of Lightroom presets and retouching tools for your post-production workflow.
Don’t miss our next episode of Mastering Your Craft on Adorama’s YouTube channel next week! If you want to catch up on all the episodes, make sure you check out our playlist!