Of all the things Capture One can do, one of its most notable markers that sets it apart from the competition is its color. Beyond just the color science used to render the best tones from raw files, Capture One contains a profusion of tools in the Color Editor tab to help its users customize the appearance of colors in their images. 
Capture One’s YouTube channel is a useful and ever-expanding knowledge base for learning the ins-and-outs of the software. Today we share with you a handy guide to the Color Editor by frequent Capture One educator, David Grover. Whether you’ve just picked up the free 30-day trial or you’ve been using Capture One for some time, this tutorial will likely have something of use to you, and clocking in at just over five minutes, it can be bookmarked as a quick reference to be revisited as needed.
[Rewind:] Capture One Tips | How To Edit A Cityscape In Capture One
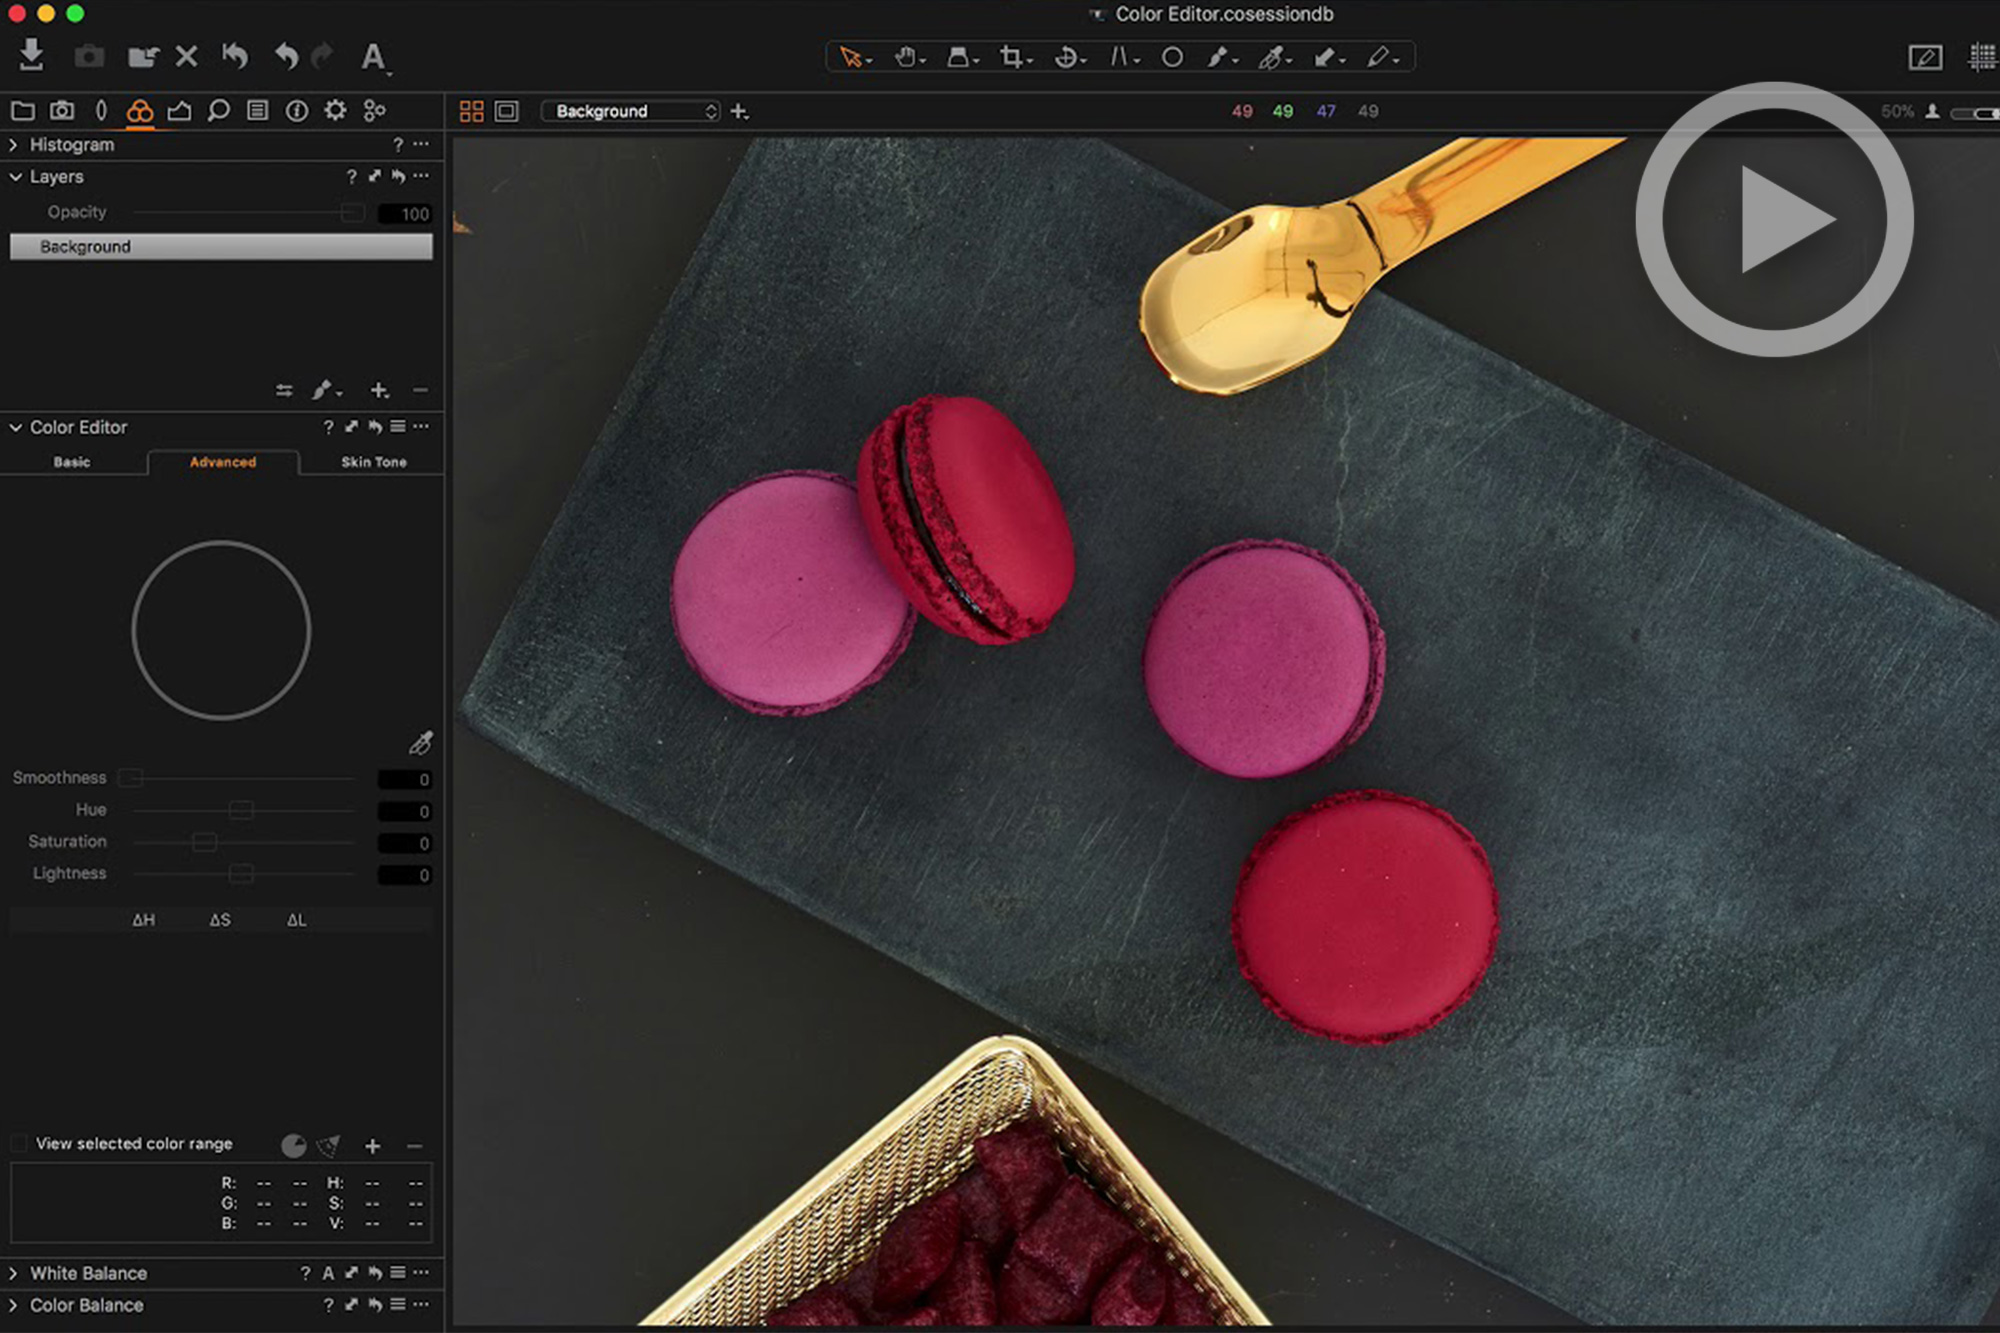
If you are a Lightroom user considering switching to Capture One, this tutorial is definitely worth a watch and will give you a nudge in that direction. When Lightroom was my primary raw processor, one area that I constantly wished for greater control over was color. Sure, you can take your image into photoshop if you need to do precise masking for colors or need to make more significant changes than Lightroom will allow, but with Capture One’s Color Editor and the ability to work on layers with masking, the need to do so is mostly eliminated.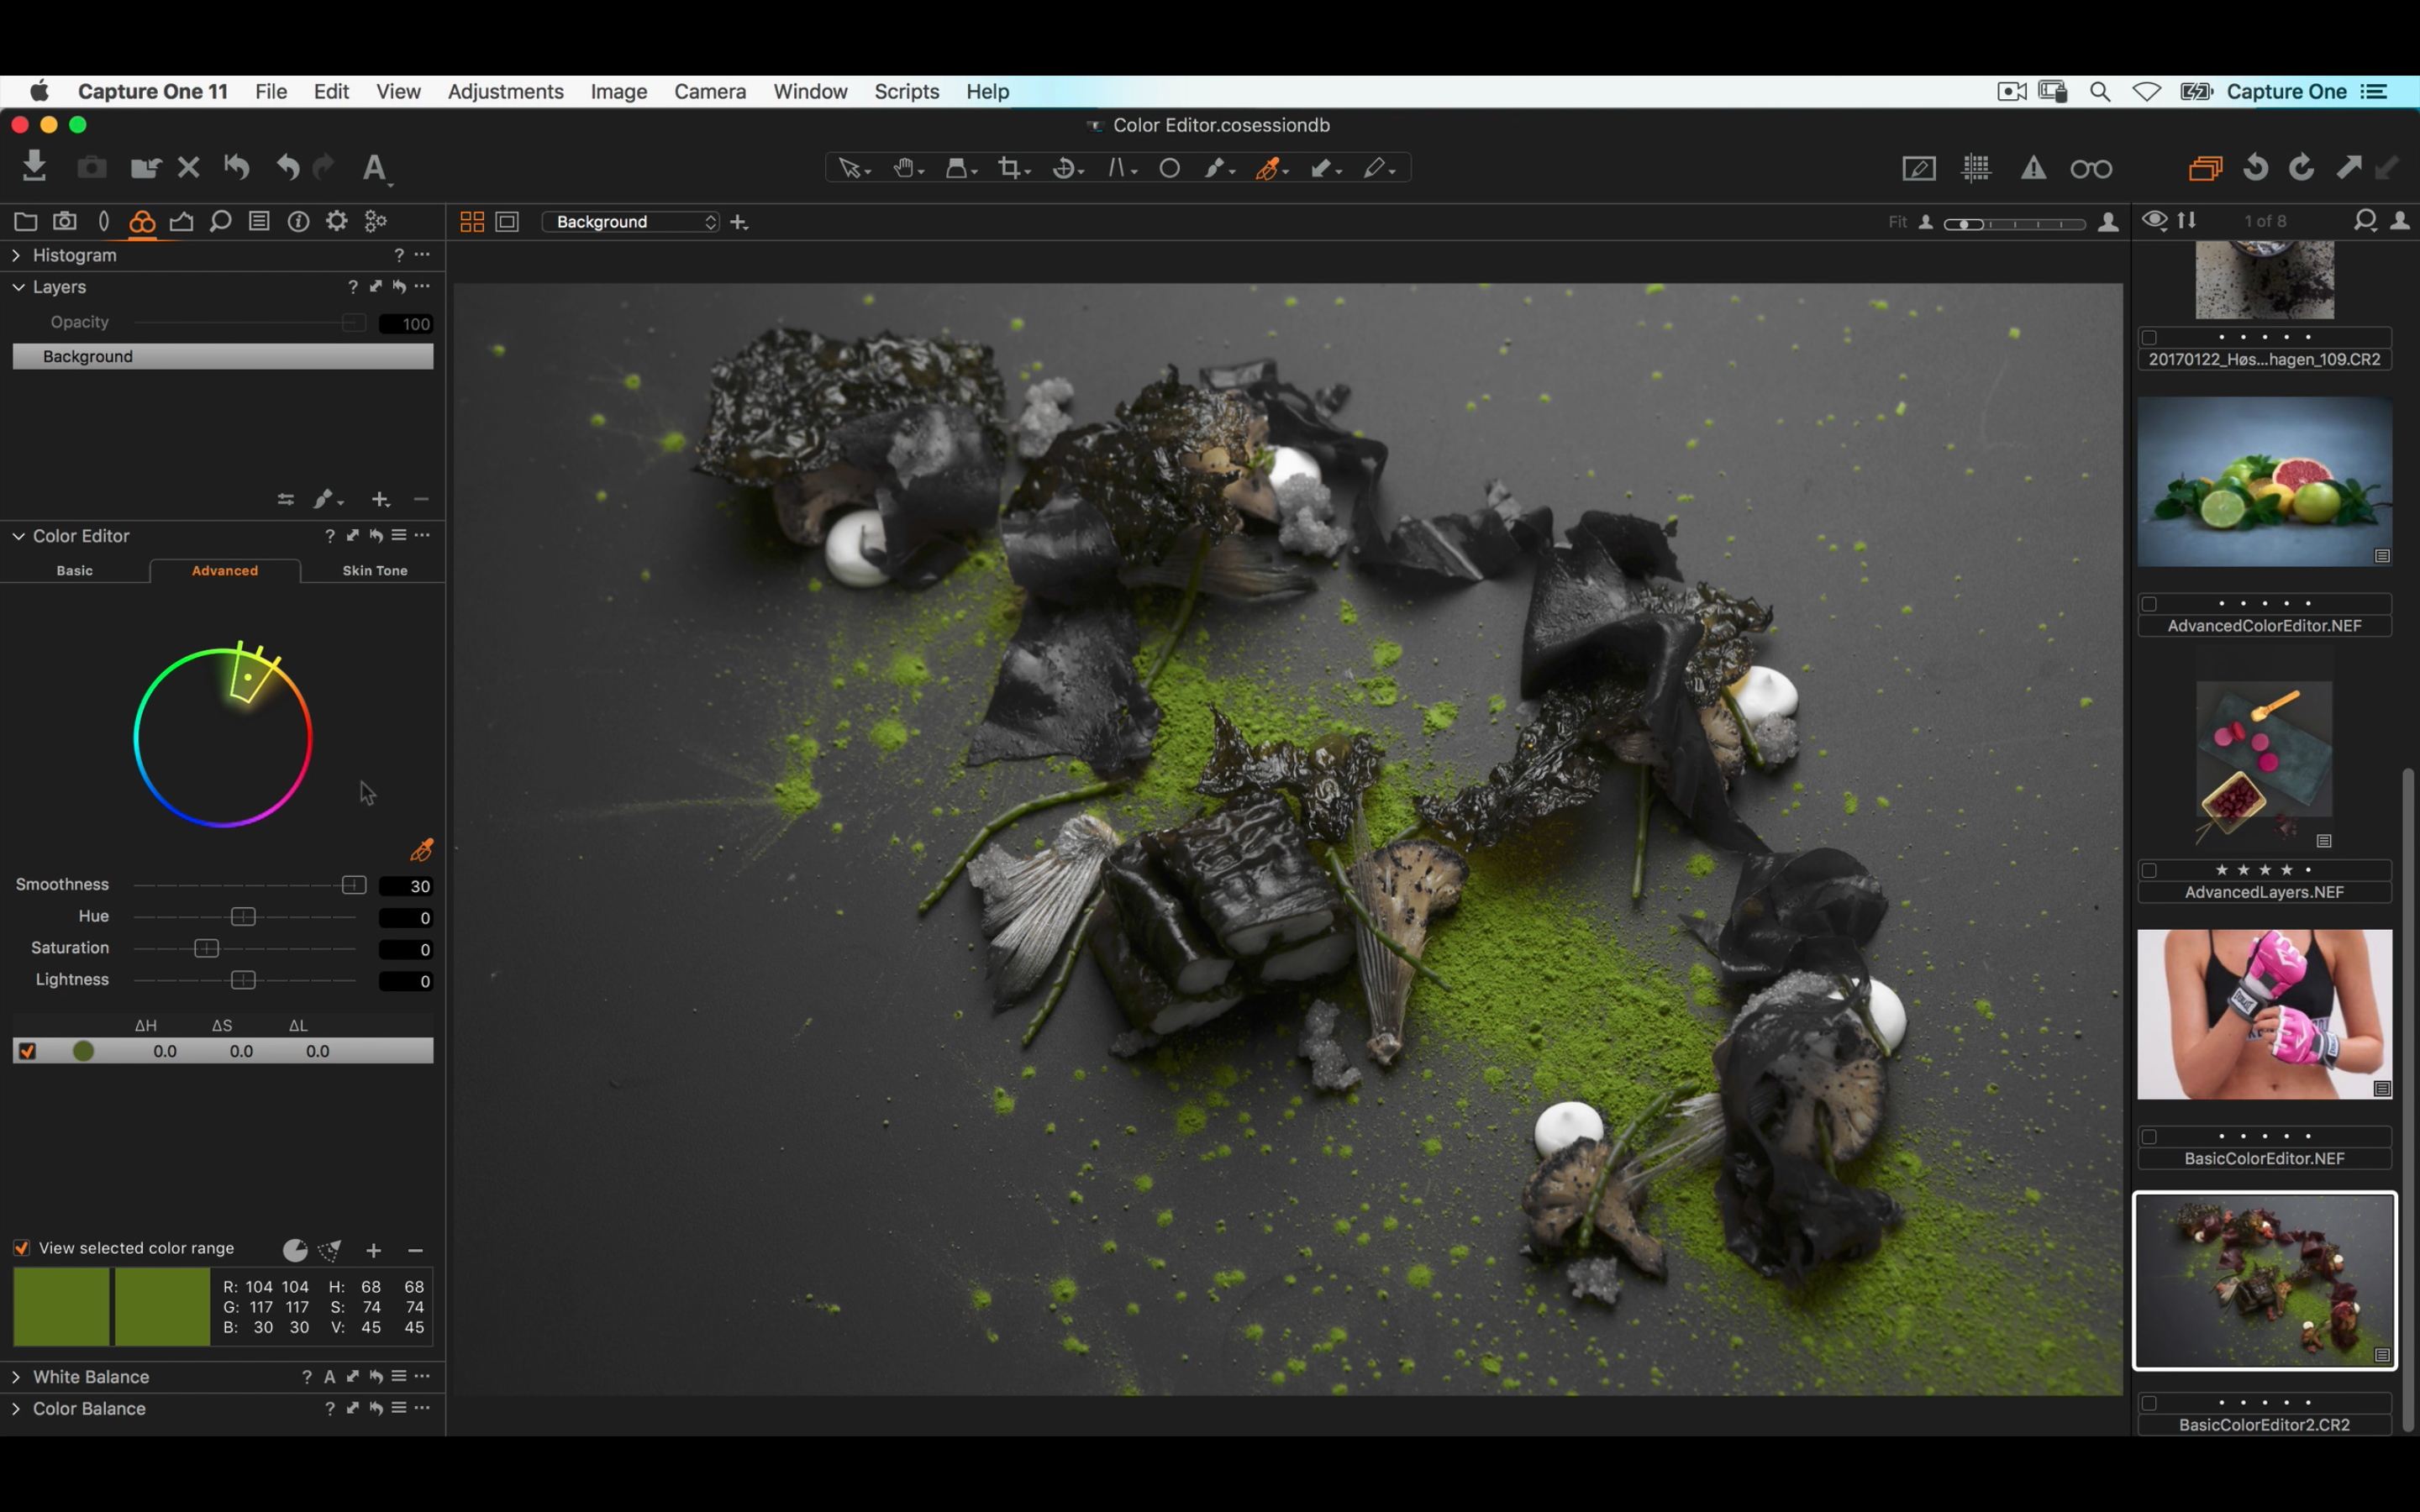 This is one area where Capture One’s roots as a high-end professional tool are clearly evident. Check out the video below to see a concise demo of how the ‘Basic’ and ‘Advanced’ Color Editor tools are used, what each function does, and how to create quick and precise, intricate masks in Capture One using a selected color.


Get Connected!