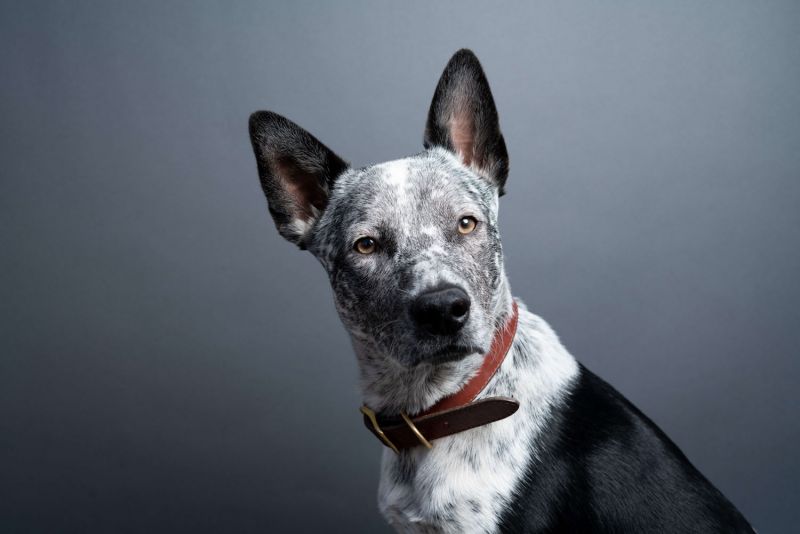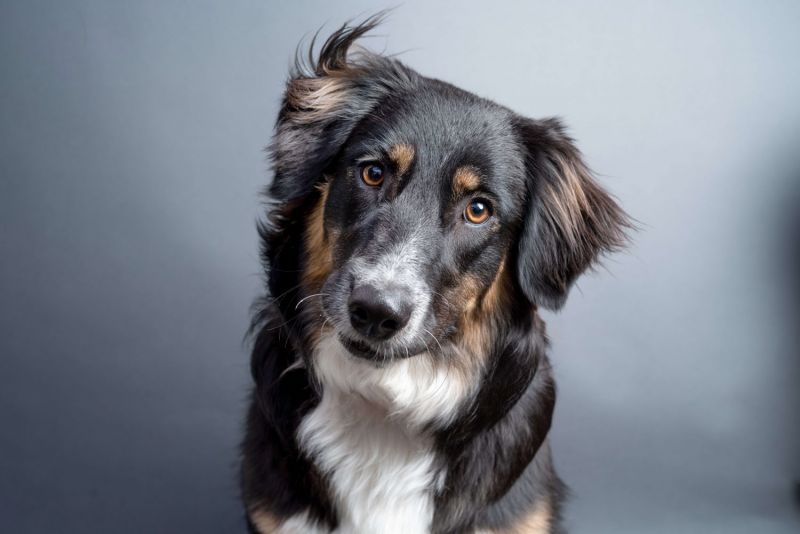
While I typically spend the majority of my time taking high-end corporate headshots as a headshot photographer based out of San Francisco, COVID-19 has forced me to get creative in more ways than one.
As a move to get some publicity and diversify my income stream, I had the pleasure of hosting a “Free Pet Headshot” event outside my house last month.
What started as a funny idea over a couple of whiskeys (and subsequently posting the event on Facebook) exploded into 250 sign-ups in 24 hours.
To be honest, I was sort of dreading the event. I was worried that the dogs, and their owners, would be tough to manage given the short 10-minute sessions.
But, due to the inherent cuteness of the subjects, the results came out nothing short of spectacular.
Here are my six tips for success with pet photos.

Tip 1: Prep the Pet Owner So That They’re Ready to Help
While most owners came prepared to manage their dogs, some others struggled. We ended up getting at least two or three good photos for every dog, but some owners got five to ten sharp photos to choose from.
The primary difference was in client preparedness. The best photos came from sessions where the owners brought treats and had practiced taking photos at home.
Next time, I’ll create a prep sheet and email it to each participant.
[Related Reading: Pet Photography 101 | 10 Quick Tips To Switch Up Your Pet Photos]

Tip 2: Simplify Your Setup to Minimize Variables
While my typical studio headshot setup is already fairly simple (two-speed lights and two reflectors), I found even more simplicity was key.
You usually only have a couple of moments to capture a photo while the dog is sitting still (and they’ll almost never stand in a single spot for more than five seconds), so I ditched the reflectors and focused my energy on the softbox with two-speed lights inside.
While some of the photos came out dark on one side of the dog’s face, I was going for a dramatic “Vogue-Esque” look anyway, and if it was really dark, I could always lighten the shadows in Lightroom afterward.

Tip 3: Don’t Roll Out the Backdrop Paper to the Ground
In headshots and portraiture, you usually roll paper backdrops down to under the client’s feet to give you maximum coverage. But, when dogs stand on the paper, they tend to get scared by the noise and won’t stop fidgeting in reaction to the crushing noises.
Instead, roll the paper straight to the ground and clip it in.

Tip 4: Bring a Stool for Small Dogs
You’re going to have a tough time bringing your softbox down for tiny dogs.
I brought a little wooden stool to my shoot. It had the dual effect of forcing tiny dogs to sit in the middle and ensuring I didn’t need to lie down on the ground to get an eye-level shot.

Tip 5: It’s OK to Have the Owner Partially in the Photo
I initially wanted to avoid having any part of the owners in the photos, but after my experience, when working with some fidgety dogs, I think that’s impossible to guarantee.
The best strategy for the most difficult animals was to have the owner corral the dog with their arms or legs, and then move my softbox into position when the dog was fairly settled.
Have the owner throw you the dog’s favorite treat, and hold that treat up directly over the lens — that’ll usually grab their attention.

[Related Reading: Pet Photography | 3 Quick Tips For Better Dog Photos]
Tip 6: The Best Props Are Collars/Bandanas.
Other props are too hard to keep in the frame, and there’s no guarantee that the dog will interact with the prop at all.

In conclusion, I’m not sure if there’s any money in this type of service. I have a strong feeling a significant portion of my success in getting signups was due to the event being free.
But regardless, if you already have the equipment and want to shoot some fun photos of your dog or a friend’s dog, this guide should help you get started.


Get Connected!