This is our last Slice of Pye episode of the year and we thought it would be a great reason to showcase a fun technique! Profoto recently announced a creative contest asking entrants to show them how you capture love. Go behind the scenes with us on a recent engagement session in Downtown LA to see how we capture love!
You can catch the next episode of Slice of Pye over on the Profoto IGTV on January 13th.
View this post on Instagram
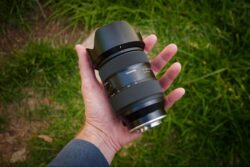
Gear Used in This Tutorial
- Profoto B10
- OCF II Grid & Gel Kit
- OCF II Grid
- OCF II CTO Gel
- OCF II Grid & Gel Holder
- Copper Tube
For this technique, we are going to walk through the C.A.M.P Framework, just like in every single one of our other lighting tutorials. This will help you understand how we created this shot from the ground up.
1. Composition
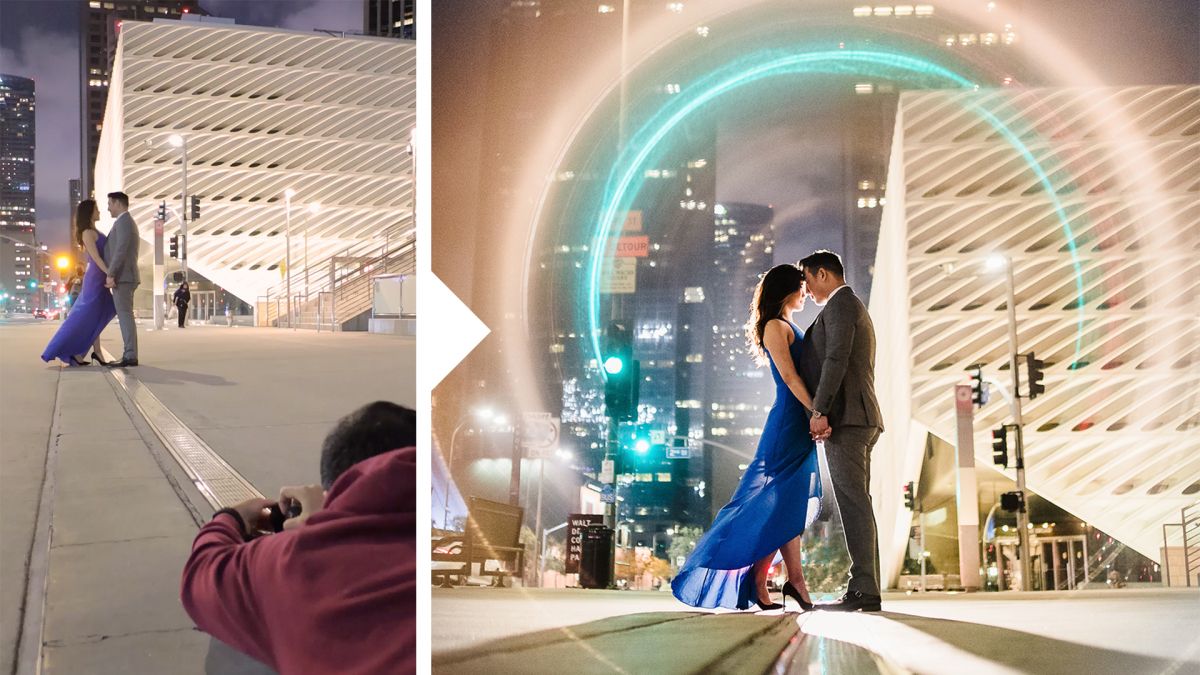
I have seen Sam Hurd popularize this technique in the past using natural light and wanted to add my own twist to it. I know that DTLA has tons of street lights and buildings that would look insane using the copper tube technique. The whole purpose of using this accessory is to bend and warp the light streaks in the photo. I found a drain line that led directly to my couple and then choose a portrait aspect ratio to crop off the sides of the image.
2. Ambient Light Exposure
Since we shot this session after the sun had set, I knew I would be pushing my camera’s low light capabilities in order to get the desired exposure. I landed at around 1/100th of a second, f/1.4, and ISO 3200.
3. Modify/Add Light
Taking the Profoto B10 and pairing it with a gel and grid I placed it about 10-20 ft. behind the couple to backlight them in the scene. Since our exposure settings are rather bright, we don’t need that much flash power here, this is going to be based upon the distance between the flash, the subject, and the camera. The nice thing about working through this one step at a time is that I am just focusing on my flash power and quality of light rather than worrying about 3-4 other steps.
4. Photograph
This is where the copper tube comes into play. You’re going to carefully bring the tube over the lens, without scratching your camera lens and shoot. Any time the tube is backlit you are going to pick up rings of light and you can make adjustments by moving the ring up and down or forward or backward. Here is the final shot: