The following tutorial is Lesson “Destructive vs Non-Destructive editing” from Chapter 1 – 2 from the Lightroom 4 A-Z DVD Guide. We will be releasing 1-2 tutorials per week from the LR4 A-Z DVD. The full DVD including 130 tutorials and nearly 14 hours of Lightroom 4 training is available in the SLR Lounge Store. In this episode of the Lightroom 4 DVD Training we are going to go over destructive vs. non-destructive editing. All photo editing softwares fall in these two categories, and in this video we’ll go through the differences.
Destructive vs Non-Destructive Editing Video Tutorial
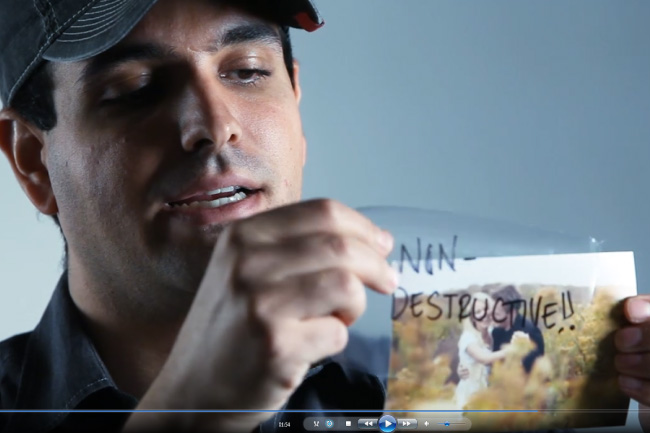
Destructive vs Non-Destructive Editing Written Tutorial
A Destructive Editor is a photo editor that makes changes to an image and saves the changes over the original image. After saving, you won’t be able to go back to the original file because the changes have been saved and become the new file.
A Non-Destructive Editor saves the steps of the changes that occur on the image separately so the edited image as well as the original image are saved. At any point in time you can go back to the original image because it hasn’t been modified.
Photoshop would be an example of a destructive editor. When you edit a photo in Photoshop and save the file over the original image you cannot go back to the original file because it has been replaced by the edited one. This can be avoided by editing on new layers, and saving the image as a PSD. But once the image is saved as a JPEG the changes are permanent and cannot be removed.
Lightroom is a non-destructive editor. In Lightroom 4, the software makes edits and adjustments to your photos without actually changing anything in the original file. Lightroom does this by making a Catalog file of your photos, and in this catalog file all the changes to your photos are saved. In Lightroom you’ll see the adjustments you make in a “preview” which is a rendering of what your photos will look like when you save them. At any point in time you can press “reset” in Lightroom, which wipes away all the editing and adjustments you make and you’ll be left with your original image. After you’ve exported your photos in Lightroom you’ll be left with both your edited photos and your original files. You’re never writing over your original files, all of the changes you make in your photos are saved in the Catalog file.
Conclusion and More Info
During editing sessions, professional photographers go through thousands of photos. Mistakes are inevitable and being able to go back to the original is definitely a necessity. That’s what makes Lightroom 4 a must have in a Photographers Workflow.
The Lightroom 4 A-Z DVD Guide will turn any Lightroom novice into a complete master of Lightroom 4 in no time! The DVD which can be played on a Mac or Windows PC includes the following:
– 130 Video Tutorials and nearly 14 hours of content!
– Over 6 hours of tutorials dedicated to developing techniques
– Full Menu System for easy navigation through the tutorials
– Bonus DVD Content that includes Advanced Lightroom 4 Techniques
– Full HD 1080p Resolution for all Video Tutorials
– On-screen Shortcut Tooltips for Lightroom 4
– Exercise Files + Final Catalog so you can follow along during the tutorials
– No Advertisements


Get Connected!