
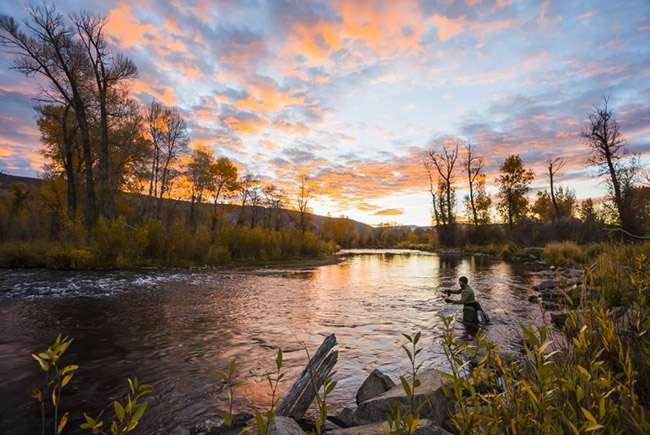
In this tutorial we’re going to take a landscape photo and turn it into a Single-Shot HDR. In just a few clicks we’re going to turn this ordinary landscape photo into an extraordinary vivid landscape image using the Lightroom Presets v5.
[Note: In the new Lightroom Presets v5, we have revamped all of the presets to improve image tonality and quality, allowing you to achieve even more amazing results. We’ve also added 95 new presets to reach a total of 311 presets in what is the gold standard of Lightroom image processing. In this series we’ll be going over how to use the new v5 presets to create great looking photos. Click Here to learn more or purchase the system.]
With each of our Ordinary to Extraordinary Edits, we’re going to first be going through how we create our effects with the SLR Lounge Lightroom Presets v5, then we’ll be going through the details in the develop settings so everyone can understand exactly how we get to a specific look. This way, whether you have the presets or not, everyone can benefit from watching this video or reading the article below.
Lightroom Presets v5 Mixology Recipe
For those that have the Preset System, you can follow the Mixology Recipe below to get to the same results. If you don’t have the Preset System, please continue to watch the full video tutorial, or read the written article below.
My Mixology
- 01-30 BASE – VIVID: 34a. HDR Heavy – Color
- 03-50 ADJUST – SATURATION: 51b. Satirate – Light + Blues
- 03-70 ADJUST VIGNETTING: 71c. Neutral – Zeroed
Local Area Adjustments
- Graduated Filter: 03 Burn (Darken) -0.5 Stops
- Adjustment Brush: 13 Nature | Color
Watch the Lightroom Video Tutorial
Read the Complete Written Tutorial
We see that this image was shot on a Canon EOS 5D Mark III with the Canon EF 17-40mm f/4L USM lens. We shot this image at f/7.1 to get a deep depth of field and at 1/10 of a second to get some motion blur in the water. It’s important to note, that in the Histogram we maximized the total amount of range we could get within this single shot. We can see this because our Highlights and Shadows are pushed up against the edges of the left and right side of the Histogram. We’re not clipping Shadows, and the blown highlights are minimal. A proper exposure with the maximum amount of tonal range is absolutely crucial to creating a high quality Single-Shot HDR.

The first preset we’re going to use is “01-30 BASE – VIVID: 34a. HDR Heavy – Color”. This preset is doing a lot of things and in just one click we go from a flat image to a much more dynamic image with great colors. Here’s a quick before and after preview to show exactly what that preset did.
Before “01-30 BASE – VIVID: 34a. HDR Heavy – Color” preset

After “01-30 BASE – VIVID: 34a. HDR Heavy – Color” preset
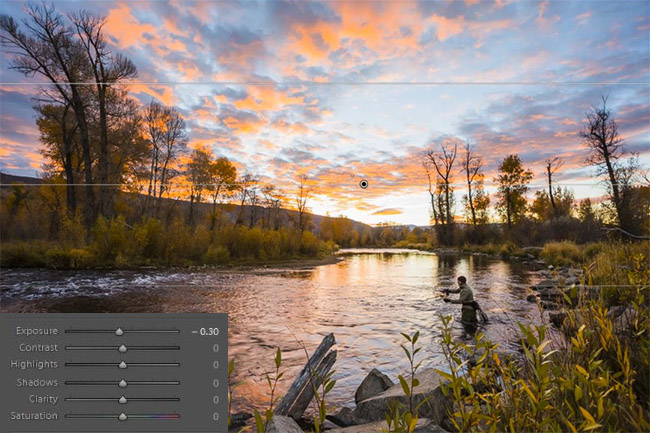
The image is looking much better, but we still have a bit more to go. The first thing, is I want to do a little bit of dodging/burning to add a little more drama into the scene. We’re going to add a Graduated filter from the top of the frame to the water with the “03 Burn (Darken) -0.5 Stops” preset. Then we’re going to adjust the Exposure to -0.3 to give it a slightly more subtle look.
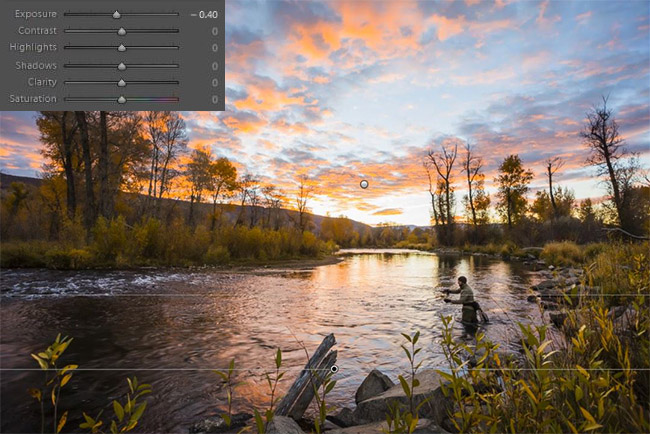
We’re going to add another Graduated Filter, this time from the bottom up to our fisherman with the “03 Burn (Darken) -0.5 Stops” preset. Then we’re going to adjust the Exposure of the preset to -0.4. These two subtle Graduated filters will guide focus to the middle of our frame.
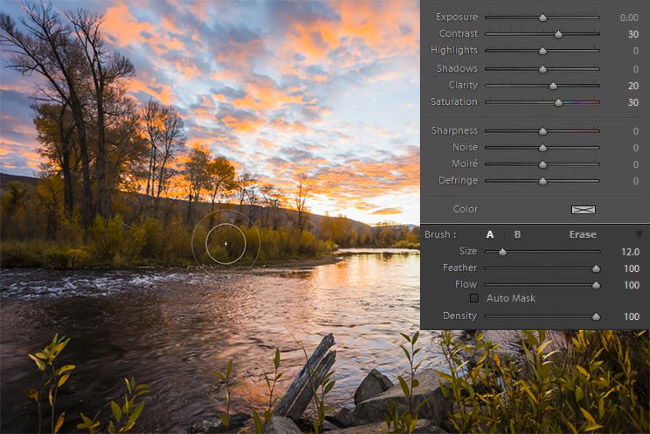
The next thing we’re going to do is apply an Adjustment Brush with our “13 Nature | Color” preset. This brush is going to add some great Contrast and colors to our image. We’re going to apply this brush to the shrubs and greenery on the far side of the lake. We want to avoid applying this brush to any strong highlights because we don’t want to create any fringing.
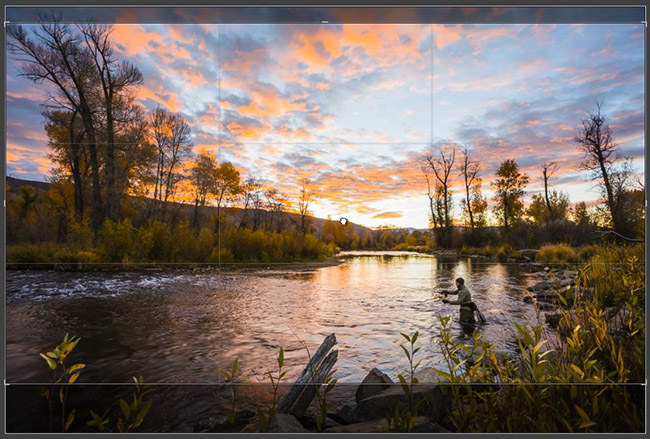
Now we’re going to crop this image into a 16×9 aspect ratio. We want to place our fisherman on the bottom third, and get a lot of sky in the image.
The last thing we’re going to do is add the “03-50 ADJUST – SATURATION: 51b. Saturate – Light + Blues” to add some nice color and slightly darker blues to the sky.

In the Develop Settings, the “01-30 BASE – VIVID: 34a. HDR Heavy – Color” preset raised our Contrast, Shadows and Blacks while dropping the Highlights and Whites, giving us a that HDR look. The Clarity, Vibrance and Saturation have all been raised to give a little boost into our tones without going too overboard. In the Tone Curve we have a subtle contrast boosting “S” curve too selectively add back a bit of extra lost contrast. In HSL Luminance, the Aqua and Blue have been dropped slightly, giving the sky a deeper and richer color. We have our standard amount of Sharpening applied to this image and that’s bringing out a lot of nice details. In the Noise Reduction we raised the Luminance slightly so the shadows in the water don’t look too muddy. Here’s what our Develop Settings look like after our preset and final adjustments are applied.

Here’s what our photo looks like before and after the presets are applied.
Before

After
Conclusion and Learn More
We hope you all enjoyed this tutorial. If you are interested in learning more or purchasing the SLR Lounge Lightroom Presets v5, please click any of the links in this article. Also, remember that the SLR Lounge Lightroom Workshop Collection not only includes the Preset System, but also full A to Z instruction on mastering Lightroom Image Processing, Organization and Workflow.
Stay tuned for more SLR Lounge Weekly Edits!


Get Connected!