
When it comes to choosing a lens for your camera, one of the biggest decisions you’ll face is whether to go with a prime lens or a zoom lens. Prime lenses have a fixed focal length, while zoom lenses allow you to change the focal length by zooming in or out. Both types of lenses have their own advantages and disadvantages, and deciding which one is better for you ultimately depends on your specific needs and shooting style. In this article, we’ll take a closer look at the differences between prime and zoom lenses and help you determine which one might be the better choice for your photography.
Prime vs Zoom Video Guides
We’ve created two videos about the topic of Prime vs Zoom lens that you can view below.
Prime vs Zoom | Video 1
Prime vs Zoom | Video 2
What are Prime Lenses?
Simply put, prime lenses have a fixed focal length. In other words, a 50mm prime lens will only ever shoot at a focal length of 50mm (unless you’re using a crop sensor camera, which would make the focal length of a 50mm lens appear closer to an 85mm lens; even then, the focal length would remain fixed).
What are Zoom Lenses?
Zoom lenses have a varying focal length. A 24-70mm zoom lens, for example, allows photographers to shoot as wide as 24mm or zoom in as tight as 70mm, all while shooting from the same location.
Reasons to Choose Prime Lenses?
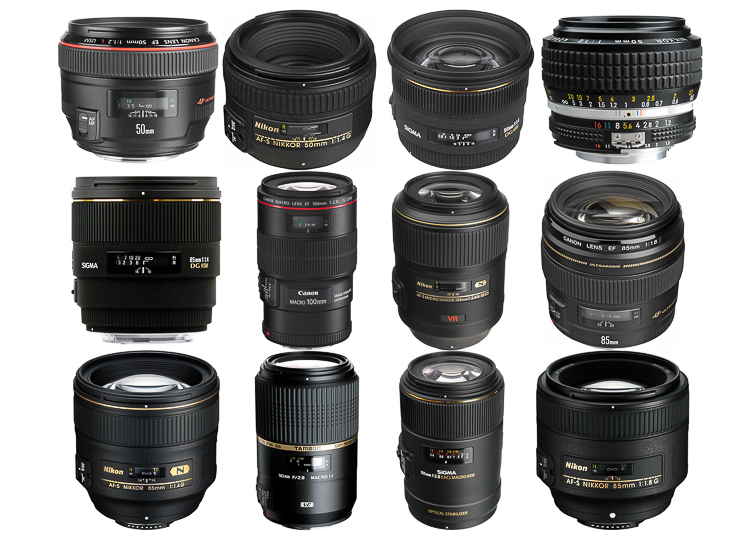
Better Quality Glass
A good prime lens generally gets you sharper images and faster glass. Faster glass means a better aperture range which allows you more room to shoot in lower light.
Because prime lenses don’t require moving optical parts, for the same or even less money, you can generally get lenses that provide better image quality. That’s not to say that zoom lenses do not or cannot yield high-quality images, but prime lenses can typically open up to wider apertures, yielding more pleasing bokeh aesthetics and the separation between the background and subjects.
Size and Weight
With less moving parts and simpler construction, prime lenses are significantly smaller and lighter than a zoom lens.
Price
There are some excellent prime lenses that are very affordable. Canon their Canon 50mm f/1.8 that is well known in the industry as a great value lens for only $100.

A Canon 24-70mm lens, with an aperture of f/2.8, costs nearly $2000 (depending on where you buy it, applicable taxes, etc.). The $400 version of the 50mm prime lens, however, can open up two extra stops to an aperture of f/1.4, and it only costs a fraction of the price of the zoom lens. On the other hand, for the money you spend, zoom lenses offer more focal lengths.
Wider Aperture for Low Light

With wider apertures that offer extra stops of light, prime lenses also work better in low-light situations. However, what you gain in quality and low-light performance, you lose in versatility, which brings us to our next point.
Reasons to Choose Zoom Lenses?
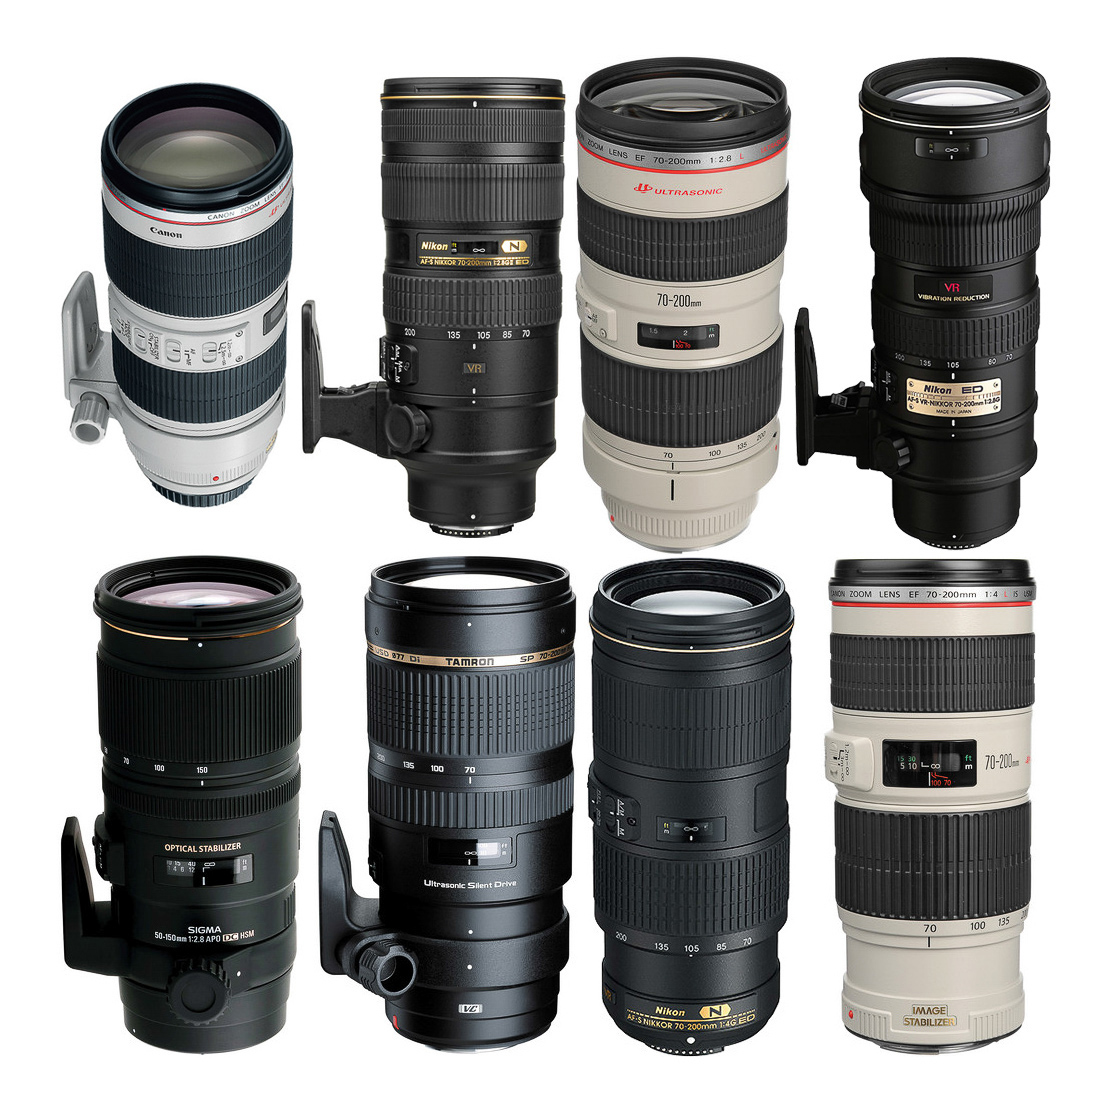
Variety & Range
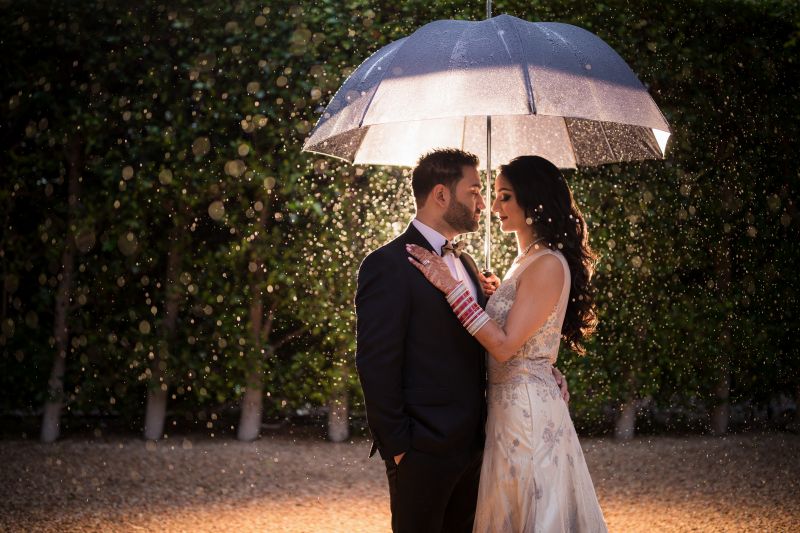
As a wedding photographer, I knew that I needed a wide array of focal lengths. By purchasing three lenses (Canon 16-35mm f/2.8L II, Canon 24-70mm f/2.8 L II, Canon 70-200mm f/2.8L), I was well covered for everything I would need to shoot a wedding.

Zoom lenses are going to be more flexible than prime lenses in situations where you just don’t have the time or space to move or switch lenses. For example, whereas a shooter on a 50mm prime lens would have to physically move away from a subject to capture a wider angle of the scene, a shooter on a 24-70mm zoom lens would be able to quickly zoom the lens out for a wider angle shot without having to relocate. In certain situations, such as a bridal recessional, versatility like this is key. Space is tight, the action is fast, and you don’t want to miss a moment.
Convenience & Speed
Not only is zooming in and out very convenient and easy, it’s also much faster than having to change lenses between shots. Changing lenses brings with it some hazards like exposing the sensor to dust and the possibility of dropping the lens during the process.
Subjective Considerations for Prime vs Zoom Lenses
The Artistic Component of Aperture

Slows Down the Photographer
One thing you might notice when shifting over to shooting primarily with prime lenses is that you end up taking fewer photos, but the quality of those photos tends to be significantly higher. Previously, during a typical engagement shoot, you might have returned with around 1000 images and delivered about 100; now, you shoot closer to 300 and still deliver 100.
With a 24-70mm lens, there was a tendency to ‘shoot your shot,’ then cover all the focal lengths in between. You might have taken a portrait at 50mm, zoomed out to 24mm for another shot, then zoomed in to 70mm for yet another. While this approach can work for some photographers, if it wasn’t working for you and was clogging up your workflow, the switch makes sense. Now, you take the time to carefully compose your shots—which might require a bit of walking—and shoot the shot you’ve visualized in your mind. This approach not only helps you focus on capturing higher-quality images but also keeps your workflow light and efficient.

Conclusion
The pros and cons for each lens type boils down to image quality, weight, size, convenience, price and preference. Don’t feel compelled to choose one method or the other. Take your time rounding out your collection. Lenses are a longer term investment than camera bodies, so be sure to understand what you shoot, what lenses you need and why you need them. It’s always a good idea to borrow or rent a lens (a few times) before committing to a purchase.


Get Connected!