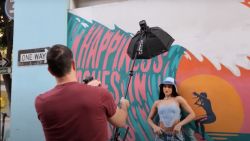
You may have beautifully captured an event in-camera and covered all of the angles needed to tell an amazing visual story, but capturing the images represents only part of the journey. The next step is getting those images printed! Retouching a large number of images can prove to be a daunting task, but a clearly defined retouching process will help keep your edits quick and consistent and improve the quality of the images you produce, especially those produced for print. In this article, we’ll teach you how to prepare photos for printing. In it, you will find a 10-step retouching process to keep your workflow moving as efficiently as possible. Of course, each person/studio may need to adjust the process to achieve the best results for his or her workflow.
The following education is from the workshop “S3: Shooting Stories That Sell,” designed to help photographers increase revenue with wall art and album sales by creating images that clients will want to purchase. You can access this course in SLR Lounge Premium.
Watch the Video | 10 Easy Steps To Retouch Images For Print
Read the Step by Step Instructions To Retouch Images For Print
Read the 10-step retouching process to learn how to prepare photos for printing:
1. Calibrate display (X-Rite/Spyder Pro)
Display calibration is key for consistent color rendering. If you’ve ever noticed a difference between the look of your images from one display to the next (which can be easy to identify when the displays are placed side by side), chances are one or both displays were not color calibrated. Without calibration, your intentions for the images you produce may never be realized.
2. Pen/Tablet (Wacom Intuos Pro Medium)
Beyond applications for the brush tools in Lightroom and Photoshop, pen tablets allow for fluid movement when editing, similar to using a pen to mark a piece of paper. There are several pros to using a tablet, many of which are covered here.
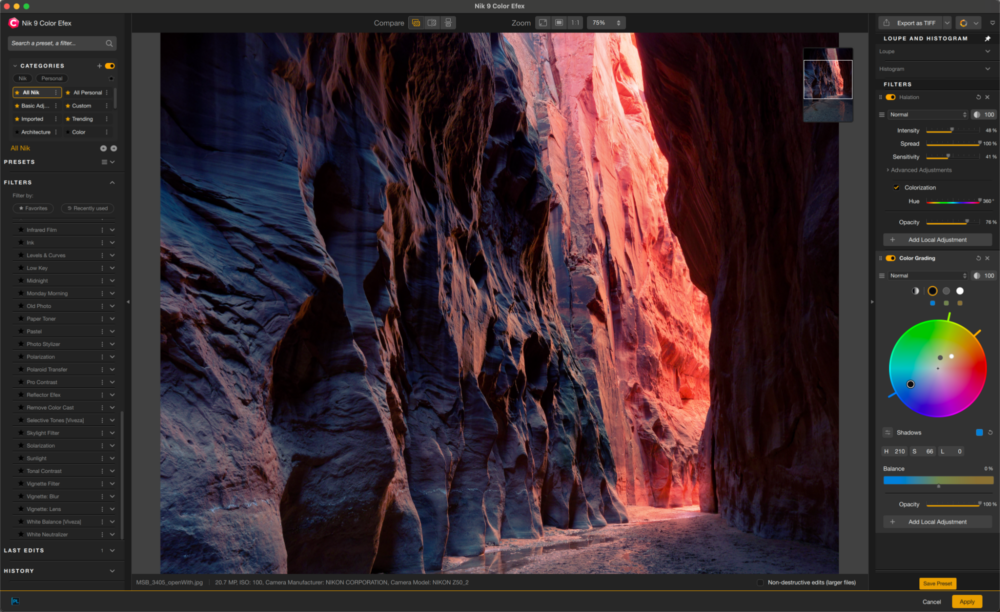
3. Final color grade, TIFF (every pixel saved vs. JPEG approx.)

Color grading will play a key role in getting the image print-ready. With the image open and selected in Lightroom, apply the desired preset (if it wasn’t already applied when the image was imported), and then make adjustments to the base tones. Try to achieve balance and maintain some pure shadows as well as some pure highlights; otherwise, if the shadows or highlights are clipped, the detail will be lost, especially in print. Also, be sure to check your white balance and adjust as needed. Once your settings are dialed in for a given scene, you can then sync the settings for the other images in that same scene so that the set will be cohesive. You may need to go in and make tiny adjustments to individual images, especially if you used a radial burn and included it in the sync, but otherwise you should be one step closer to going to print.
Note for Export Options: 16 bits, sRGB is preferred for workflow as AdobeRGB difference is negligible.
4. Zoom to desired print size (avoid over-retouching)
It’s important to scale the image on your screen to match the size at which you want to print the image when you are retouching so that you can make only necessary adjustments and not over or under-edit the image. We recommend using a ruler (by holding it up to your display) to ensure that the image is actually the size at which it will be printed.
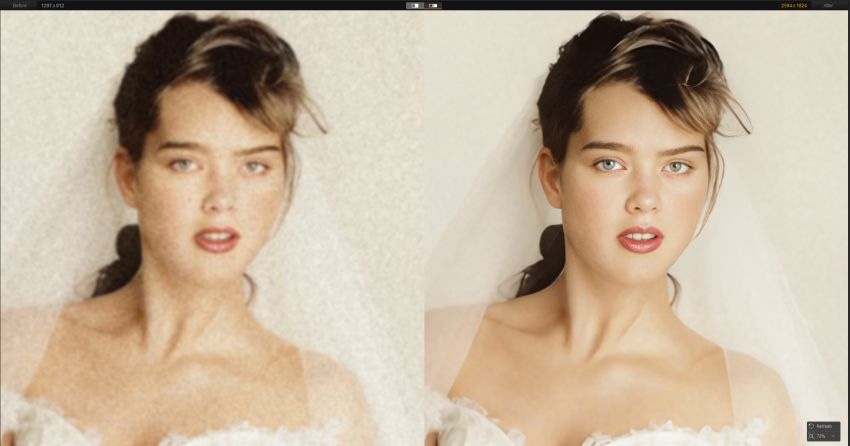
5. Retouch subject’s visible blemishes/flaws (not features)
If the client did not request specific changes and you change too much, some of the changes might be seen as insulting to the client’s natural appearance. That said, it’s best to keep things looking natural, for both the subject and the background. Removing a visible blemish on the skin is acceptable, but be careful about removing certain marks like beauty marks.
6. Enhance subject as desired (eyes/liquify/dodge/burn)

You may have a client who has asked to be modified with changes ranging from slightly to heavily retouched. The philosophical points of whether or not to make the changes are yours to consider, of course. The liquify tool is great for reshaping subjects so long as it’s done in moderation; otherwise, you could end up with a phony-looking image.
7. Review zoomed in/out for visual distractions
When reviewing an image, zoom in and out to look for background distractions, overly dark/bright areas/specs, etc. Sometimes, the wider view of an image can reveal flaws that are harder to notice up close, such as an overly heavy radial burn, etc. Likewise, zooming in will allow you to catch finer details that might prove distracting when the image is printed on a larger scale.
8. Sharpen if desired
This is self-explanatory, really, but consider whether or not the image could benefit from further sharpening before exporting for print.
9. Up-sample if needed (Bay Photo will handle)
When up-sampling, no new pixels or details are added to the image. The advantage to upsampling an image yourself is maintaining creative control throughout the entire process. You can decide if the image needs sharpening or smoothing (for example) rather than leave it to a print company like Bay Photo.
10. Save TIFF, exported JPEG goes to print
With a TIFF, every individual pixel is saved, while JPEGs compress pixels to produce a smaller file size. Save the file as a TIFF for re-editing purposes, but send the file as JPEG to be printed.
Conclusion
As mentioned, each creative will have his or her own process, so feel free to modify the steps above to fit your style and workflow. But we hope that this article gives you a quick starter guide on how to prepare photos for printing.
We designed S3: Shooting Stories That Sell to help photographers increase revenue with wall art and album sales by creating images that clients will want to purchase. Upgrade to SLRL Premium now to enjoy full streaming access to this workshop and many others in our extensive library!
Note: This article was originally written in 2018 and updated in 2021 to reflect new guidance and information.