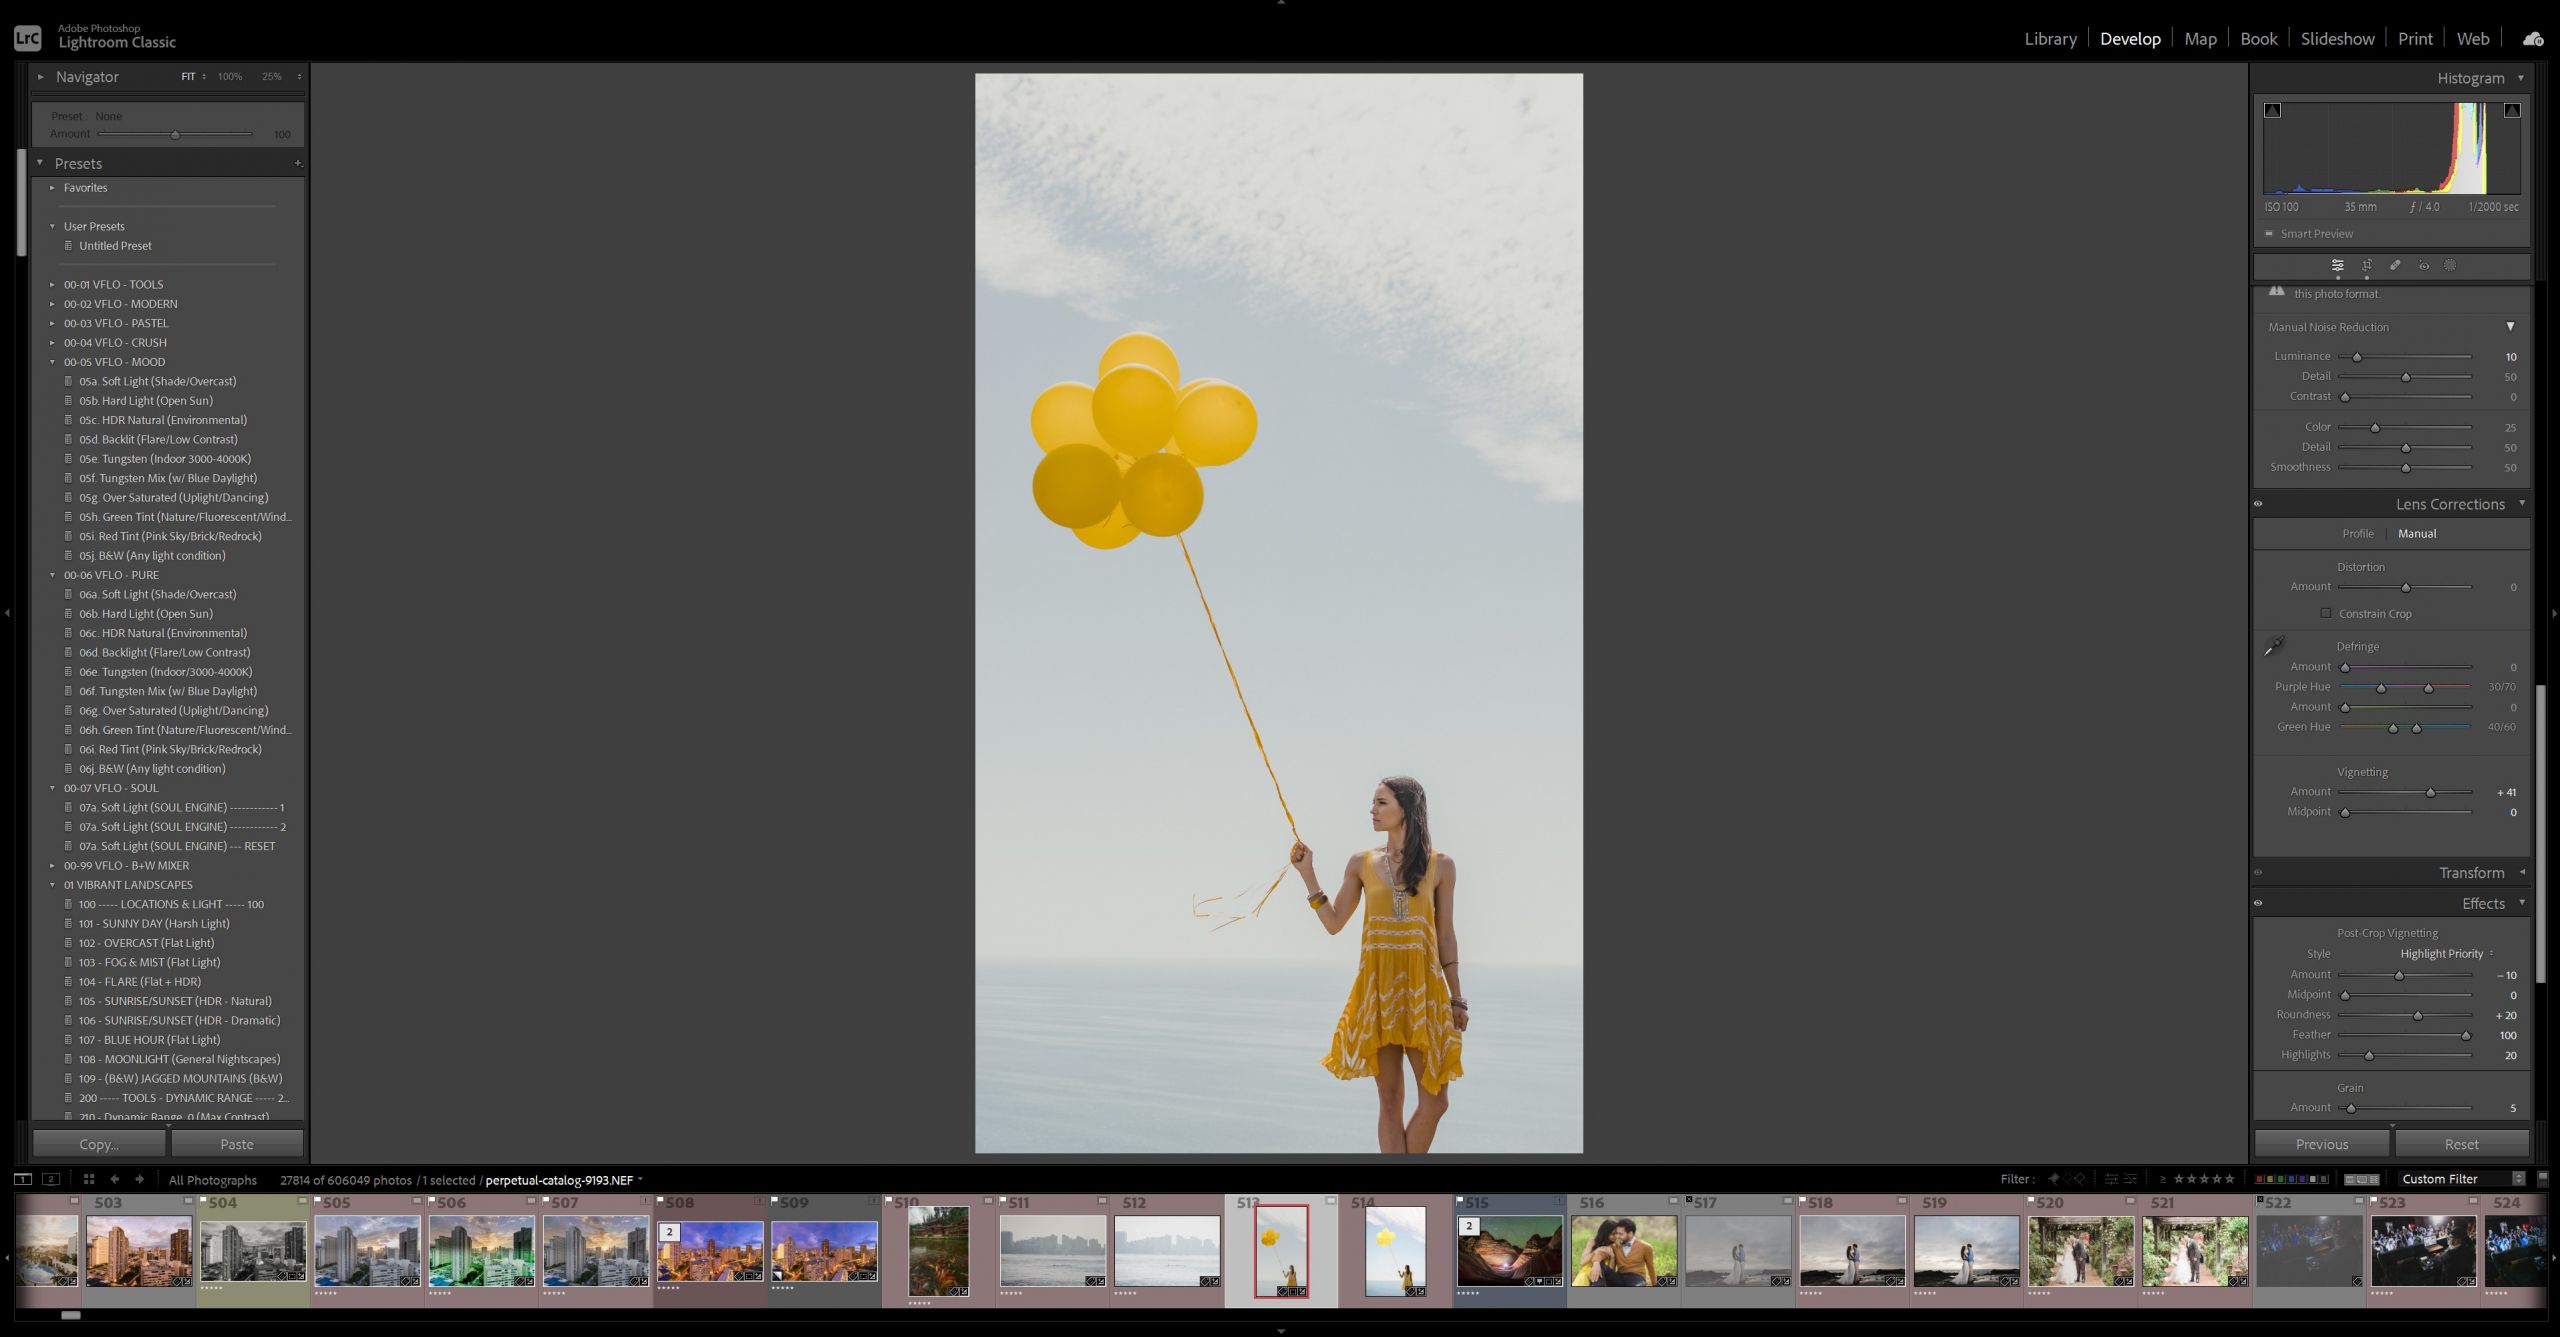
Lightroom is a powerful photo editing software, widely used by photographers to organize and edit their images. Along with its catalog and editing capabilities, there are also Lightroom export settings that give a range of export options that allow users to save and easily share their photos on various online platforms and social media apps.
In this article, we will explore the importance of exporting from Lightroom with the correct, optimal settings, and the benefits of using export presets in Lightroom. We will give you the best export settings for Lightroom, and show you how to turn them into presets for different platforms like Facebook, Instagram, and the web, or even physical prints!
Why The Right Lightroom Export Settings Are Important
Exporting your photos with the right settings for your intended use is crucial because it ensures that your images are displayed correctly. You’ll be able to maintain the quality of image detail, and accuracy of tones and colors, across different platforms and uses.
Without proper export settings, your photos may appear pixelated, lose details, or have incorrect color profiles which make your images appear dull. The right settings, though, will not only avoid these issues but also ensure that your file sizes aren’t unnecessarily large in terms of megabytes. An image file that is too big can be inconvenient to share online, especially with mobile devices on mobile networks.
Let’s review some of the most common export settings. For your convenience, we have a set of free Lightroom export presets that you can download and use! These include export presets for the following:
- ) Print (Full Resolution)
- ) Web (Blogging and Email)
- ) Display – 4K.
You can download them for free here.
Best Lightroom Export Settings for Print

Before we get to web display and social media image sharing, let’s talk about the highest-quality scenario: a physical print! For those select few truly special, beautiful images, you may decide that sharing them from a phone screen just doesn’t do the images justice. However, you absolutely cannot just take a low-res, compressed photo from your phone and send it to a print lab!
When exporting images for print, it’s important to consider the resolution, color profile, and file format. To ensure high-quality prints, set the resolution to 300 pixels per inch (ppi). Here are our recommended best settings for photo printing:
File Settings
- Image Format: JPEG
- Color Space: sRGB
- Quality: 100
- Limit File Size To: (unchecked)
Image Sizing
- Resize to Fit: Unchecked
- Resolution: 300
Output Sharpening
- Sharpen For: Glossy Paper
- Amount: Standard
Note that if you want to enlarge your images, and/or save them as a TIF file instead of a JPG, you can do that too, but we highly recommend communicating directly with your print lab before doing so! For more info on how to get the best results when printing your photos, read the full article on the best Lightroom export settings for Print.
Best Lightroom Export Settings for Facebook

When sharing photos on Facebook, it’s essential to consider file size and compression. Facebook is going to automatically shrink your images if they are too big, and add even more compression to get the overall filesize down as low as possible.
We recommends using JPEG files with an sRGB color profile. (You can save a few KB by not including any Metadata except copyright information, but it’s not much.) To perfectly balance image quality and file size for Facebook in particular, be sure to resize the images to a maximum width of 2048 pixels for landscape-oriented photos, or a maximum height of 960 pixels for portrait-oriented photos. Then, select a Lightroom export image quality setting between 80 and 100. This combination will optimize the viewing experience on Facebook, despite Facebook’s own additional compression…
File Settings
- Image Format: JPEG
- Color Space: sRGB
- Quality: 100 (65-80 is accptable for slower internet uploads and larger galleries)
- Limit File Size To: (unchecked)
Image Sizing
- Resize to Fit: Long Edge
- Pixels: 2048
- Don’t Enlarge: Checked
- Resolution: 240
Output Sharpening
- Sharpen For: Screen
- Amount: High
Believe it or not, but that last setting, the “Sharpening : Screen, High” actually makes a huge difference, so don’t forget it! Read the full article on the best Lightroom export settings for Facebook.
Best Lightroom Export Settings for Instagram
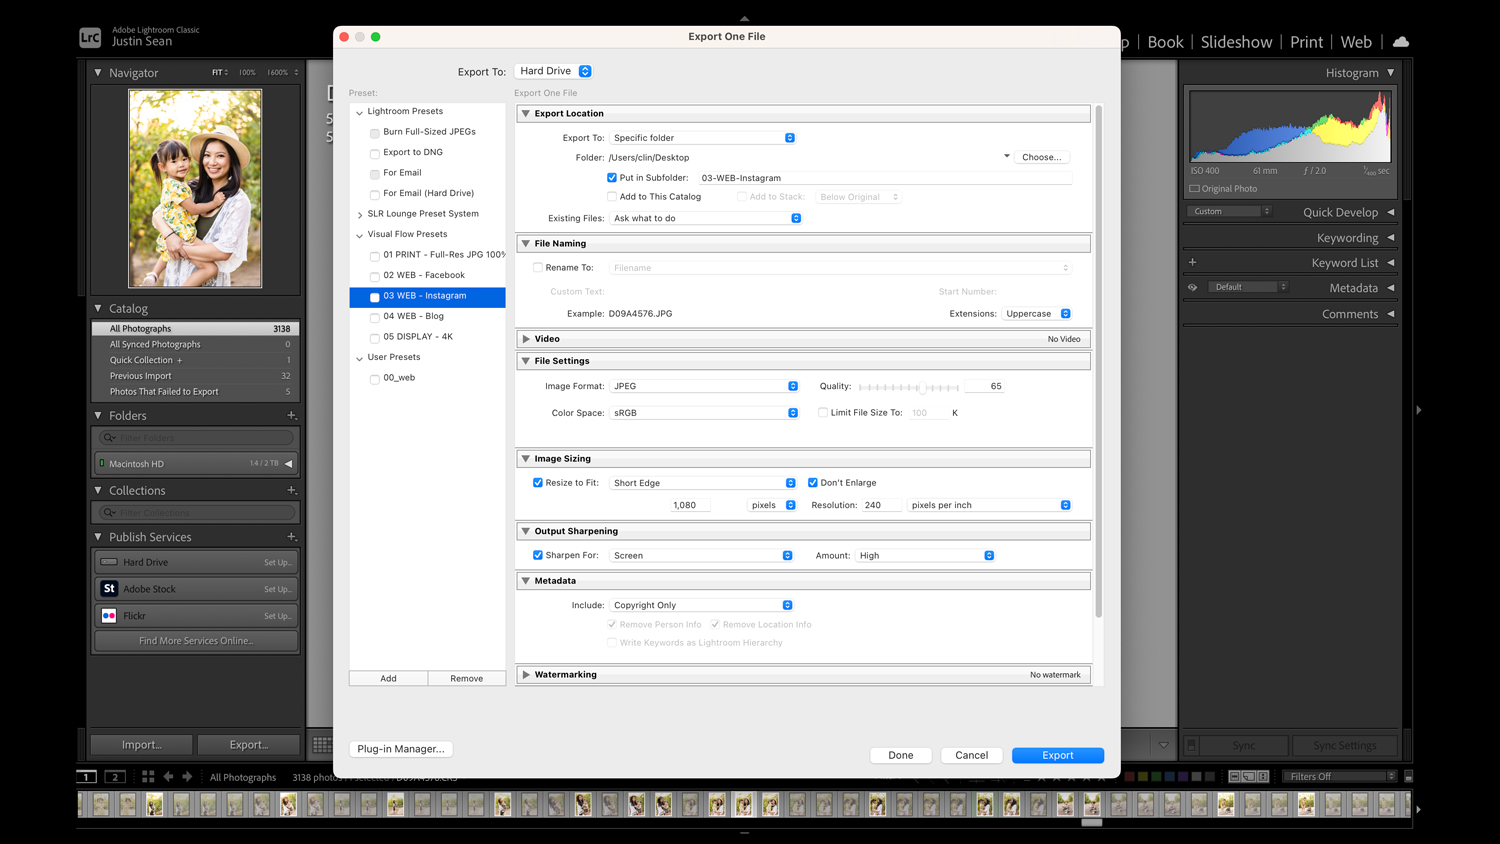
Instagram is one of the most popular platforms for sharing a mix of both images and video, and often images that are turned into video content! Therefore, optimizing your exports for Instagram is important to ensure your photos look their best in any medium.
Instagram supports JPEG files with sRGB color profile, of course. To maintain image quality while reducing file size, use a quality setting of around 80-100. Resize your images to a maximum width of 1080 pixels and maintain the original aspect ratio for optimal viewing on Instagram.
File Settings
- Image Format: JPEG
- Color Space: sRGB
- Quality: 100 (65-80 is accptable for slower internet uploads)
- Limit File Size To: (unchecked)
Image Sizing
- Resize to Fit: Short Edge
- Pixels: 1080
- Don’t Enlarge: Checked
- Resolution: 240
Output Sharpening
- Sharpen For: Screen
- Amount: High
Note that for Instagram, the optimal aspect ratio for posts is a vertical 4:5 ratio, while the optimal aspect ratio for Reels and Stories is a vertical 16:9 ratio. Read the full article on the best Lightroom export settings for Instagram.
Best Lightroom Export Settings for Web
When exporting images for the web purposes, such as showcasing the images on a blog or website, it’s crucial to consider both file size and display quality. Use JPEG as the file format, of course, with a quality setting around 80 to balance image compression and file size. For the color profile, sRGB is widely supported by web browsers.
Resizing your images to a suitable width, typically around 1080 pixels can optimize loading speed and ensure a pleasant viewing experience on various devices. Alternatively, if your blog/website allows larger images, going with 2048 pixels can allow you to use the images for both your blog and Facebook, of course.
File Settings
- Image Format: JPEG
- Quality: 80
- Color Space: sRGB
- Limit File Size To: (unchecked)
Image Sizing
- Resize to Fit: Long Edge: 1080 pixels or 2048 pixels
- Don’t Enlarge: Checked
- Resolution 240 Pixels Per inch
Output Sharpening
- Sharpen For: Screen
- Amount: High
Read the full article on the best Lightroom export settings for Web.
Download & Install Our Export Presets
 For your convenience, we created a set of Free Lightroom Export Presets that include export presets for the following: 1.) Print (Full Resolution), 2.) Facebook, 3.) Instagram, 4.) Web (Blogging and Email), 5.) Display – 4K
You can download them for free here.
Why Use Lightroom Export Presets:
Adobe Lightroom is all about saving you time! With a few Lightroom export presets, all you need are a few hotkeys (The export interface is “CTRL-Shift-E” or “CMD-Shift-E”) …and a couple mouse clicks, and all your images are exported perfectly! Having all of the pre-defined settings ready to go allows you to quickly output multiple images at once, and even output the same image in multiple formats for different platforms, too!
So, export presets, just like regular Lightroom presets, will save you time and effort by eliminating the need to repetitively adjust numerous settings. Using Lightroom export presets also ensures consistency in your workflow, which improves your viewers’ experience and your clients’ satisfaction.
Conclusion
By using the best Lightroom export settings for print, Facebook, Instagram, and the web, you can consistently showcase your images in their best light and engage with your audience effectively. Plus, you’ll save a ton of time! Experiment with different settings if you need, and remember that changing a preset is just a right-click away. (Look for “Update with current settings”) You can also create your own presets, of course, and enjoy the flexibility and control that Lightroom offers for exporting your photographs so they always look their best, everywhere you share them.