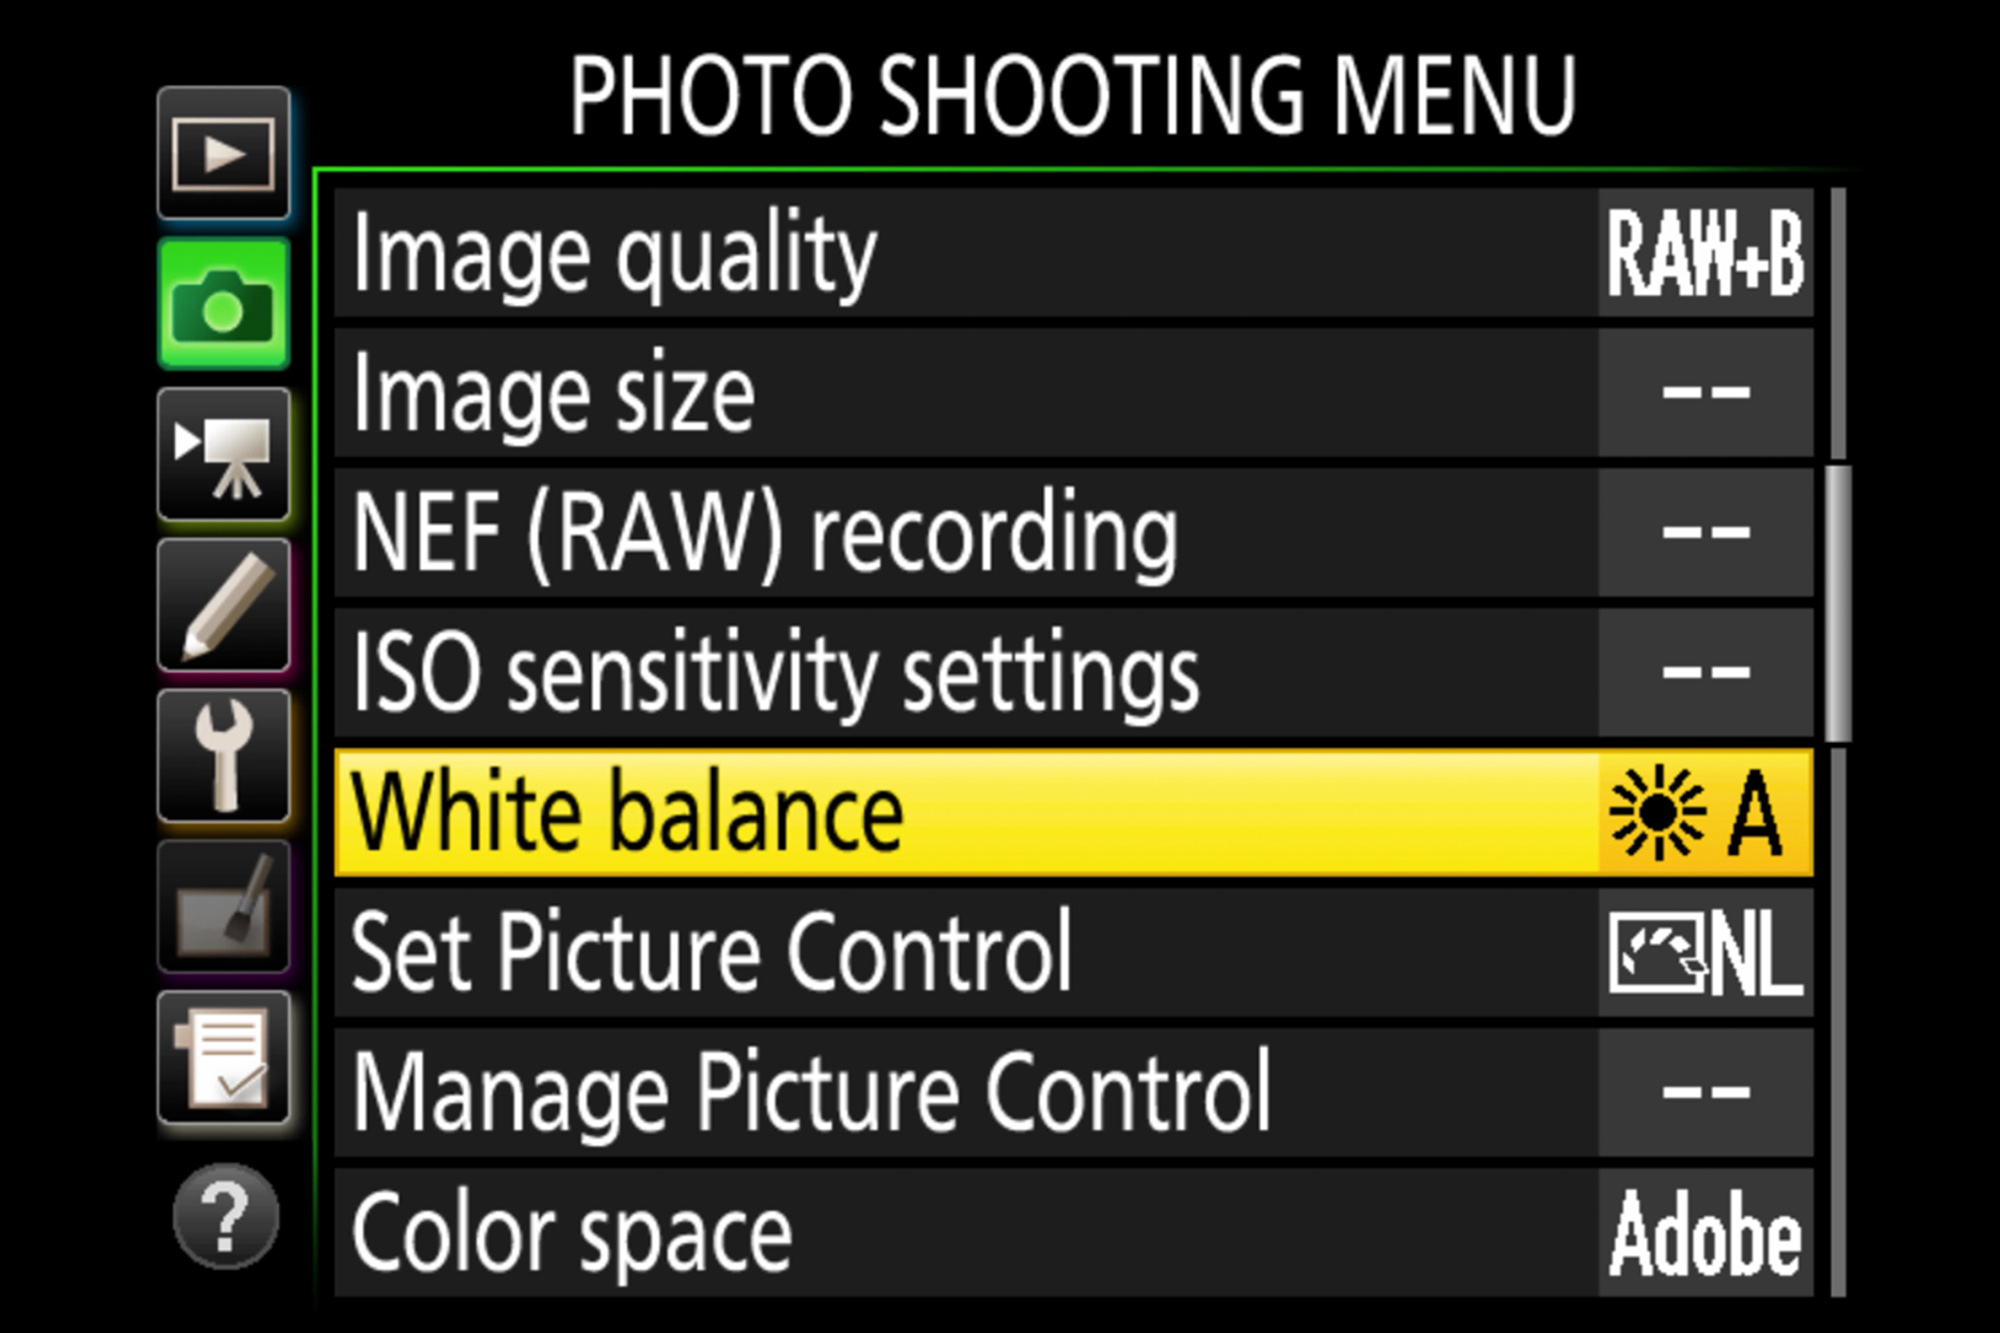
For most photographs, the goal is to faithfully capture the scene as your eye sees it. Understanding White Balance is key to achieving this goal and to do so you need to have an understanding of color temperature. Color temperature is measured in Kelvin with daylight, our most common light source, being valued at 5500 Kelvin. All values higher than this will begin to make your image appear bluer and are thus considered cool. All values lower than 5500k will appear more orange or yellow and are considered warm.
[REWIND: What Is Color Temperature? What You Need To Know]
Radhakrishnan Chakyat from Pixel Viilage gives a quick but thorough breakdown of the relationship between white balance and color temperature.
With this knowledge, he also demonstrates the different ways you can use your camera to capture color-accurate images. If this is new to you, this should go a long way to making the concept plain, as well as, refreshing your knowledge of the topic if it’s not.
When you set your white balance, you’re attempting to remove any color casts that prevent the color white from being faithfully rendered in your image. Every other color in your picture is affected by this color value, so if your white balance is off, every other color will be too.
There are three ways to address this in camera:
Auto White Balance
As the name implies, Auto White Balance allows your camera to assess and adjust to the available light in your scene in real time.
Manual White Balance
Likewise, setting the White Balance manually means you take full control of how the camera reacts to light in the environment. To do this, you’ll be adjusting the color temperature in your camera and compensating for the light in your scene by adjusting the Kelvin setting in your menu.
White Balance Presets
These are built it options that you can choose if you have knowledge about light in the environment before you shoot. Here is an example of the presets found in your camera’s menu.
Capture One 11 Tutorial | The Basics of ‘Base Characteristics’
Want To Save A Camera? Give It To A Kardashian | Contax T2


Get Connected!